Guardian of Semerkhet - Secret #1
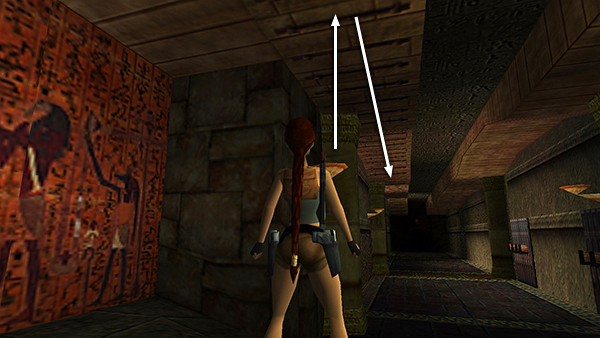
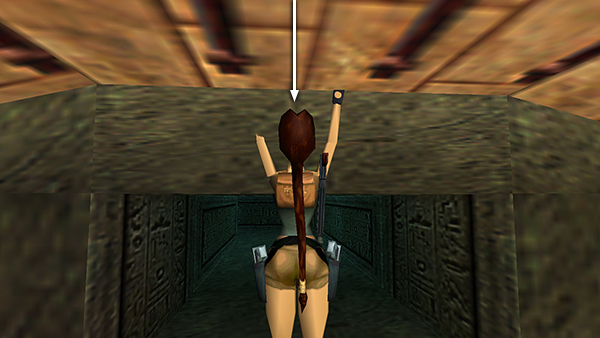
After picking up the small medipack in the southeast corner of the GUARDIAN HALLWAY, jump to grab the handholds on the ceiling and monkey swing back the way you came.
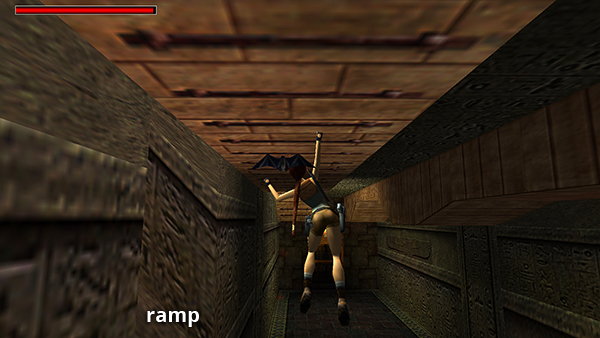
Just beyond the ramp where you came in, 2 bats will attack. If you don't mind taking a little nibbling damage, just keep going. Otherwise...
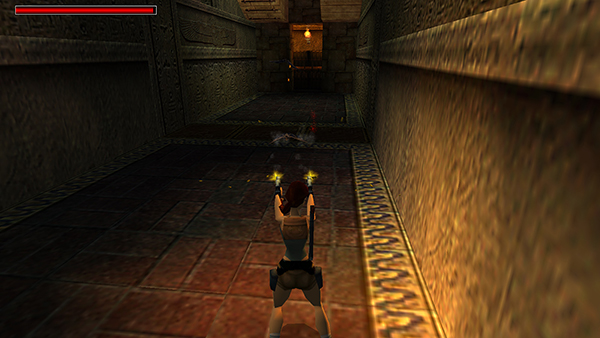
Drop to the floor to kill them. Then go back to the corner where you found the medipack, grab the bars on the ceiling, and start monkey swinging again.
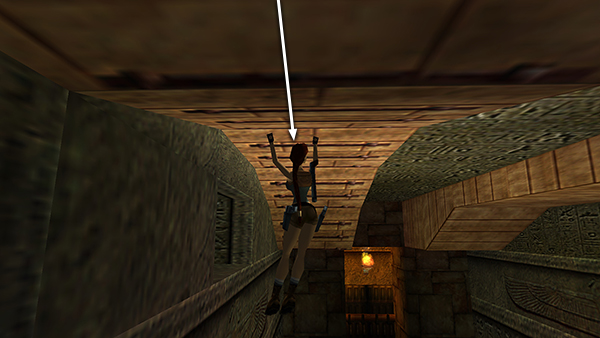
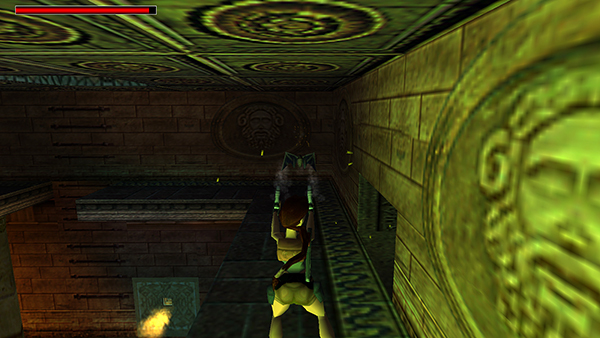
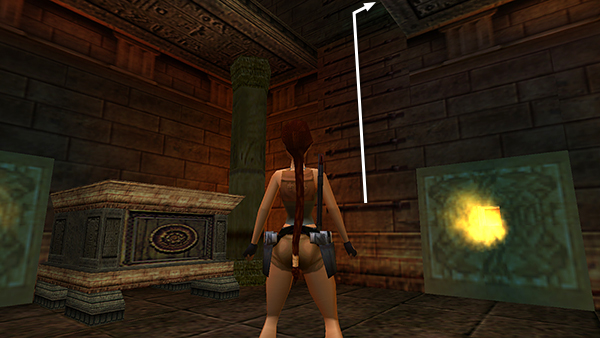
Just before the end of the hall, you'll come to a small opening high on the left wall.
Swing toward it so Lara is hanging right up against the wall.
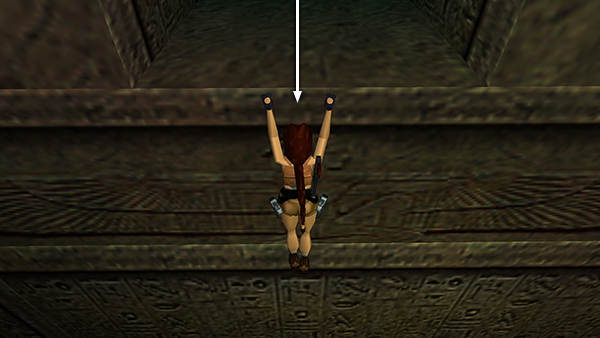
Drop and grab the edge.
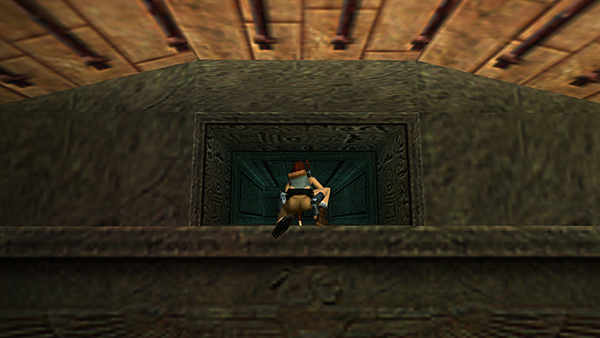
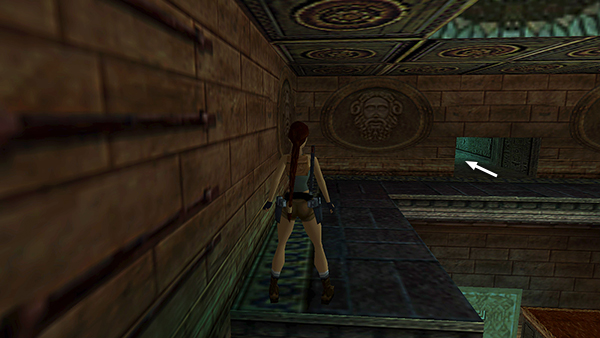
Then pull up into the opening.
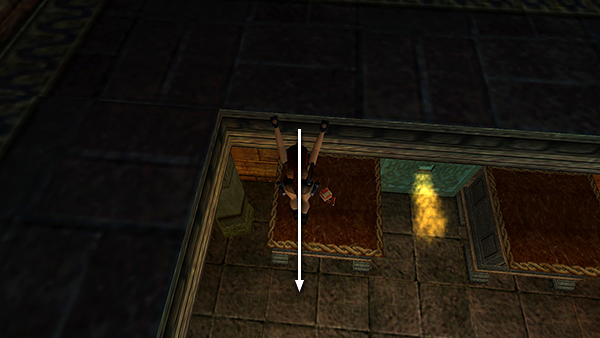
Crawl through a fairly long passage to the next room. This is SECRET #1 (38/70).
If you haven't already killed the 2 bats, do that now. Just be careful not to fall off the ledge as you fight.
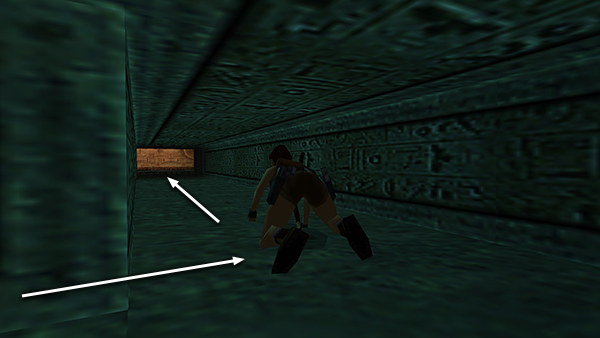
Now drop down, taking care not to land in front of any of the 4 flame niches.
After your experience in the previous level, you should know how to handle the flame niches, so I won't cover every step in the screenshots, just the basics.
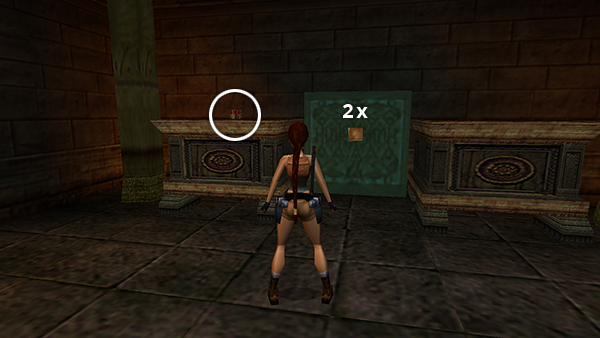
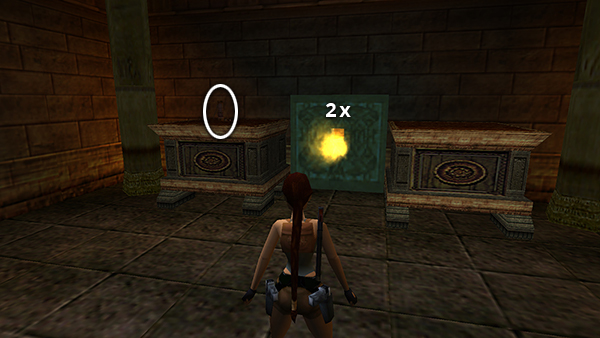
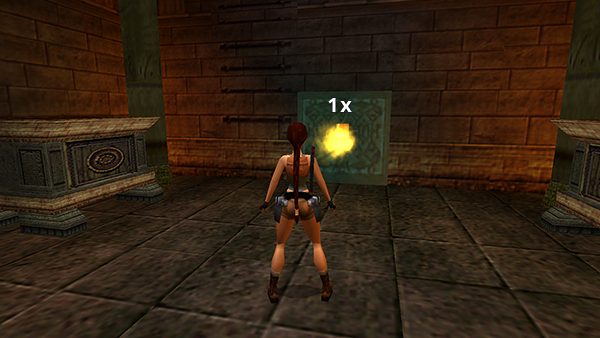
When you first enter the room, only the flame niche on the west wall cycles on and off. The others burn steadily. Carefully retrieve the shotgun shells on top of the chest to the left of that niche. Wait for the flame to cycle off, then then reach in to get a box of wideshot shells. Hop back twice to get out of the way before the flame reignites. Wait for the flame to die down and reach in a second time to operate a mechanism that causes the flame in the opposite (east) niche to begin oscillating.
Take the explosive arrows sitting on the chest to the left of that niche. When the flames go out, reach into the niche for some Uzi clips. Back away, wait, then reach in a second time to operate a mechanism. This turns off the flame on the north wall permanently and causes the flame in on the south wall (near the ladder) to oscillate.
When the flames abate, reach into the south niche and get a large medipack, then immediately hop back.
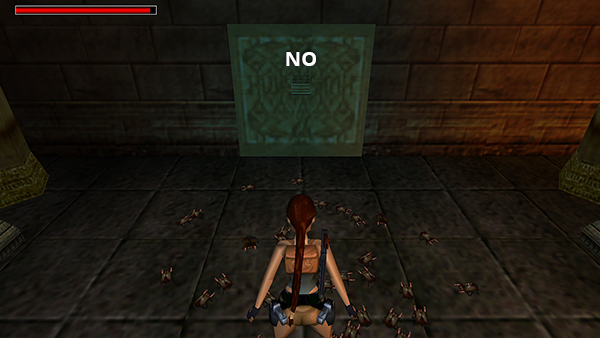
Do not use the north niche. There are no goodies inside, only a mechanism that releases a swarm of beetles. If you use it by accident, quickly roll and run to the ladder on the opposite wall.
When you have everything, climb the ladder and dismount on the right.
Return through the crawlspace the way you came and drop down into the GUARDIAN HALLWAY.
Copyright © 1999- - Stellalune ( ). All rights reserved. Feel free to copy or print this walkthrough for personal use. By all means, share it with friends, but please include this credit line so people can send me their feedback. No part of this walkthrough may be reproduced on another site without permission. Follow this link for details about this site's advertising and privacy policy.