The Great Pyramid - Climbing the Pyramid (part 2)
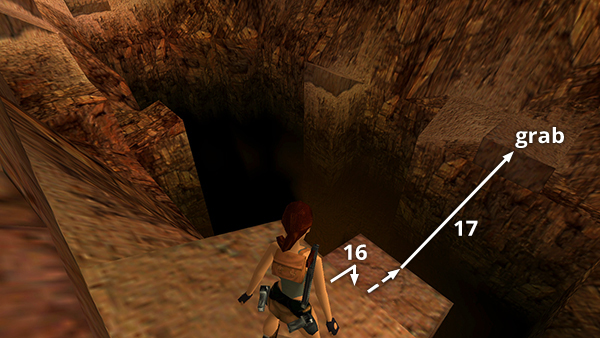
(16) Turn around and step off the edge to land on the small ledge below, which juts out over the chasm.
(17) From there, take a running jump to grab the flat, square ledge on the other side of the chasm and pull up.
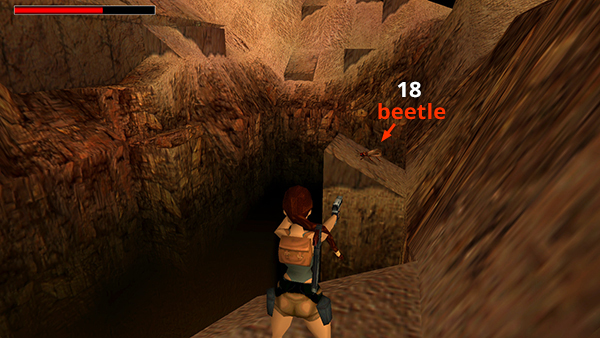
(18) Turn left (east) and kill the giant beetle on the steeply angled block a little farther along the wall of the chasm. (You can use pistols to roust the beetle then switch to the shotgun to finish it off when it gets closer.)
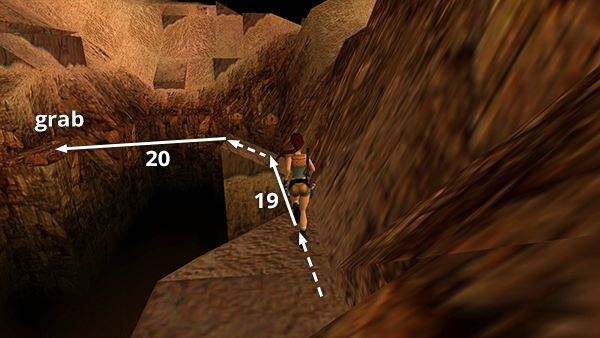
(19) Take a running jump to land on the angled block where the beetle originated. Be sure to line up this jump so Lara runs along the right side of the starting ledge, close to the wall, in order to get a long enough run-up.
(20) Turn left and take another running jump from the angled block to grab the square, brown ledge on the north side of the chasm. Pull up.
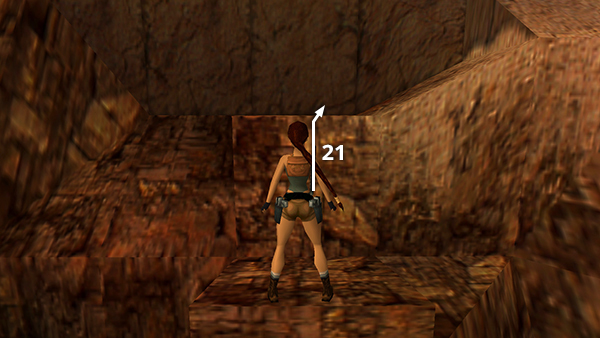
(21) Climb onto the ledge directly ahead.
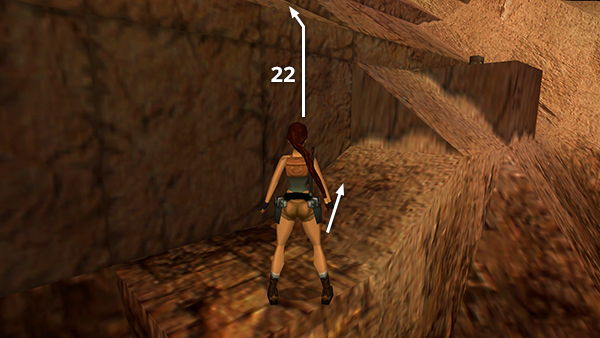
(22) Move partway up the slope on the right, then pull up onto the tier above.
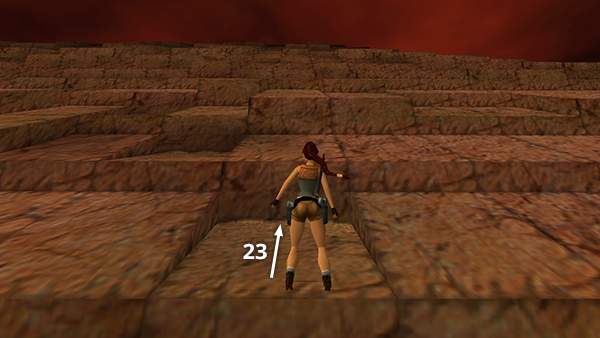
(23) Immediately run forward until Lara is touching the block ahead...
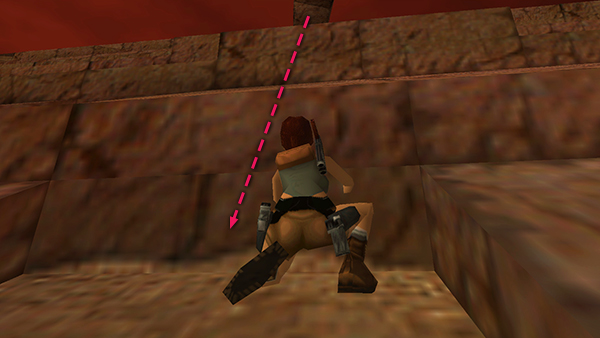
...and duck to avoid being squashed by another falling block.
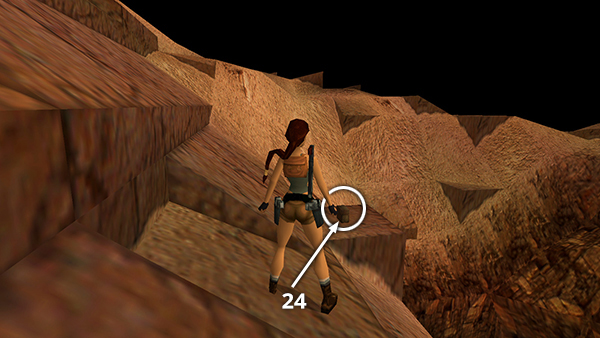
(24) After it passes, turn around, position Lara near the middle of this ledge, then take a standing jump down to the block with the large medipack.
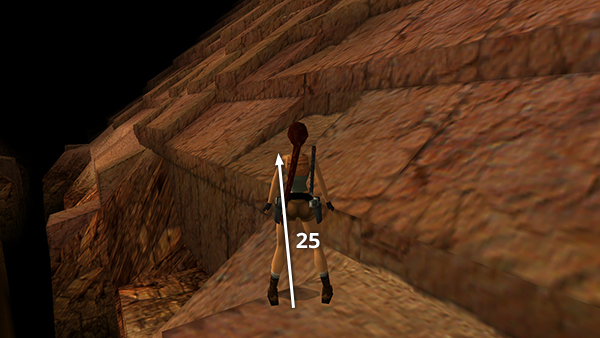
(25) Once you have the medipack, turn around and jump back to the previous ledge, where you ducked to avoid the boulder.
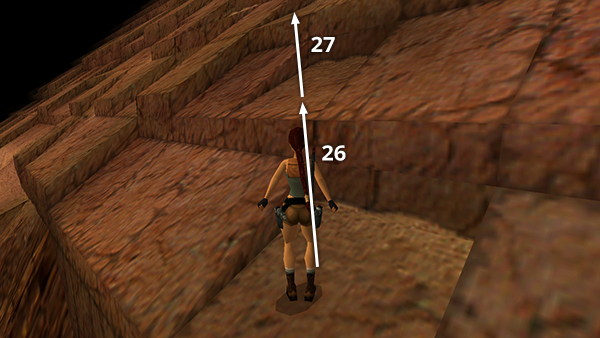
(26) Take a standing jump onto the flat spot above and to the left, (27) then another standing jump up to the next flat spot above and to the left. (Now you're on the fourth tier.)
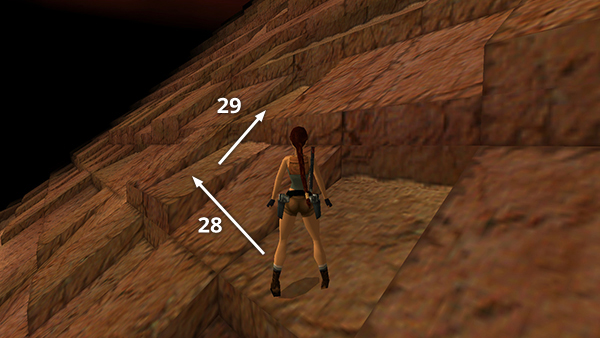
(28) Ready your weapon of choice, take a standing jump over the slope on the left onto the slightly raised block beyond. (29) Turn right and run up onto the next tier...
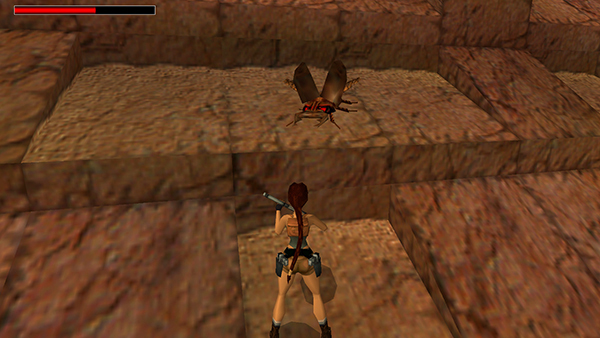
...so Lara has a little more room to maneuver as you shoot the next giant beetle, which approaches from up the slope.
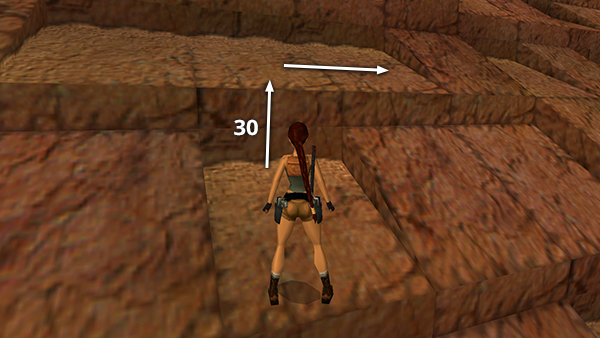
(30) Climb up onto the next (sixth) tier, onto a flat ledge 3 blocks wide. Turn right.
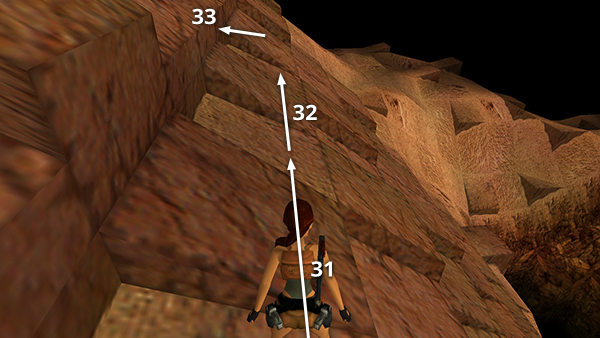
(31, 32) Take a standing jump over the next slope then another standing jump over the the slope beyond. (33) Immediately turn left and run up against the next tier (or crouch near the middle of the ledge)...
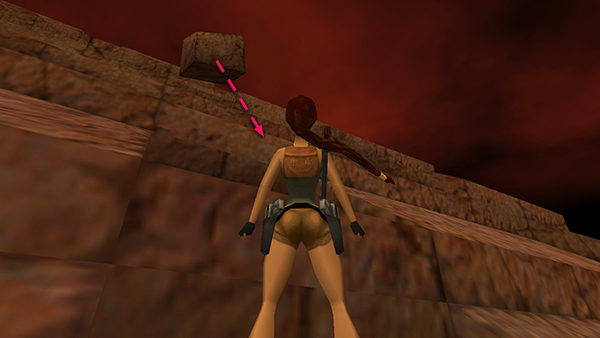
...as another huge block tumbles by.
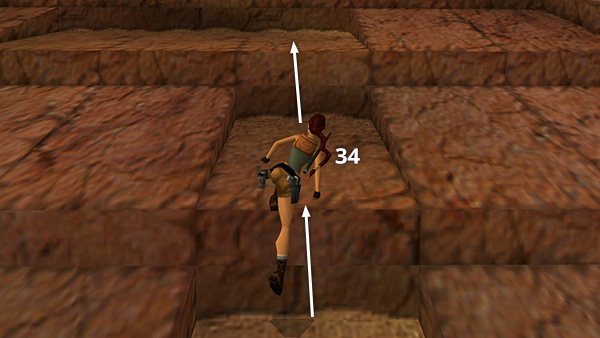
(34) Climb up two more tiers to a flat ledge three blocks wide on the eighth tier.
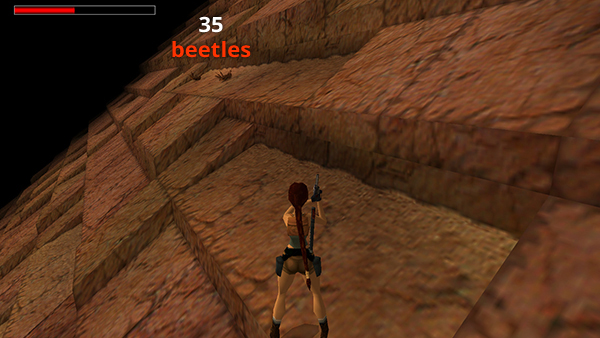
(35) Off to the left (west), a pair of beetles waits above on the next long ledge. If you have revolver ammo to spare, you can kill them from a distance with two shots each. Otherwise, you might want to shoot the first beetle with pistols to get it moving and switch to the shotgun to finish it. Then repeat with the second beetle.
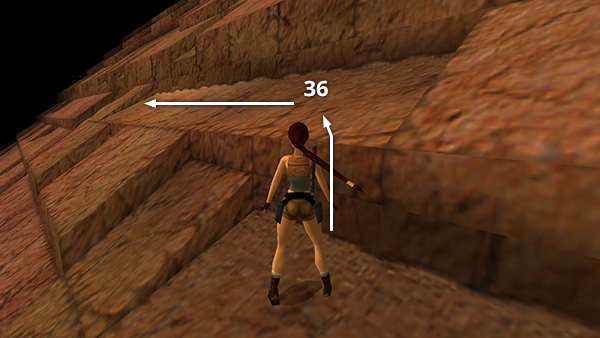
(36) Vault up onto the ledge where the beetles were (i.e., the ninth tier above the base of the pyramid) and follow it to the left (west) end where the beetles originated.
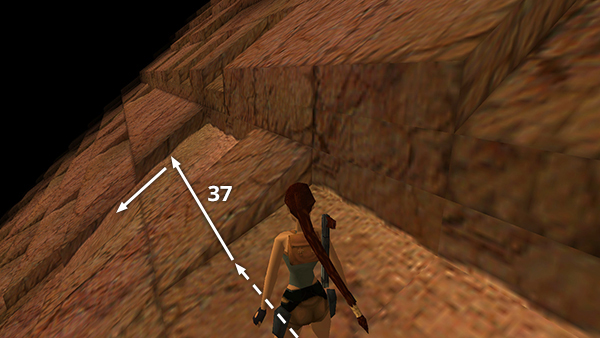
(37) Take a running jump over the next two sloping tiles to land on the third and slide down...
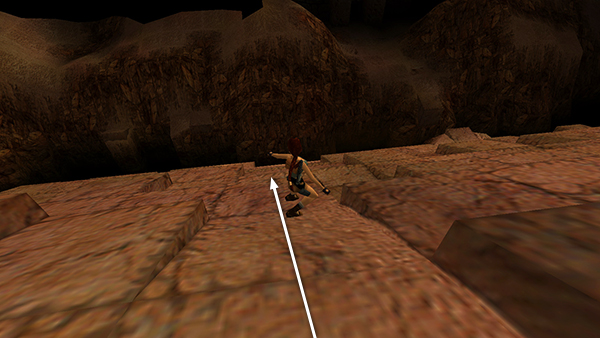
...to a flat-ish spot three tiers below.
Copyright © 1999- - Stellalune ( ). All rights reserved. Feel free to copy or print this walkthrough for personal use. By all means, share it with friends, but please include this credit line so people can send me their feedback. No part of this walkthrough may be reproduced on another site without permission. Follow this link for details about this site's advertising and privacy policy.