Coastal Ruins - Seaside Pick-ups
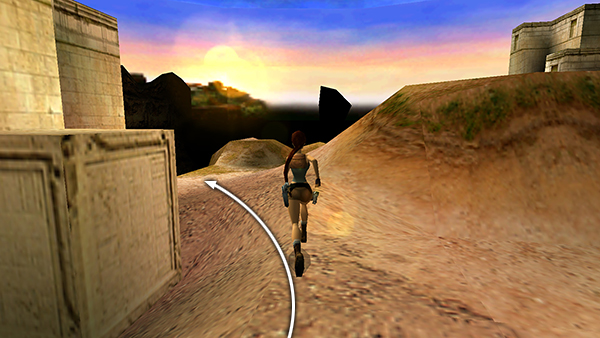
There are a few items to collect around the ruins. So head around the outside of the first building, keeping the wall on Lara's left.
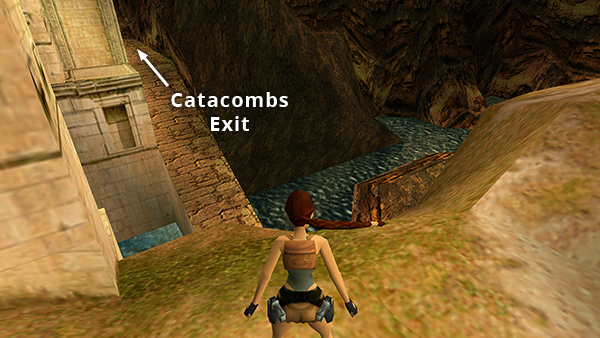
You'll come to a drop-off overlooking a ramp and tide pool. (This ramp leads up to a locked gate, marked B on the map, one of the exits from the CATACOMBS level. It can't be opened from this side.)
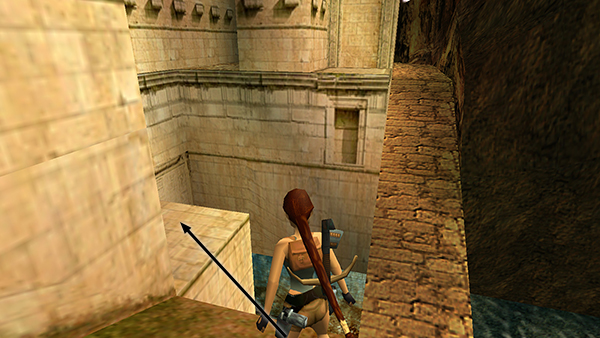
Jump over to the light-colored stone ledge on the left.
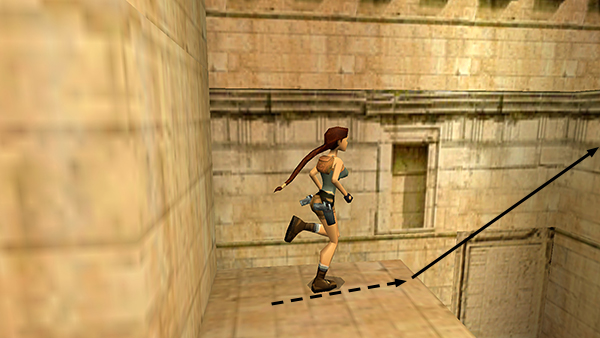
Take a running jump...
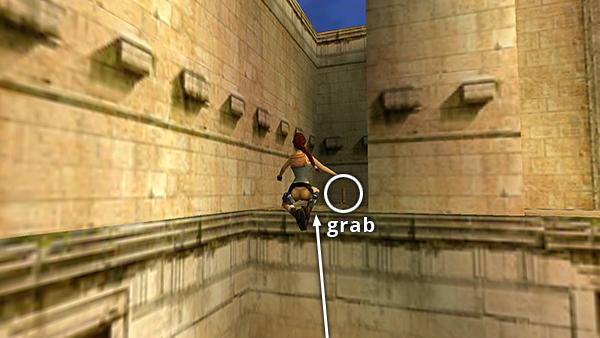
...to grab the edge of the alcove across the way. Pull up and get some normal arrows.
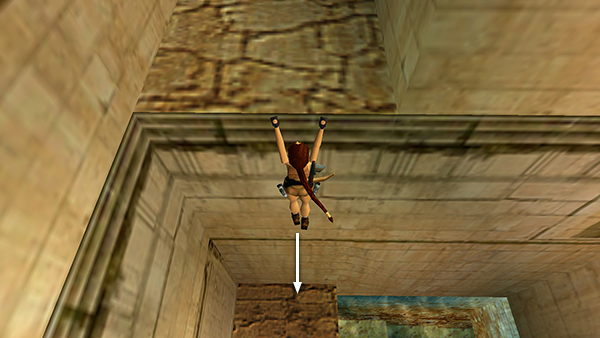
Then safety drop to the ledge next to the pool.
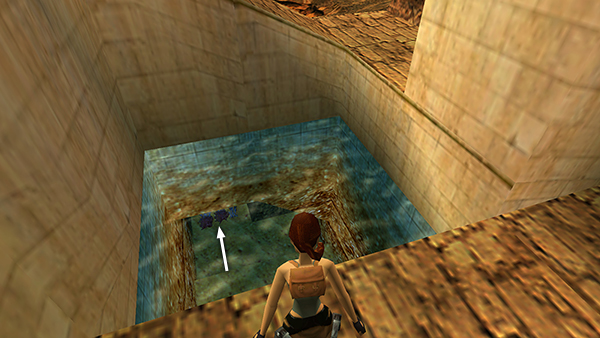
There are some grenades in a narrow underwater crevice nearby. This next swimming sequence is a little tricky, so you may want to save the game first. Then hop into the pool and swim through the small opening with the purple seaweed.
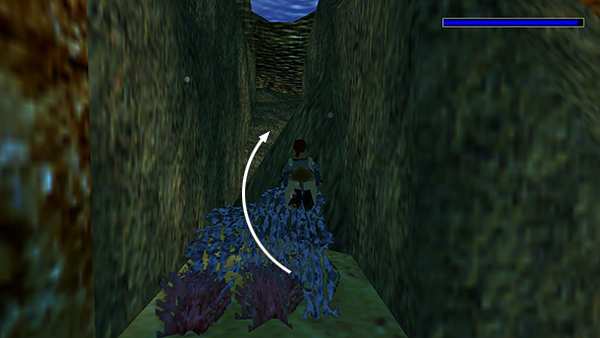
The current is strong here so do your best to navigate up and around the angled rock beyond the seaweed.
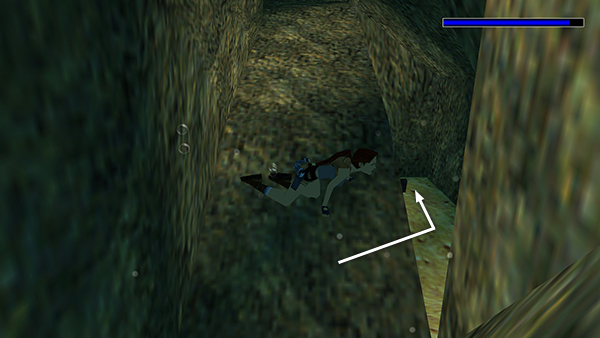
Ahead on the right is a triangular opening. Swim inside and pick up the grenades.
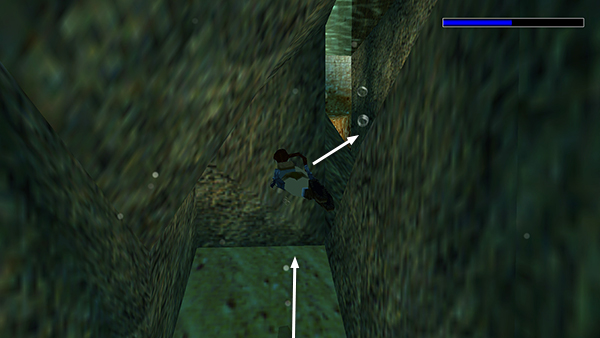
Then roll and swim back out through the wider part of the triangular opening.
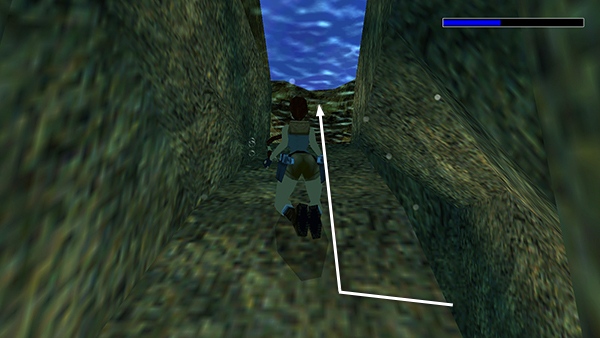
Then turn right to face up the slope. If Lara gets stuck here or the current prevents her from moving, try rolling to get her un-stuck. Continue up the slope and surface in a shallow tide pool.
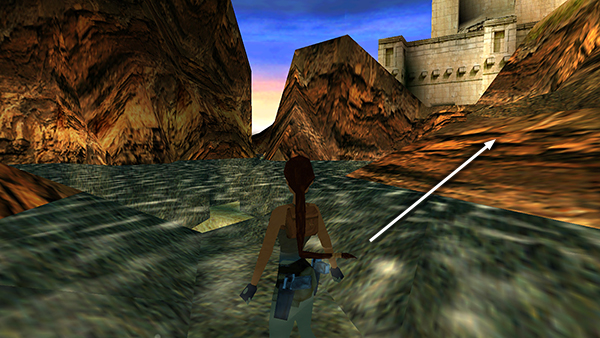
You can explore the tide pools if you like, but there are no more goodies to be found. Wade out of the water on the right...
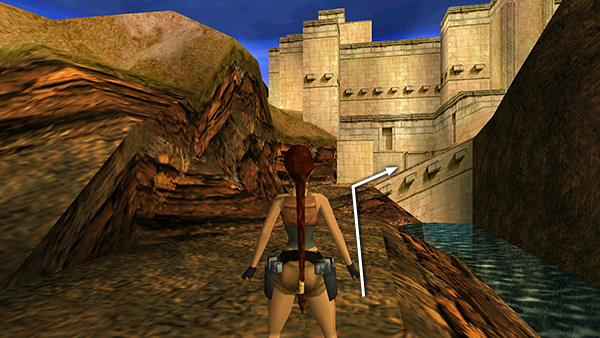
...and follow the rocky bank back to the building with the ramp.
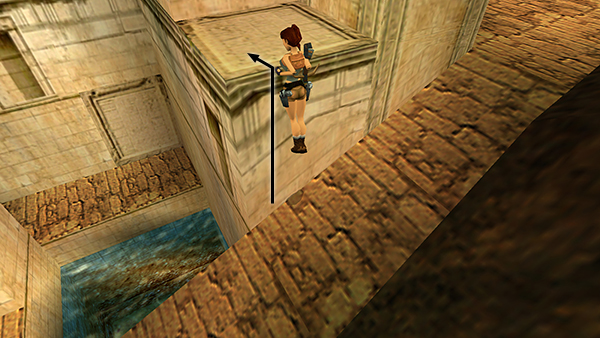
When you took the arrows from the alcove earlier, as shown in the previous section, a skeleton appeared on the hillside where you entered this area. Climb onto the small ledge beside the ramp to get a better shot at it.
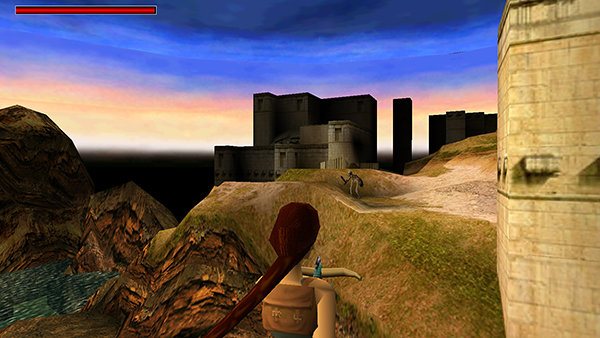
You can destroy it using an explosive arrow from the crossbow,
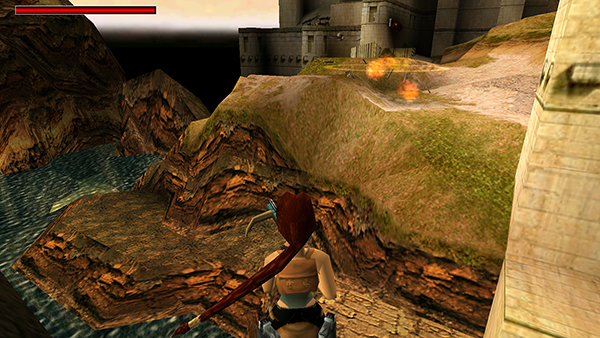
Like so.
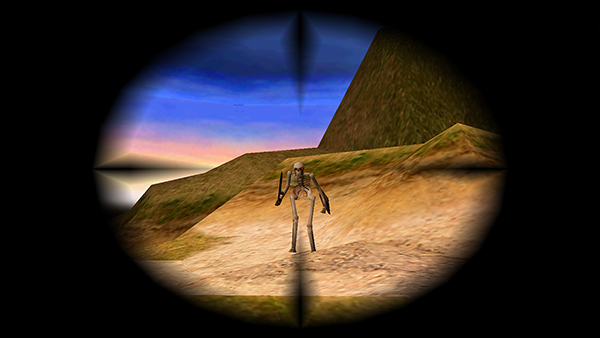
Or equip the crossbow with the laser sight and use normal arrows (or the pistol with the laser sight bug) to target the skeleton's head.
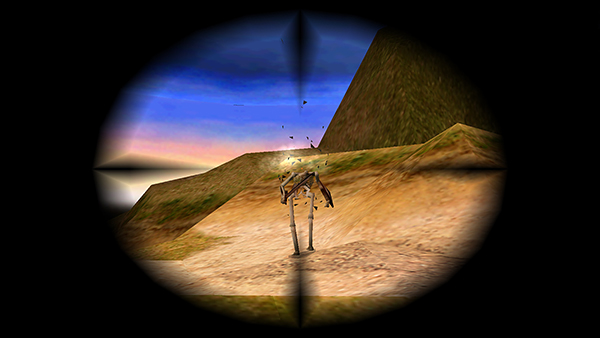
If you can manage to blow its head off...
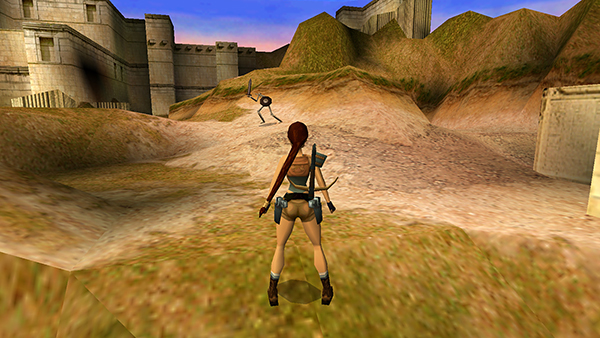
...it will run around aimlessly and not harm Lara.
Copyright © 1999- - Stellalune ( ). All rights reserved. Feel free to copy or print this walkthrough for personal use. By all means, share it with friends, but please include this credit line so people can send me their feedback. No part of this walkthrough may be reproduced on another site without permission. Follow this link for details about this site's advertising and privacy policy.