Coastal Ruins - Mechanical Snake Charmer
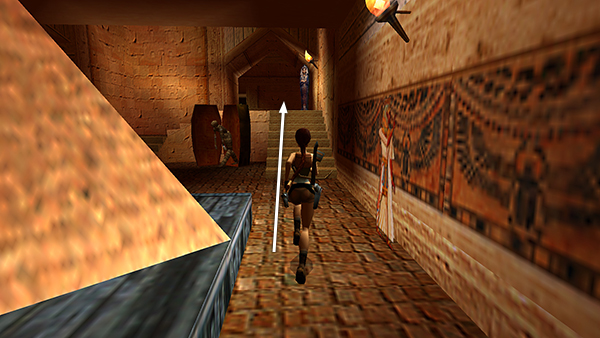
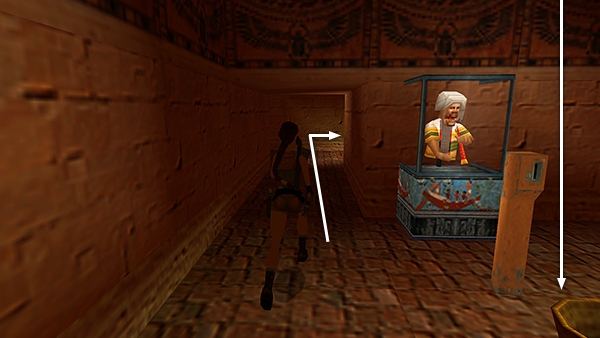
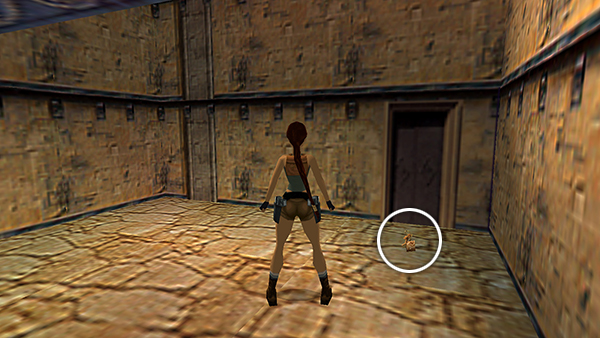
After obtaining the TOKEN, as described in the previous section, return to the room with the model pyramid and continue straight ahead, up the stairs behind the fake mummy.
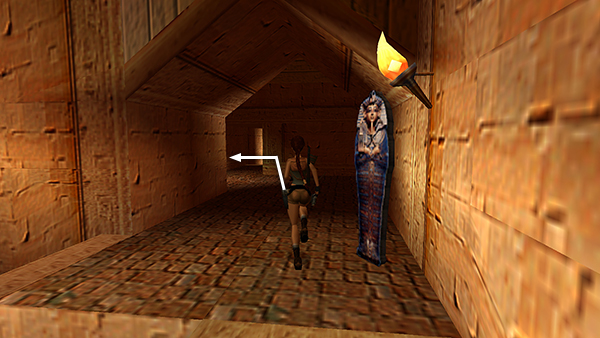
Then follow the hallway around to the left, past the MIRROR ROOM...
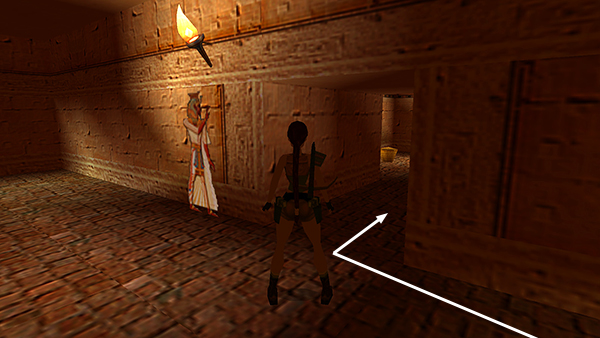
...and into the next room on the right.
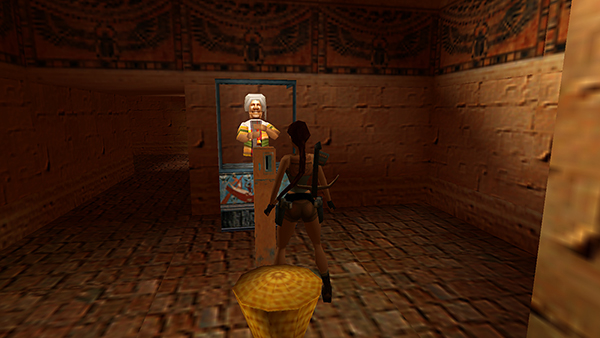
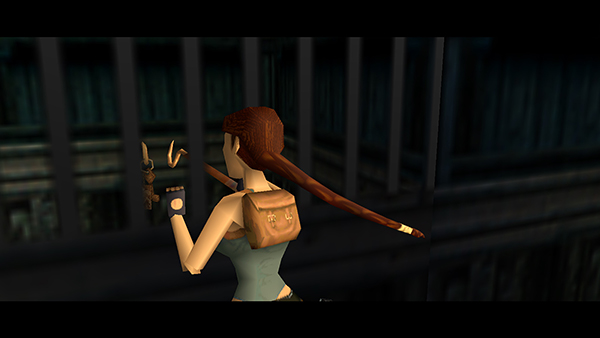
Stand in front of the coin slot, facing the snake charmer, and use the TOKEN.
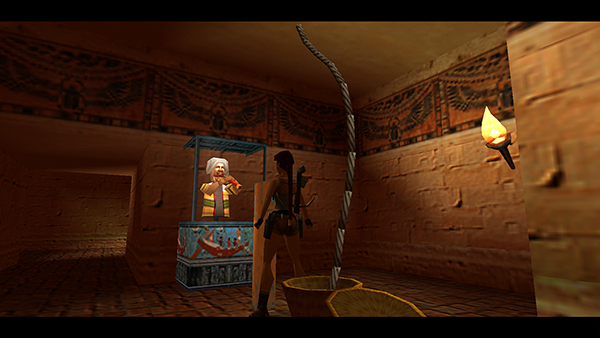
In a brief cutscene, the machine is activated: The snake charmer plays a tune and a rope rises from the basket.
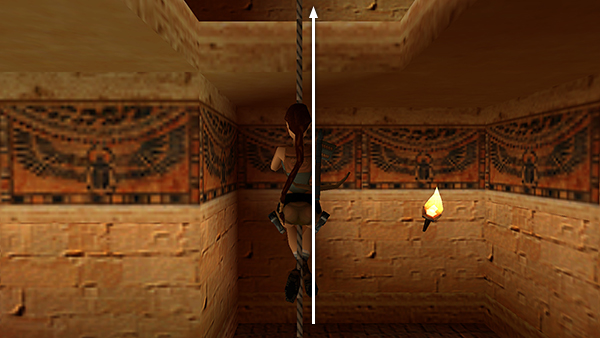
Climb the rope not quite to the top...
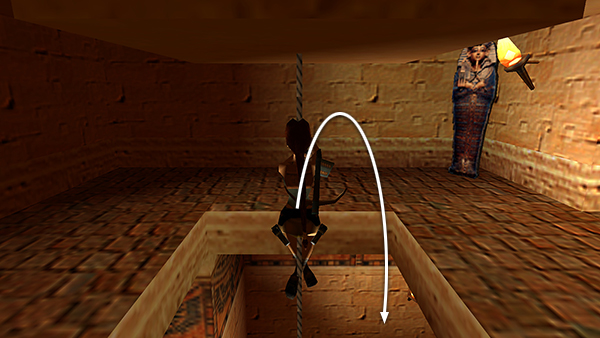
...and backflip onto the ledge.
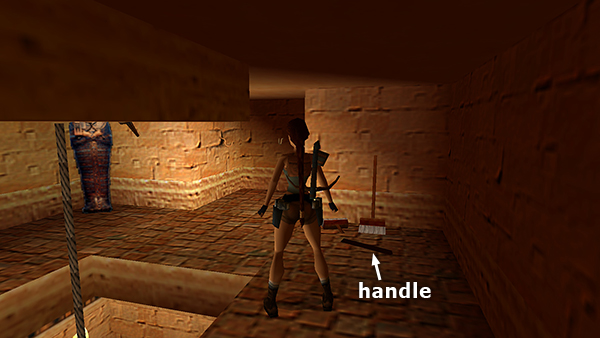
Pick up the BROKEN HANDLE on the floor near the pile of brooms.
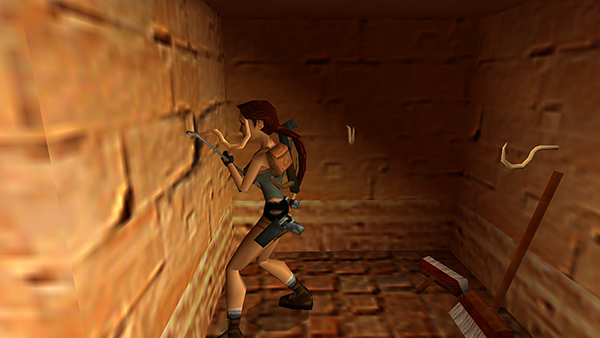
Go to the alcove with three hooks and face the hook on the left. Use the CROWBAR to pry the HOOK out of the wall.
Drop down, exit the snake charmer room and follow the hallway to the right...
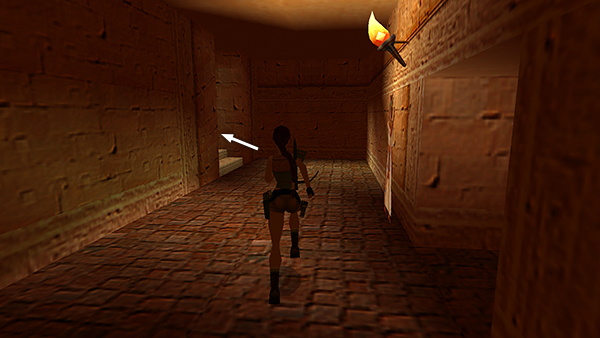
...then up the stairs on the left...
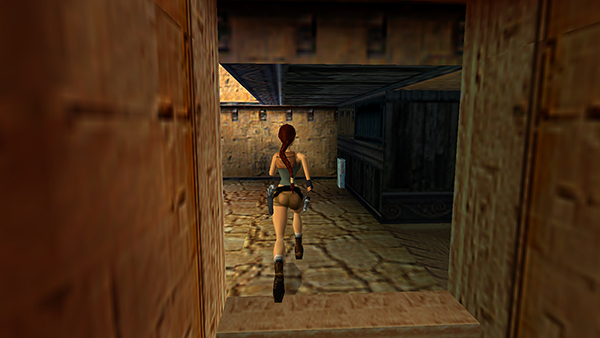
...to the room with the cage.
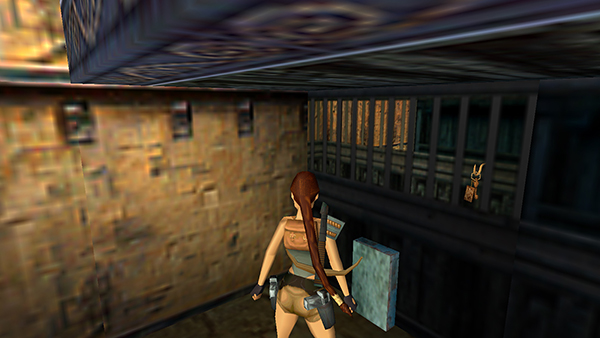
Stand near the silver rectangle on one side of the cage. Combine the BROKEN HANDLE and the HOOK to make the very aptly named HOOK AND POLE, then use it here.
Lara uses the pole to snag the key ring and fling it to the floor.
Be sure to pick up the GATE KEY key from the floor after the cutscene. It doesn't automatically go into Lara's inventory.
Copyright © 1999- - Stellalune ( ). All rights reserved. Feel free to copy or print this walkthrough for personal use. By all means, share it with friends, but please include this credit line so people can send me their feedback. No part of this walkthrough may be reproduced on another site without permission. Follow this link for details about this site's advertising and privacy policy.