Coastal Ruins - Shooting Gallery
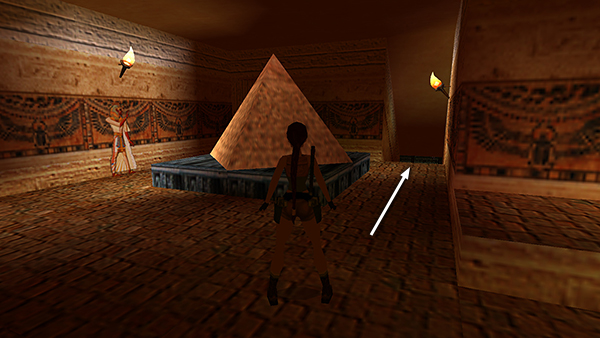
In the room with the small pyramid and sarcophagi, approach the doorway on the right side of the west wall (i.e., behind the pyramid).
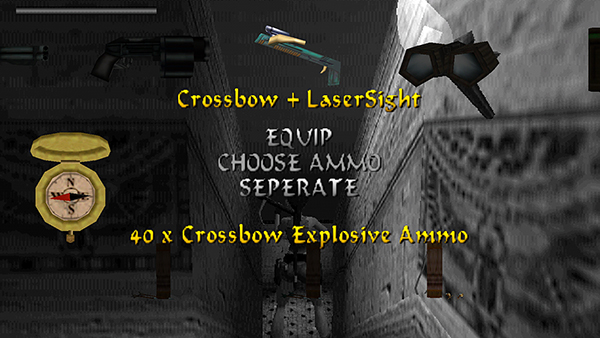
Open your inventory and combine the CROSSBOW and LASER SIGHT, select explosive ammo, and equip the crossbow. You can also do this without the LASER SIGHT, as described below. (If you're missing either of these items, refer to the main walkthrough.)
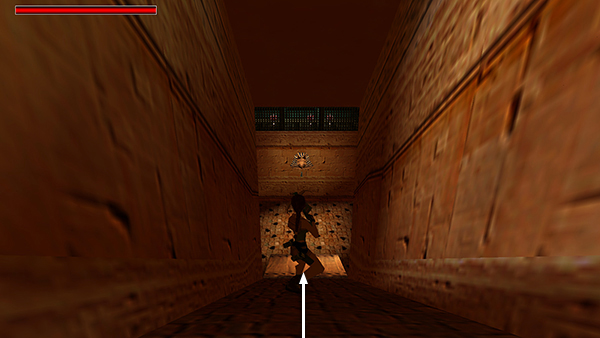
Save the game and then slide down the ramp onto a hinged ledge.
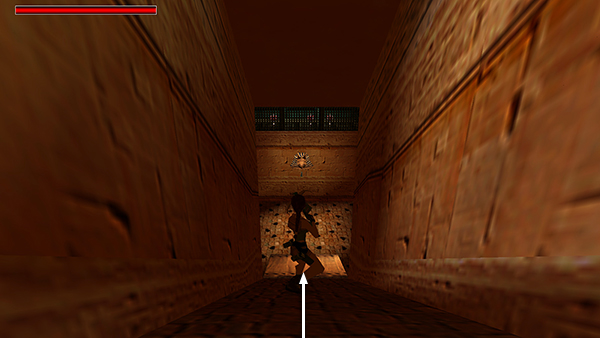
This ledge stays in place for about 20 seconds. In that time, you need to shoot the bull's-eye targets on the other side of the room to deactivate the concealed spikes below. If you followed the walkthrough and equipped the combined CROSSBOW and LASER SIGHT loaded with explosive ammo...
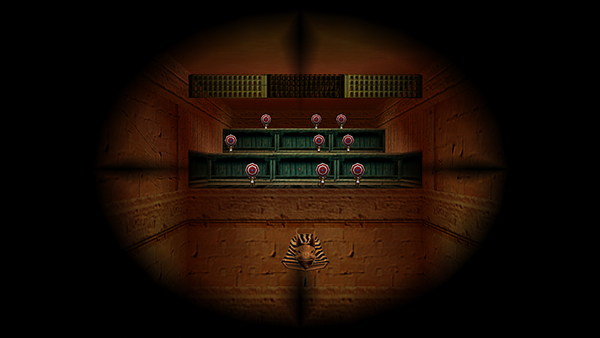
...all you need to do is press LOOK to sight the rows of targets...
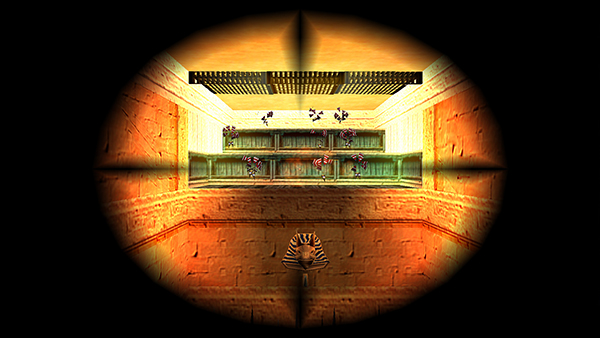
...then fire. You don't even need to aim. One explosive arrow should destroy all of the targets.
- OR -
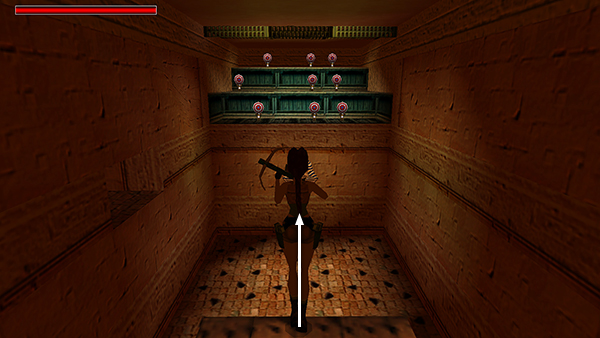
If you don't have the LASER SIGHT but do have the CROSSBOW and explosive arrows, slide down the slope, walk to the front of the hinged ledge...
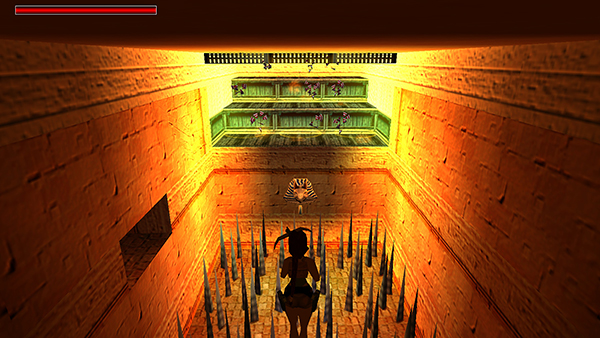
...jump straight up and fire an explosive arrow at the wall of targets.
Whichever method you've chosen should cause the spikes to pop up then retract, showing they have been deactivated.
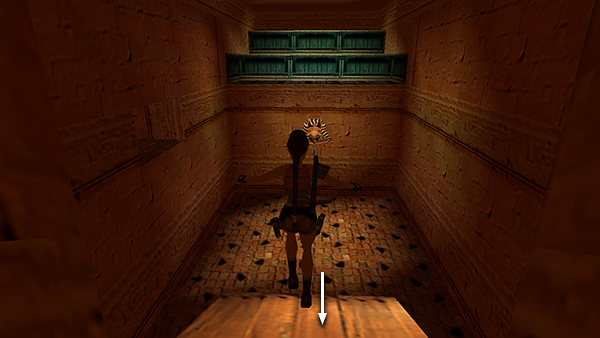
Drop down to the floor, which is now safe.
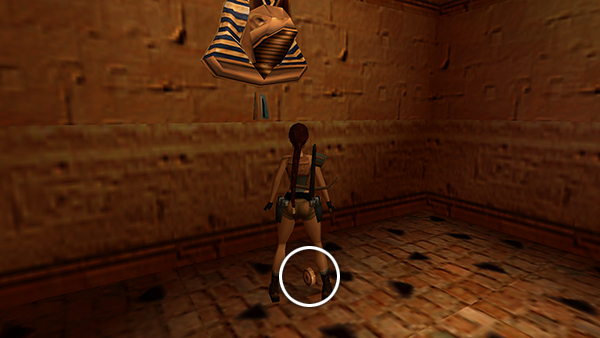
Cross the room and pick up the TOKEN that pops out of the slot below the golden ornament.
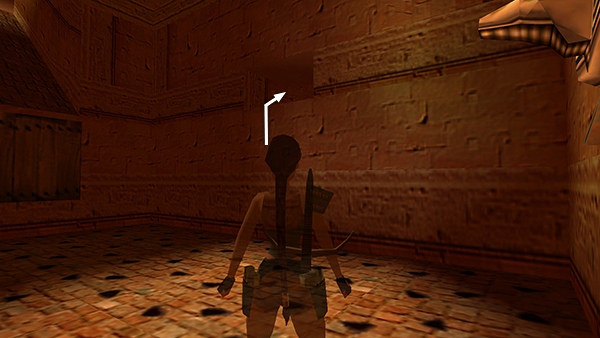
Then use the elevated crawlspace on the south wall to climb out of this area and return to the room with the model pyramid and sarcophagi.
Copyright © 1999- - Stellalune ( ). All rights reserved. Feel free to copy or print this walkthrough for personal use. By all means, share it with friends, but please include this credit line so people can send me their feedback. No part of this walkthrough may be reproduced on another site without permission. Follow this link for details about this site's advertising and privacy policy.