Cleopatra's Palaces - Alternate Route in Area with Spiked Hallways (part 2)

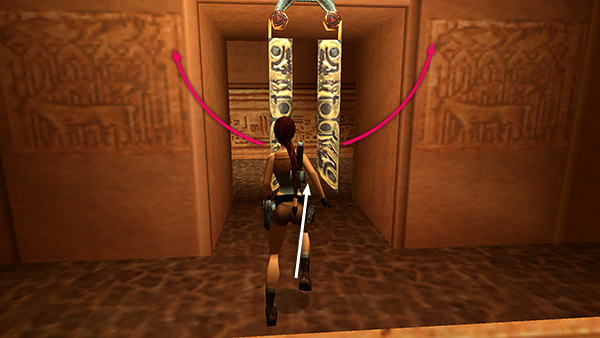
If you had taken the other path through this area, you would now pull the black switch in the alcove to raise a block and open the double doors. The block would allow you to reach the horizontal crevice so you could climb around to the raised doorway on the north wall. But since you've just come from there, there's no need to do this.

There will be an L-shaped pit in the southwest corner of this room, provided you swam through the underwater passage and operated the floor-lowering mechanism at the beginning of the level. Jump down onto the ledge with the hollow bench and shoot it to get some explosive arrows. Take a standing jump from the edge of the alcove to get out of the pit.
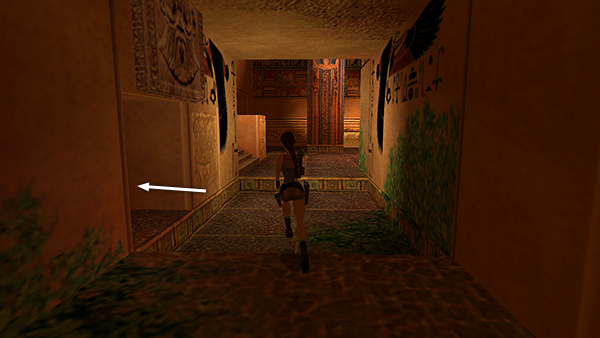
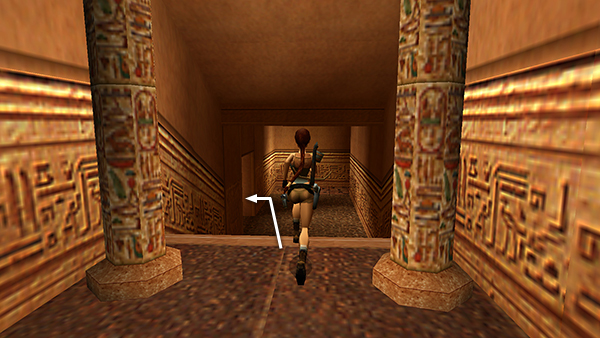
NOTE: If you missed the mechanism that opens up the L-shaped pit, you can return to the start of the level now to use it. Use the black switch in the alcove (shown in the first screenshot above) to open the double doors and continue westward, up the curved steps, through the corridor with the deactivated spikes, then on to the ROOM WITH THE FOUNTAIN AND GREENERY. Check the main walkthrough for details. When you've opened the pit, return here, get the arrows, and continue on.
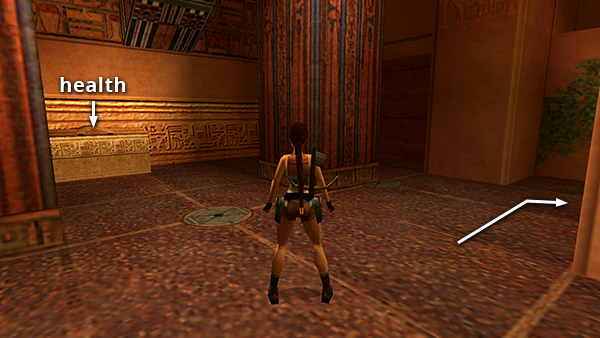
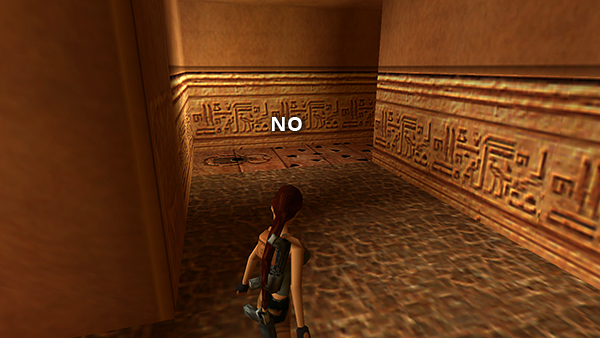
Enter the hallway to the southeast with the painted vultures (arrow pointing left in the screenshot above).
The square door on the left should be open
NOTES: If the door is still closed, try backtracking through the level and making sure you've opened all of the sarcophagi and destroyed all the skeletons that appear when you do. The door should then open. This is designed to prevent you from leaving without every piece of the ARMOR OF HORUS.
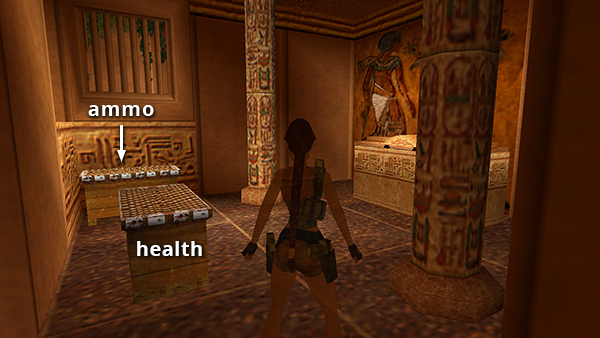
If you didn't accidentally destroy them when you killed that last skeleton, there will be 2 hollow benches inside. Shoot them to get a large medipack and explosive arrows.
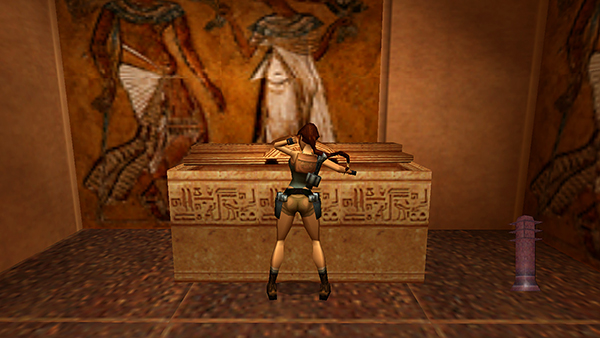
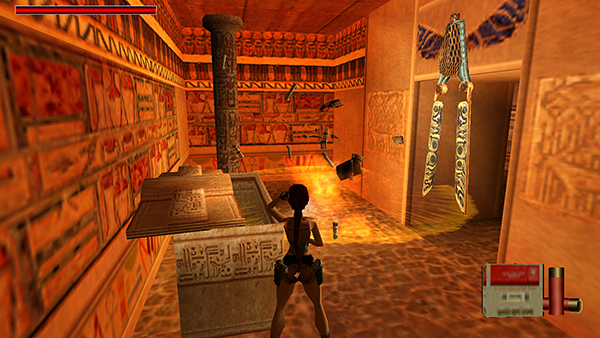
Open the sarcophagus to get the PHAROS KNOT.
NOTE: This seems to be a typo, since the artifact itself looks like the PHAROS PILLAR from the last level.
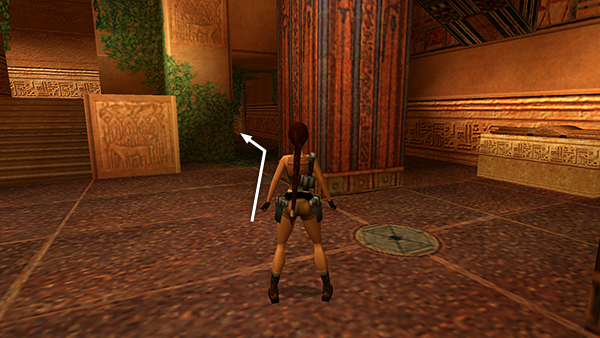
Exit the sarcophagus room, turn left, and continue to a ROOM WITH HUGE, SQUARE COLUMNS. Face right and get ready to fight.
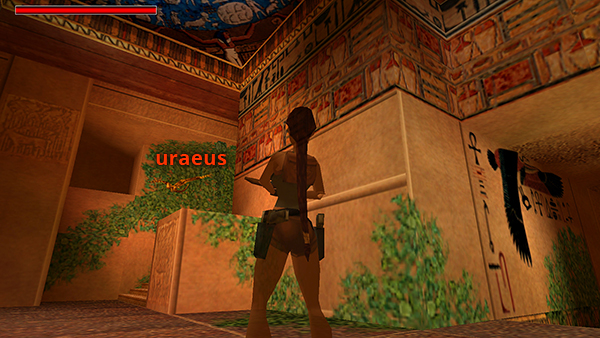
A golden uraeus, which flies in from the hallway ahead on the right, Shoot it down, while avoiding its poisoned stinger and energy blasts.
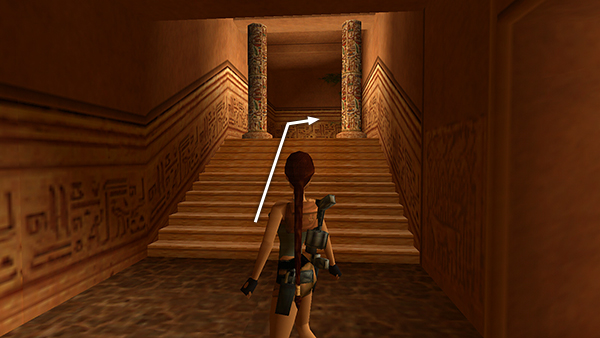
Open the sarcophagus to get a small medipack. Then head up the stairs in the southwest corner, where the uraeus came from.
Continue down another flight of stairs
and enter the small room on the left. Watch out for the scissor-blade trap in the doorway.
Open the sarcophagus to get some wideshot shells, regular shotgun shells, and a large medipack. Blow up the skeleton that rises out of the floor to the right of the sarcophagus.
Then exit carefully past the blades.
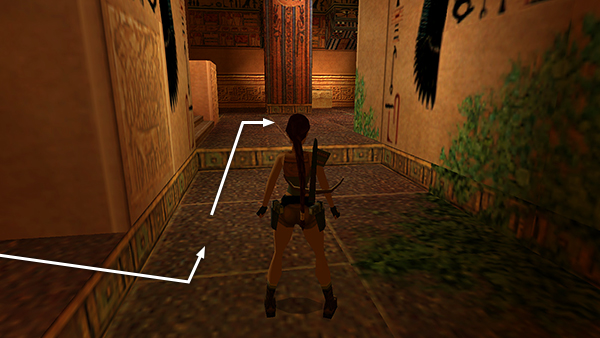
The MECHANICAL SCARAB only has one more use. Do not try to deactivate the spikes on the left. That hallway only leads back to the start, and you'll need the scarab to get the secret.
Instead, turn right, return up the stairs and down the stairs beyond, to get back to the ROOM WITH HUGE, SQUARE COLUMNS, where you killed the golden uraeus.
Cross that room and exit through the doorway in the far right (northeast) corner.
Now pick up the main walkthrough at the section titled "SECRET AND PHAROS KNOT DOOR."
Copyright © 1999- - Stellalune ( ). All rights reserved. Feel free to copy or print this walkthrough for personal use. By all means, share it with friends, but please include this credit line so people can send me their feedback. No part of this walkthrough may be reproduced on another site without permission. Follow this link for details about this site's advertising and privacy policy.