Lost City of Tinnos - Room with Switches and Hinged Ledges (part 2)
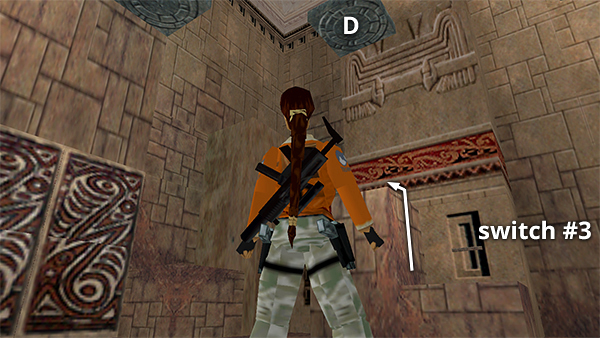
Use switch #3 to raise ledge D, above. Climb back onto the block to the left of switch #3.
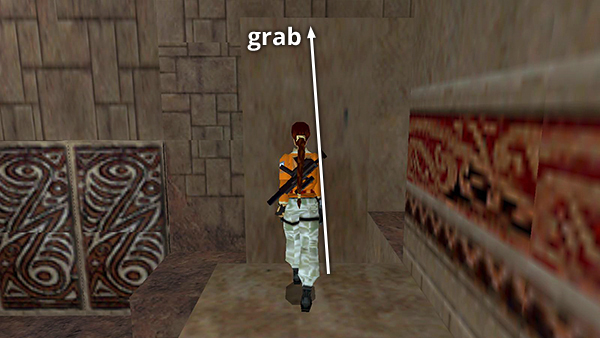
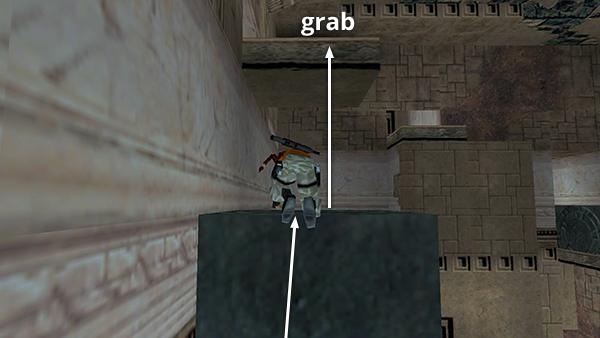
Walk to the edge and take a standing jump to grab the rectangular stone ledge ahead. and pull up.

Turn around and take another standing jump to grab ledge D, near switch #4, and pull up.
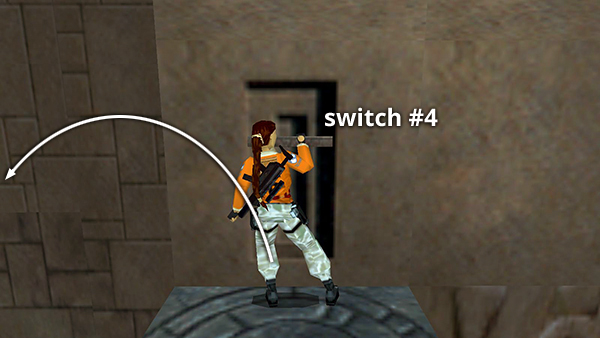
When you throw switch #4, the ledge collapses under you. So side flip quickly to the left...
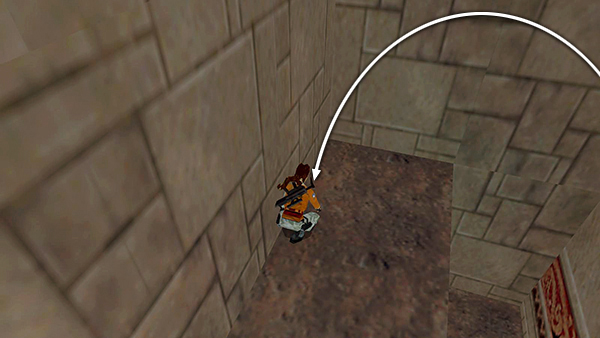
...to land on the rectangular ledge. (If you don't side flip fast enough, Lara will fall onto the block below, losing a small amount of health in the process. You can then jump back to the rectangular ledge.)
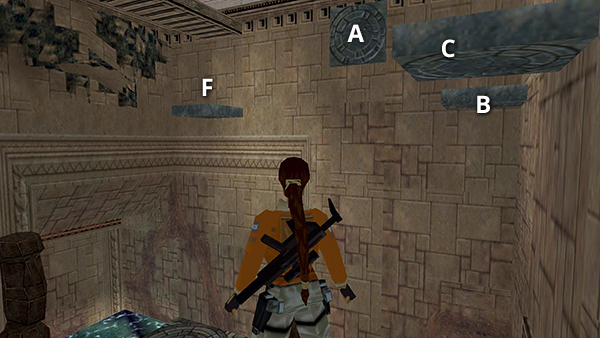
Switch #4 also raises ledge F, below the end of the walkway spanning the room. To get to ledge F, you'll first have to raise ledge A again.
Walk to the edge of the rectangular stone ledge and take a standing jump to grab ledge C (above the big double doors) and pull up.
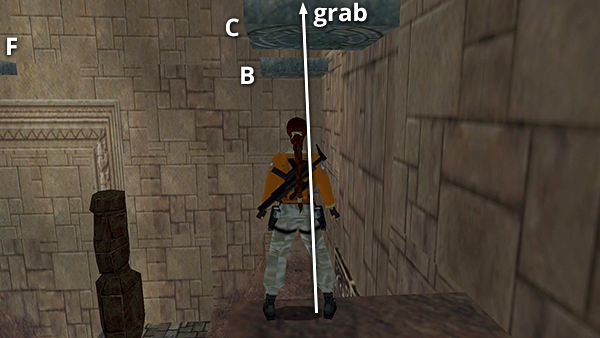
Then take a running jump to ledge B (in the corner).
Turn around, walk to the edge, and jump straight up to grab the stone step above.
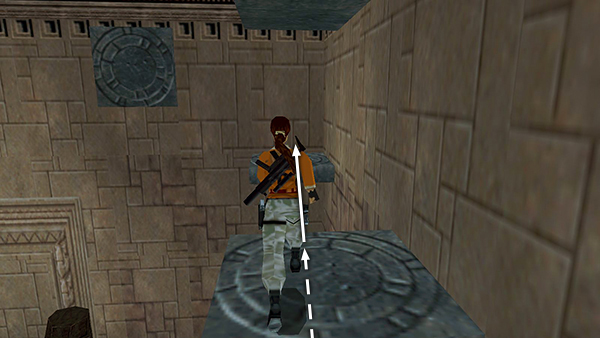
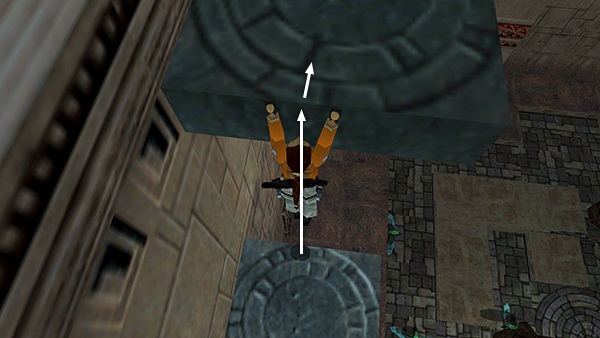
Pull up, climb onto the upper step, then pull up onto the ledge above.
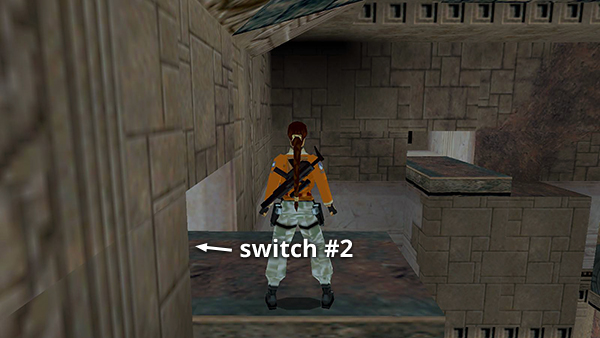
Crawl into the alcove and use switch #2 again (move it into the up position). Then crawl back out onto the ledge.
[Part 1 | Part 3 | Return to the Lost City of Tinnos Walkthrough]
Copyright © 1998- - Stellalune (
). All rights reserved. Feel free to copy or print this walkthrough for personal use. By all means, share it with friends, but please include this credit line so people can send me their feedback. No part of this walkthrough may be reproduced on another site without permission. Follow this link for details about this site's advertising and privacy policy.