Offshore Rig - Lounge and Bunks
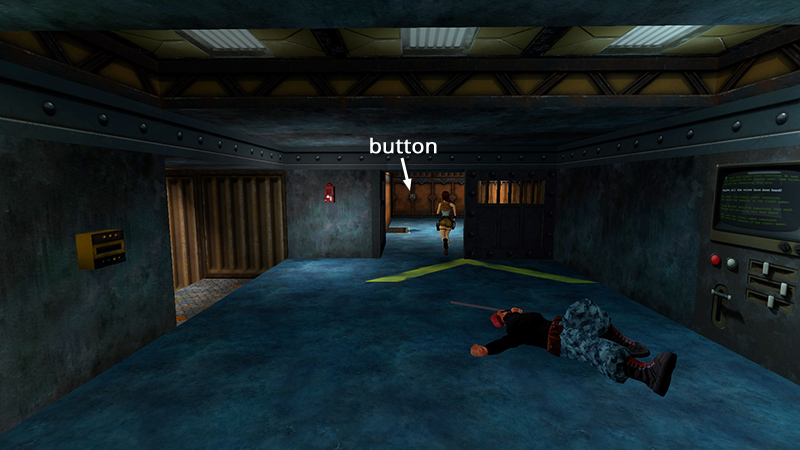
In the last section, we killed the first 2 enemies, used the YELLOW PASS CARD to open a door, and pressed a button to deactivate the alarm.
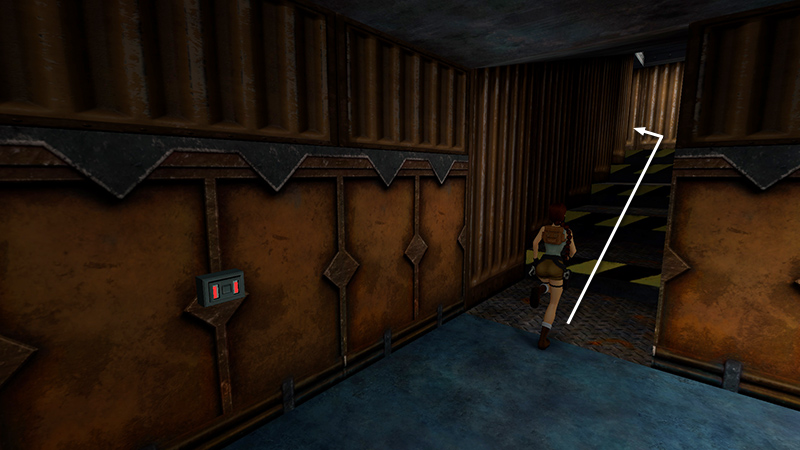
Follow the passage to the right of the button up a flight of stairs.
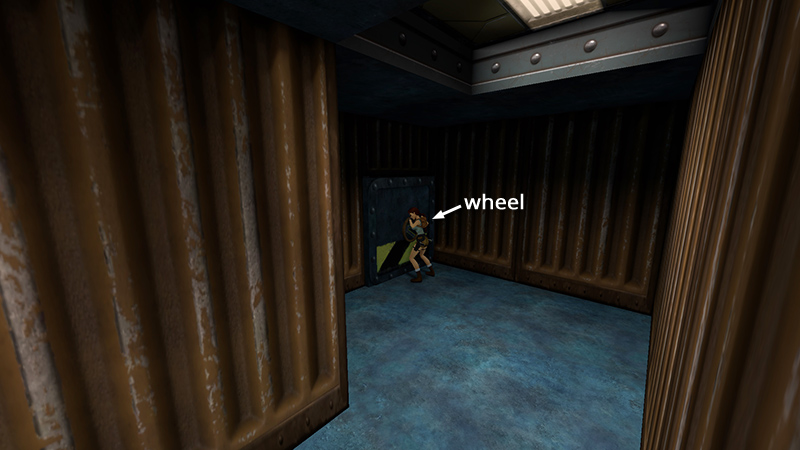
Turn the wheel to open the door.
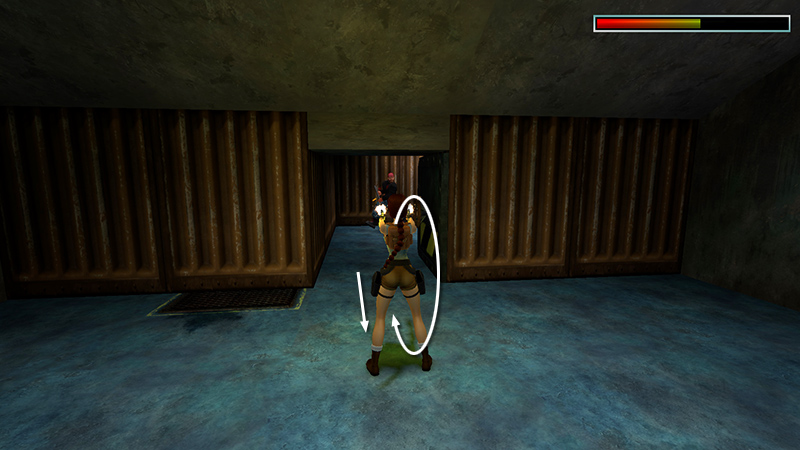
Run into the next room and roll to confront a rig worker with a club (3) who sneaks up behind you.
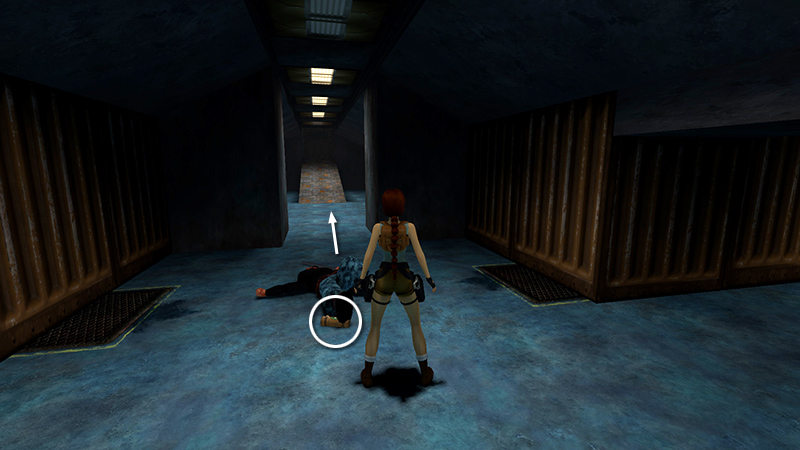
Take his small medi pack (5) and continue into the next room.
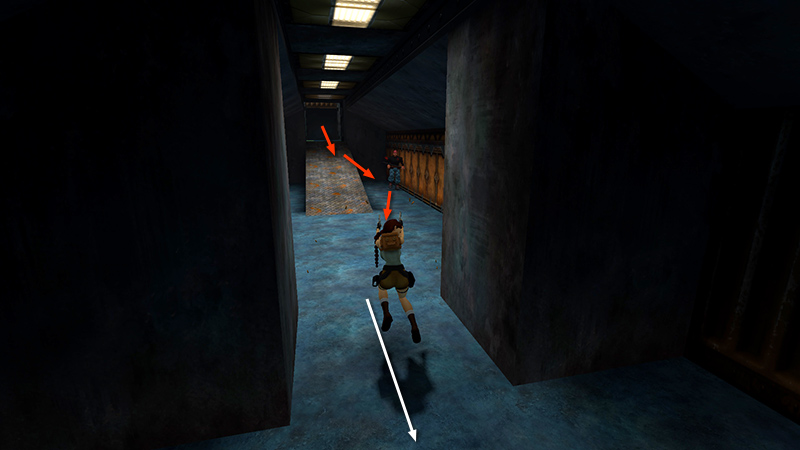
When you enter, another bat-wielding baddie (4) comes through the door at the top of the ramp. Fortunately, there's plenty of room to hop backward while firing.
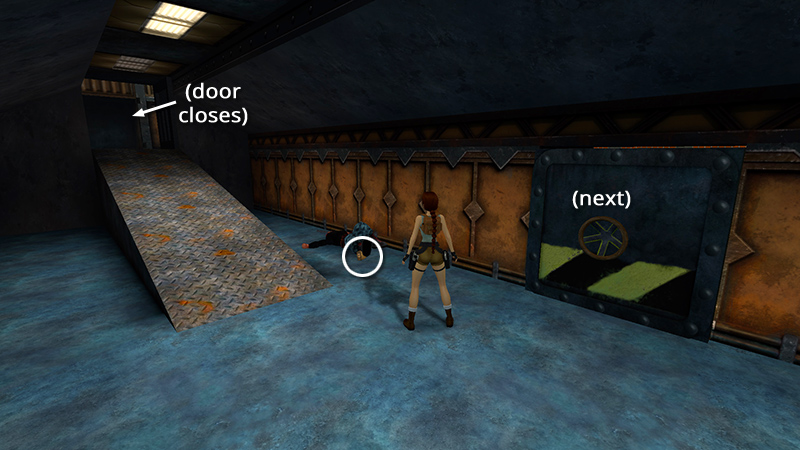
He drops a large medi pack (6). The door at the top of the ramp closes when you approach it, so instead open the door with the wheel.
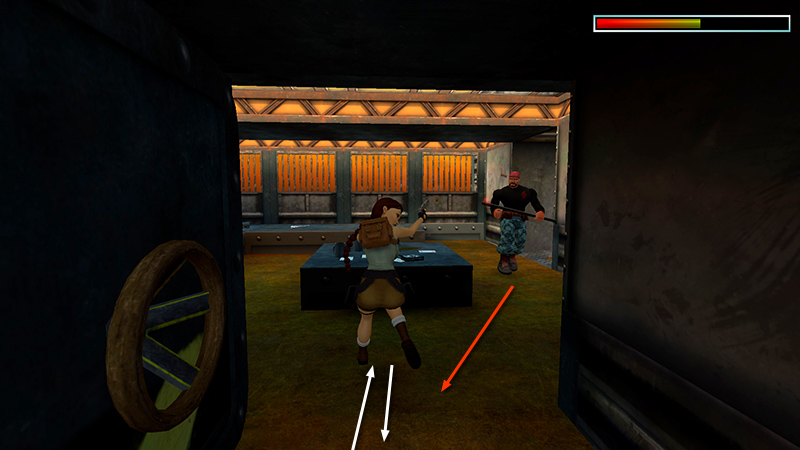
Enter the workers' LOUNGE, and shoot another enemy (5) inside on the right.
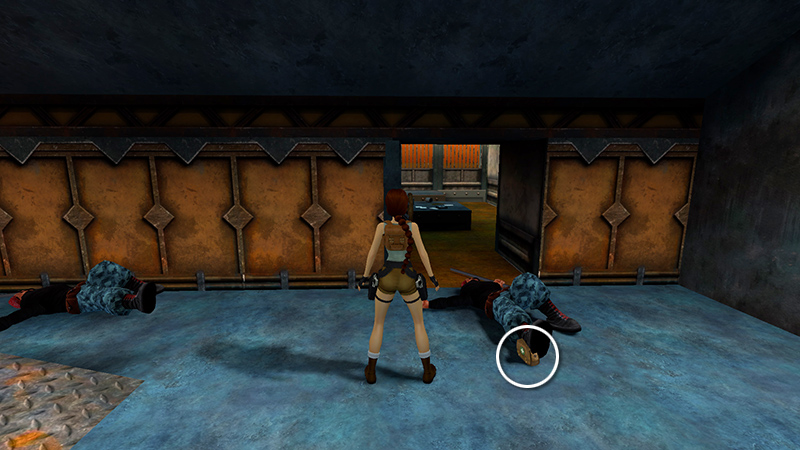
Take his large medi pack (7).
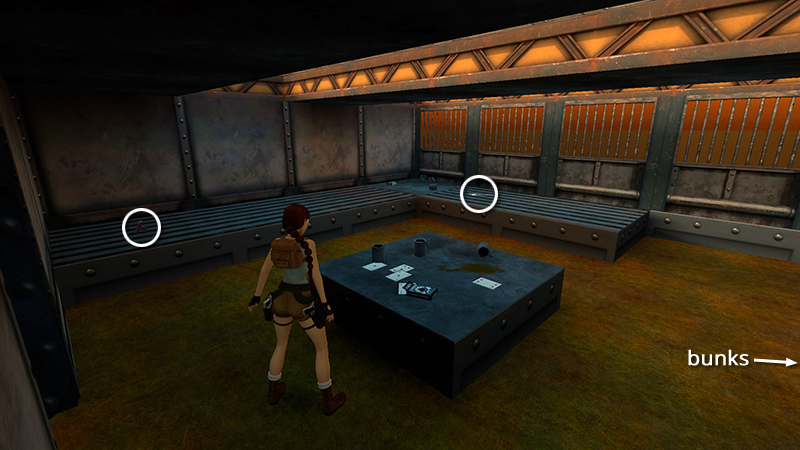
Then retrieve 2 bundles of harpoons and 2 pairs of automatic pistol clips (8-11) from the low benches. No matter how hard you try, you can't pick up the playing cards or coffee...drat!
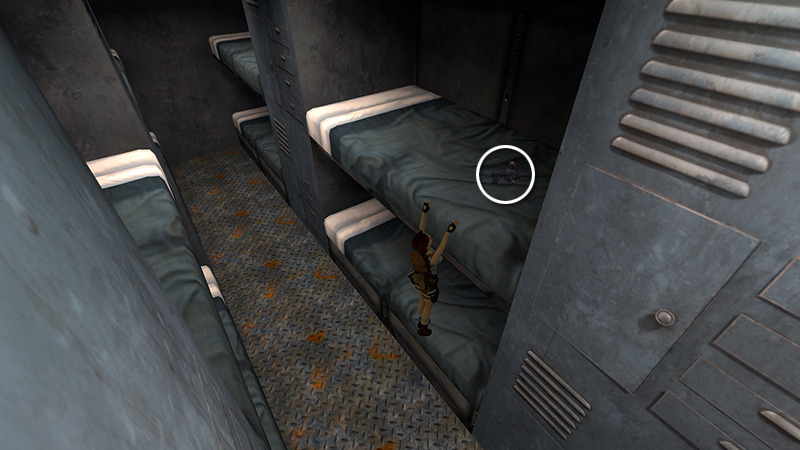
Proceed through the other doorway into the BUNKROOM. The guys have kindly left some treats on their beds: AUTOMATIC PISTOLS and ammunition (12-13)...
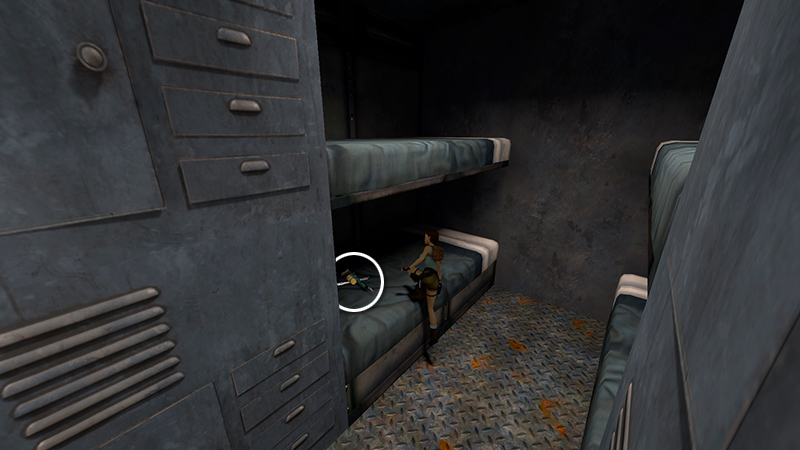
...plus a HARPOON GUN and harpoons (14-15).
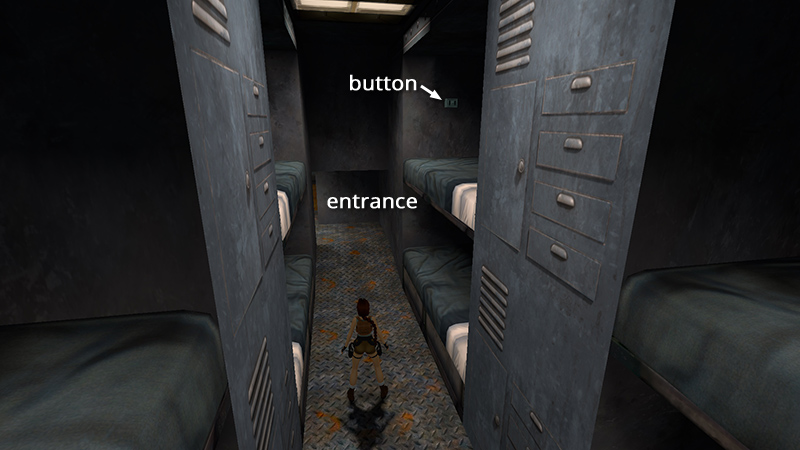
There's a button in the first top bunk on the left (right if you're facing the entrance).
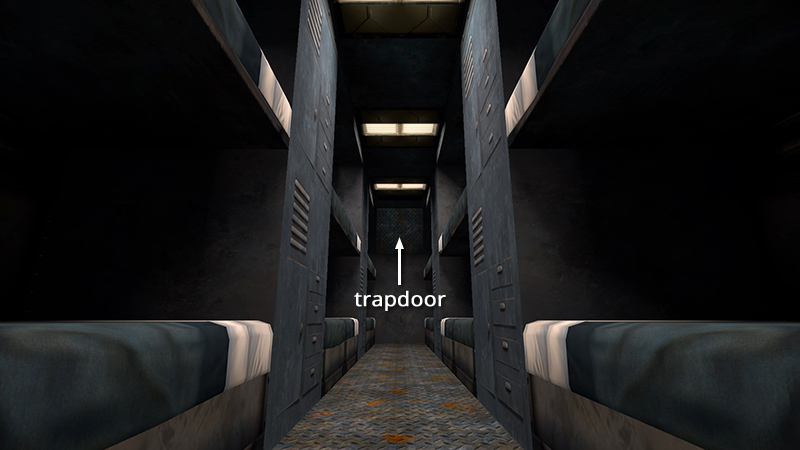
Pressing it opens a trapdoor in the ceiling between the last two bunks. It's timed to close after about 25 seconds. No problem.
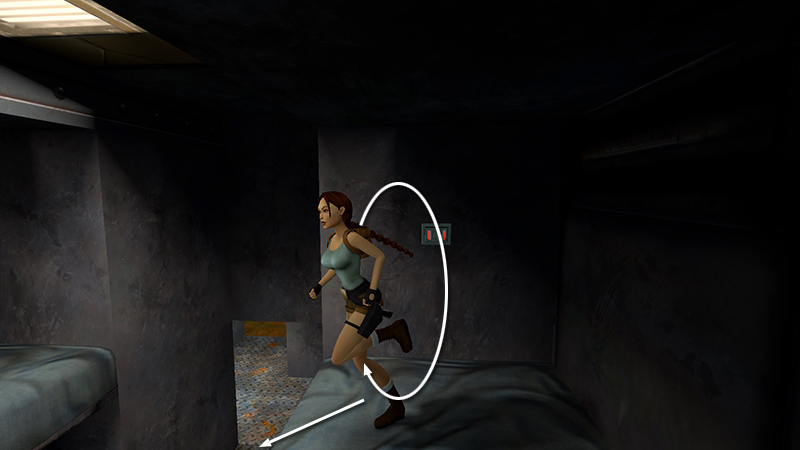
Climb onto the bunk, push the button. Then tap Look to regain Lara's perspective. Roll and run off the edge.
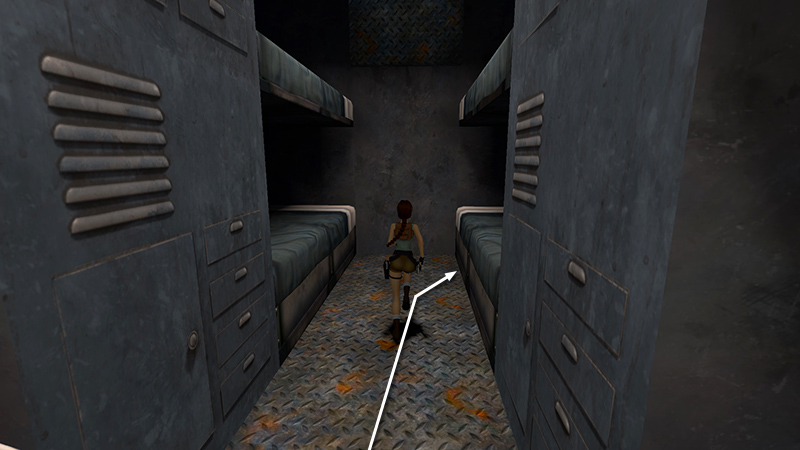
Run/jump along the aisle to the far end of the last bunk on the right.
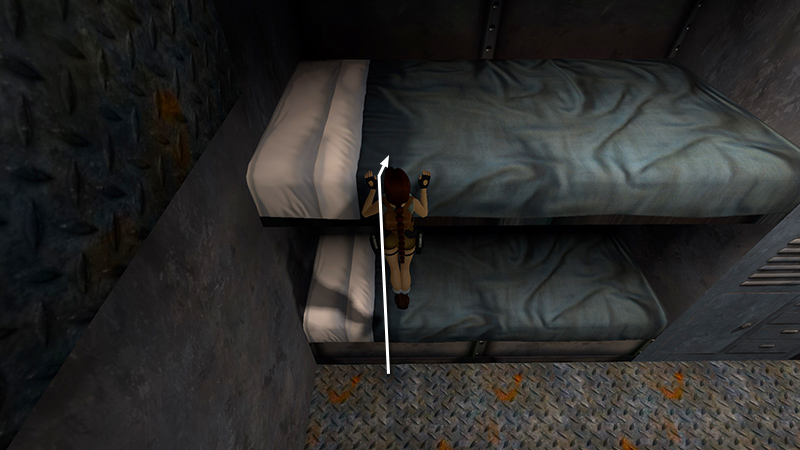
Jump straight up to grab the edge of the top bunk. Pull up...
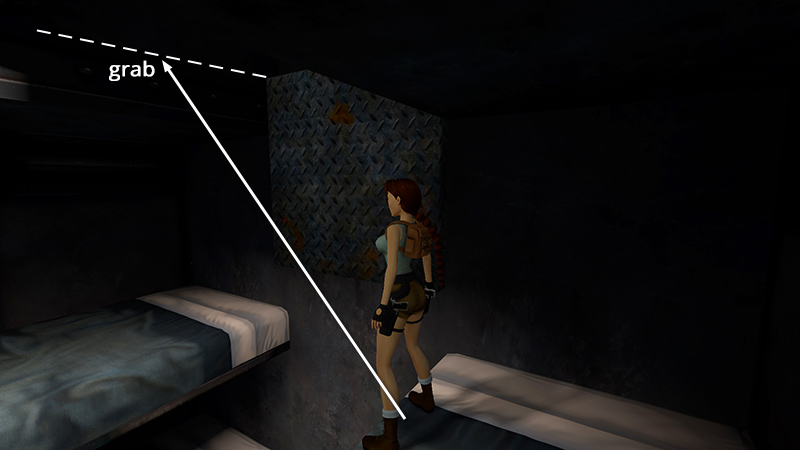
...turn around, jump forward, and grab the trapdoor opening.
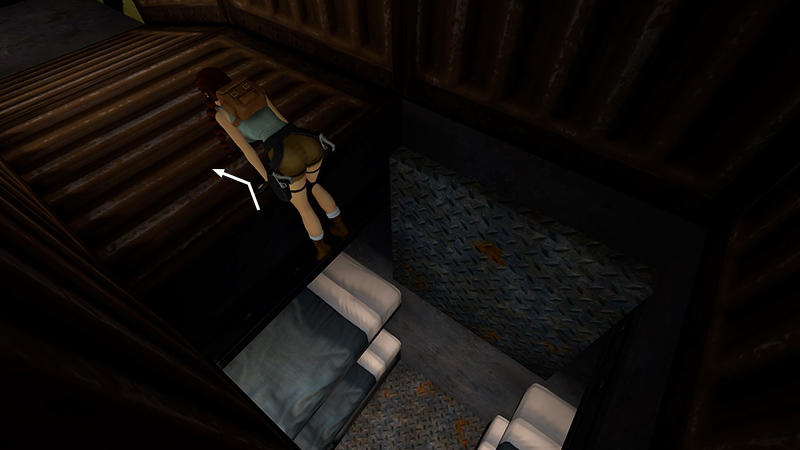
Then pull up before the door closes.
DARK MODE: I plan to add optional dark mode for these pages, but my current priority is updating the walkthroughs. Meanwhile, may I suggest a reputable dark mode browser extension, such as Dark Reader? (Download only from trusted sites, like darkreader.org or your browser's official add-on/extension site.)
Walkthrough text and diagrams copyright © Stellalune (email ). Feel free to copy or print this walkthrough for personal use. By all means, share it with friends, but please include this credit line so people can send me their feedback. No part of this walkthrough may be reproduced on another site without permission.