Living Quarters - Starting Area and Engine Room
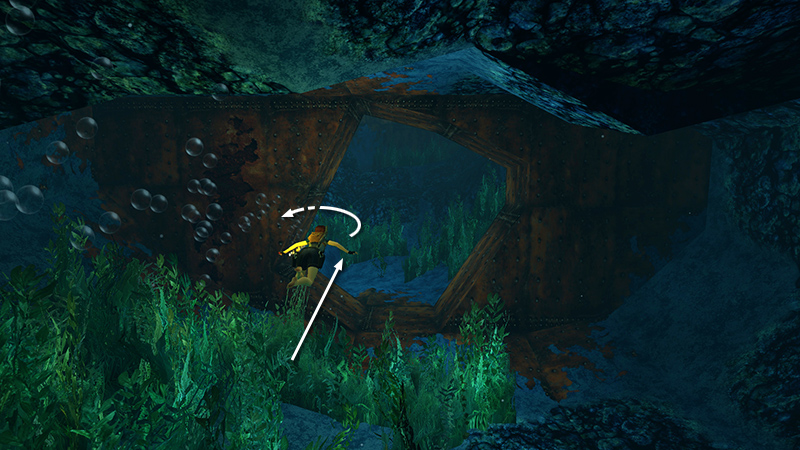
You begin underwater where you left off a moment ago. Swim through the rusty metal opening and around to the left.
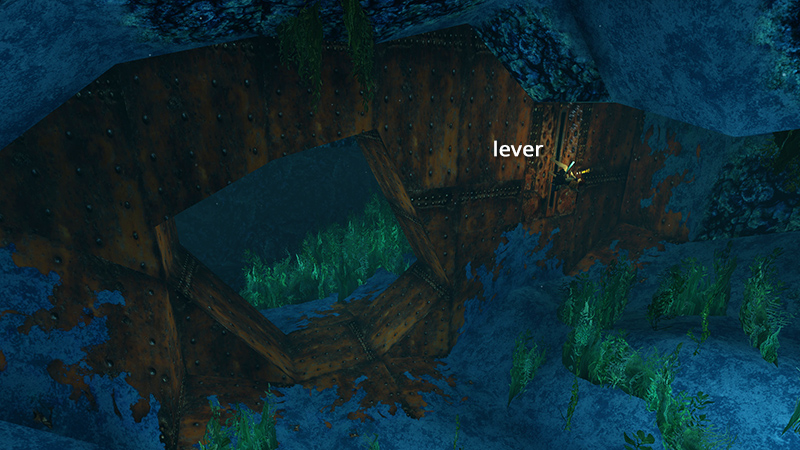
Pull the lever on the rusty wall to open a trapdoor in the ship's hull.
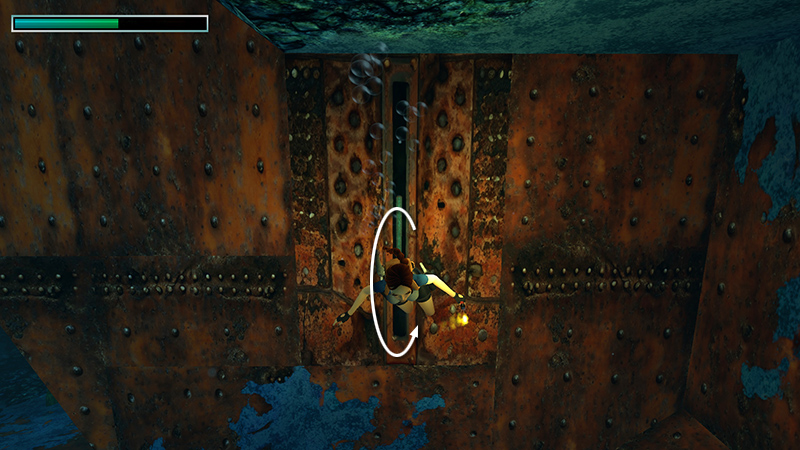
Roll...
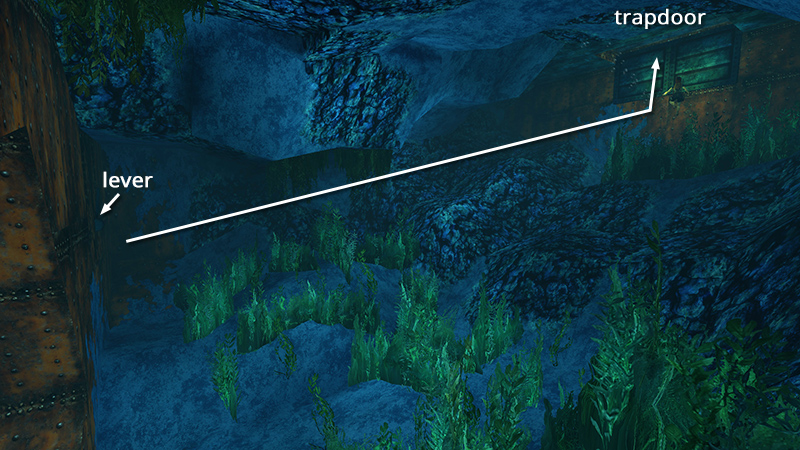
...and swim away from the lever and up through the trapdoor.
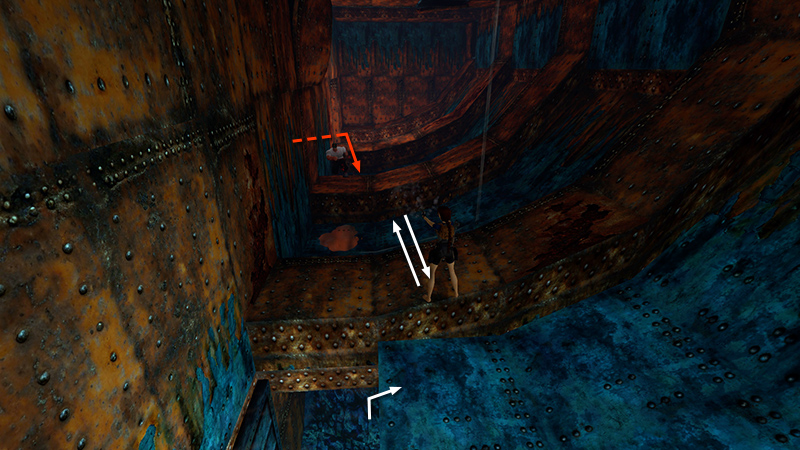
Climb into the ship, advance to the left, and shoot the guy with the club (1) who approaches from the far end of the room.
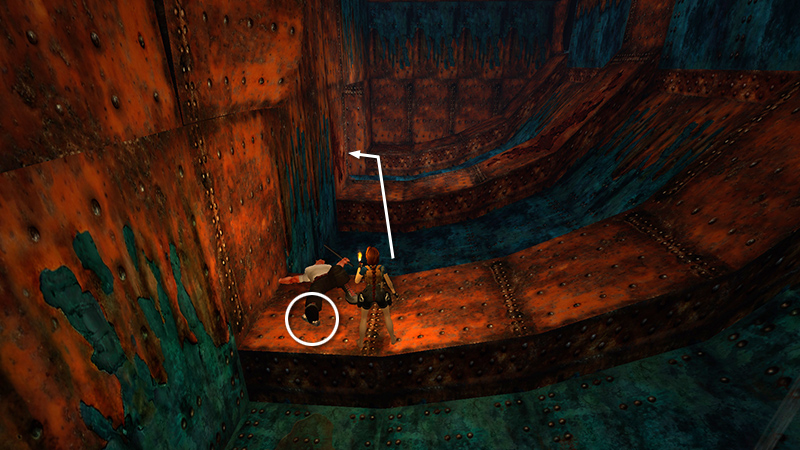
Take his small medi pack (1) and go through the doorway he came from.
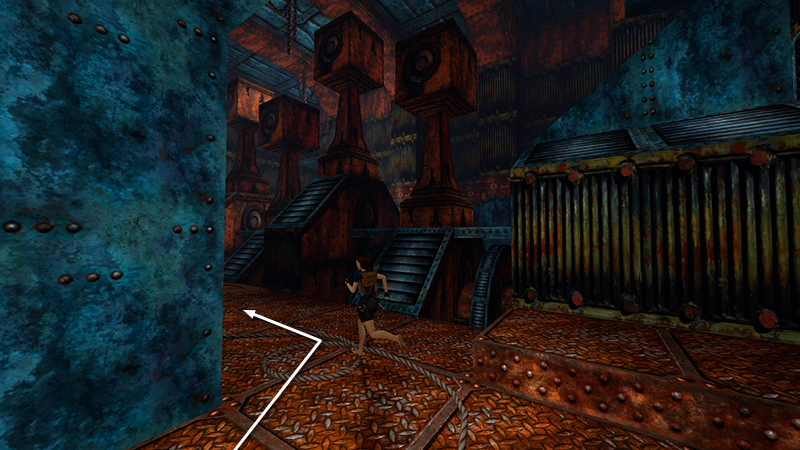
You're now in the Maria Doria's ENGINE ROOM. The tall pillars seem to be giant pistons. Turn left, go to the far end of the room...
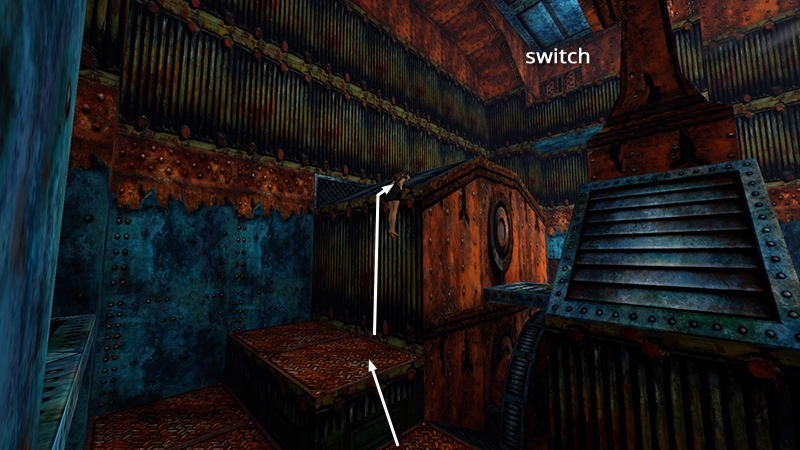
...vault onto the low ledge, and then climb onto the angled ledge separating the two sides of the room. The camera shifts to draw your attention to the switch in the alcove above, but you can't reach it yet.
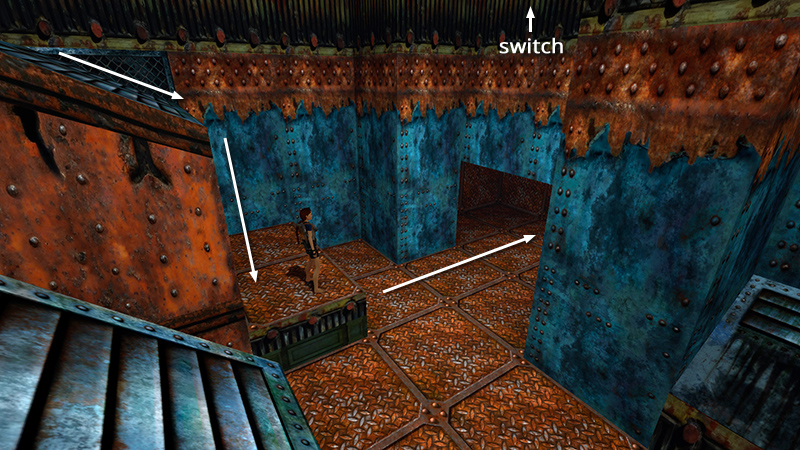
Hop down on the other side of the room and enter the rusty metal passageway below the switch.
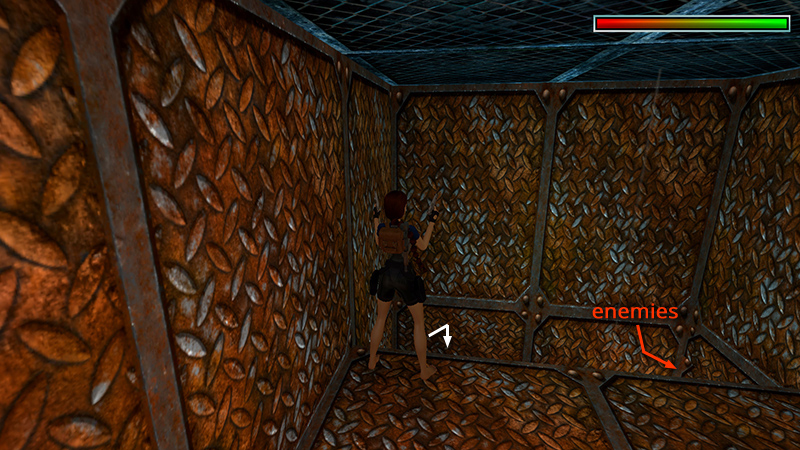
Follow it through several twists and turns. When you come to a rectangular hole in the floor, hop down on the left side of the opening...
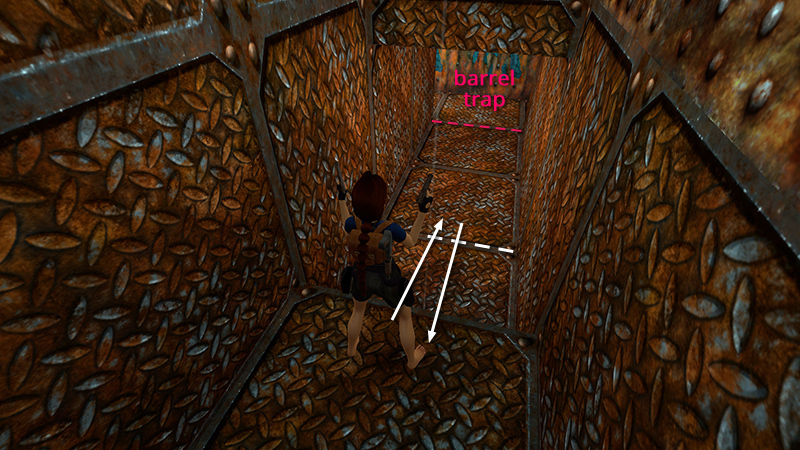
...pull out your weapons, and proceed cautiously to draw out 2 bad guys (2-3) one at a time. Do not run forward or you'll trip a rolling barrel trap at the T-intersection.
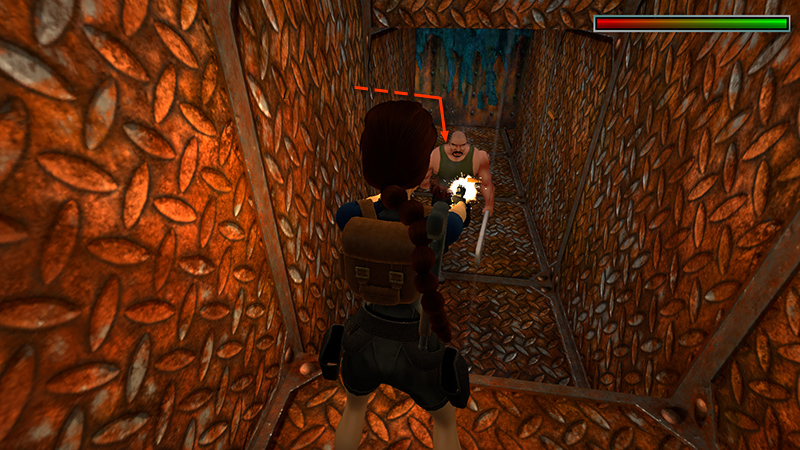
The first bad guy has a wrench...
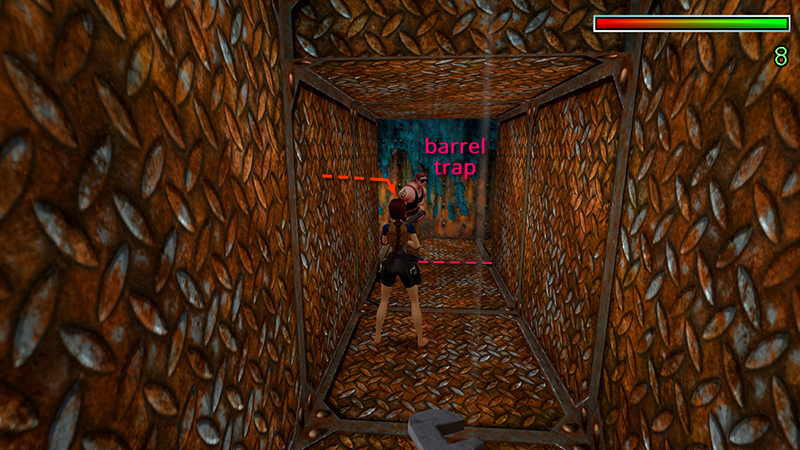
...the second a gun.
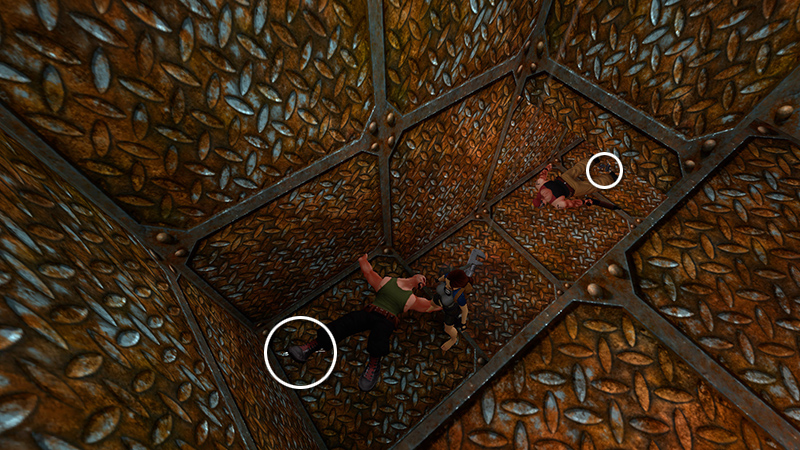
Once you've dealt with the enemies, take their harpoons and automatic pistol clips (2-3).
NOTE: If you missed the HARPOON GUN and/or AUTOMATIC PISTOLS in earlier levels, you'll get them here instead of ammo.
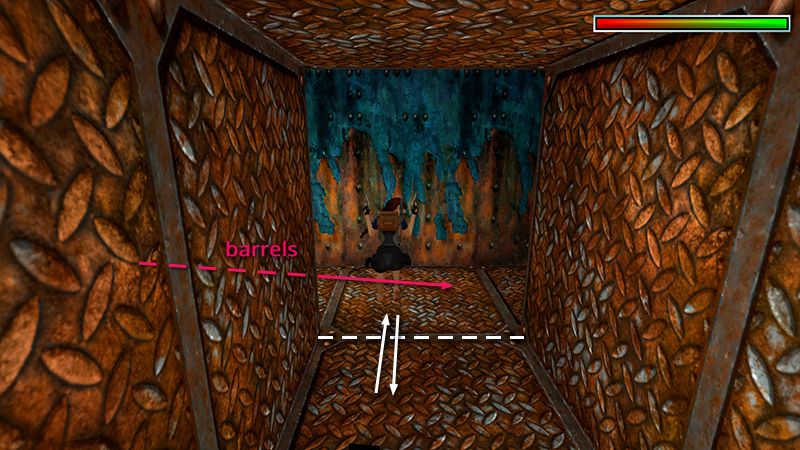
Run forward to trigger the rolling barrels and then hop back out of the way. Draw weapons and stay alert.
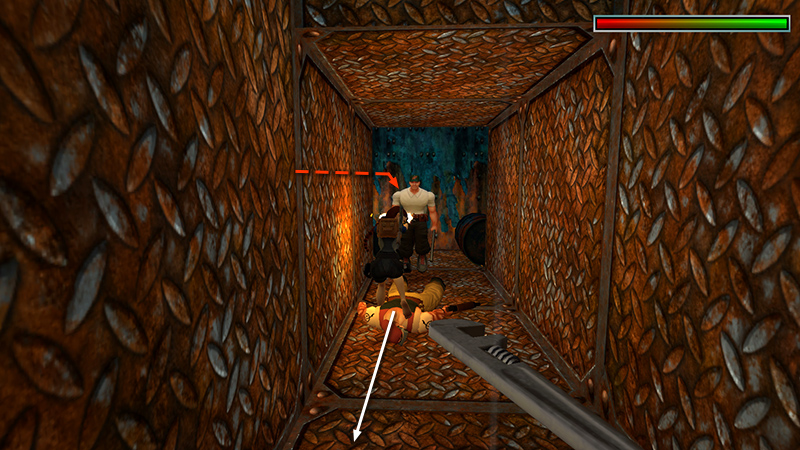
As the barrels land in the doorway another bad guy (4) rushes in and tries to club Lara. Put him down.
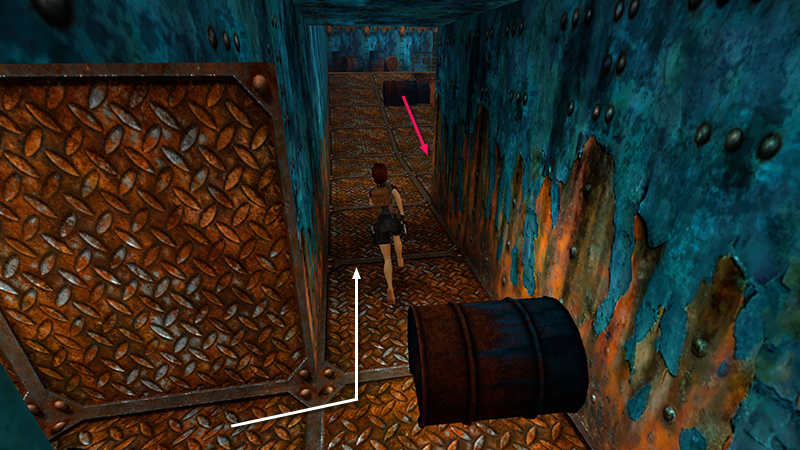
Then move past the barrels into the room on the left. More barrels roll down the right side of the ramp, but you can easily avoid them.
DARK MODE: I plan to add optional dark mode for these pages, but my current priority is updating the walkthroughs. Meanwhile, may I suggest a reputable dark mode browser extension, such as Dark Reader? (Download only from trusted sites, like darkreader.org or your browser's official add-on/extension site.)
Walkthrough text and diagrams copyright © Stellalune (email ). Feel free to copy or print this walkthrough for personal use. By all means, share it with friends, but please include this credit line so people can send me their feedback. No part of this walkthrough may be reproduced on another site without permission.