"Fire Safety" Achievement/Trophy (Continued)
The previous page covered the first 3 flamethrower enemies in the DIVING AREA. After that, we used the level-skip cheat four times to reach THE DECK.
THE DECK - FIRST FLAMETHROWER (4/9)
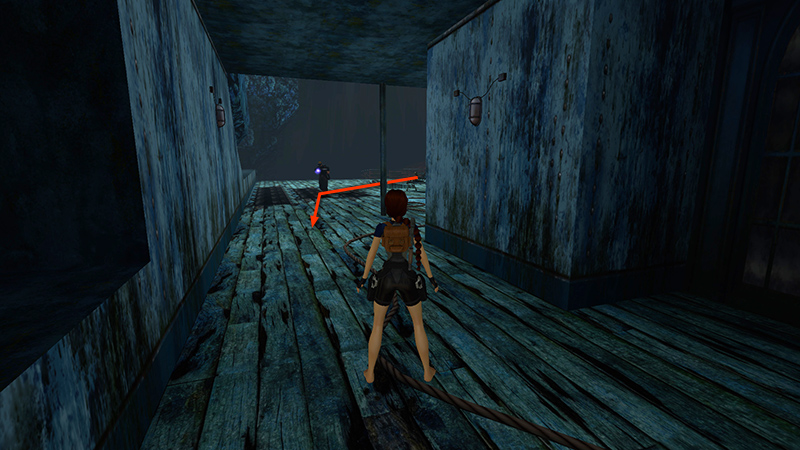
The first flamethrower enemy is close to the starting position and should approach Lara from the right without you having to do anything. Face him as he approaches. (Don't run out onto the deck or you'll trigger another enemy with a wrench, making things more complicated.)
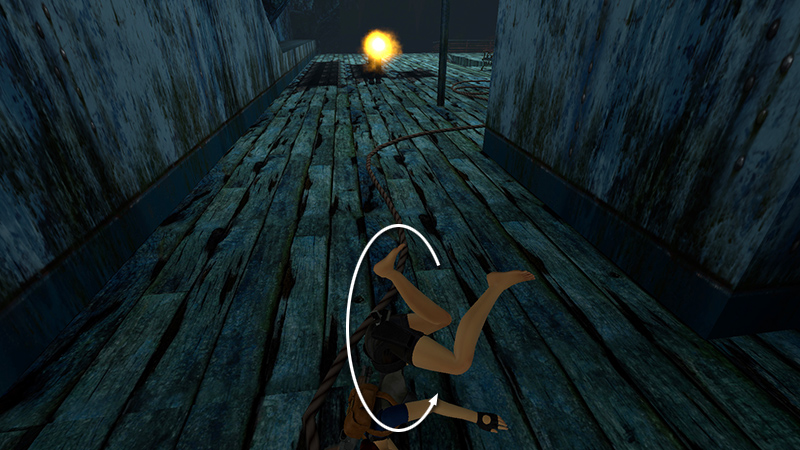
When he gets close, roll and wait for him to set Lara on fire.
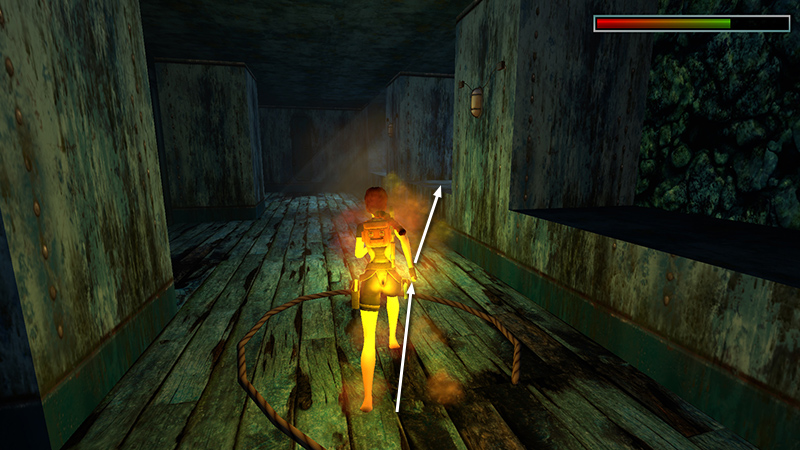
Then quickly, run and jump up onto the second windowsill on the right, healing as you go.
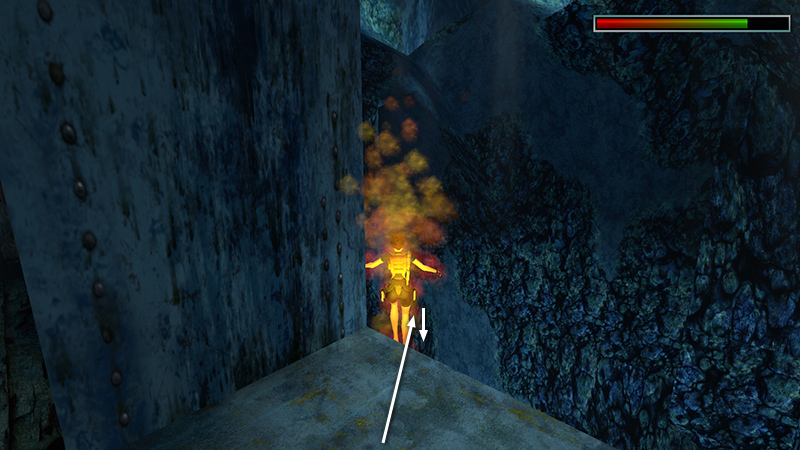
Run off the far
edge...
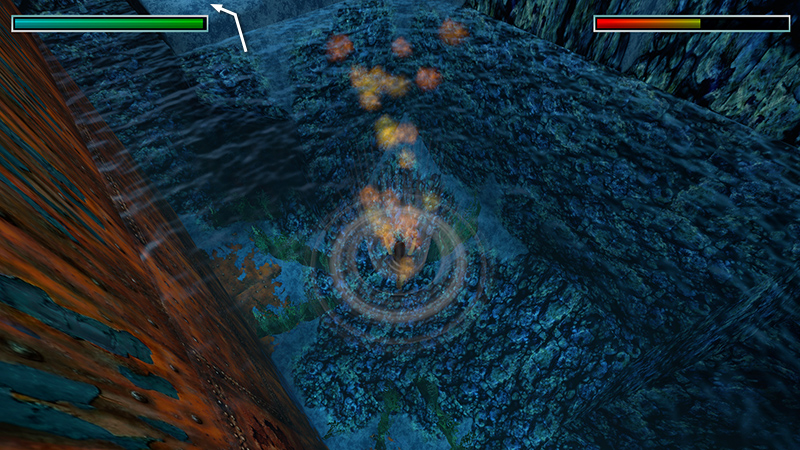
...and fall into the pool below. Climb out on the small, square ledge before the 2 barracudas start nibbling. Retrieve the STERN KEY and continue, following the main walkthrough, to the CAVERN FLOOR.
THE DECK - SECOND FLAMETHROWER (5/9)
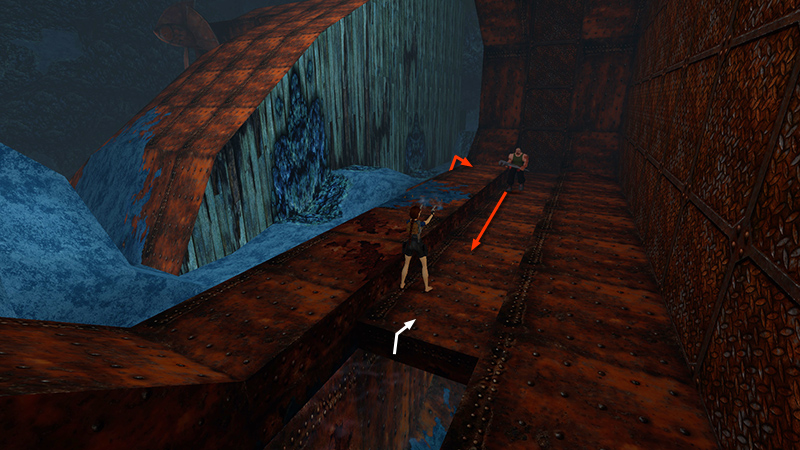
After you emerge from the flooded passageway onto the CAVERN FLOOR and kill the wrench guy...
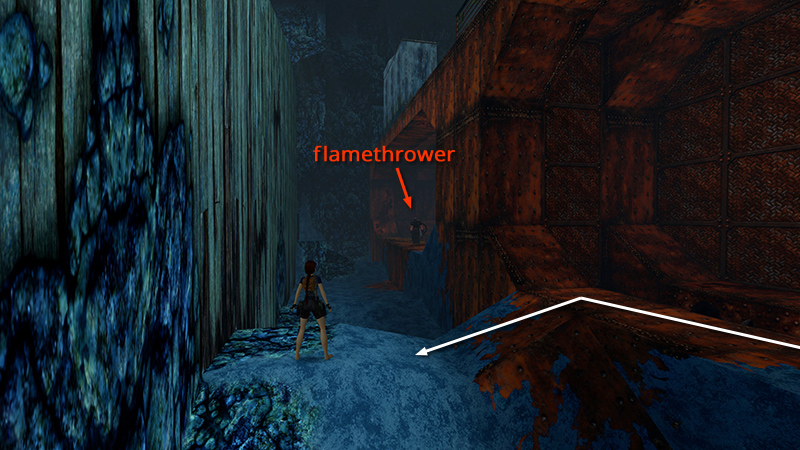
...look for the second flamethrower on the next rusty ledge.
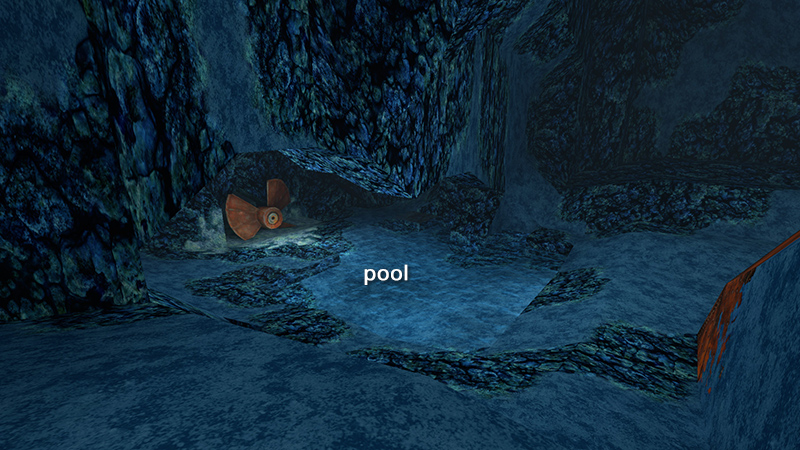
The nearest water is by the big propeller some distance away in the opposite direction. If you don't remember it from your first playthrough, you can scout it out in advance on foot or using Photo Mode. Then return to the blue rocky hump in the previous screenshot.
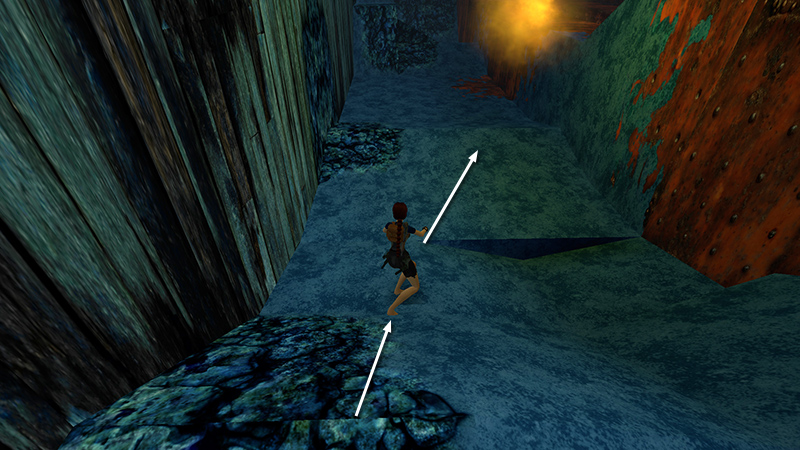
Slide down and run forward just close enough for the flames to reach you.
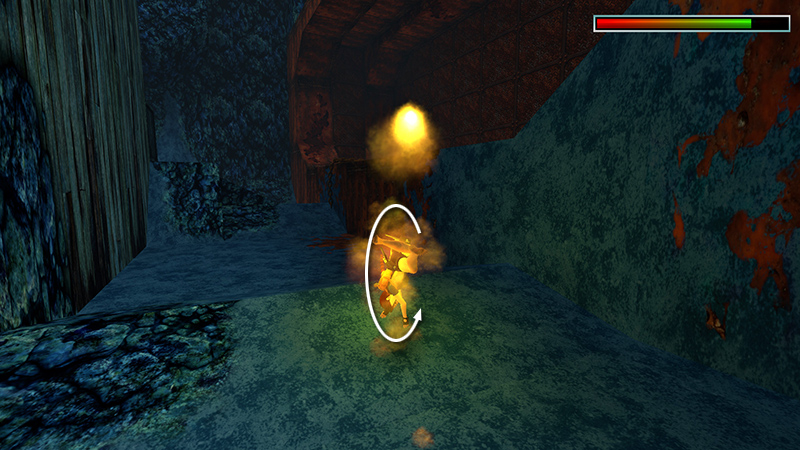
As Lara ignites, roll...
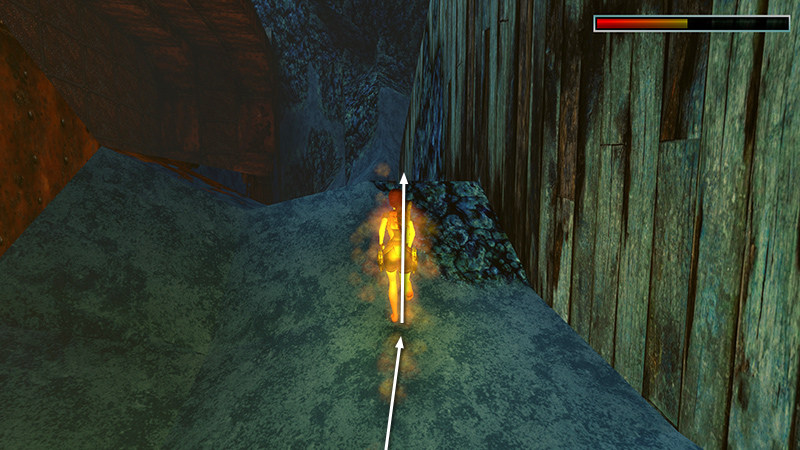
...and run back the way you came, popping large medi packs as you go. Jump up
the slope you just slid down...
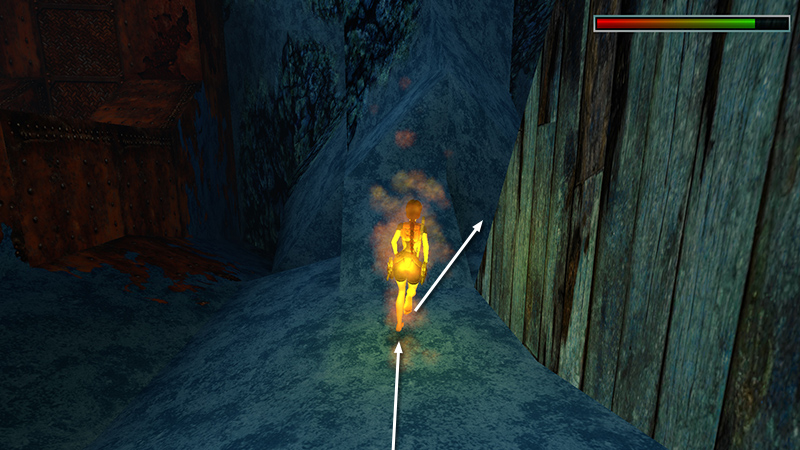
...and keep running forward. Jump through the V-shaped gap between the OVERTURNED HULL and the cavern floor.
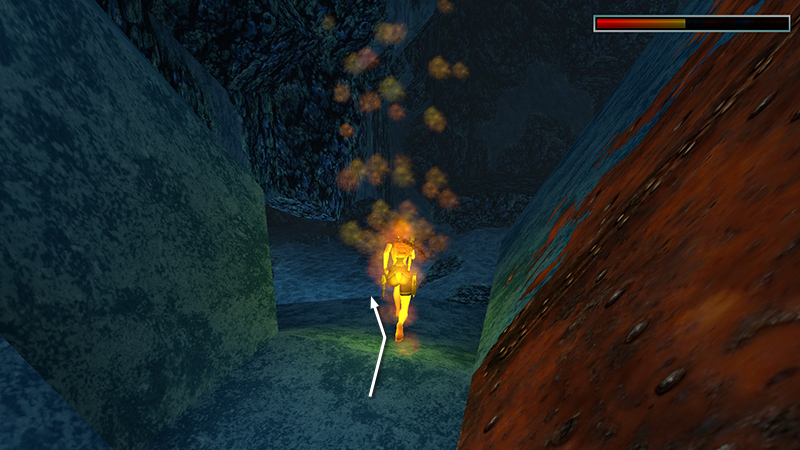
Run/slide down the slope on the other side...
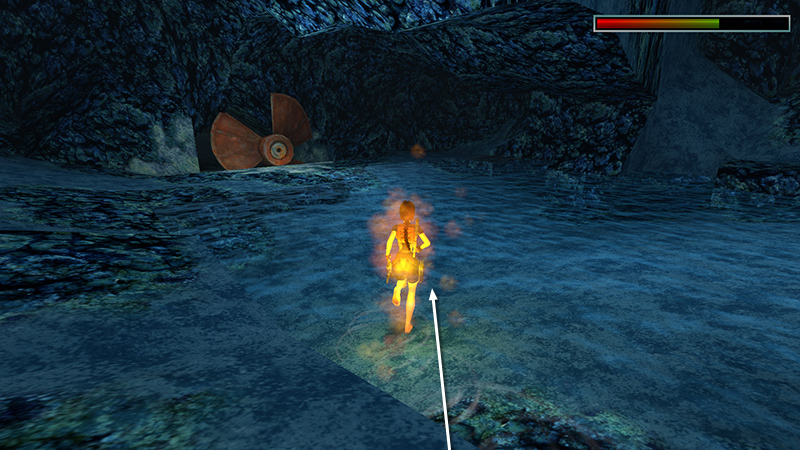
...and keep running into the pool.
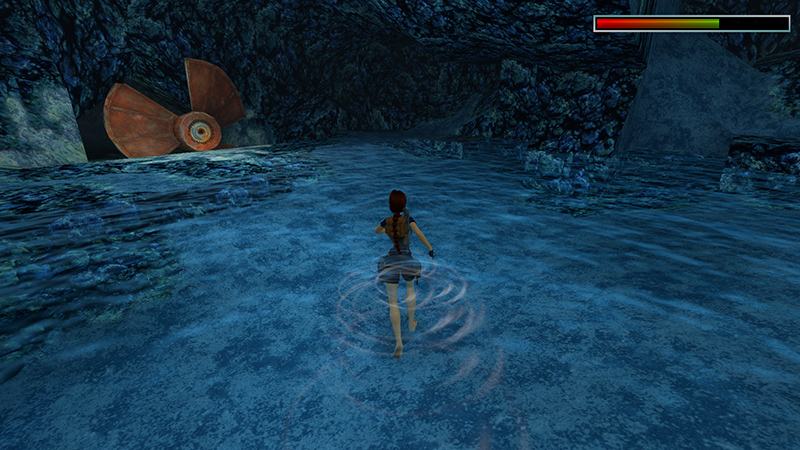
Once you make it into the waist-deep water, the flames will go out.
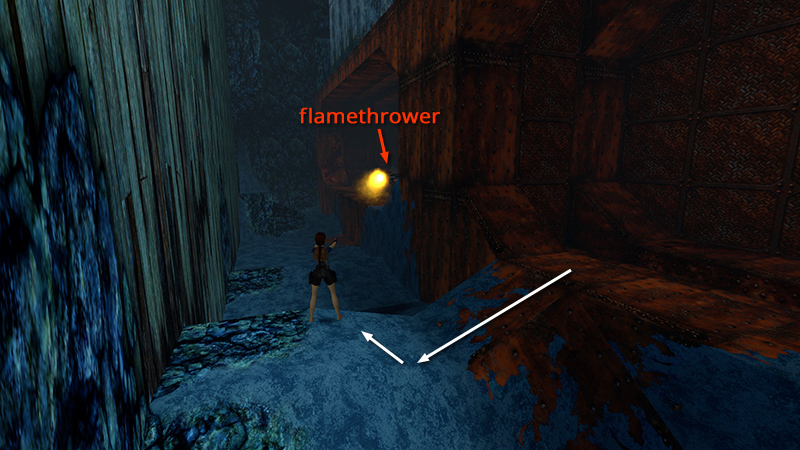
Either reload or return to the little hill where you started and take out the flamethrower guy from a distance.
Now, continue along the main path, draining the STERN. When you arrive at the SUBTERRANEAN LAKE, instead of taking the long route around the lake, head directly for the cave entrance on the far left, killing or avoiding any enemies you meet. Then follow the tunnel up to the hole in the floor, drop onto the INFLATABLE RAFT, and pick up the CABIN KEY. Make your way back through the tunnel to the TOP DECK. Again follow the main walkthrough if you need a refresher. It's a slog, but you need the CABIN KEY to get the STORAGE KEY, and you need the STORAGE KEY to spawn the last 2 flamethrowers. The next flamethrower is just below, on the UPPER-MIDDLE DECK, near the swimming pool.
THE DECK - THIRD FLAMETHROWER (6/9)
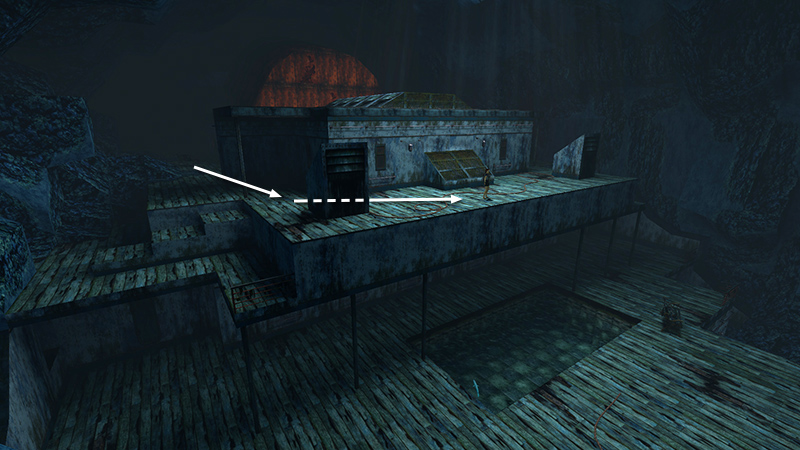
Once you reach the TOP DECK, kill the 2 regular enemies there (so they don't bother you later) and move to the front, where the TOP DECK overlooks the swimming pool on the UPPER-MIDDLE DECK.
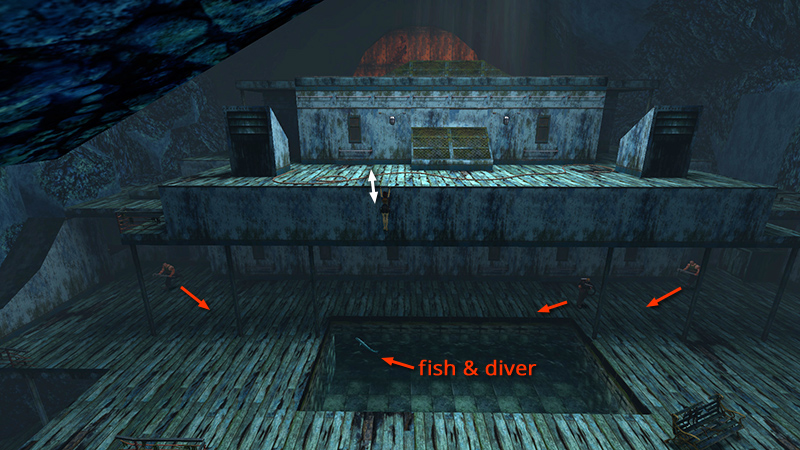
Hang from the edge above the pool but don't let go. This spawns the third flamethrower, along with 2 wrench guys, below. Quickly pull up...
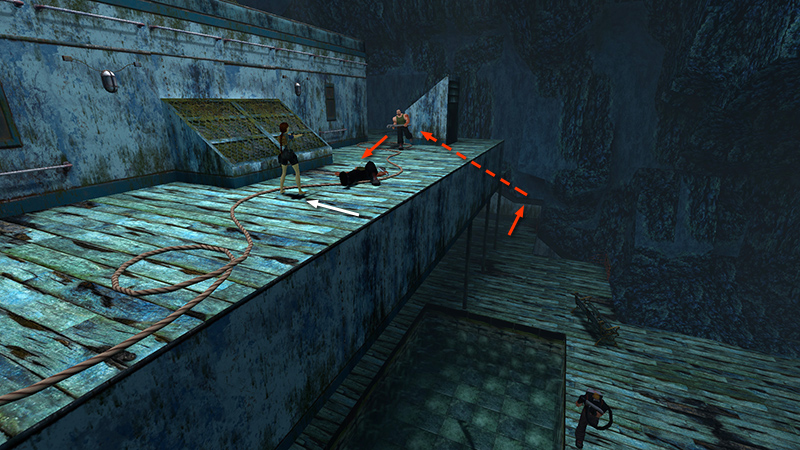
...move away from the edge, and turn so the pool is on Lara's right. Now you can target the wrench guys as they climb up to your level, and the flames can't reach you.
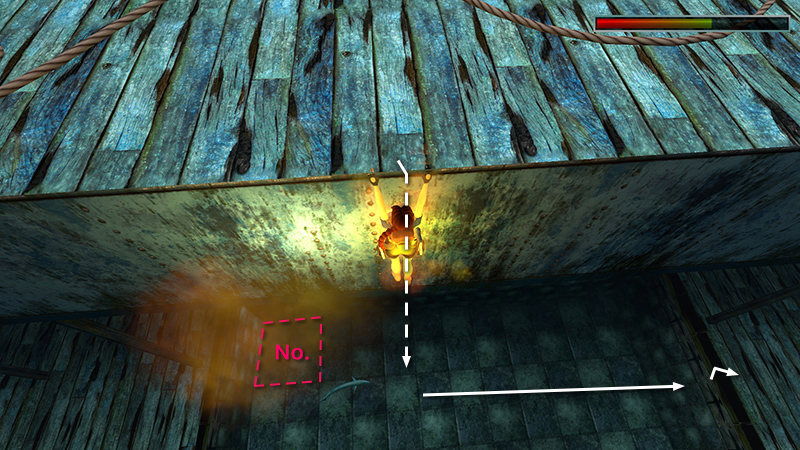
Now hang from the edge. (Take care to avoid the left corner, near the tiled door, since this is where the scuba diver will emerge, and you already have enough to deal with.) Wait for the flamethrower to set Lara on fire, then let go and drop into the pool. Swim to whichever edge is farthest from the flamethrower, climb out of the water...
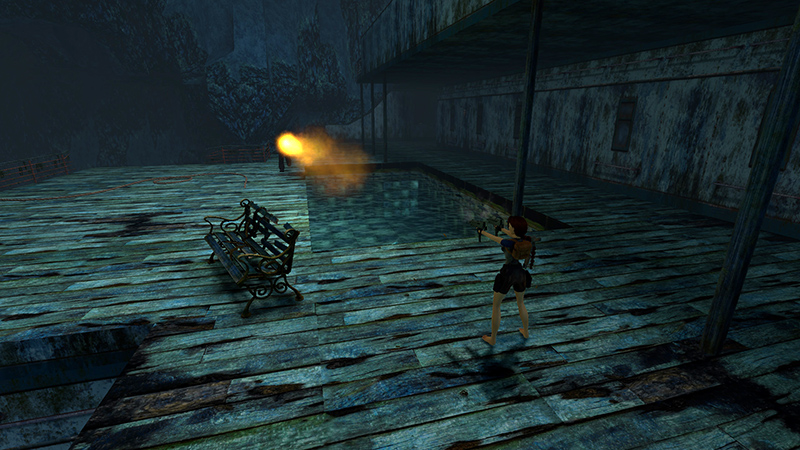
...and kill him quickly.
Continue along the main path, to the STORAGE KEY at the very top of the cavern. Then make your way back down to the LOWER DECK.
NOTE: I haven't playtested this extensively, but as far as I know, you must retrieve the STORAGE KEY—or at least set foot on the rusted upper hull, above the TOP DECK—to spawn the last 2 flamethrowers.
The "Fire Safety" guide continues on the next page.
DARK MODE: I plan to add optional dark mode for these pages, but my current priority is updating the walkthroughs. Meanwhile, may I suggest a reputable dark mode browser extension, such as Dark Reader? (Download only from trusted sites, like darkreader.org or your browser's official add-on/extension site.)
Walkthrough text and diagrams copyright © Stellalune (email ). Feel free to copy or print this walkthrough for personal use. By all means, share it with friends, but please include this credit line so people can send me their feedback. No part of this walkthrough may be reproduced on another site without permission.