Diving Area - Room with Pool and Circular Saw - Underwater Passages
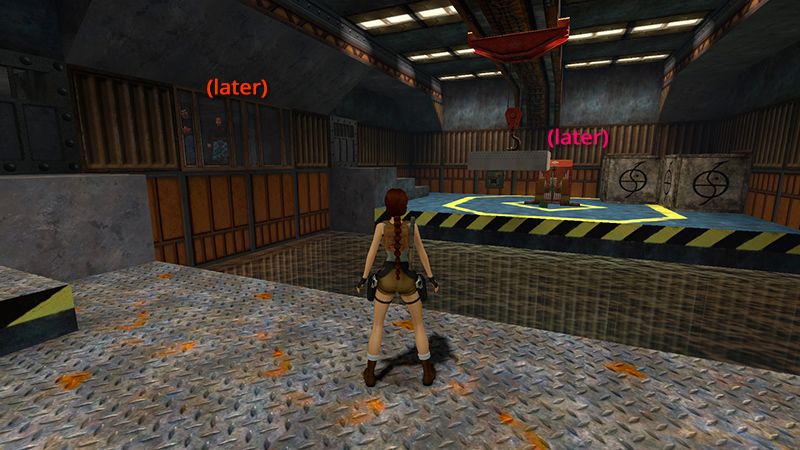
After the first flamethrower encounter, you end up in this room. Ignore the 2 enemies (24-25, later) trapped in the control room pacing like caged apes. They won't come out until you open the door. There's also a RED PASS CARD lying on the floor on the other side of the pool. The spinning saw prevents you from reaching it now.
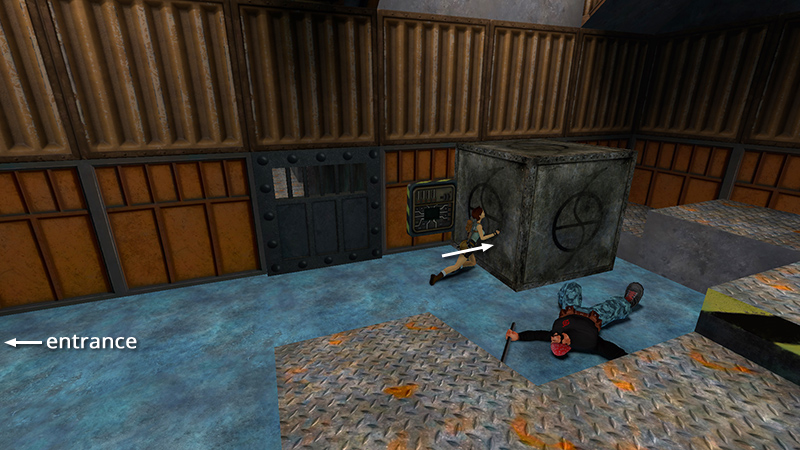
Push the movable box on this side of the pool to reveal an electrical panel in need of a chip, which you'll find soon.
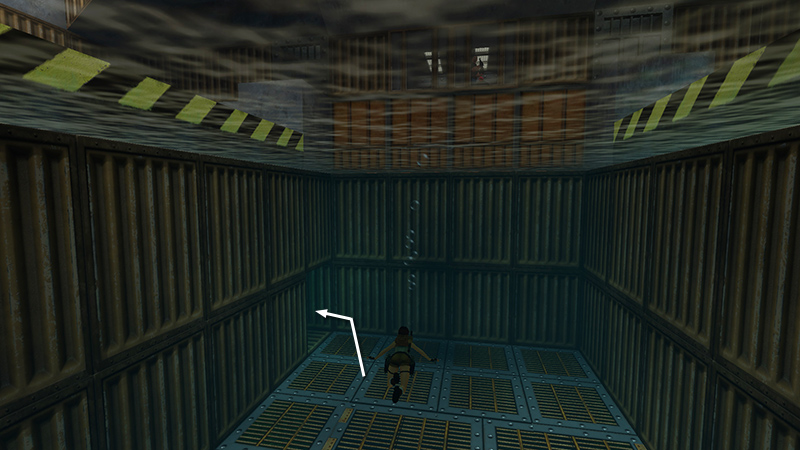
Jump in the pool and head for the opening below and to the left of the window with the enemies behind it.
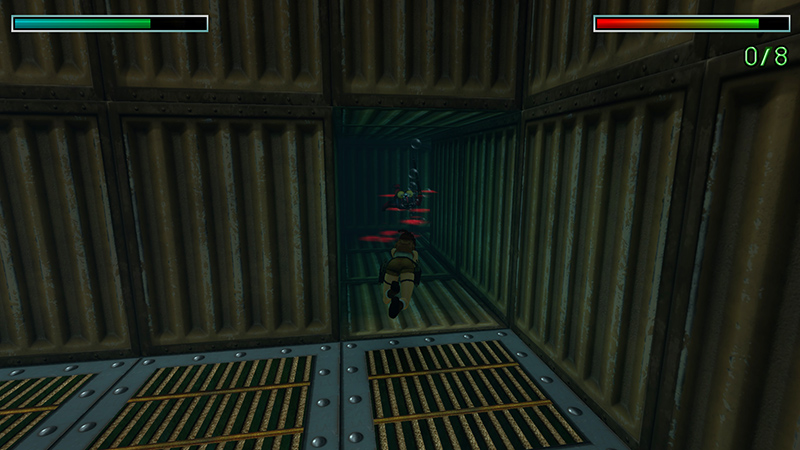
A scuba diver (13) with a harpoon gun lies in wait. Either harpoon him back...
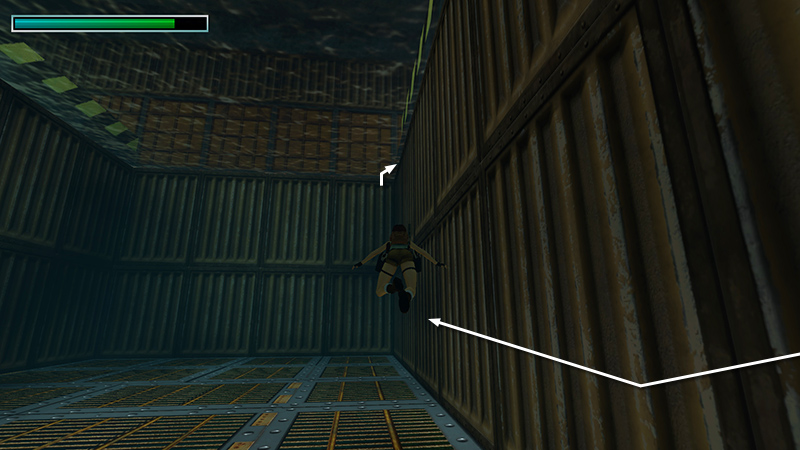
...or return to the surface, climb out on the step near the entrance...
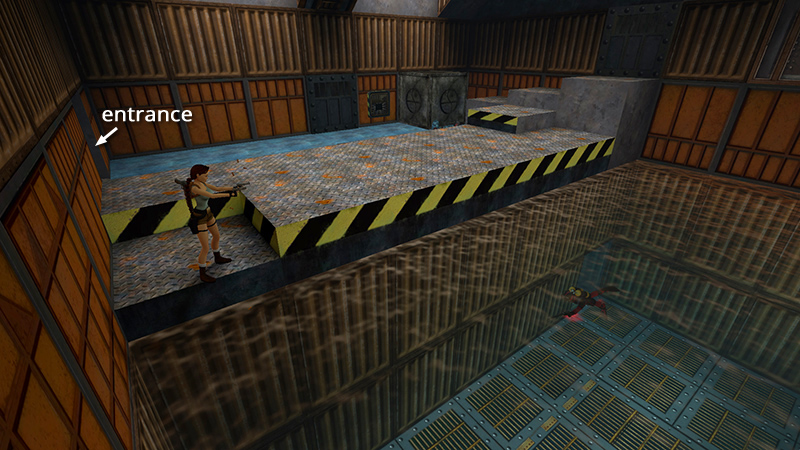
...and shoot him from there.
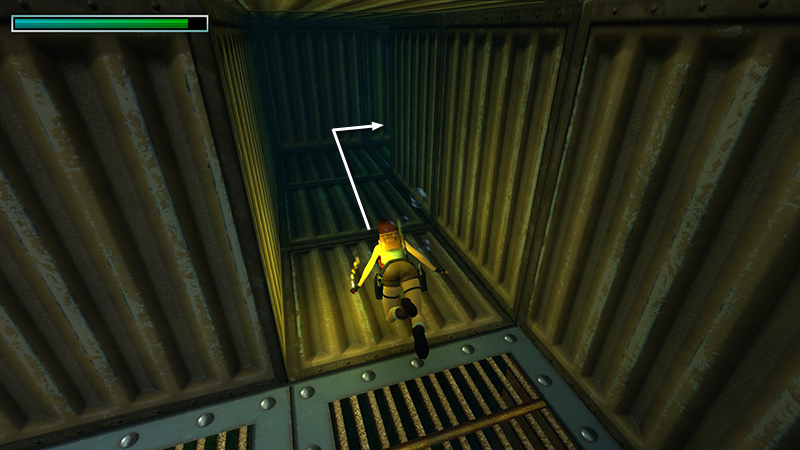
Now take a deep breath and swim into the tunnel where he came from. Swim forward, then right.
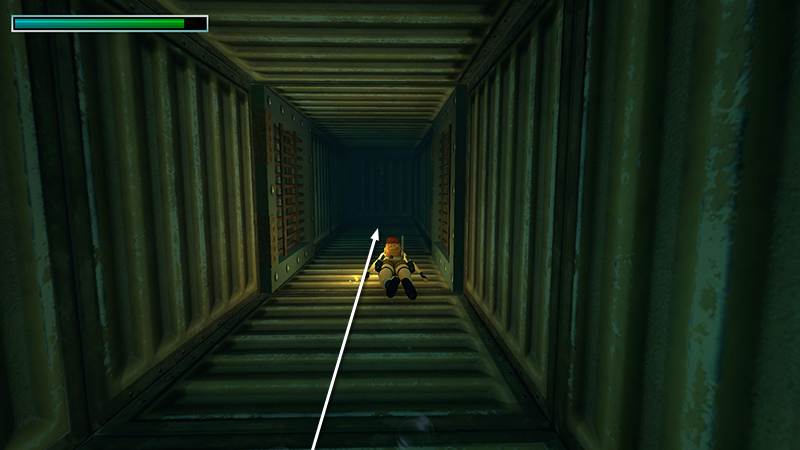
Continue straight ahead, hugging the bottom to avoid getting snagged by the current between the two grates. (Sometimes the current seems strong, sometimes not, but better to be safe.)
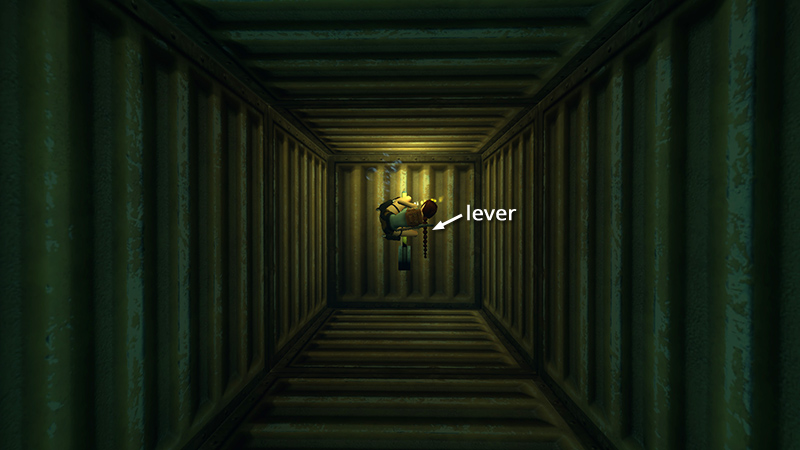
Pull the lever at the end of the passageway to open one of the grates.
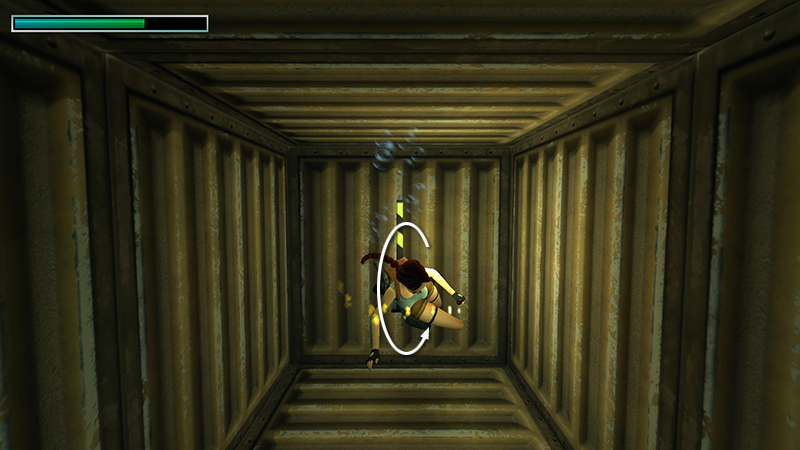
Roll so the lever is behind Lara.
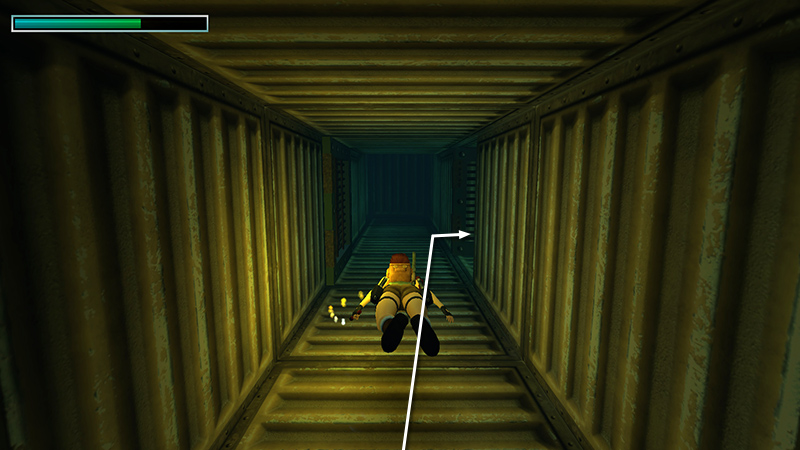
Swim forward then right, through the open grate.
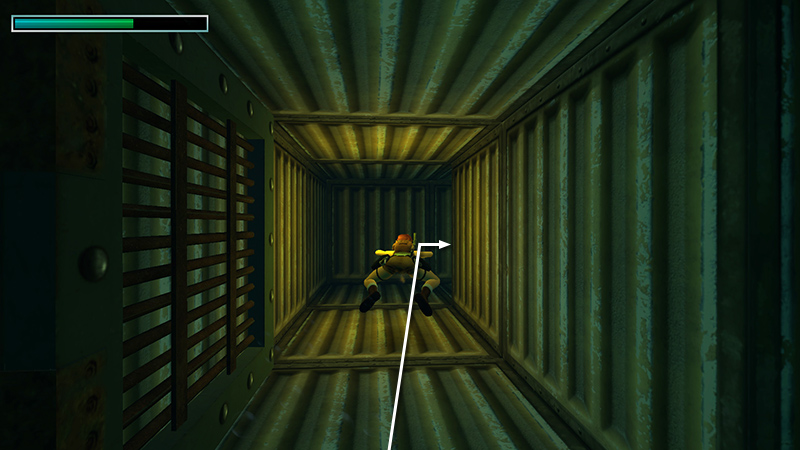
Continue forward, right...
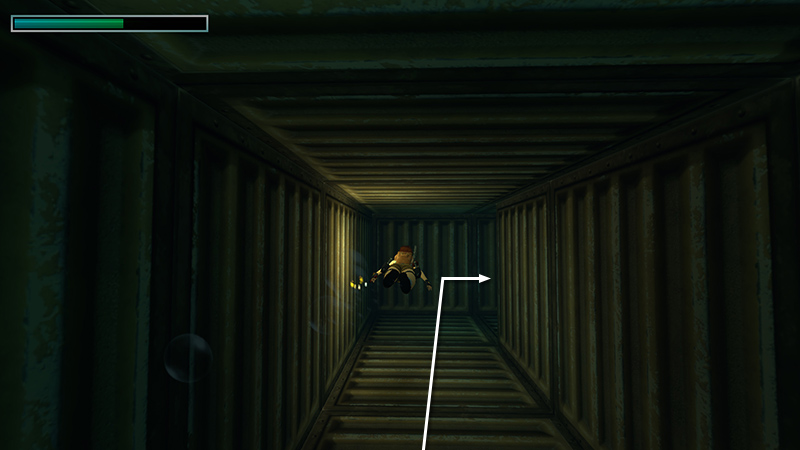
...and right again.
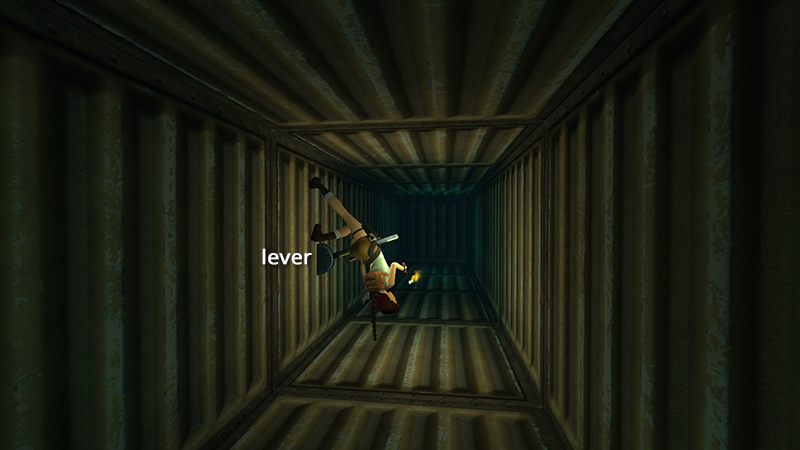
Pull a second lever on the left wall...
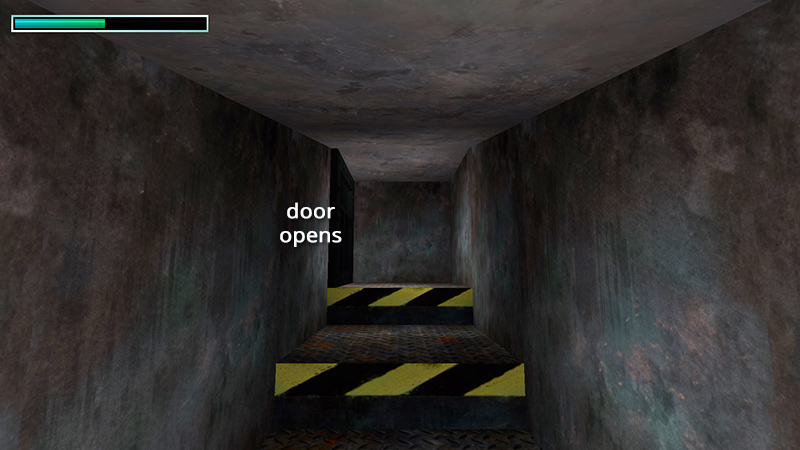
...to open a door elsewhere. Press Look to get Lara's perspective back.
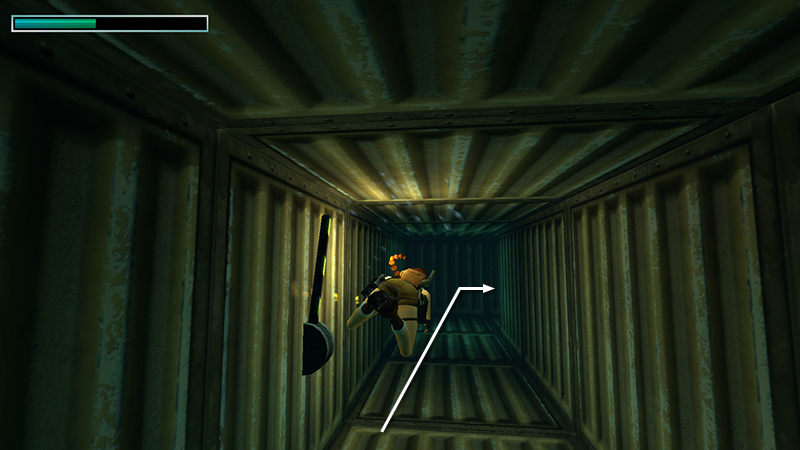
Then continue along the passage, forward, then right...
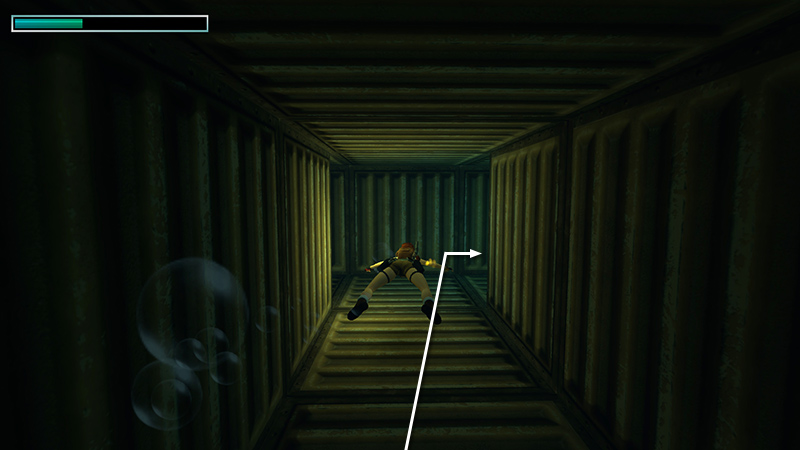
...then right again at the T-intersection.
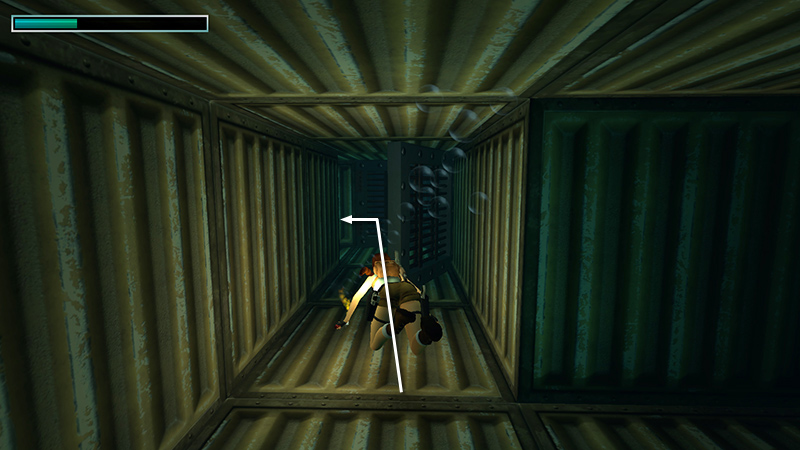
The next grate opens automatically as you approach. Swim through, turn left...
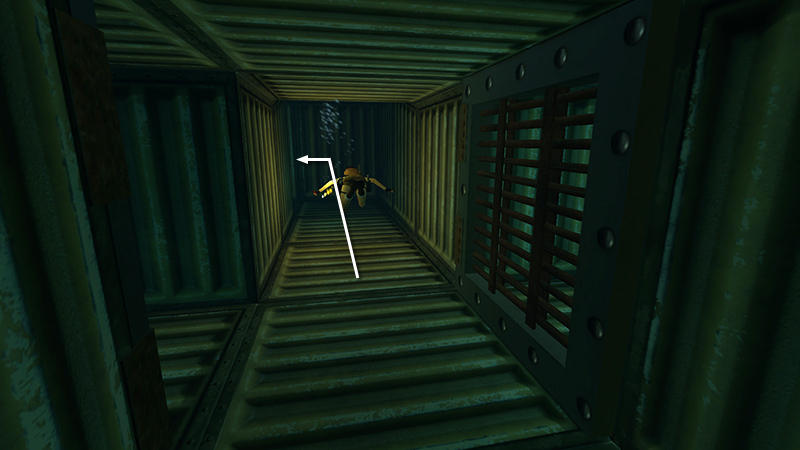
...left again...
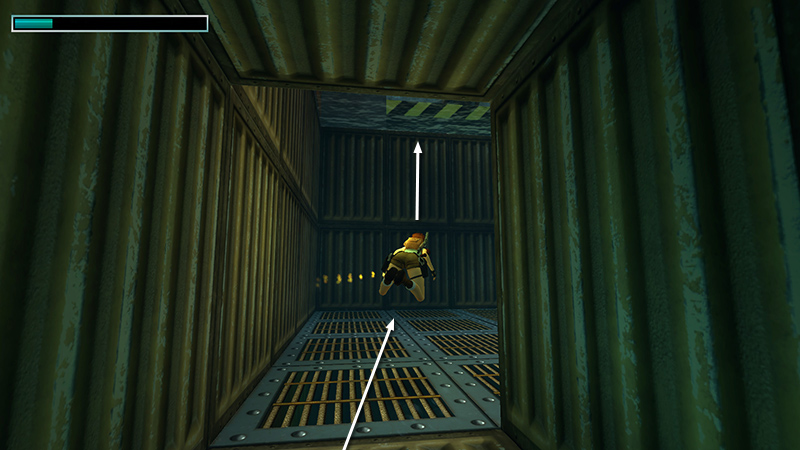
...and surface in the pool where you started.
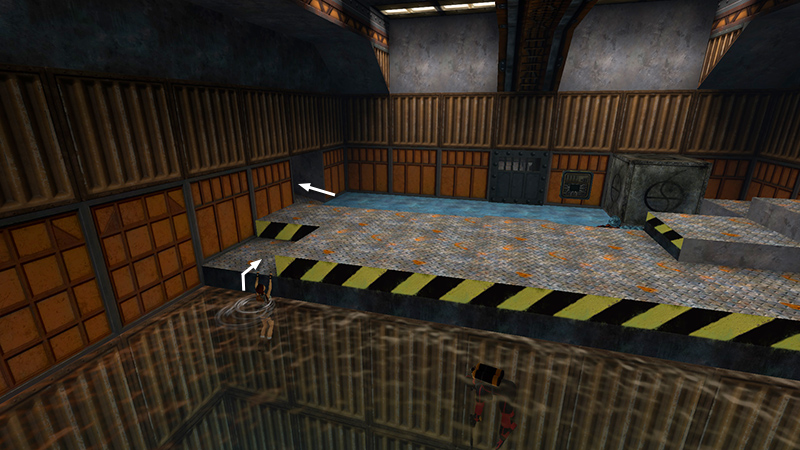
Climb out of the pool and return upstairs to the LARGE SQUARE HALLWAY.
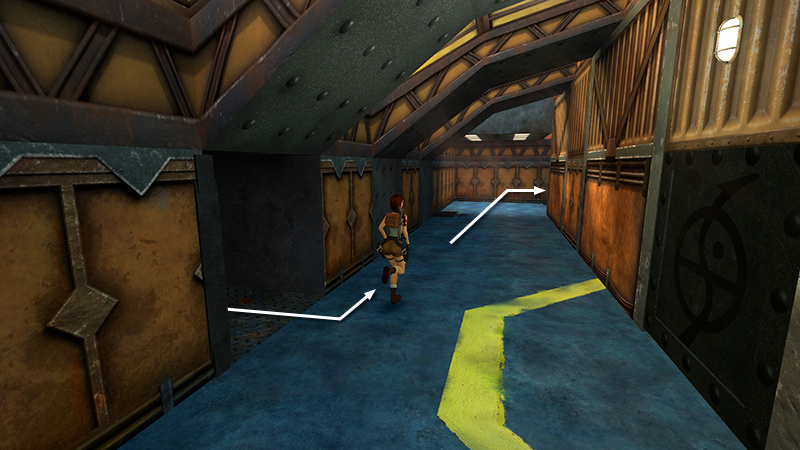
Head to the left...
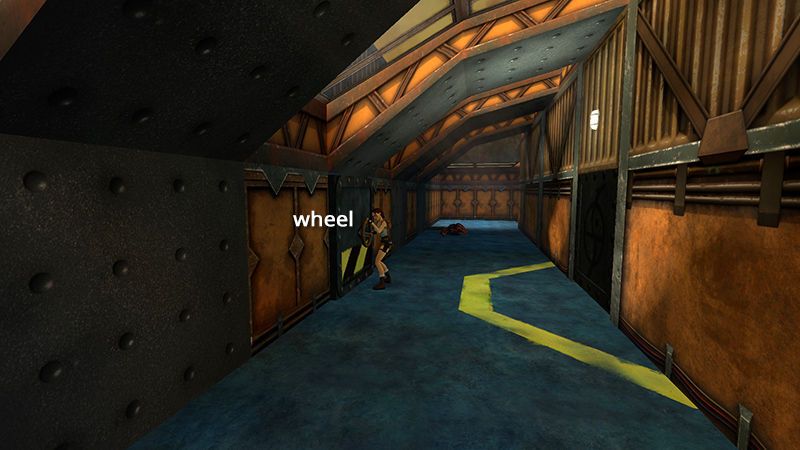
...to the other hatch with a wheel. Enter and continue up the stairs.
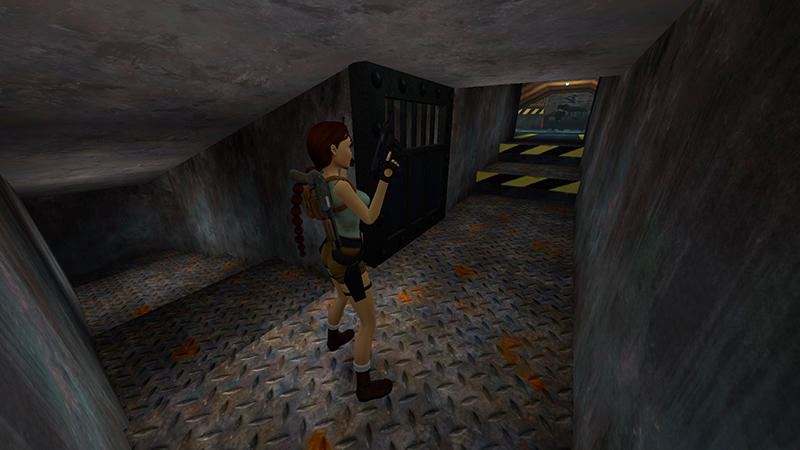
The door at the top should be open if you pulled the second lever in the UNDERWATER PASSAGE.
DARK MODE: I plan to add optional dark mode for these pages, but my current priority is updating the walkthroughs. Meanwhile, may I suggest a reputable dark mode browser extension, such as Dark Reader? (Download only from trusted sites, like darkreader.org or your browser's official add-on/extension site.)
Walkthrough text and diagrams copyright © Stellalune (email ). Feel free to copy or print this walkthrough for personal use. By all means, share it with friends, but please include this credit line so people can send me their feedback. No part of this walkthrough may be reproduced on another site without permission.