Barkhang Monastery - Back to the Main Hall
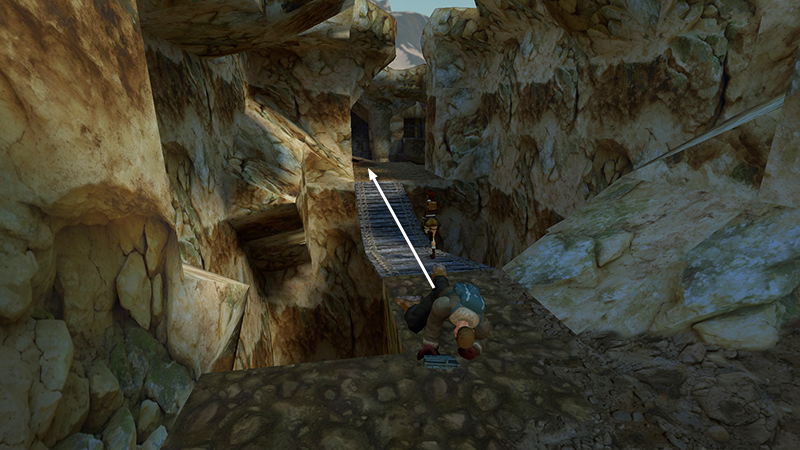
After obtaining the FOURTH PRAYER WHEEL in the small building at the top of the canyon, detailed in the last section, you're now headed back to the monastery. Cross the wooden bridge.
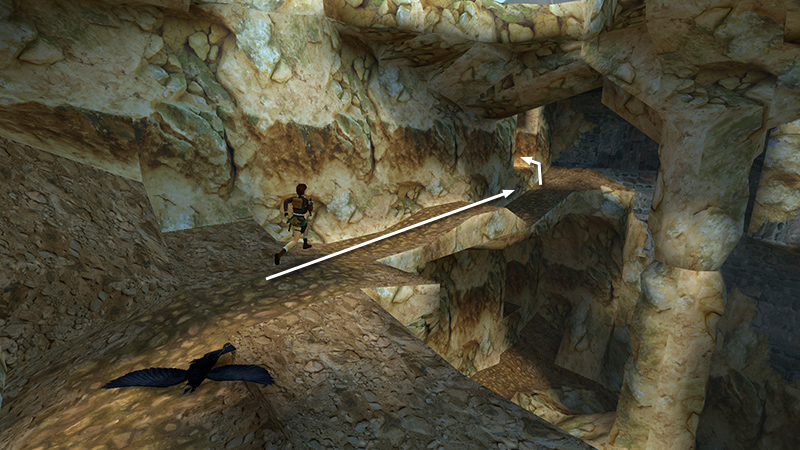
Follow the ledge along the left side of the canyon and climb into the opening with the ladder.
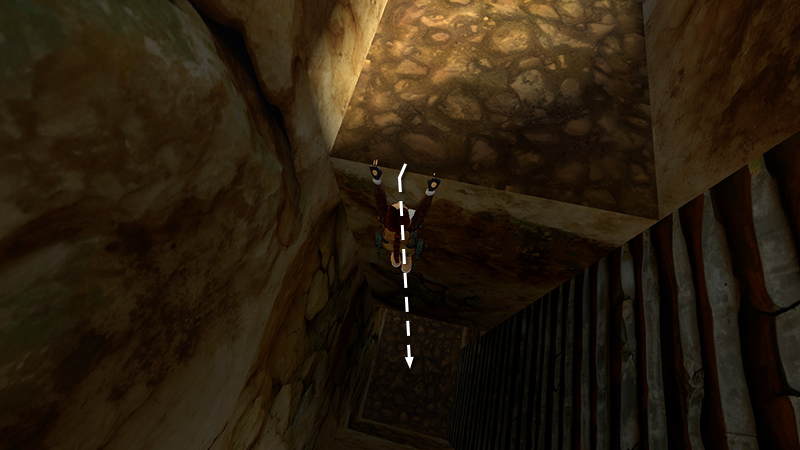
Safety drop to the ground, losing a tiny bit of health in the fall. (Or take a carefully angled standing jump to grab the ladder and climb down.)
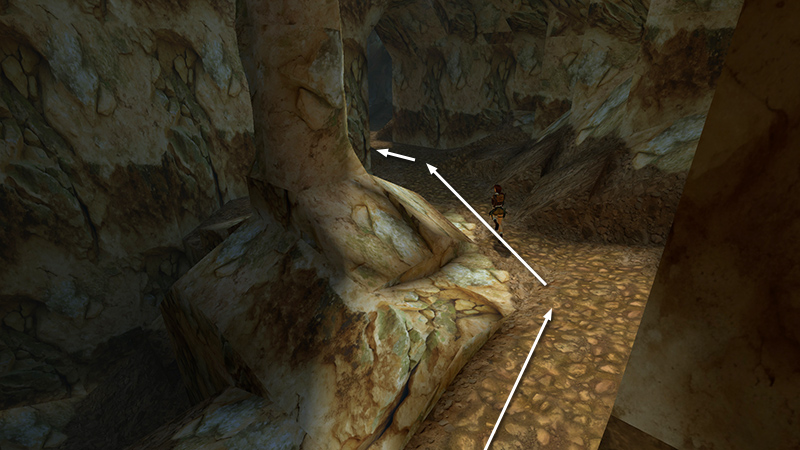
Continue past the huge stone column...
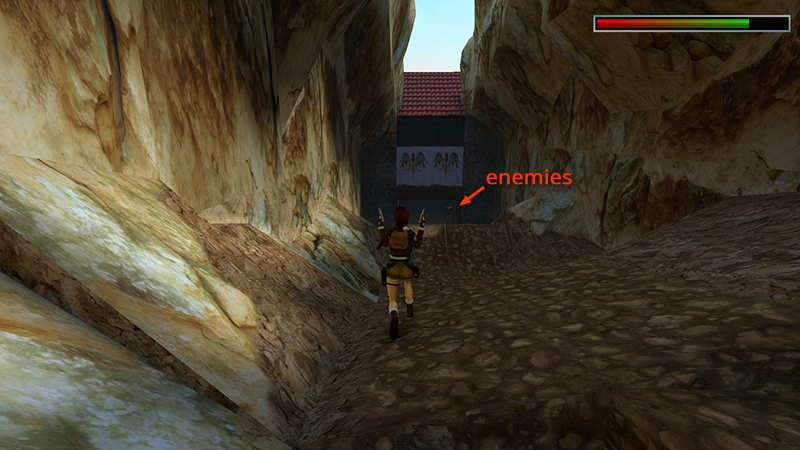
...and down the hill. You'll meet 2 enemies (27-28) at the bottom, near the archway with the painted eyes. If you approach cautiously with pistols drawn...
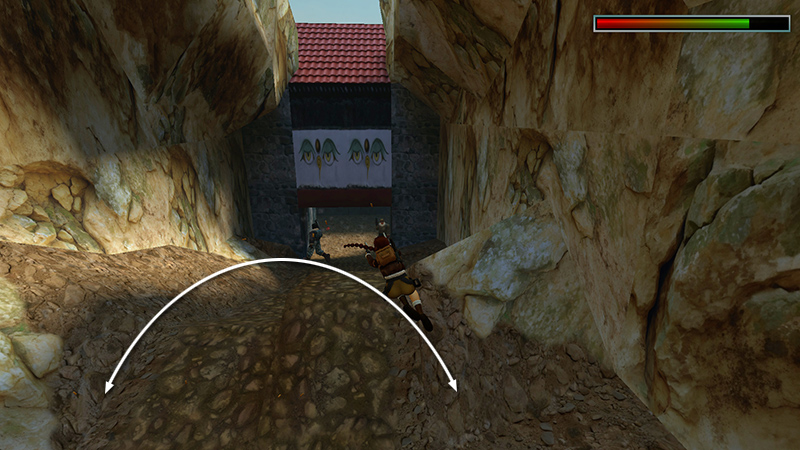
...you can probably target them before they can hit you. Then back away firing and/or jump around to avoid injury.
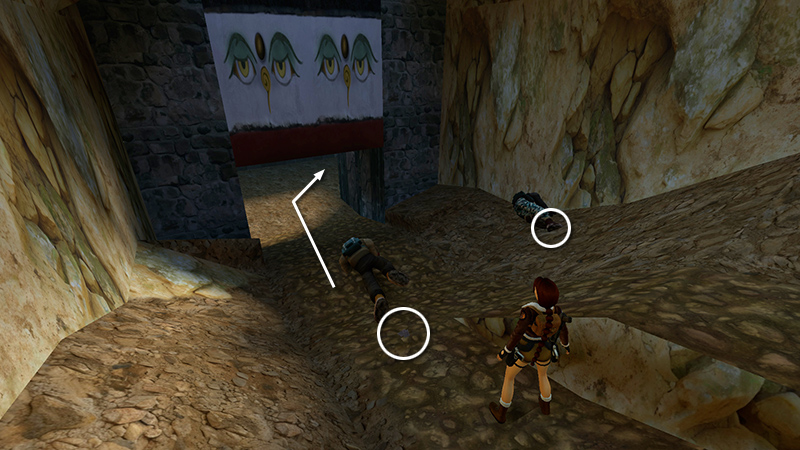
They drop 2 sets of M16 ammo (40-41).
NOTES: If you spawned the lone monk (22) earlier, these two will likely have killed him, causing you to fail "The End Doesn't Justify the Means" achievement/trophy. If necessary, reload an earlier save and follow the guide. Or, use the shortcut/glitch described in the footnote. Also, these two enemies are notorious for dying on slopes, making it difficult to get the items they drop. If that happens, use this trick, or reload and try again.
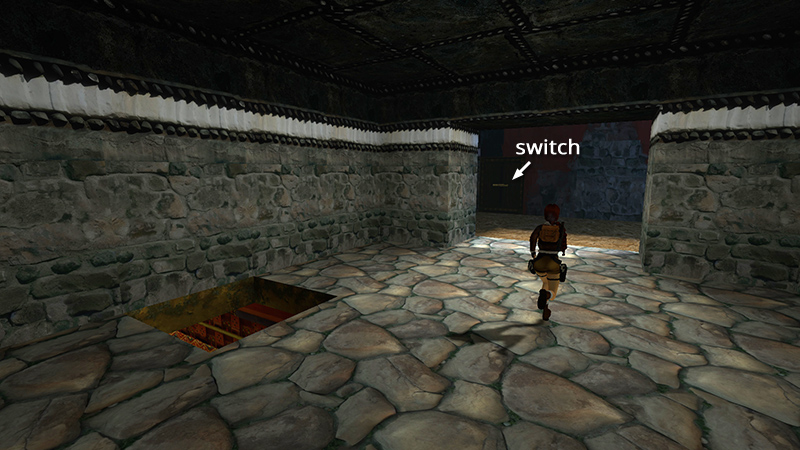
Continue through the low-ceilinged room where you came in via the TRAPDOOR. Save the game before pulling the switch...
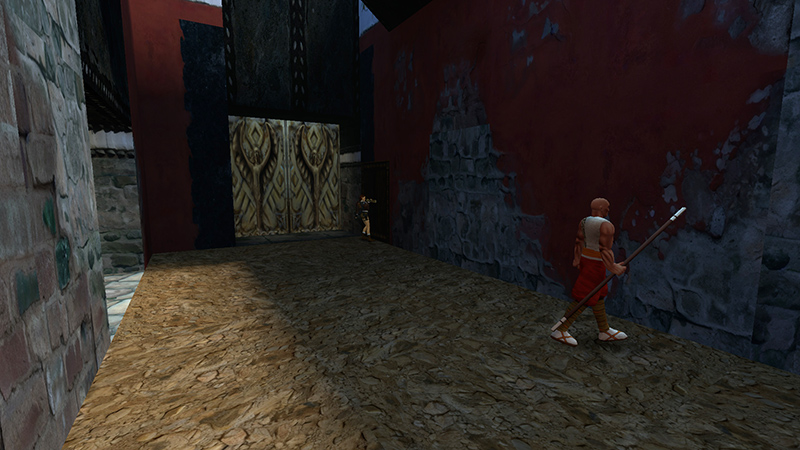
...that opens the double doors leading back into the MAIN HALL.
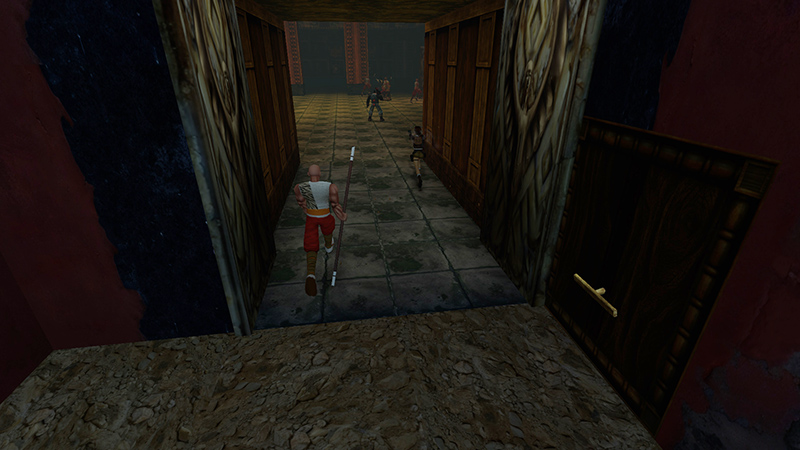
Inside, 2 more cult goons (29-30) are fighting with the monks. Try to target the one with the blue camo pants so he doesn't kill your allies. The lone monk (22) mentioned earlier runs in beside you to help.
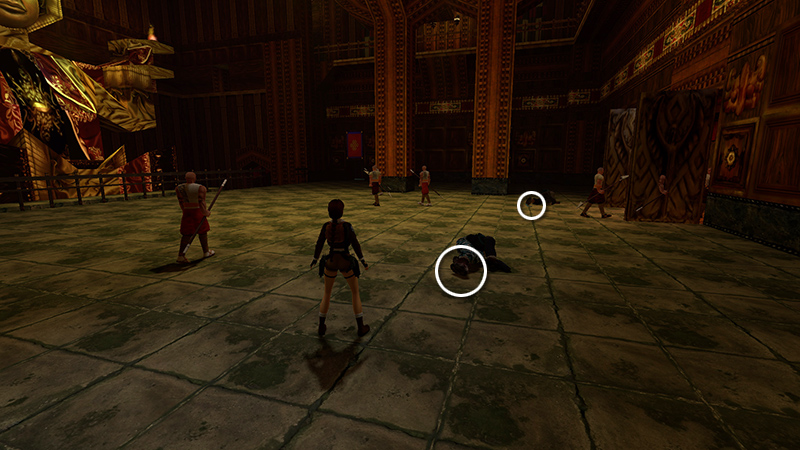
The two bad guys drop Uzi ammo and auto pistol ammo (42-43).
DARK MODE: I plan to add optional dark mode for these pages, but my current priority is updating the walkthroughs. Meanwhile, may I suggest a reputable dark mode browser extension, such as Dark Reader? (Download only from trusted sites, like darkreader.org or your browser's official add-on/extension site.)
Walkthrough text and diagrams copyright © Stellalune (email ). Feel free to copy or print this walkthrough for personal use. By all means, share it with friends, but please include this credit line so people can send me their feedback. No part of this walkthrough may be reproduced on another site without permission.