Barkhang Monastery - Trapdoor, Canyon, and Fourth Prayer Wheel
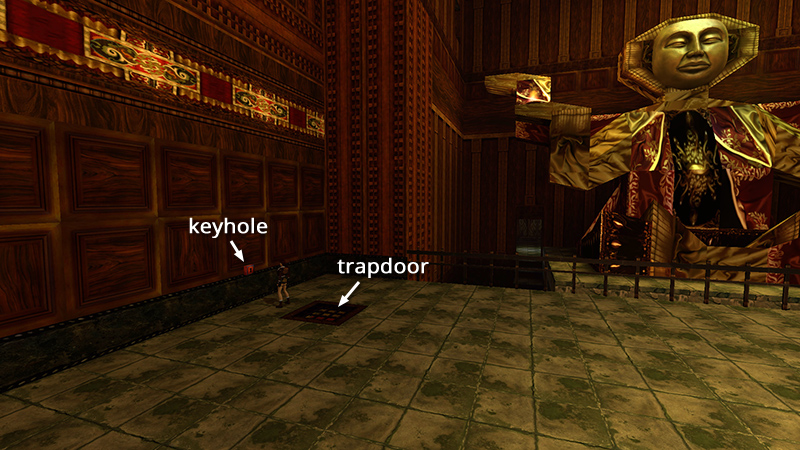
In the last section, we retrieved the Silver Dragon secret in the LARGE INDOOR POOL then returned to the MAIN HALL. On the far side of the open floor in front of the giant statue is a trapdoor. Use the TRAPDOOR KEY in the lock on the wall above it.
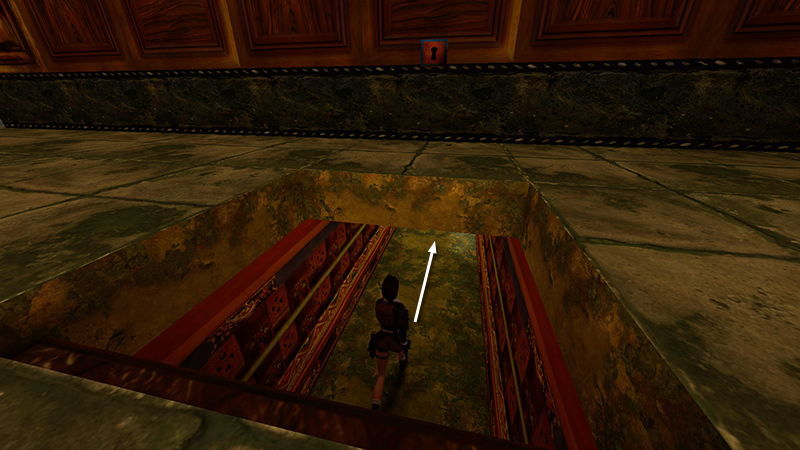
Drop down through the opening and follow the tunnel outside.
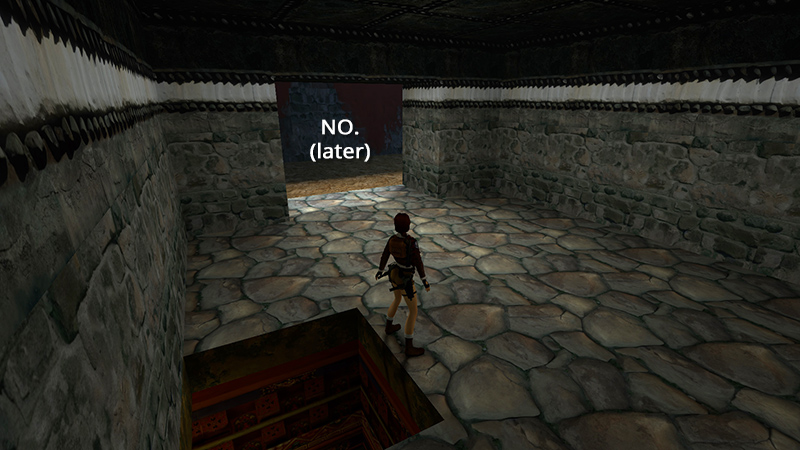
IMPORTANT: If you're trying to keep the monks alive for "The End Doesn't Justify the Means," be careful here. Avoid the small courtyard off to the left for now. Entering that area spawns a lone monk (22, later). He'll be an easy target for the enemies who appear here later.
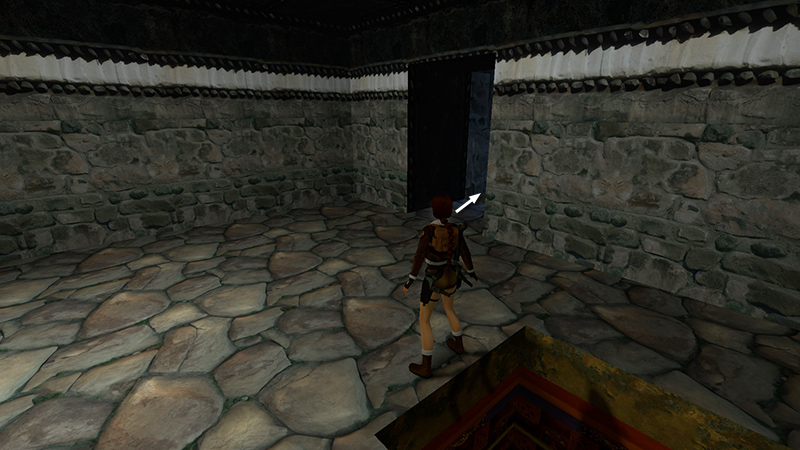
Instead, head to the right...
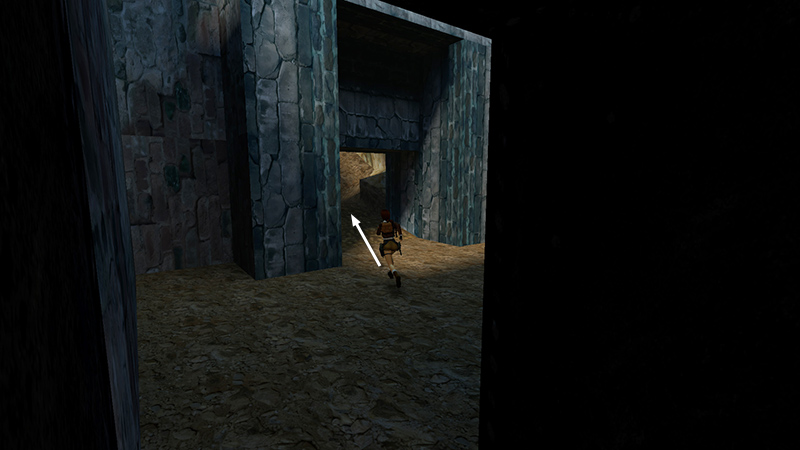
...through two stone doorways...
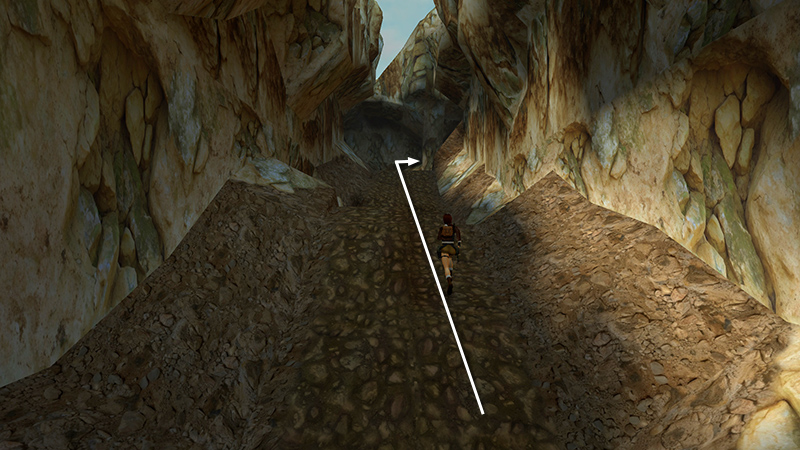
...and uphill through the narrow canyon.
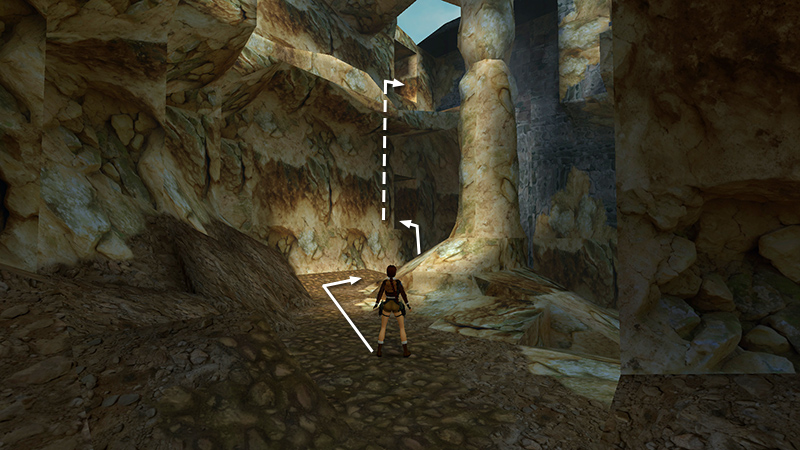
Soon you'll come to an open area with a large stone pillar and various high ledges. Go around the left side of the pillar and climb into the rectangular alcove in the canyon wall. Climb the ladder in the alcove...
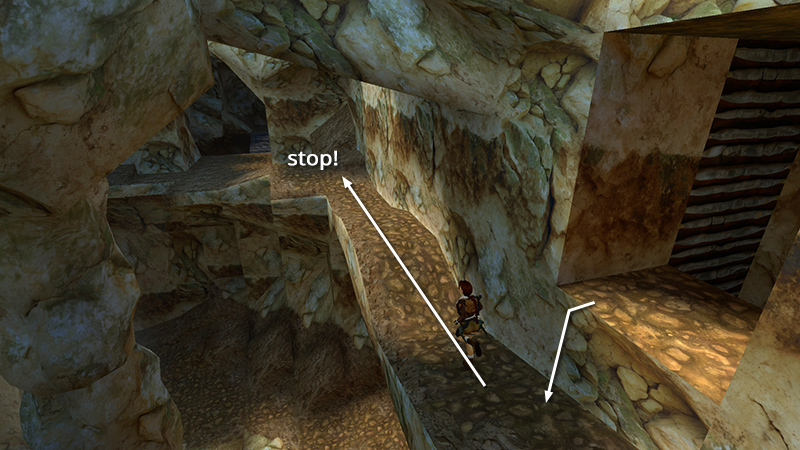
...then carefully hop down onto the narrow ledge overlooking the stone pillar. Follow this ledge to the right but stop before the wide opening with the wooden bridge beyond.
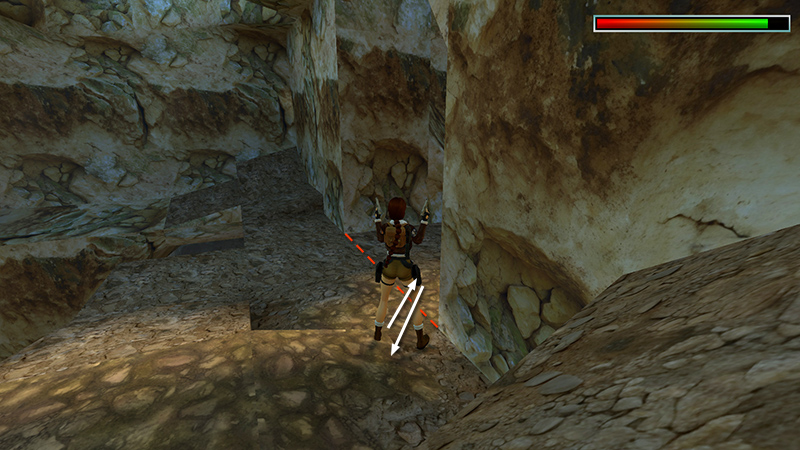
Draw pistols, step into the archway, and quickly hop back...
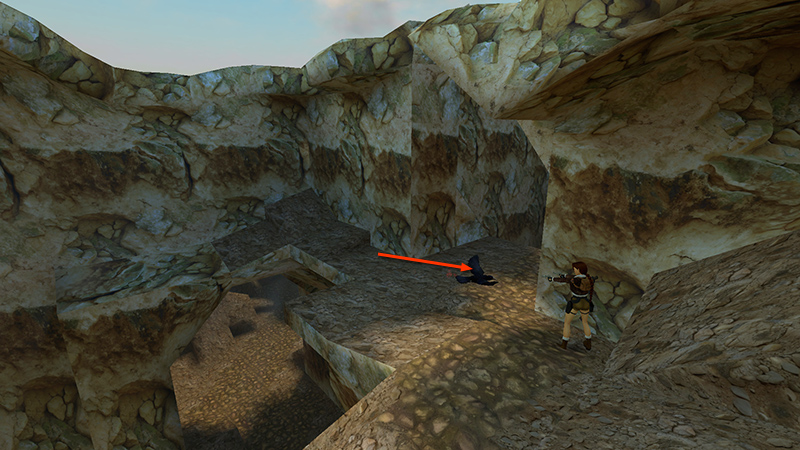
...as you shoot the crow (22) that spawns on your left.
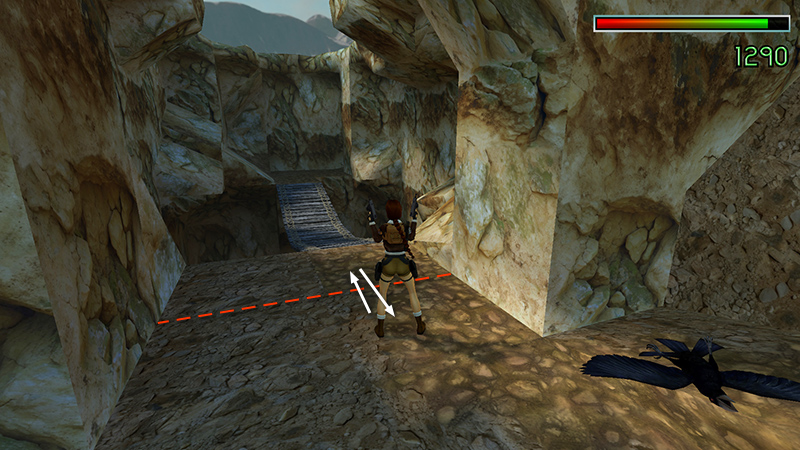
Switch to more powerful weapons if you like. Then move closer to the wooden bridge.
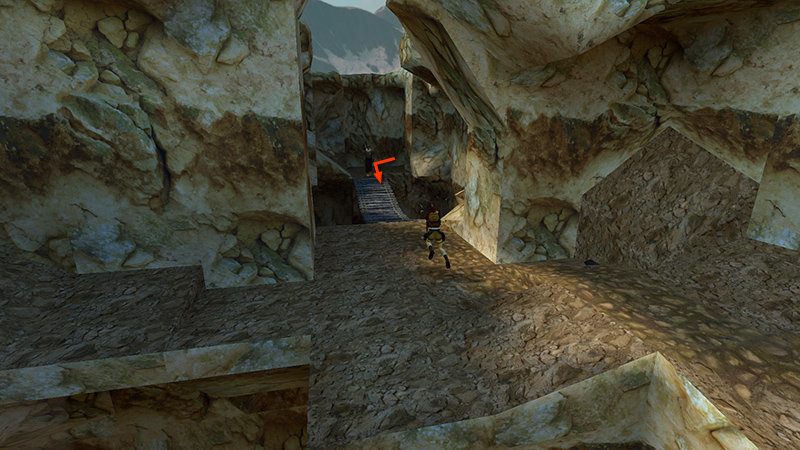
When you do, an aggressive thug with a gun (23) appears on the other side.
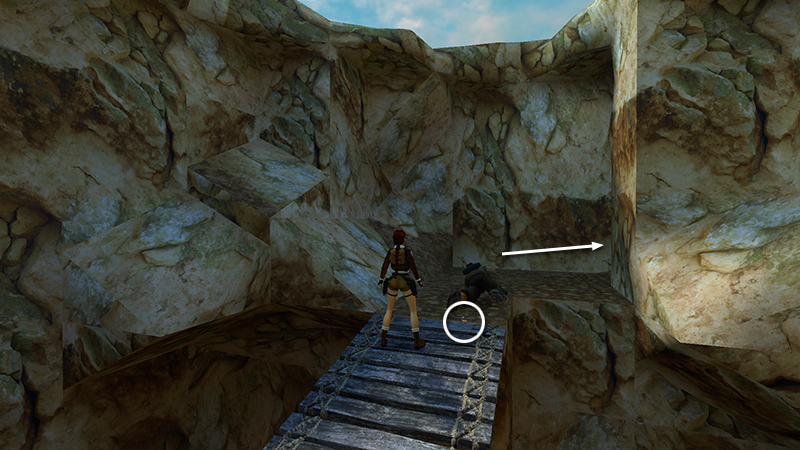
Kill him, cross the wooden bridge, steal his M16 clips (37), and continue through the canyon.
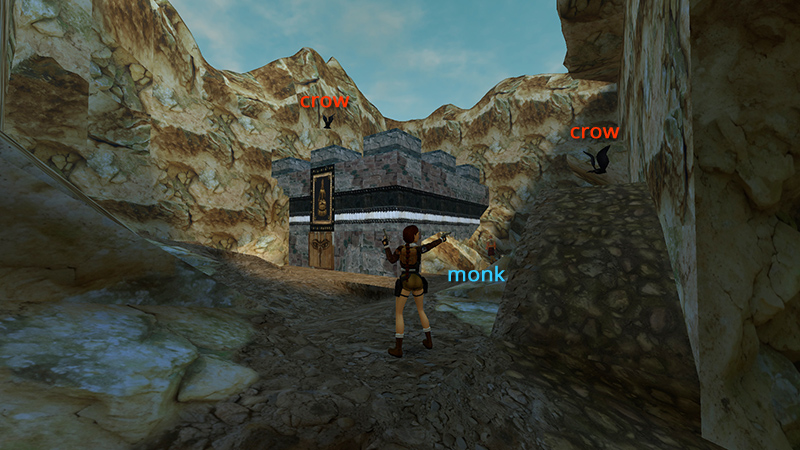
Switch back to pistols as you approach the next clearing. Two more crows (24-25) attack here.
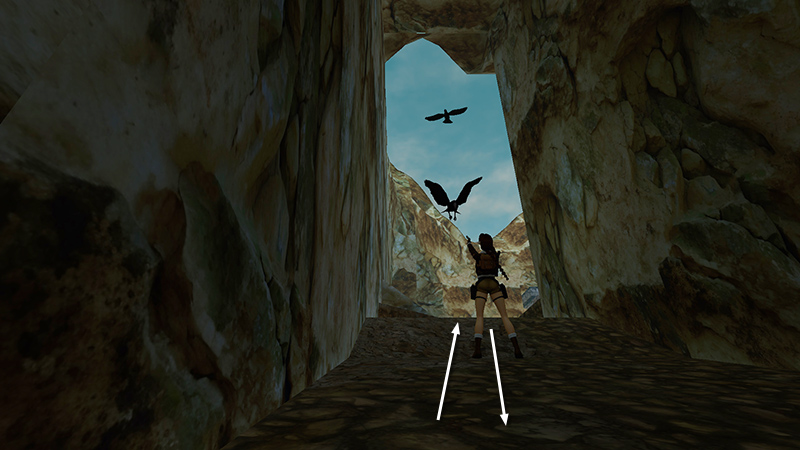
You may want to get their attention then retreat down the canon to shoot them. Then you won't accidentally hit the monk (21) pacing nearby.
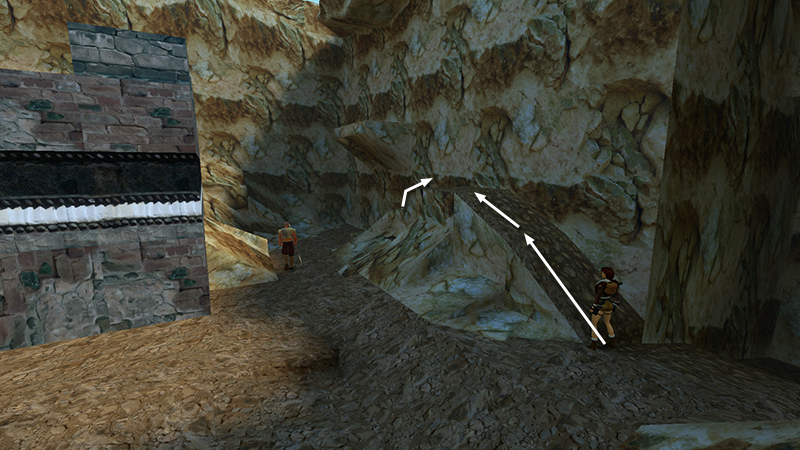
Climb the rock pile against the canyon wall to the right of the small building.
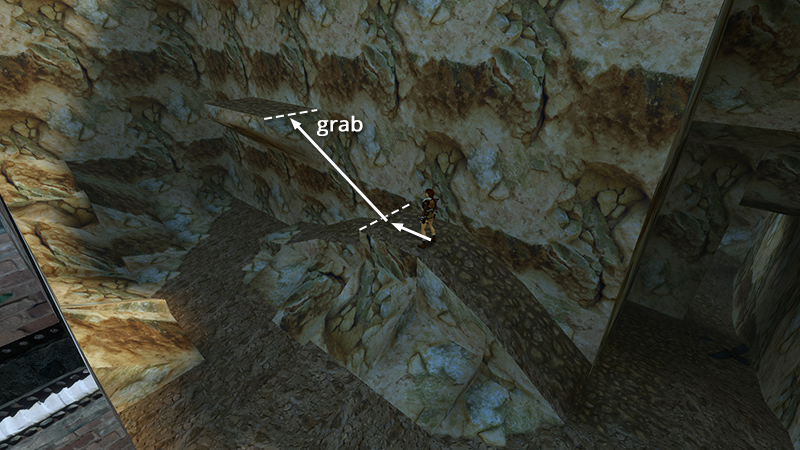
Take a running jump from the top of the pile to grab the jutting stone ledge above; pull up.
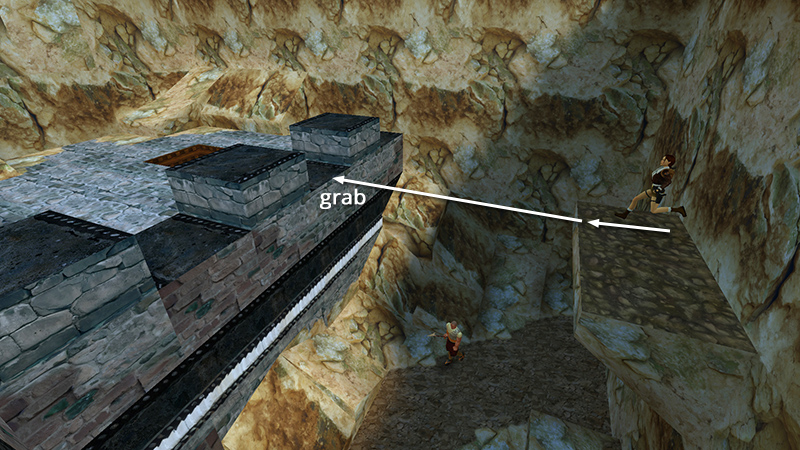
Move to the other end of this ledge. Then take another running jump to grab the roof of the building.
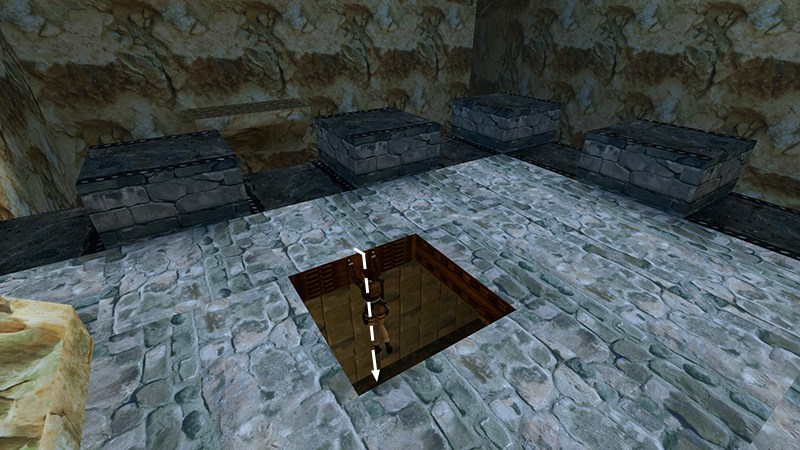
Drop through the square hole into the room below.
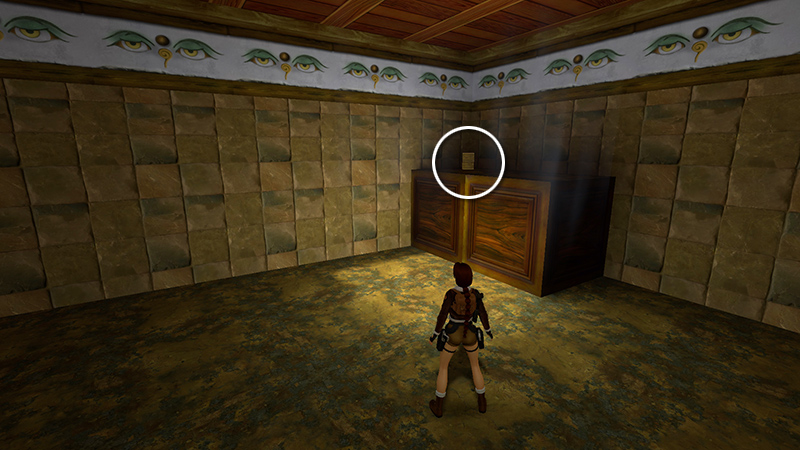
Take the FOURTH PRAYER WHEEL (38).
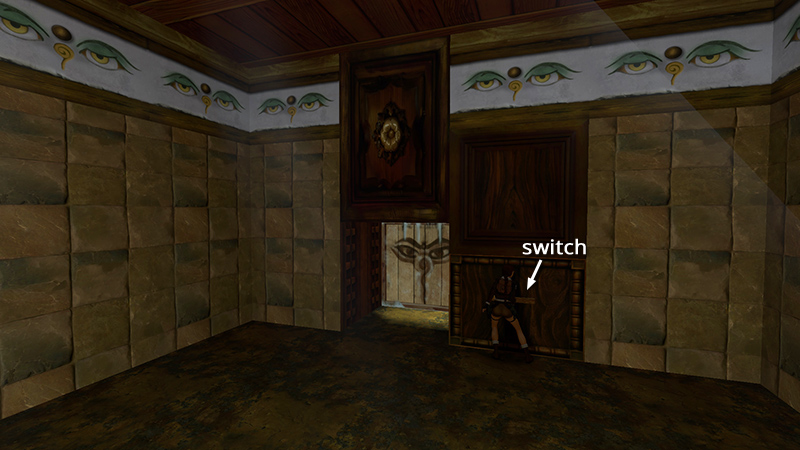
Save the game before pulling the switch to open the door.
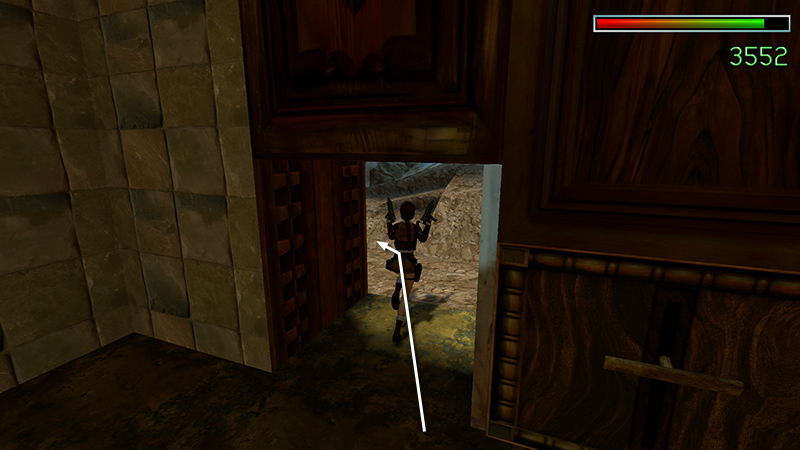
Draw weapons, exit, and run to the left.
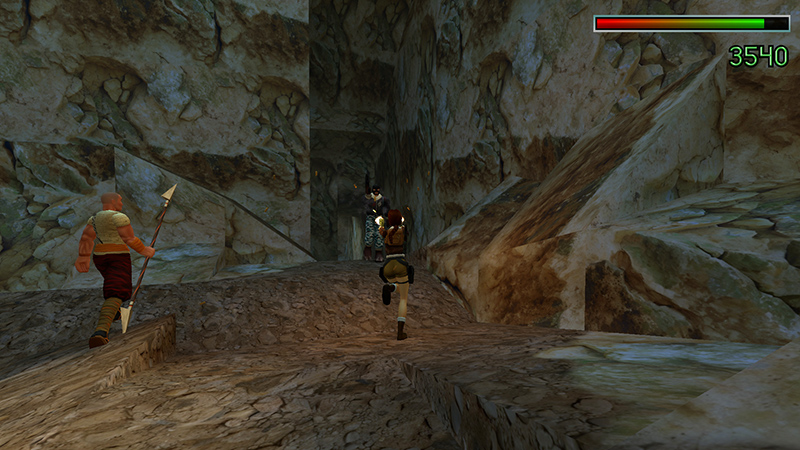
Another thug in camo pants (26) is waiting outside. Try to target him and not the monk. If things go badly, reload and try again.
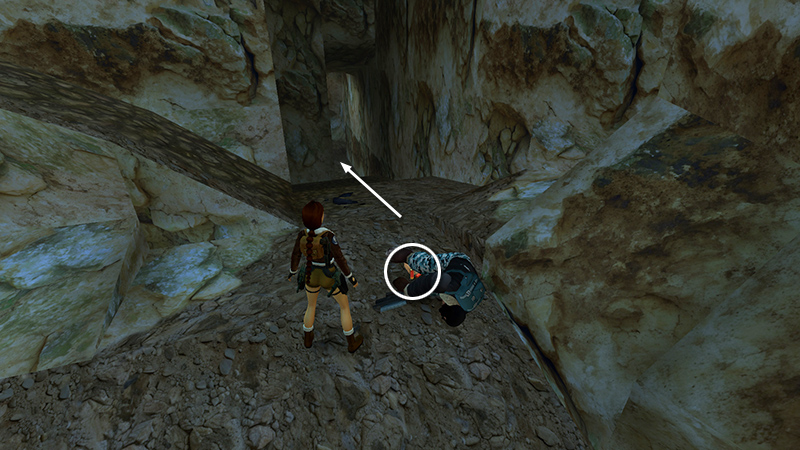
Afterward, steal the bad guy's shotgun shells (39) and head back down the canyon.
DARK MODE: I plan to add optional dark mode for these pages, but my current priority is updating the walkthroughs. Meanwhile, may I suggest a reputable dark mode browser extension, such as Dark Reader? (Download only from trusted sites, like darkreader.org or your browser's official add-on/extension site.)
Walkthrough text and diagrams copyright © Stellalune (email ). Feel free to copy or print this walkthrough for personal use. By all means, share it with friends, but please include this credit line so people can send me their feedback. No part of this walkthrough may be reproduced on another site without permission.