Barkhang Monastery - Back Inside after Third Prayer Wheel
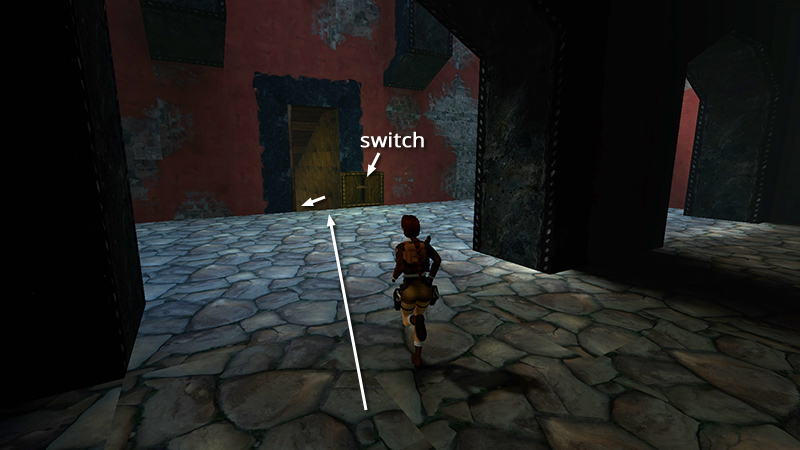
After locating the THIRD PRAYER WHEEL and climbing down from the TOWER, as shown in the last section, return across the EXERCISE YARD, pull the switch if you didn't do so earlier, and re-enter the building on the lower level.
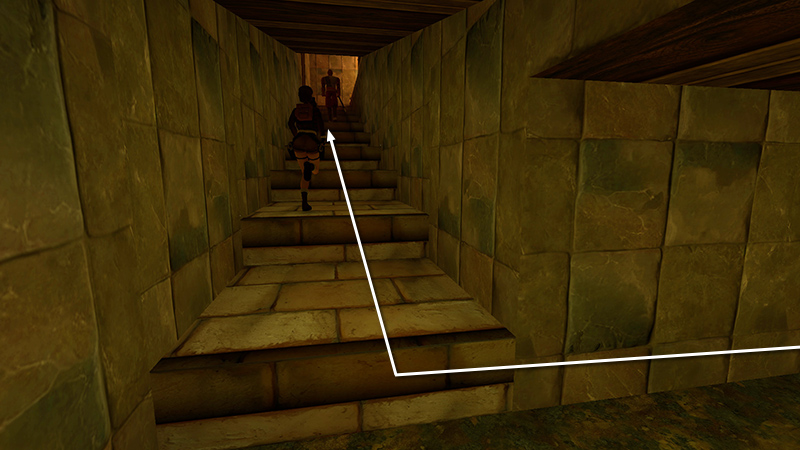
Follow the sandy-colored passageway forward, then right, up a flight of steps.
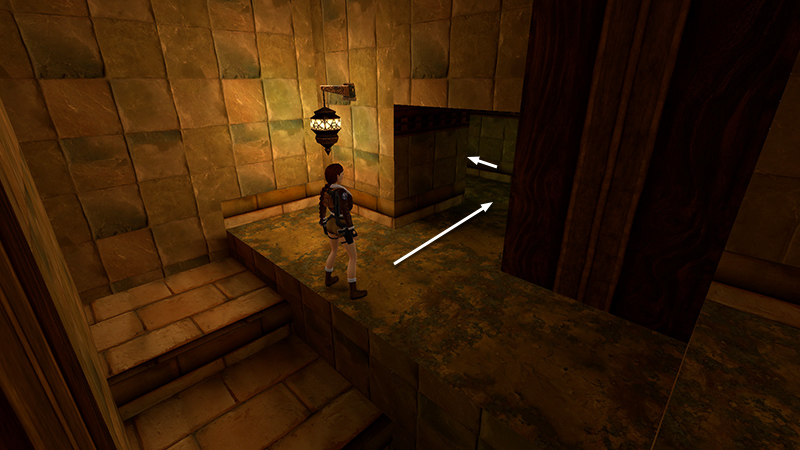
At the top, re-enter the passageway where you met the 4 gunmen earlier. Turn left here...
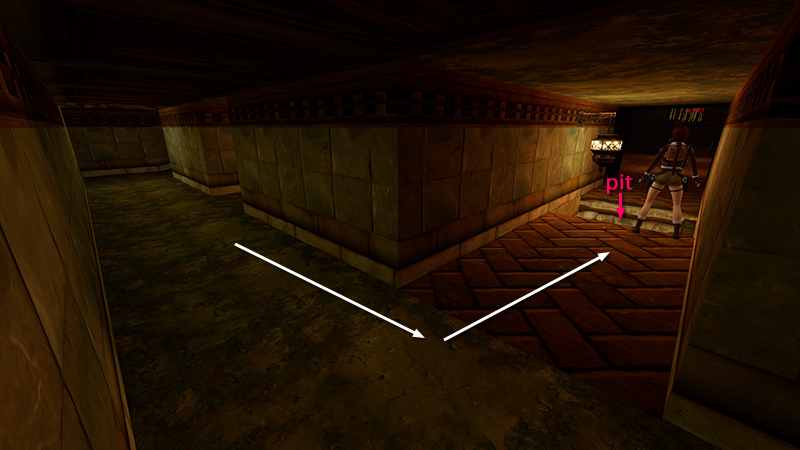
...then right. Carefully cross the deep pit below the open trapdoor (i.e., run and jump at the edge; standing jump and grab the ladder inside the pit, then climb up; or walk to the edge, turn around, and backflip over the pit).
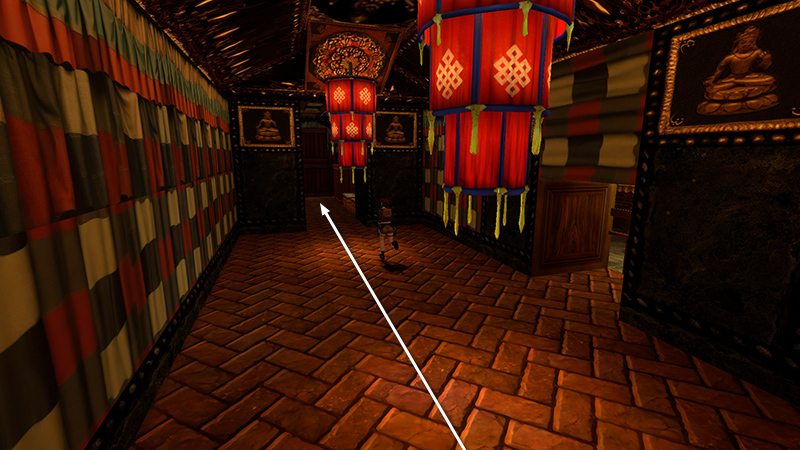
Continue through the room with the red lanterns to the STORAGE ROOM.
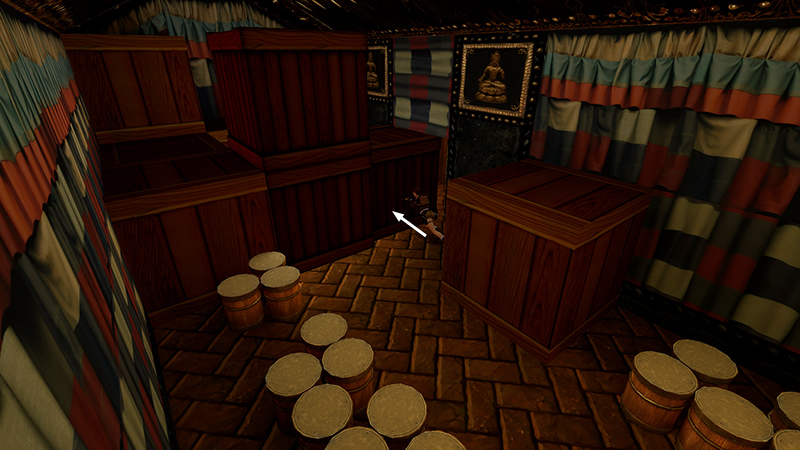
Move the wooden crate blocking the door so you can exit.
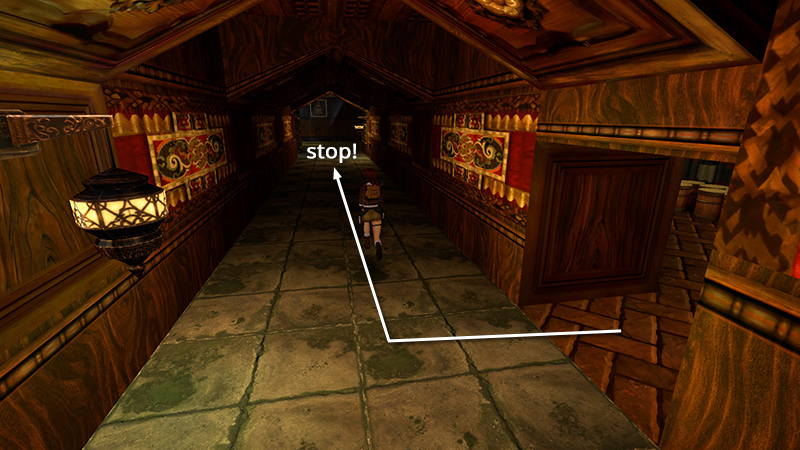
Turn right and follow the hallway almost to the end.
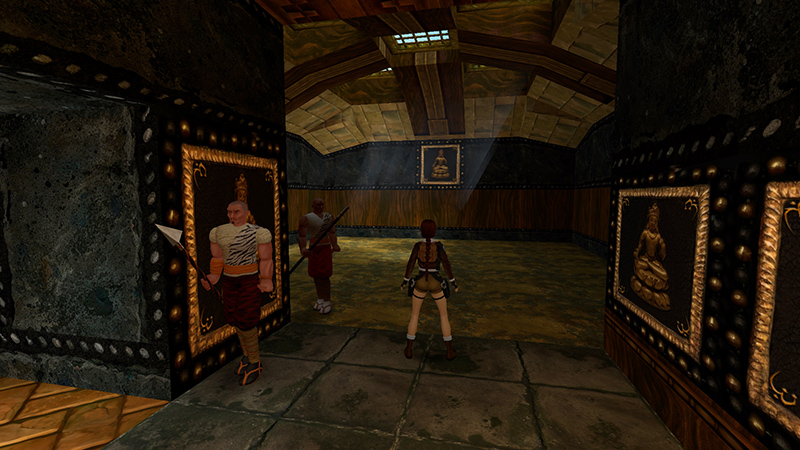
As you approach the SQUARE ROOM WITH SKYLIGHTS at the end of the hall, 2 more monks (18-19) appear, along with various others you've met before. Save the game before the next enemy encounter if you're trying to keep the monks alive.
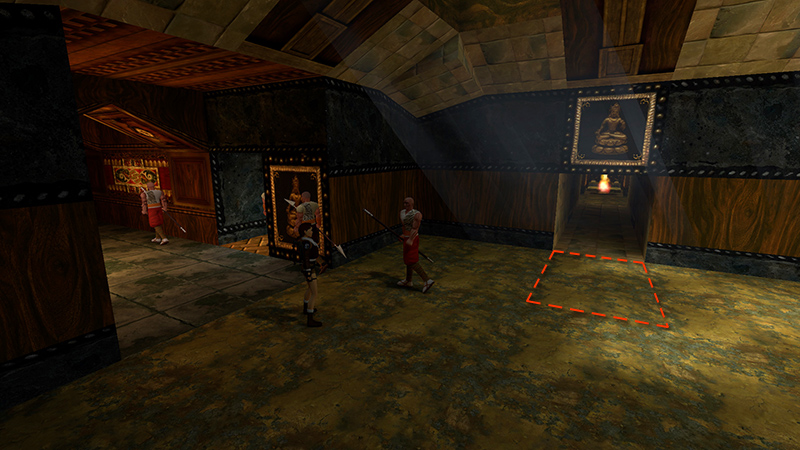
As you cross this room and approach the doorway on the left, 2 gunmen (20-21) will spawn behind you. One is the more dangerous type with the blue camo pants. To make this combat a little easier, before stepping on the trigger tile...
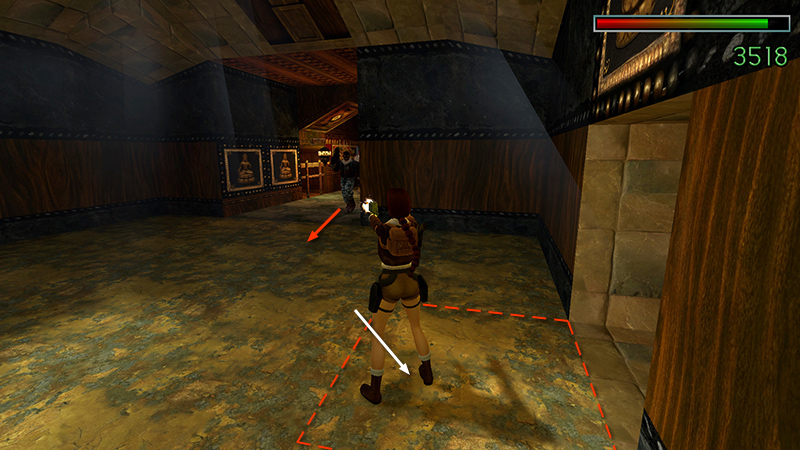
...turn around and draw weapons. Then hop backwards onto the tile. With a little luck, camo pants will approach first, and you can kill him without endangering the monks.
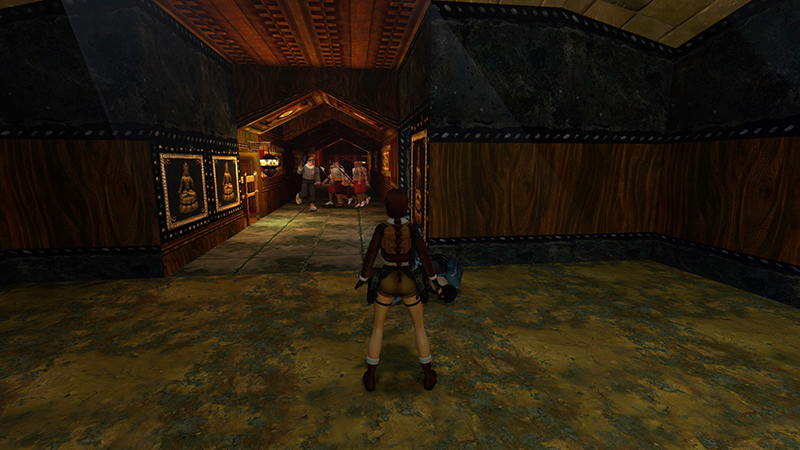
When the camo-pants guy is dead, hang back and wait for your allies to deal with the other man.
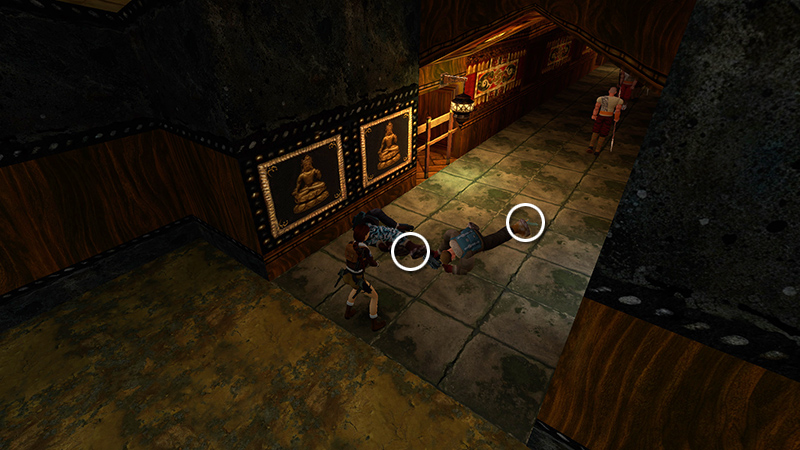
The bad guys drop Uzi clips and grenades (32-33).
DARK MODE: I plan to add optional dark mode for these pages, but my current priority is updating the walkthroughs. Meanwhile, may I suggest a reputable dark mode browser extension, such as Dark Reader? (Download only from trusted sites, like darkreader.org or your browser's official add-on/extension site.)
Walkthrough text and diagrams copyright © Stellalune (email ). Feel free to copy or print this walkthrough for personal use. By all means, share it with friends, but please include this credit line so people can send me their feedback. No part of this walkthrough may be reproduced on another site without permission.