Barkhang Monastery - Third Prayer Wheel
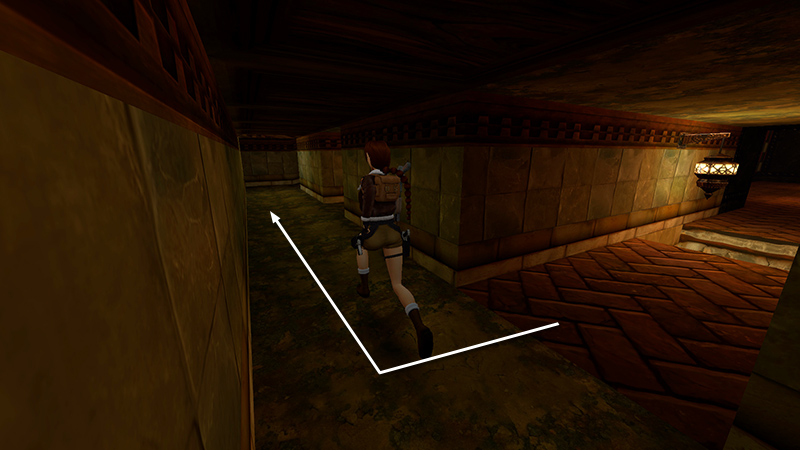
After collecting some ammo in the STOREROOM WITH MOVABLE CRATES, as shown in the last section, we ended up in this passageway with sandy-colored walls. At the T-intersection just beyond the trapdoor, turn right.
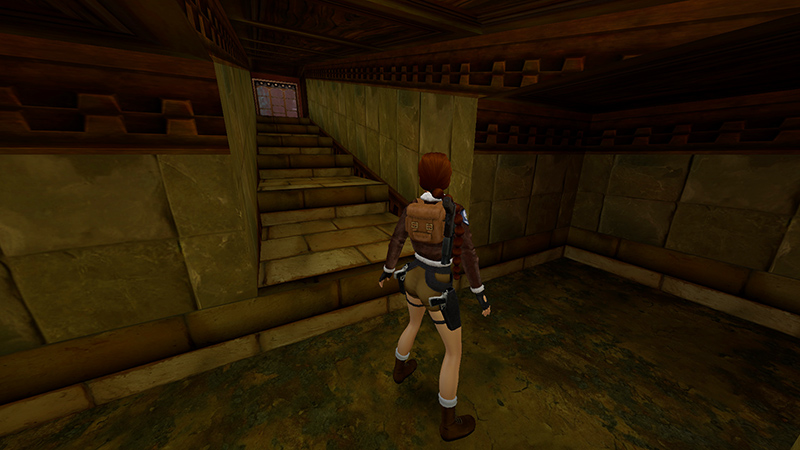
Continue forward until you see a staircase on the left. When you climb these stairs, 4 enemies with guns (16-19) appear behind you. If you're trying to keep the monks alive, your best bet is to deal with these guys alone. Equip the grenade launcher (or another powerful weapon) before heading up the stairs.
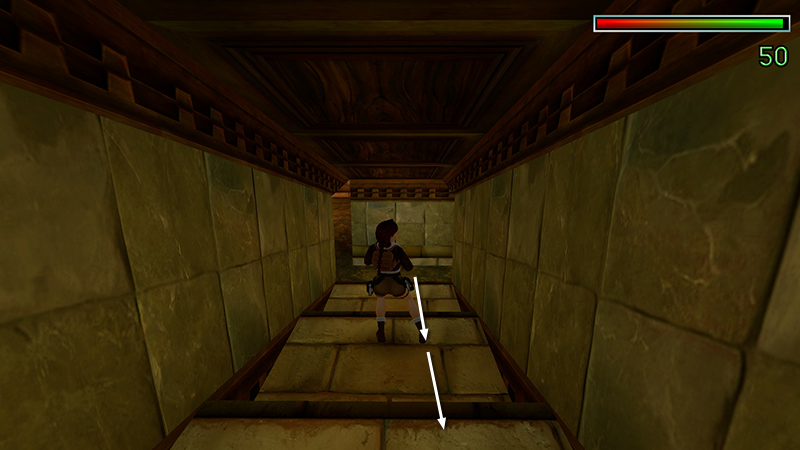
Turn around and hop backwards up the stairs.
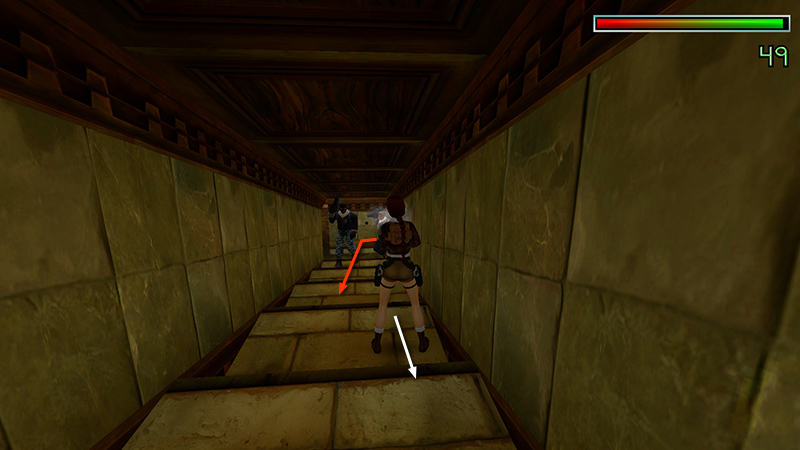
Then you can immediately target the enemies when they appear.
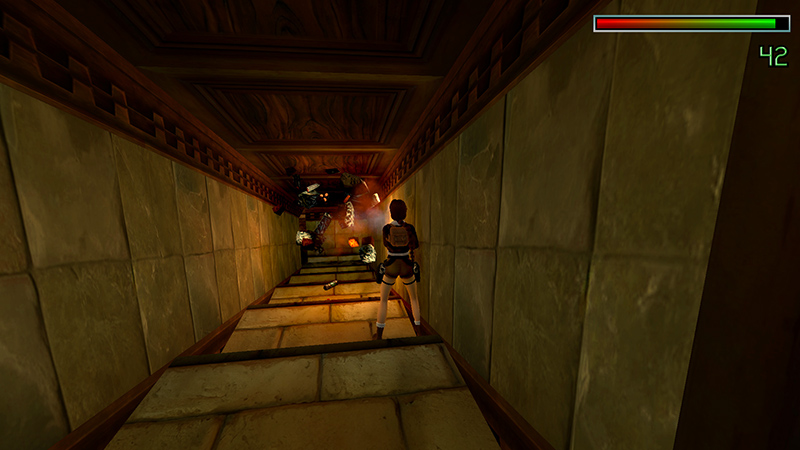
Keep firing and using medipacks until you've killed them all. (On normal difficulty, it'll take about 8 grenades.)
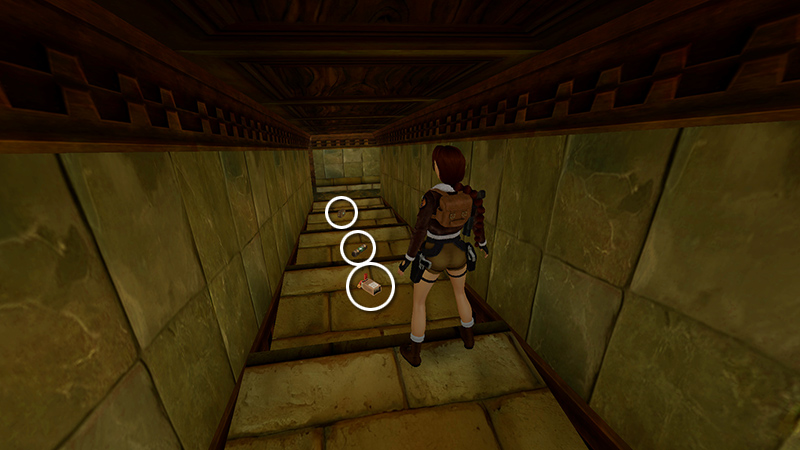
Then gather the leftovers: small and large medi packs plus some shotgun shells (28-30).
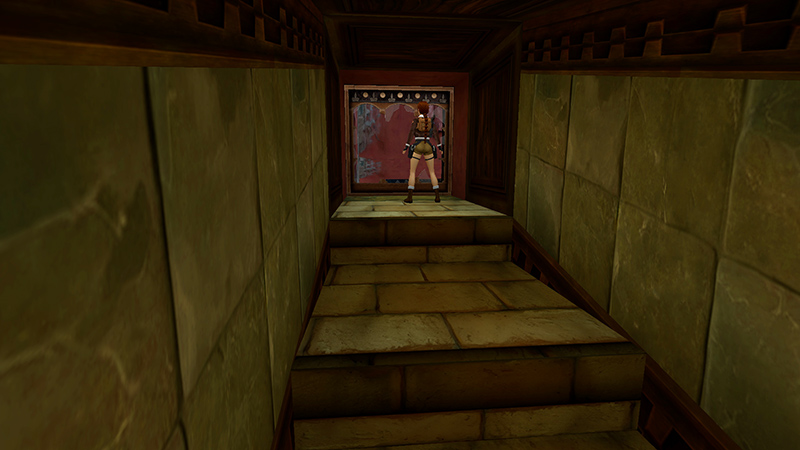
Shoot out the window at the top of the stairs (assuming the bad guys haven't already done it for you)...
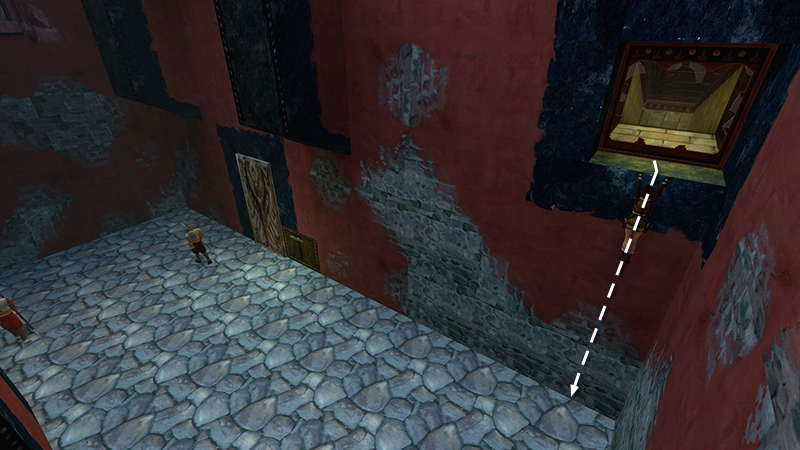
...and drop into the EXERCISE YARD, where you'll meet 3 monks (15-17). (Pick up the walkthrough below.)
NOTE: If you're fighting the monks, you'll probably want to shoot them from above before you drop down.
- OR -
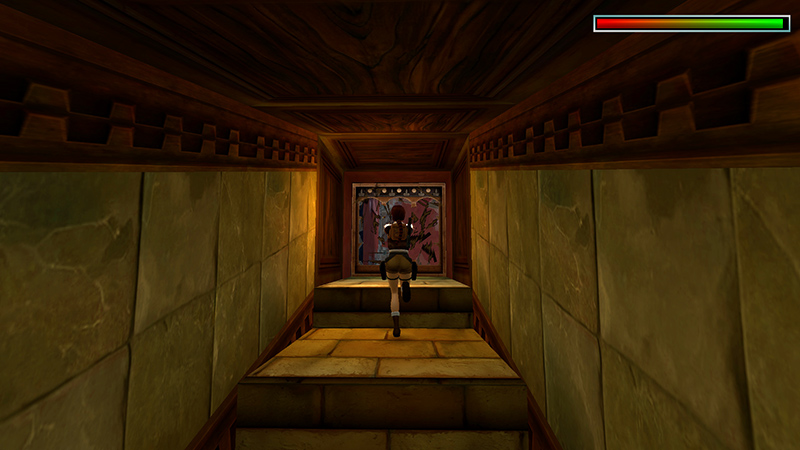
Alternatively, if you're not concerned with protecting the monks, you can enlist their help. Equip pistols, run to the top of the stairs, and shoot out the window.
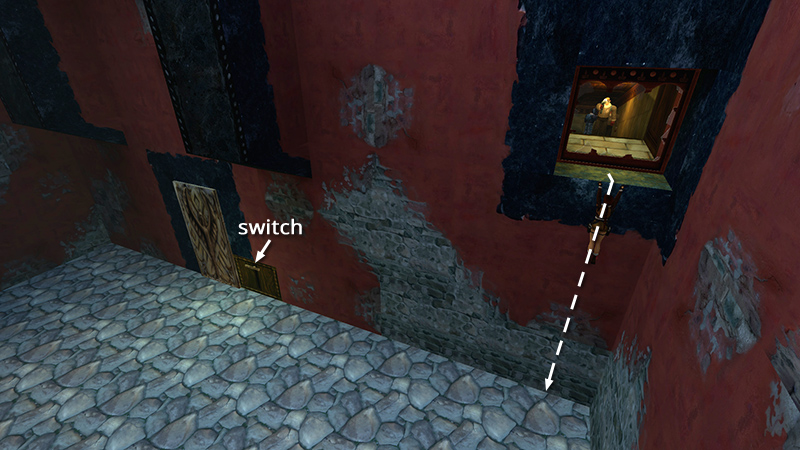
Then either run off the edge, taking a little fall damage; or roll, hop back, grab the windowsill, then drop into the EXERCISE YARD.
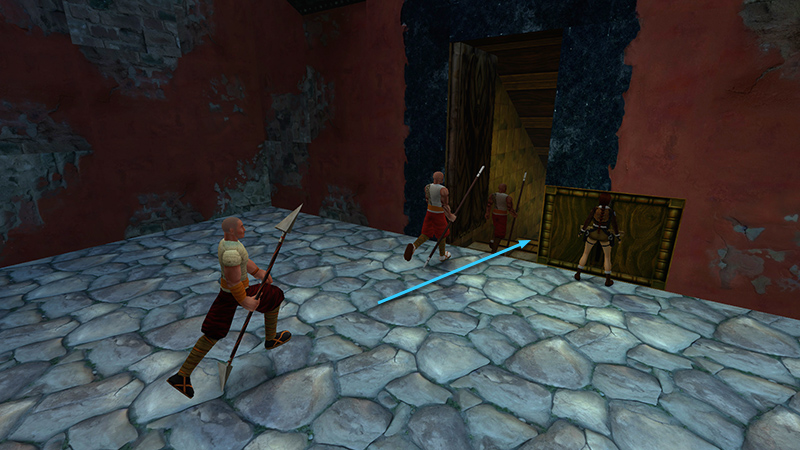
Use the switch there to open the door and let the monks into the hallway to fight the cultists.
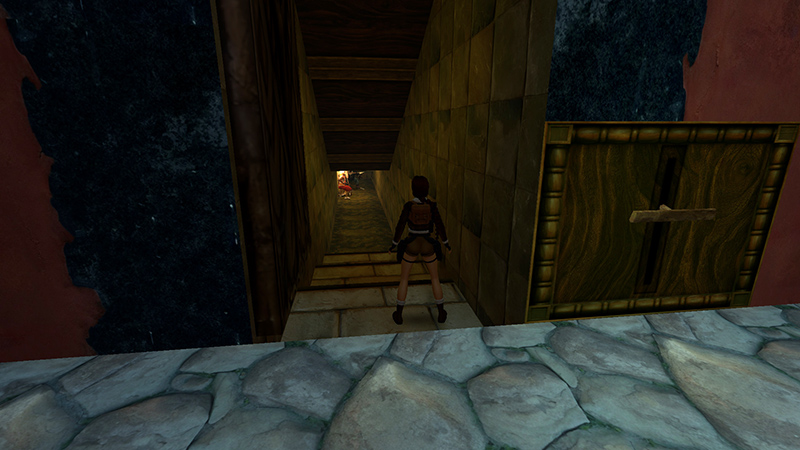
Some or all monks will inevitably die, so go inside and finish the job. Then pick up the health and ammo the bad guys dropped.
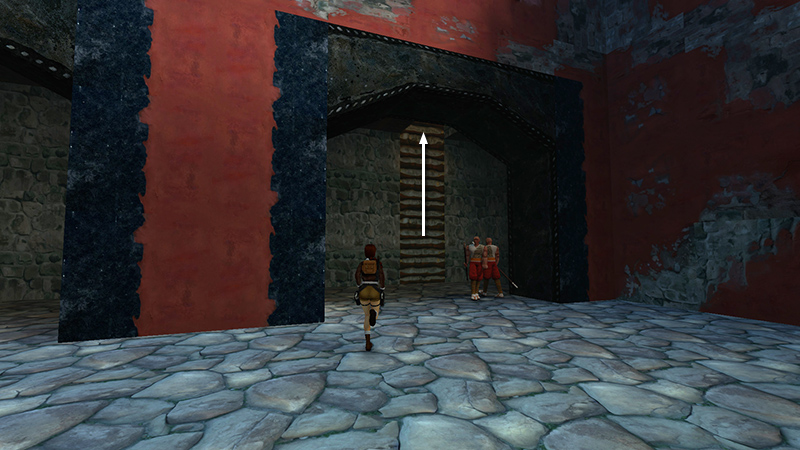
Cross the EXERCISE YARD to the alcove opposite the switch, and climb a series of ladders to the top of the TOWER.
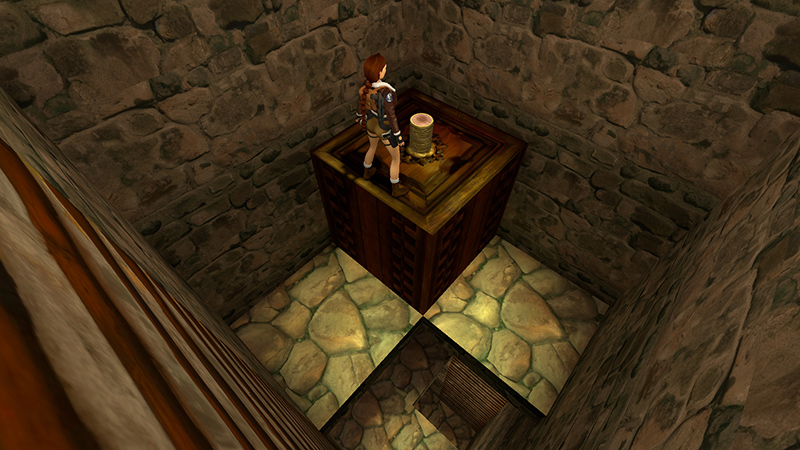
There you'll find the THIRD PRAYER WHEEL (31).
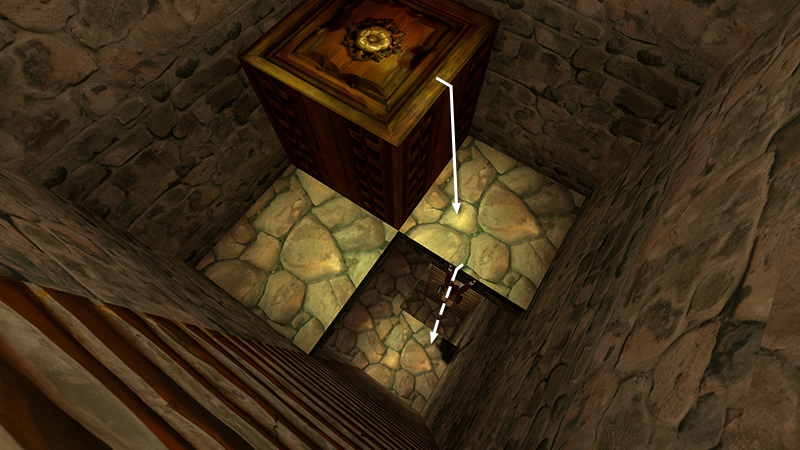
To descend without injury, hop down off the platform. Then safety drop through the square opening to the level below. Repeat to reach the ground.
DARK MODE: I plan to add optional dark mode for these pages, but my current priority is updating the walkthroughs. Meanwhile, may I suggest a reputable dark mode browser extension, such as Dark Reader? (Download only from trusted sites, like darkreader.org or your browser's official add-on/extension site.)
Walkthrough text and diagrams copyright © Stellalune (email ). Feel free to copy or print this walkthrough for personal use. By all means, share it with friends, but please include this credit line so people can send me their feedback. No part of this walkthrough may be reproduced on another site without permission.