Barkhang Monastery - "Per Aspera Ad Astra" Achievement/Trophy
Secret #1 (Jade Dragon) and Trapdoor Key
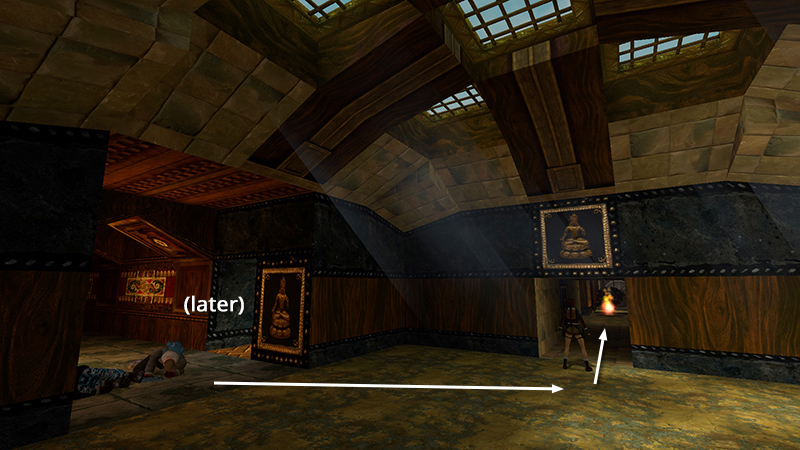
After dealing with 2 more enemies at the entrance to the SQUARE ROOM WITH SKYLIGHTS, as shown in the last section, exit through the smaller doorway. (Ignore the other passageway off the wide hall for now.)
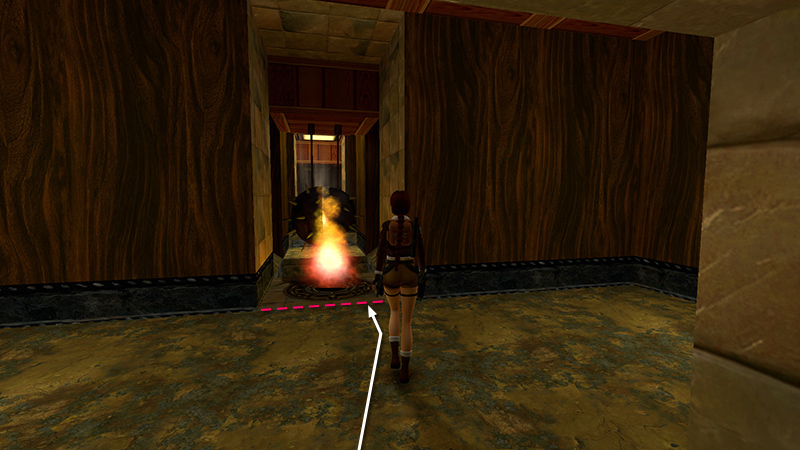
Approach the first in a series of traps. The "Per Aspera Ad Astra" achievement/trophy requires you to navigate this area and obtain the Jade Dragon secret without taking any damage. It looks awful, but you can do it in stages, saving as you go. First, approach the burner and stop just short of it.
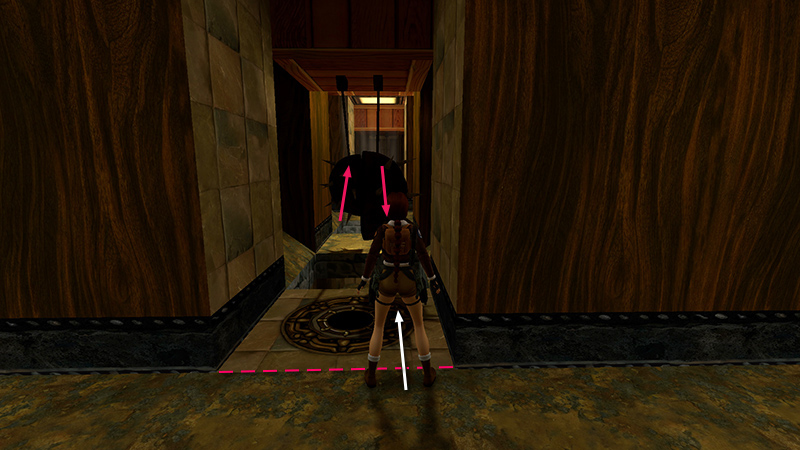
The flame shuts off and remains off while you stand here. Position Lara on either side of the doorway facing the burner and one of the swinging spiked hemispheres beyond. Wait for the spikes to swing toward you then run forward.
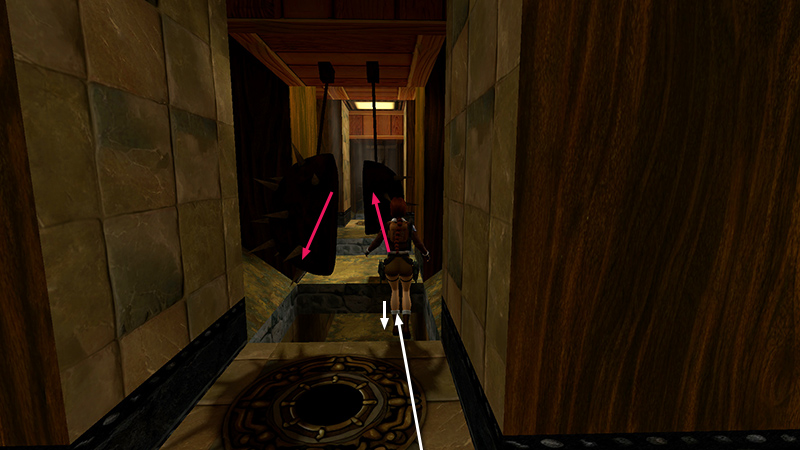
As you run, the spikes will swing away, so you can run off the edge into the shallow pit without getting hit.
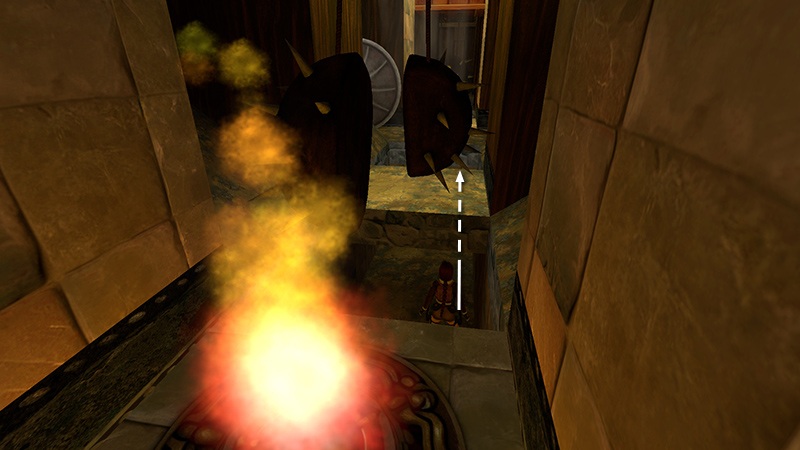
The burner will re-ignite behind you, but you won't return that way. Move to the far end of the pit...
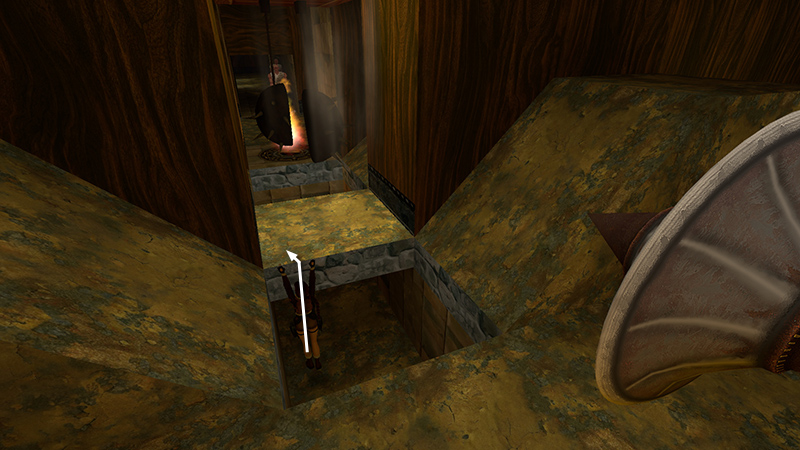
...turn around and pull up onto the ledge. Stay close to the edge to avoid the swinging spikes.
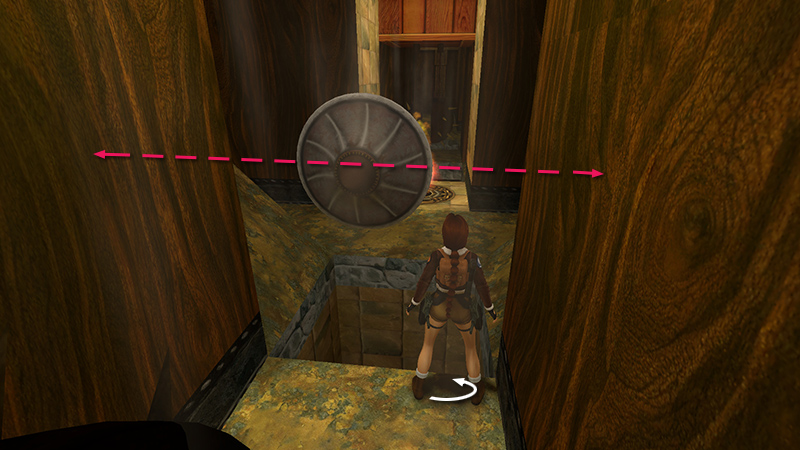
Turn to face the rolling blade and sidestep to the right side of the ledge.
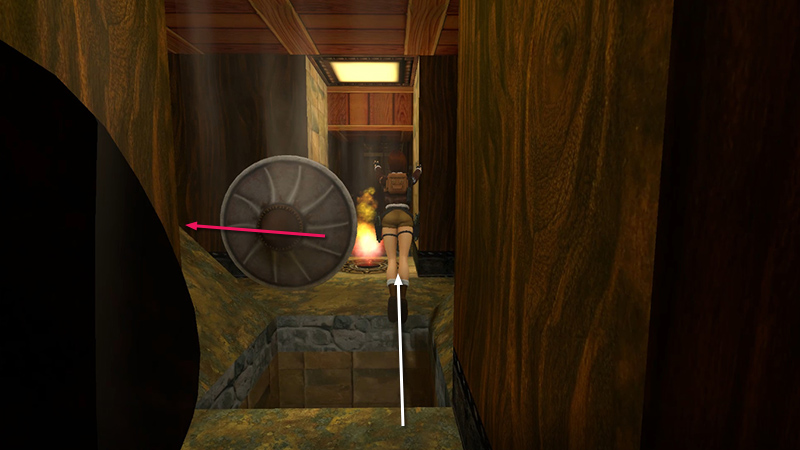
When the rolling blade moves to the left, jump onto the ledge in front of the next burner, which will then go out.
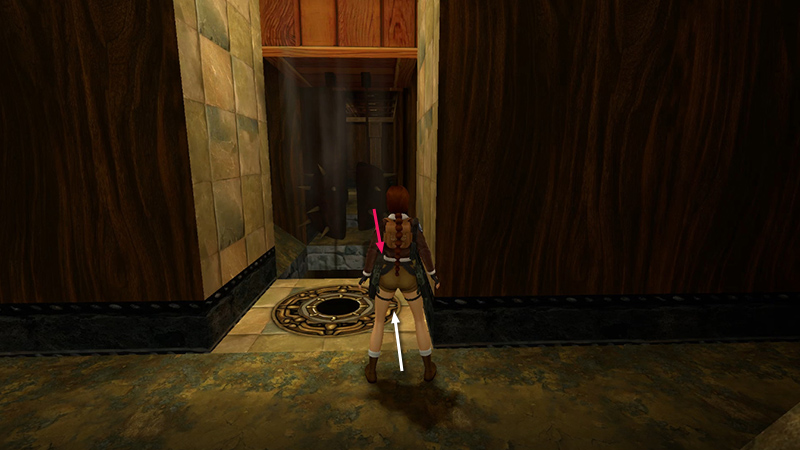
Wait just long enough for the swinging spikes directly in front of you to swing toward you. Then run across the burner...
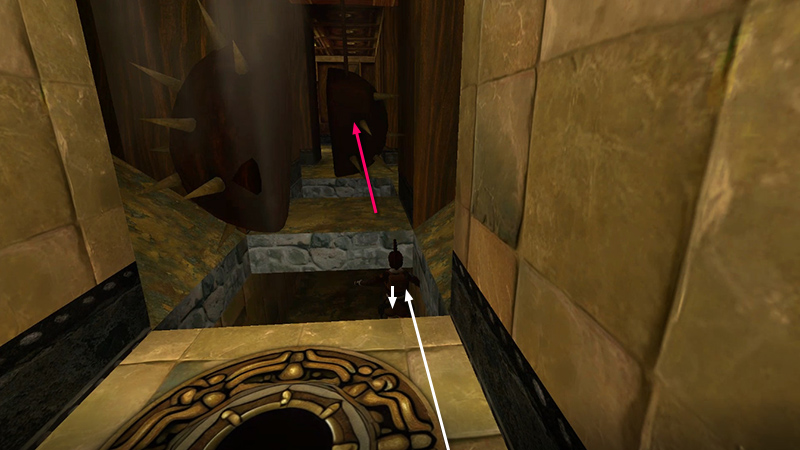
...and off the edge as the spikes swing away.
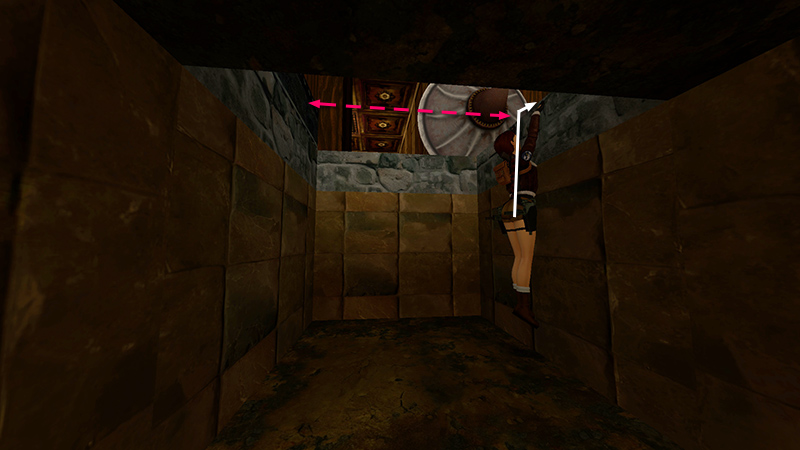
Continue underneath as far as you can go. Then climb out of the pit on the right to avoid the second rolling blade above.
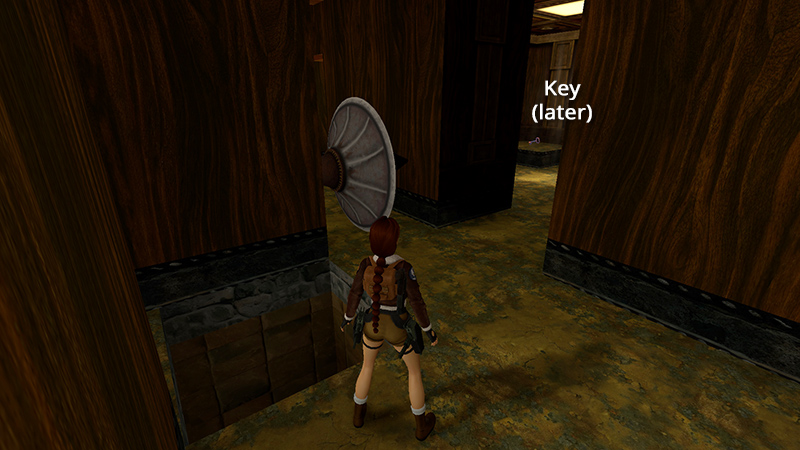
You can see the TRAPDOOR KEY in the next room, but first take a little detour for a secret.
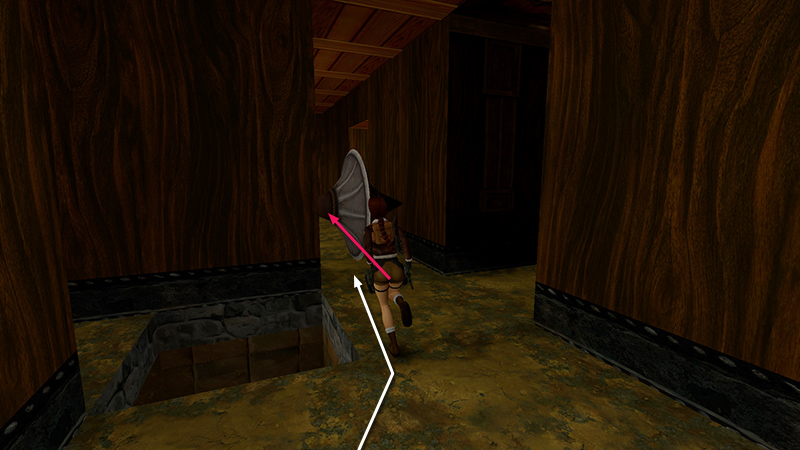
As the rolling blade moves away, run after it...
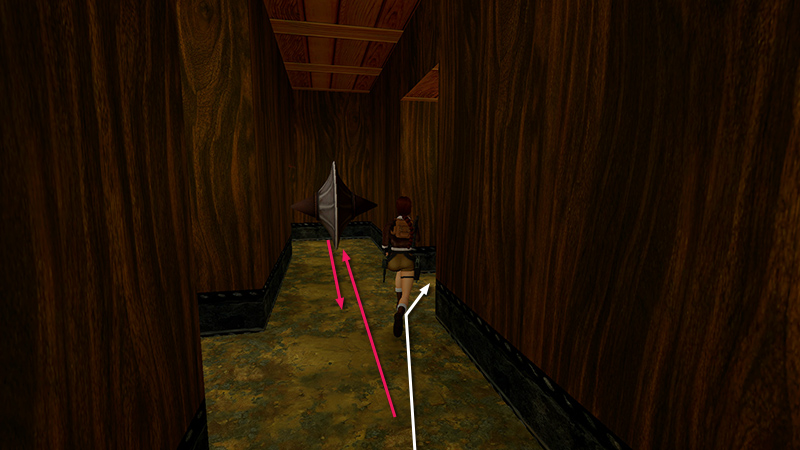
...into the alcove on the right.
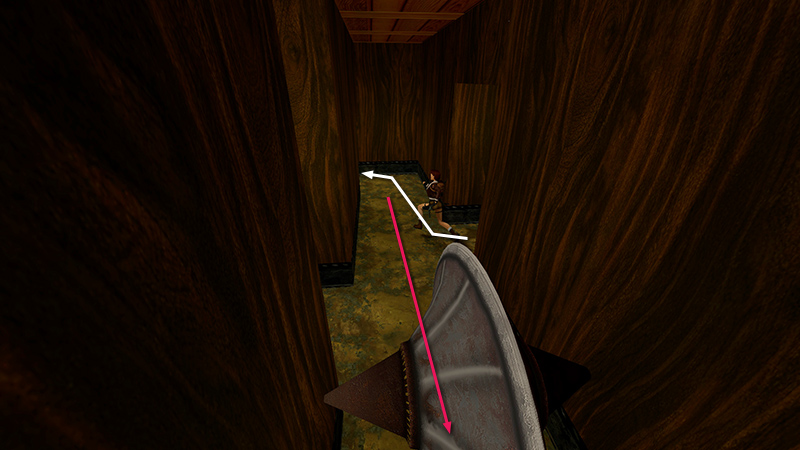
Wait for the blade to roll back the way it came. As soon as it passes, run to the end of the hallway and into the doorway on the left. Stop there...
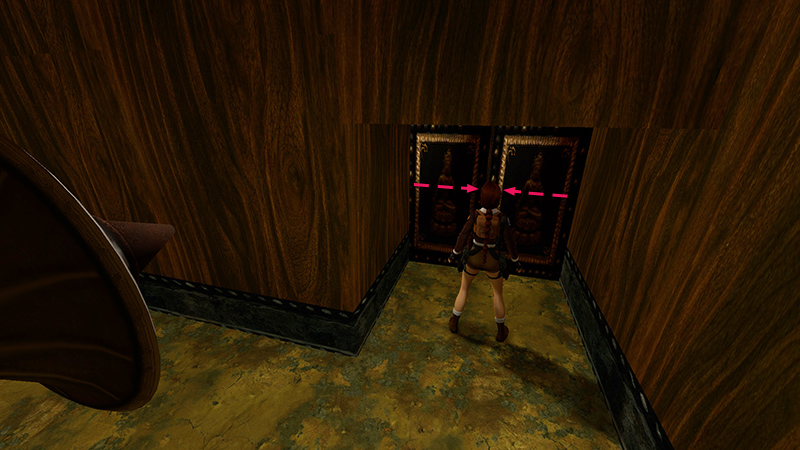
...so you don't run into the clamping doors ahead. Stand close to the doors...
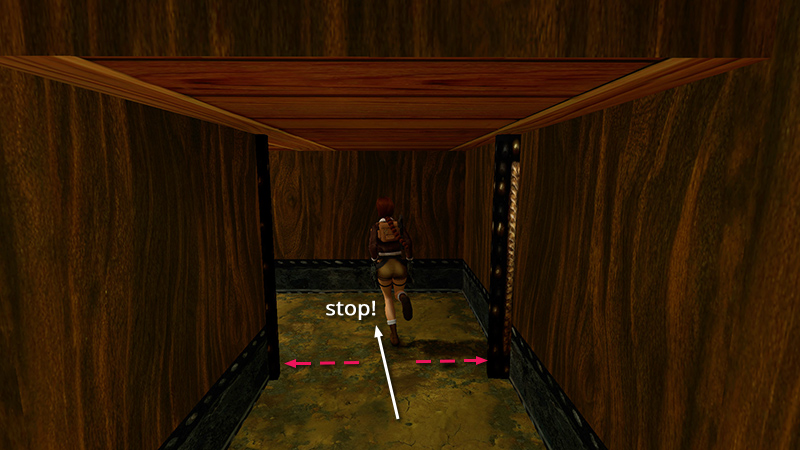
...and run through just as they begin to separate.
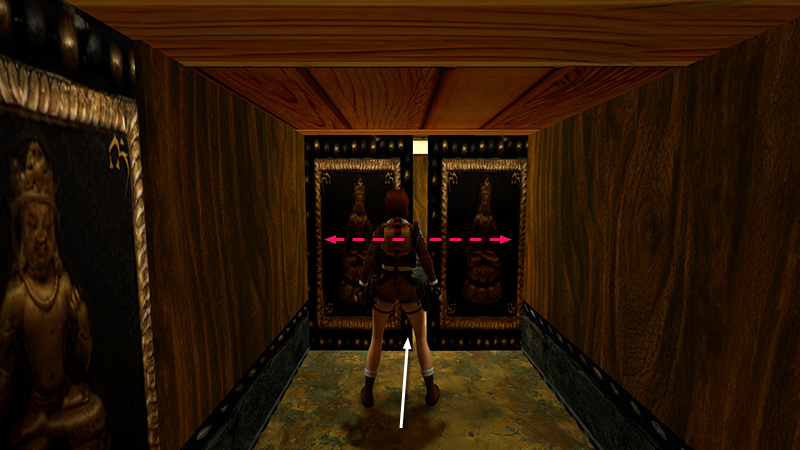
Repeat for the second set of doors. Stand close and run forward just as they begin to open.
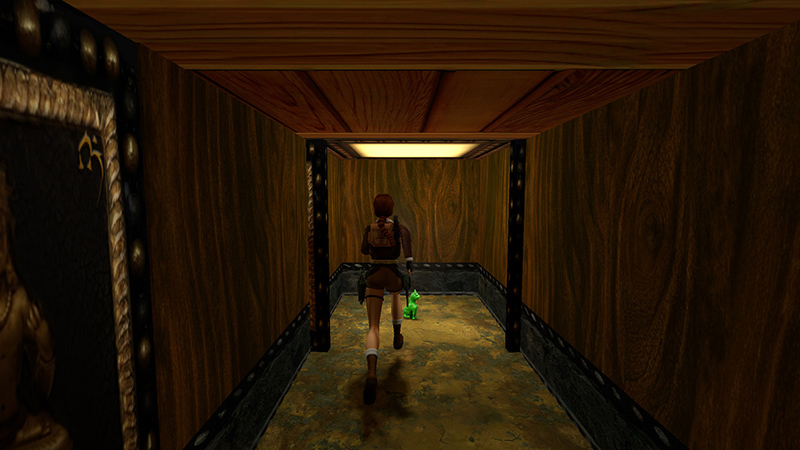
Just beyond them, pick up SECRET #1, the Jade Dragon (34).
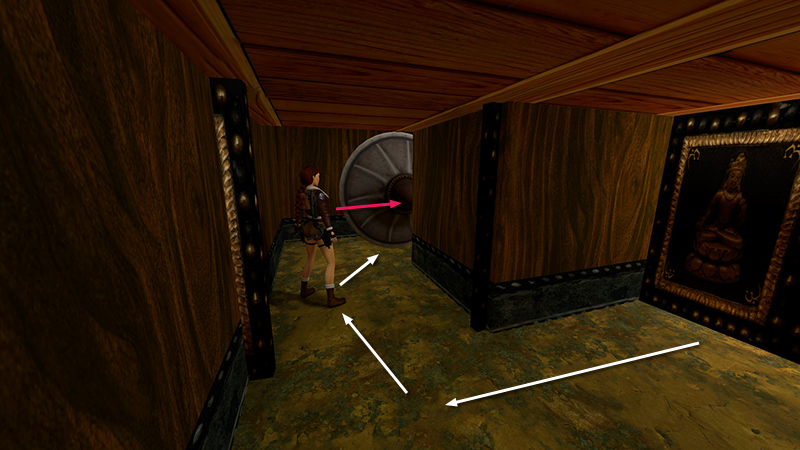
Return carefully past both sets of clamping doors, and pause just beyond the second set. Wait for the rolling blade to approach and move away. Then run after it.
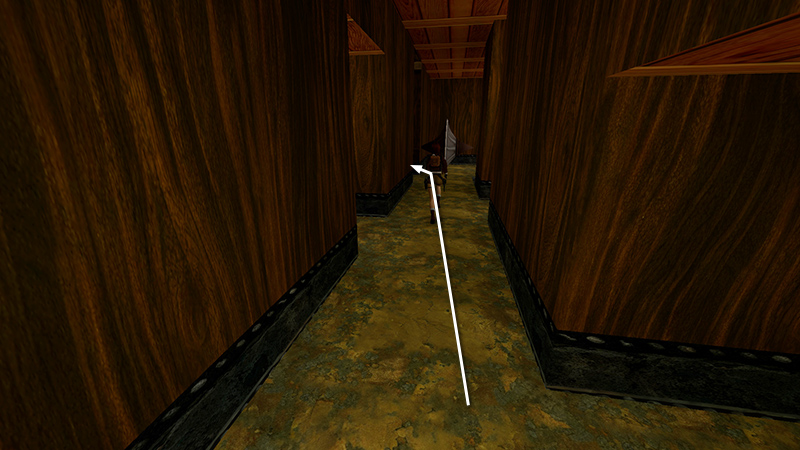
You can pause in either of the side alcoves if you like, or just make a dash for the doorway ahead on the left.
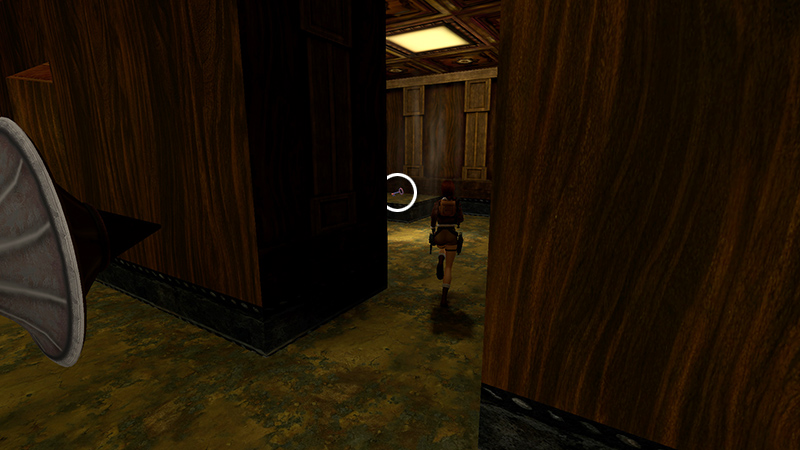
Take the TRAPDOOR KEY (35) from the pedestal.
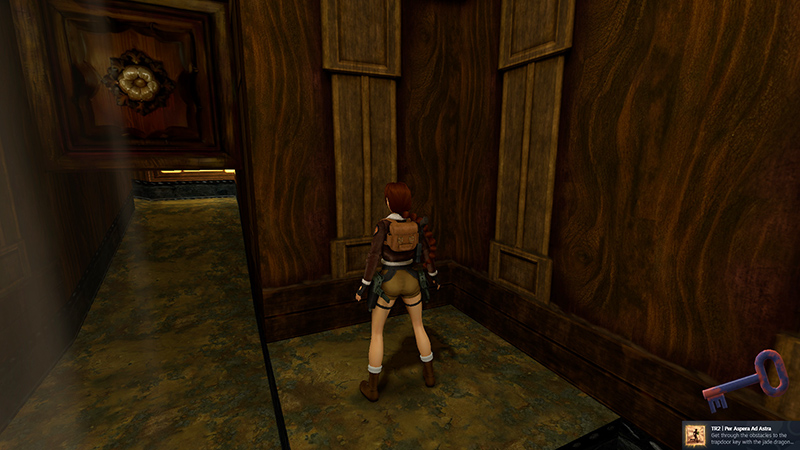
If you were able to get the secret, then the key, without taking any damage, the achievement/trophy will pop.
DARK MODE: I plan to add optional dark mode for these pages, but my current priority is updating the walkthroughs. Meanwhile, may I suggest a reputable dark mode browser extension, such as Dark Reader? (Download only from trusted sites, like darkreader.org or your browser's official add-on/extension site.)
Walkthrough text and diagrams copyright © Stellalune (email ). Feel free to copy or print this walkthrough for personal use. By all means, share it with friends, but please include this credit line so people can send me their feedback. No part of this walkthrough may be reproduced on another site without permission.