Mission of San Juan – Crypt of Huascar, The Syncretist (part 1)
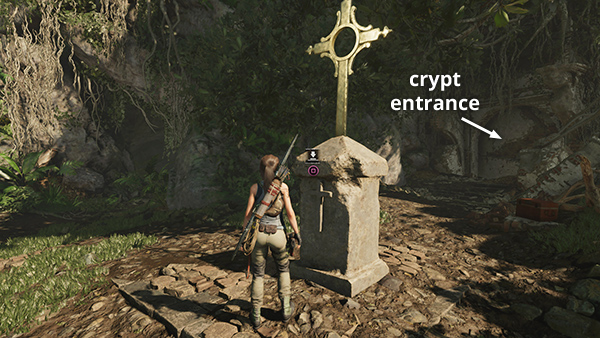
Press the button on the monument's stone base to open the nearby CRYPT ENTRANCE. That's where you'll need to go to Find Isabela.
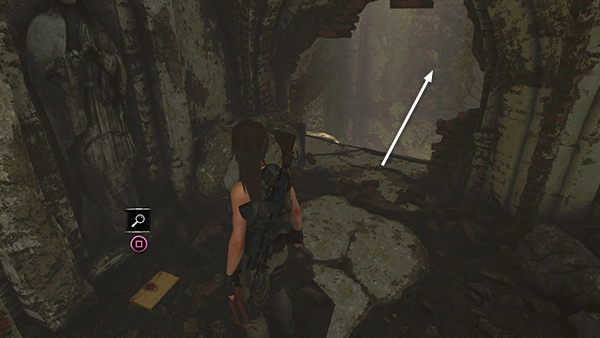
Just inside on the left is a document (7/27), The Chosen One (Cult of de la Cruz). Examine it. Then jump off the edge and latch onto the climbable wall above the deep shaft.
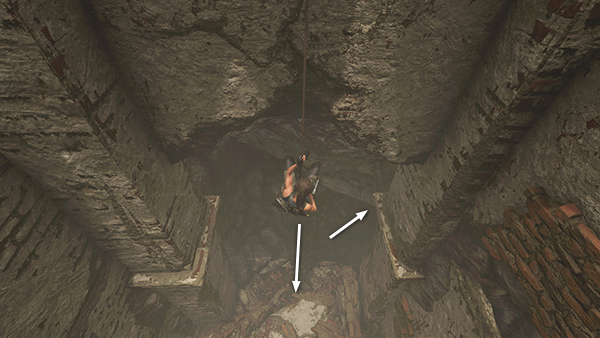
Rappel down to the bottom.
Move through the low tunnel...
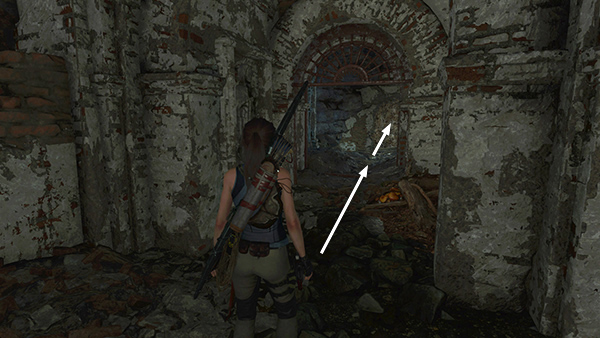
...to emerge in a corridor with brick walls and arches. Follow it to the end and jump across another deep hole onto another climbing wall.
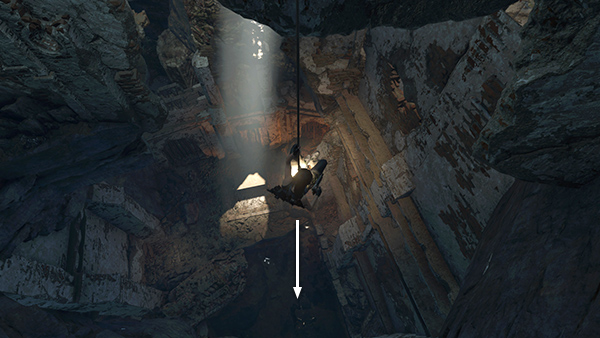
Climb/rappel down as far as you can, then drop into the pool below. Pry some jade out of the southeast wall of the pool.
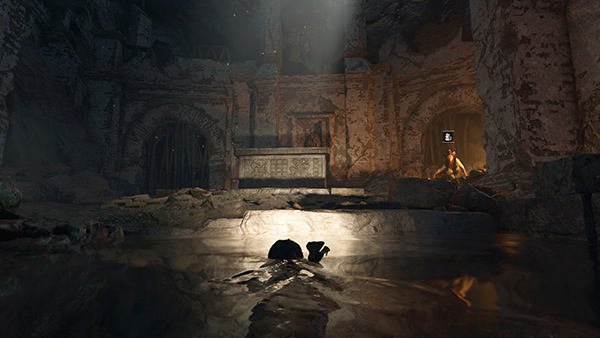
Then climb out and Speak to Isabela. After Isa tells her story, Lara offers to go and get help. You must now find a way to Exit the Ruins. First, open the sarcophagus to receive 750 gold pieces and a Vestige: Cantu's Gilded Vest, which gives extra XP when hunting. Go ahead and steal these treasures right out from under the local archaeologist's nose. You're Lara Croft, dammit! ;)
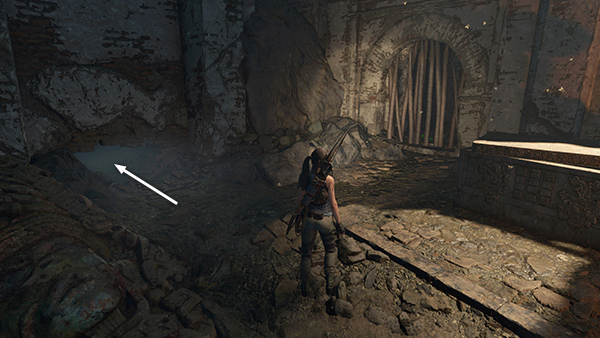
There's some jade behind the wooden bars, but you can't reach it from this side. Crawl through the low opening to the southeast.
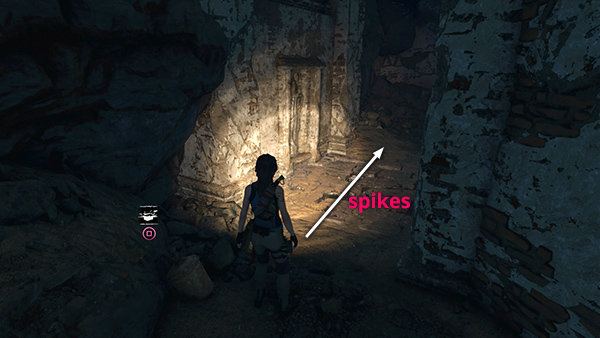
There's a T-intersection on the other side. Go to the right first. Loot the resource container and jump over the concealed spike pit.
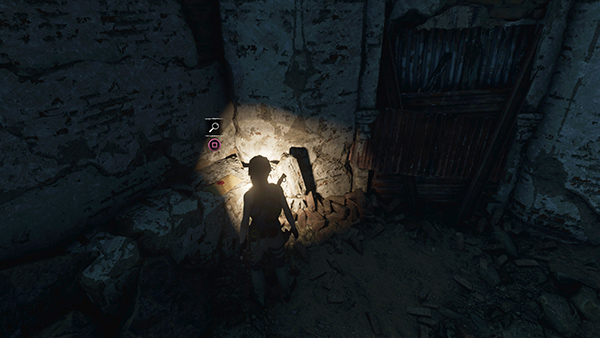
In the little room beyond the spikes, examine another document (8/27), Believer's Journal (Cult of de la Cruz).
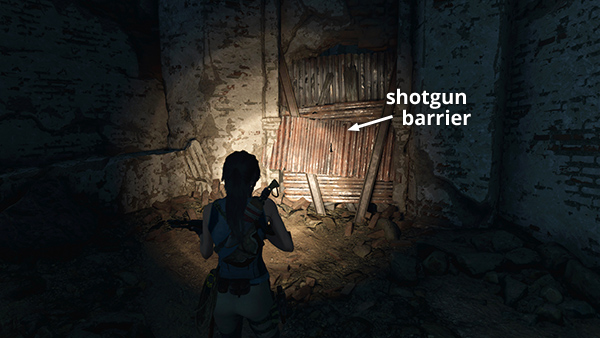
Use your shotgun to blast through the metal barrier to find another resource container and the jade ore you glimpsed through the bars earlier. Then return across the spike pit to the T-intersection.
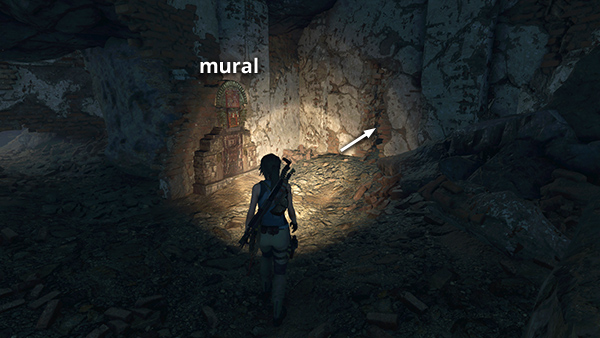
Examine the mural (1/4), Huascar, The Syncretist (Quechua/Resting Places). Then squeeze through the narrow opening to the right of the mural.
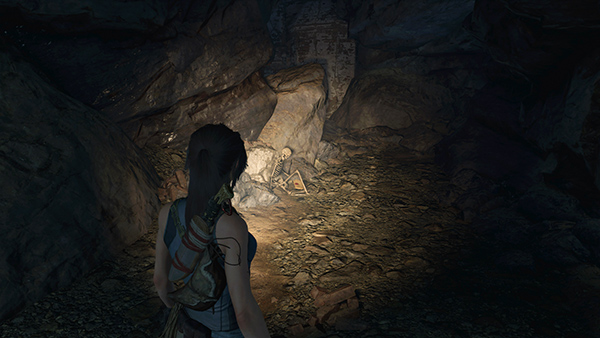
The next document (9/27), Hubris (Cult of de la Cruz), is sitting near what remains of its author, just ahead.
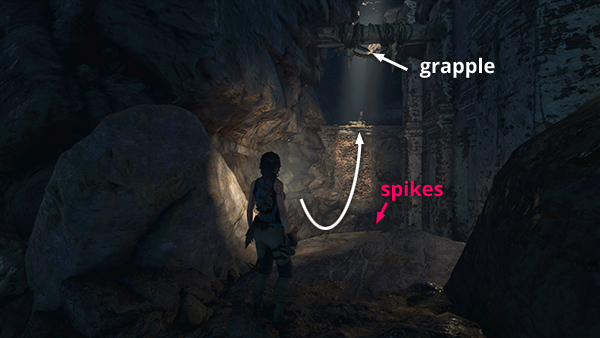
Proceed around the corner to the left then grapple-swing
across the large spike pit to the ledge above the climbable wall on the far side.
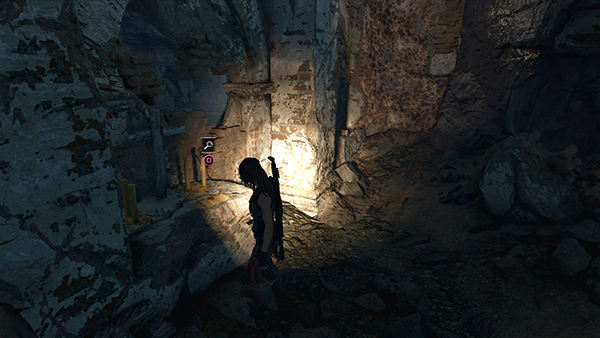
There's another document (10/27), Pure of Heart (Cult of de la Cruz), sitting on a little shelf on the left. Check it out.
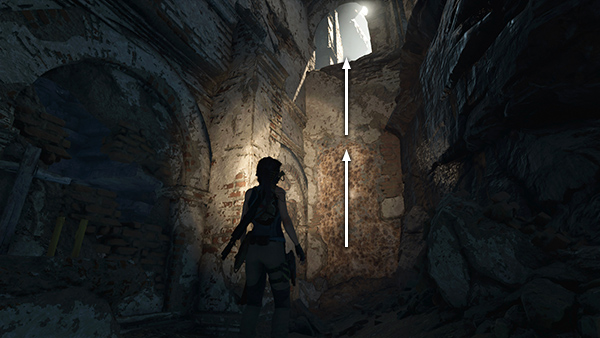
Then climb the rough wall at the end of the passageway to reach the well-lit doorway above.
[Previous | Next | Mission of San Juan Walkthrough]
Copyright © - Stellalune ( ). All rights reserved. Feel free to copy or print this walkthrough for personal use. By all means, share it with friends, but please include this credit line so people can send me their feedback. No part of this walkthrough may be reproduced on another site without permission. Follow this link for details about this site's advertising and privacy policy.