Mission of San Juan – Path of Crosses and Crypt Entrance
(Includes Black Wolf Den)
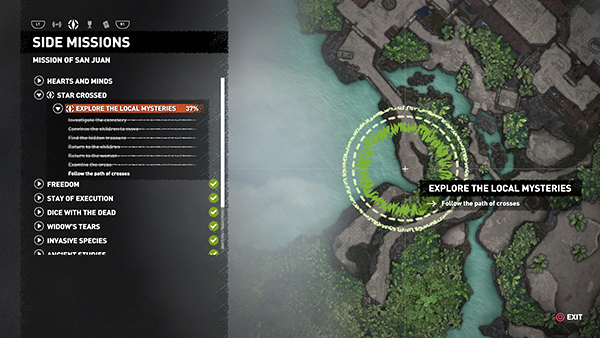
Now back to following
the path of crosses. If you like, you can head directly to the area marked on your map.
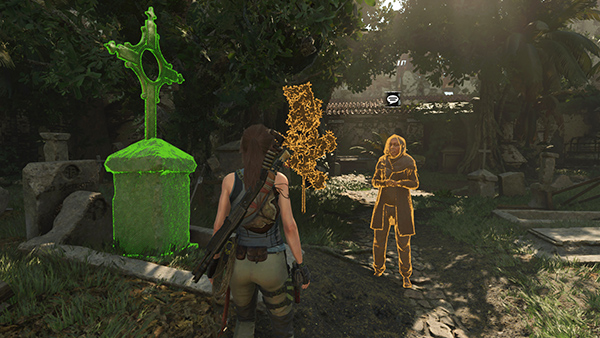
Or, if you'd rather do the detective work yourself, start at the first cross—the one that Lara and the herbalist raised.
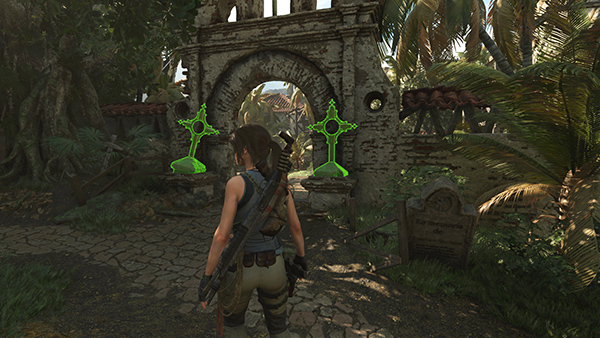
You'll find the next 2 crosses on the other (northwest) side of the GRAVEYARD. Return through the archway there...
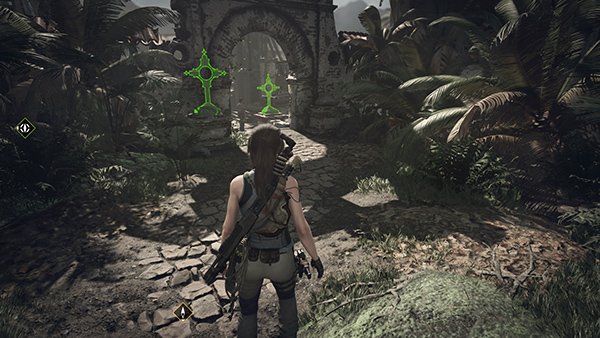
...then past the 4th and 5th crosses, through the next archway back into the COURTYARD.
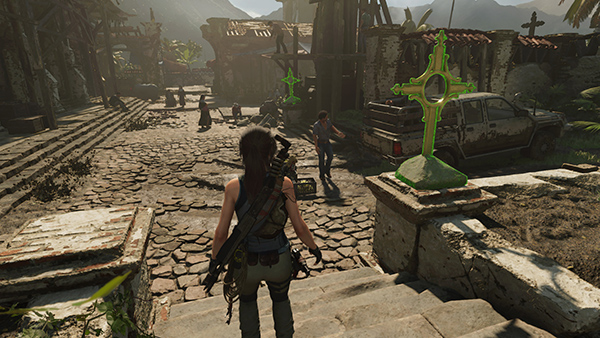
The 6th cross is just ahead on the right side of the courtyard.
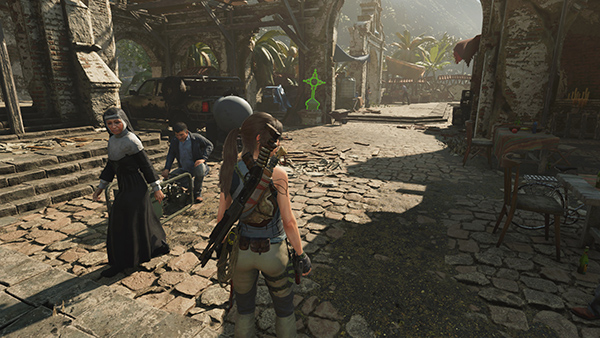
The 7th cross is near the large archway just beyond the parked truck on the left.
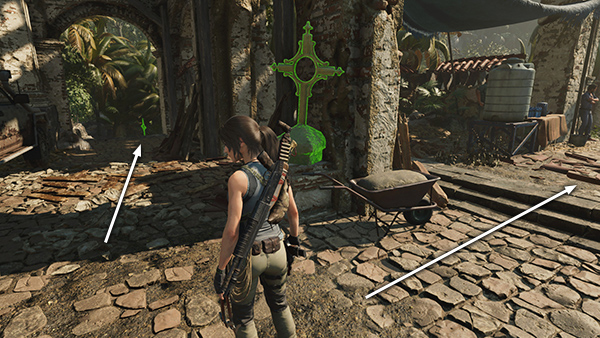
Here you could go either way, out the southwest COURTYARD entrance and along the road, where there are more crosses (not shown), or down the steps to the southeast. We'll go southeast.
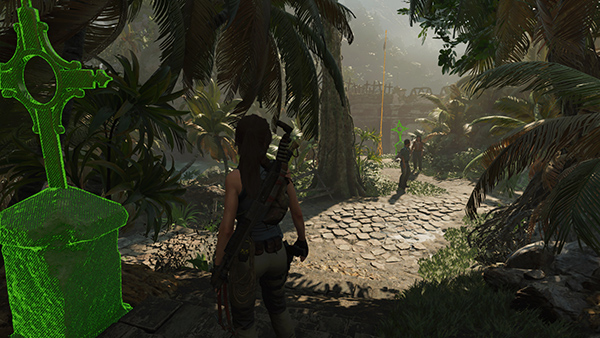
If you stop near the 7th cross, on the way down the stairs, you can see the 8th cross just beyond where Sara and Guillermo are standing.
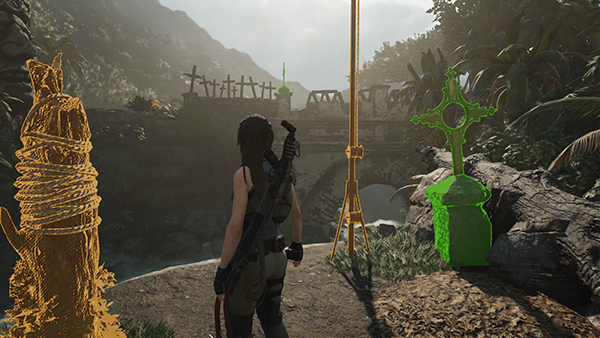
The 9th cross is on the bridge on the other side of the river.
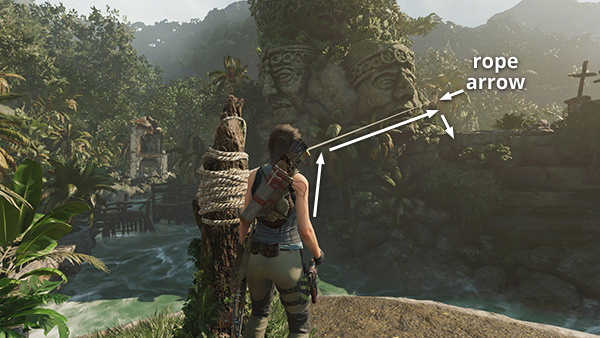
Use a rope arrow to run a line between the 2 rope-wrapped posts and climb across to the stone faces.
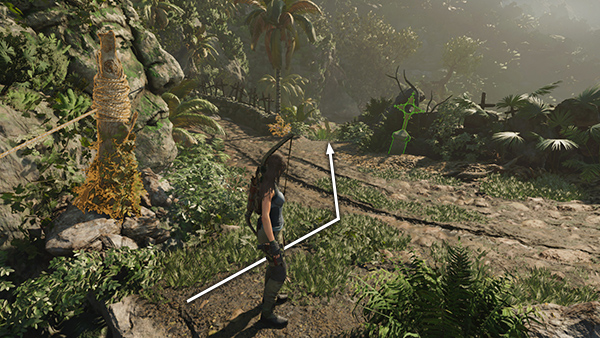
Cross the road and head down the path just to the left of the 10th cross.
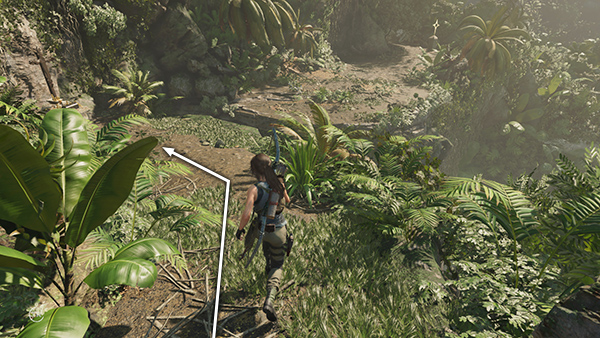
The final cross is visible in the distance. As you follow the path down to the left...
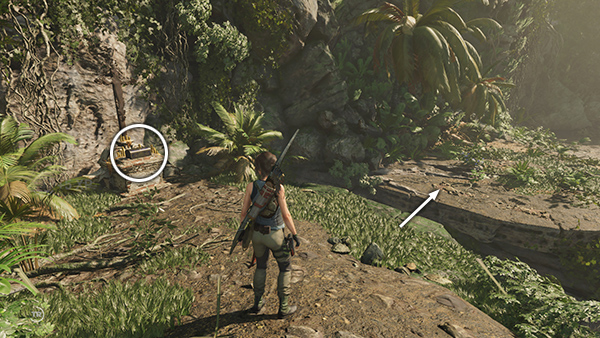
...to find a relic (2/9), Faded Writing (The Missionary). Then jump across the gap to the south.
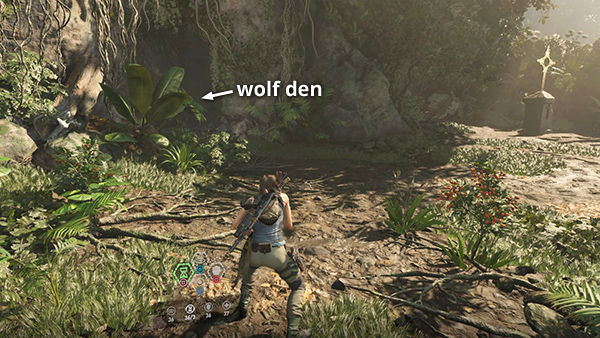
Before you Investigate the
Final Cross, you may want to explore the WOLF DEN on the left. The wolves won't come out as long as you avoid the cave entrance, so you can always return later if you like. There are health and endurance herbs growing here if you need them, and if you use a dose of focus herbs before entering the cave...
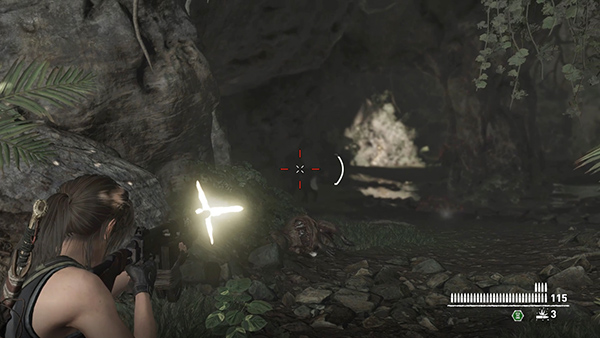
...you can probably kill the black wolf...
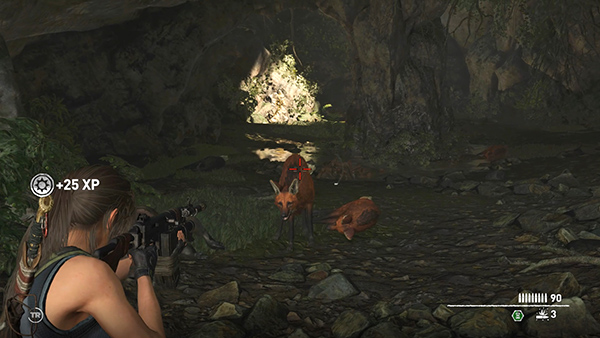
...and its den mates before the time-slowing effects wear off.
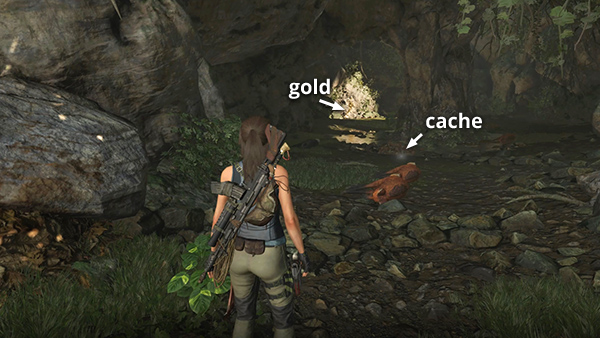
Collect the regular and black wolf hides, dig up a survival cache (1/8) near the stone column in the middle of the cave, and pry some gold ore out of the back wall. Then return outside to the cross.
[Previous | Next | Mission of San Juan Walkthrough]
Copyright © - Stellalune ( ). All rights reserved. Feel free to copy or print this walkthrough for personal use. By all means, share it with friends, but please include this credit line so people can send me their feedback. No part of this walkthrough may be reproduced on another site without permission. Follow this link for details about this site's advertising and privacy policy.