Mission of San Juan – Crypt of Huascar, The Syncretist (part 2)
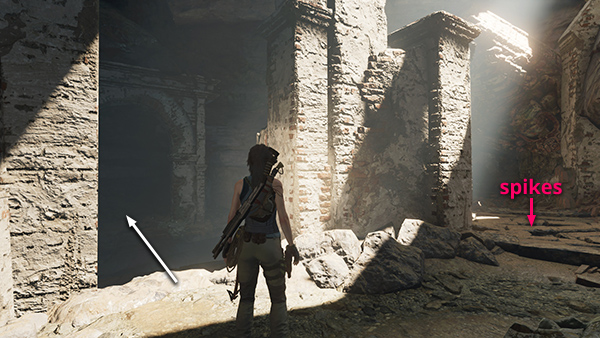
There's another concealed spike pit just ahead, but don't cross it yet. Instead, move into the doorway on the left and jump across the gap to the ledge on the south side of the shaft above the sarcophagus.
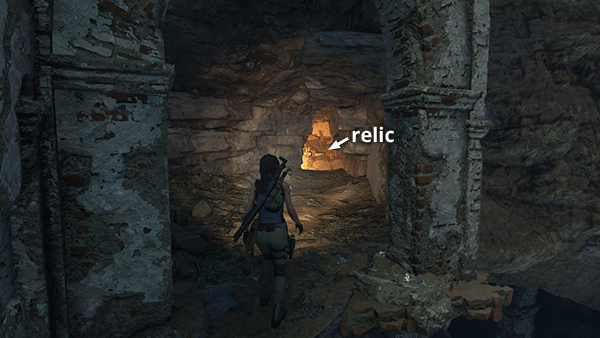
Continue to a small, candle-lit cave to find a relic (3/9), a Wheel-Lock Pistol (Angel de la Cruz). Return to the edge, jump back across the shaft, then turn left...
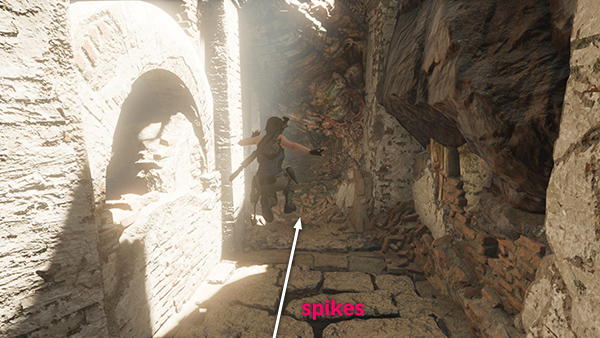
...and jump over the concealed spikes. Move through the low tunnel.
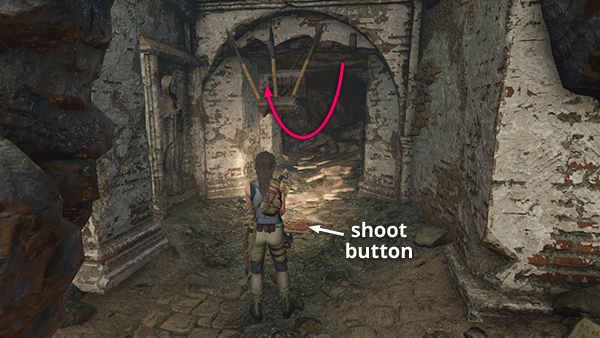
As you emerge, advance carefully. There's a swinging spike trap ahead. Either jump over the square button on the floor to avoid triggering the trap, shoot the button to trigger the trap before you pass (as shown above)...
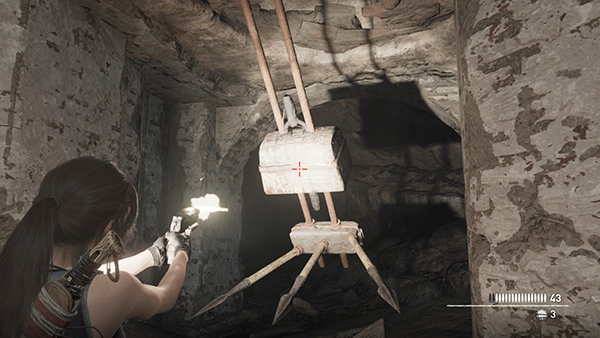
...or trigger it and then quickly shoot the wooden block above the spikes as they descend. This will destroy the trap before it hits Lara. If you fail and she dies, the game will reload down at the sarcophagus and you'll need to climb back up to this point and try again.
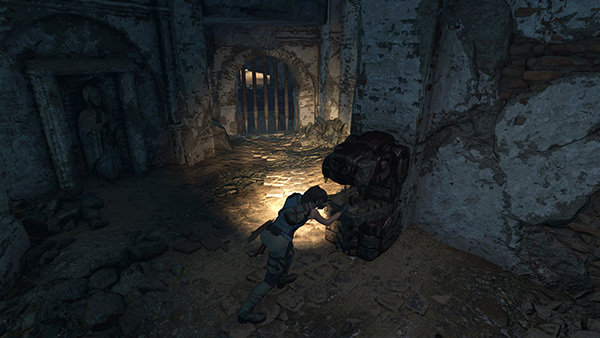
In the room beyond the trap, use the jaguar-head switch to open the bars.
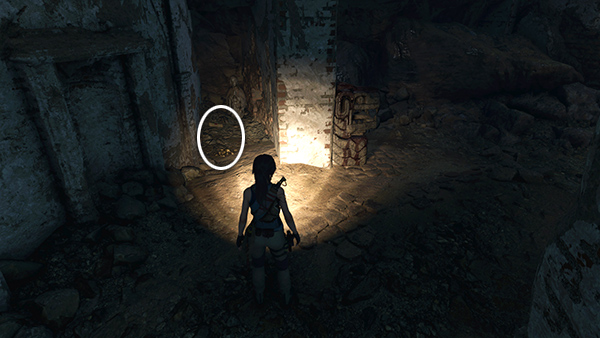
But before proceeding, turn around to face the switch. In the little alcove to the left of it there's a
document (11/27), Demons (Cult of de la Cruz), and some gold ore.
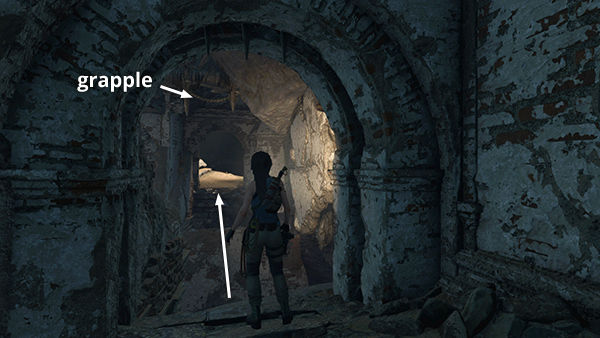
Now move into the doorway and grapple-swing across the gap to the other side.
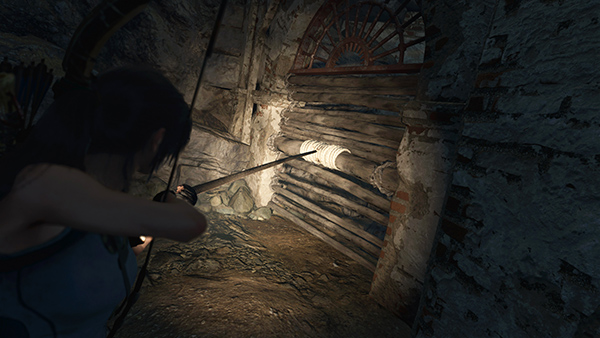
Climb onto the ledge on the right and use a rope arrow to pull down the wooden barrier.
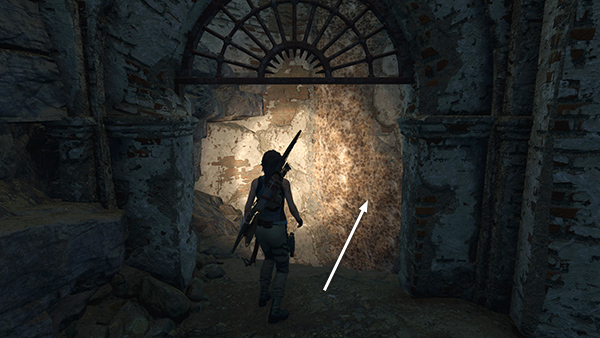
Jump from the doorway and latch onto the U-shaped climbable wall.
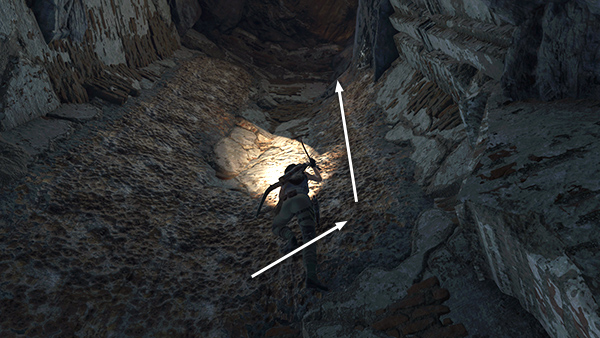
Climb up along the right side of the U to reach the ledge above. Now the goal is to Return to Guillermo.
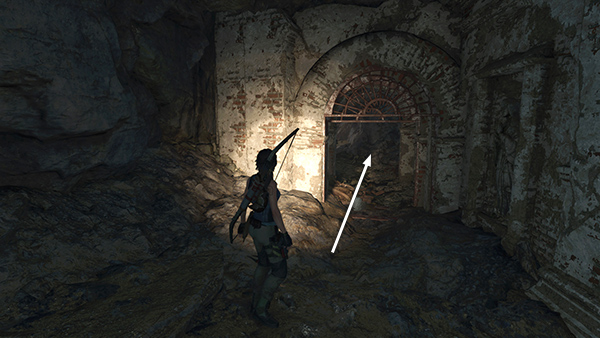
Go through the doorway and continue along the low tunnel...
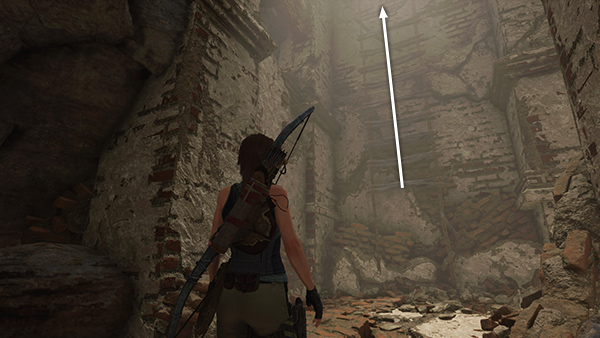
...to arrive at the bottom of the shaft where you first entered the crypt. Climb the ladder to get back to the surface.
[Previous | Mission of San Juan Walkthrough]
Copyright © - Stellalune ( ). All rights reserved. Feel free to copy or print this walkthrough for personal use. By all means, share it with friends, but please include this credit line so people can send me their feedback. No part of this walkthrough may be reproduced on another site without permission. Follow this link for details about this site's advertising and privacy policy.