Mission of San Juan – Thirsty Gods Challenge Tomb (part 2)
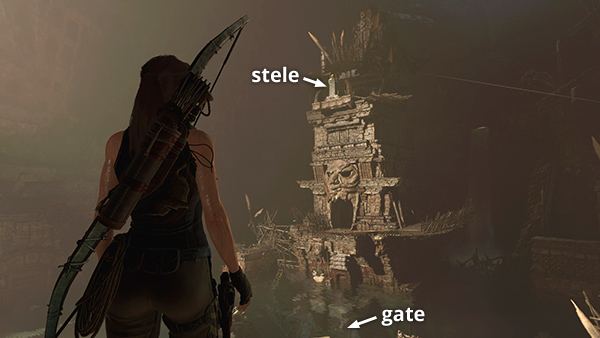
As you enter the tomb, you get a wide-angle view of a sinister-looking tower. The tomb stele is visible at the top, but there's no obvious way to climb up. The way in is through the gate on the front of the tower, below the surface.
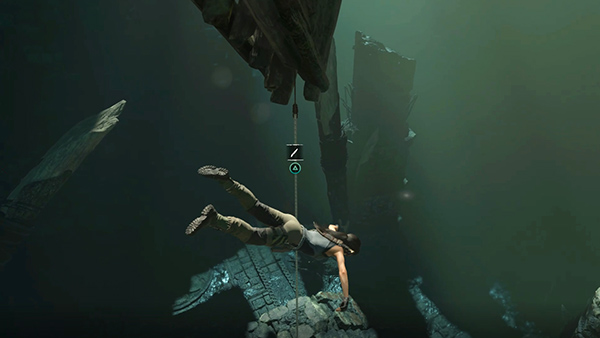
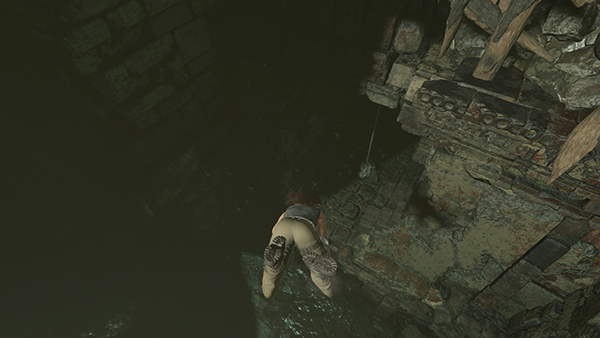
There are just two problems: The gate is closed tight, and the piranhas you saw earlier have met up with a few sister schools and now patrol the pool below.
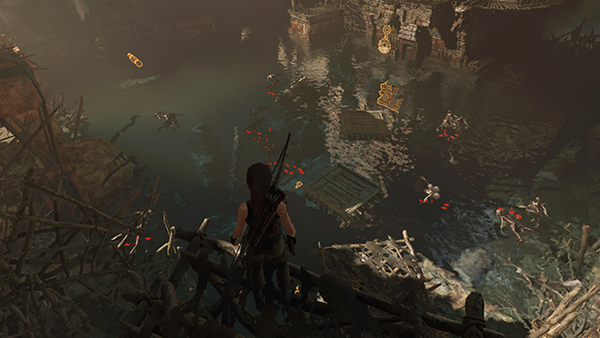
Rather than diving into the water and risking a feeding frenzy, jump down onto the ledge below. Then jump from there to the first wooden raft, then the second raft.
From there, you can see a third raft, anchored to the bottom with a rope.
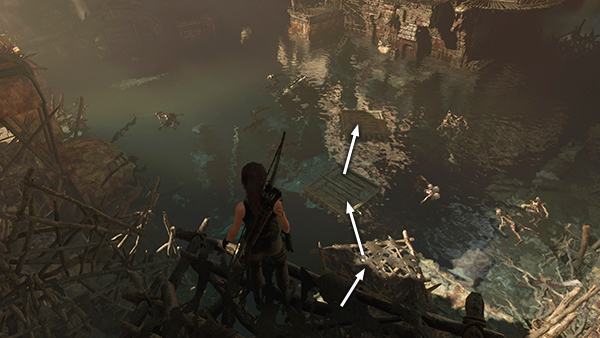
It's almost impossible to avoid the piranhas completely, but if you wait until none of the schools are too close to the third raft, then swim down and cut the rope as quickly as you can...
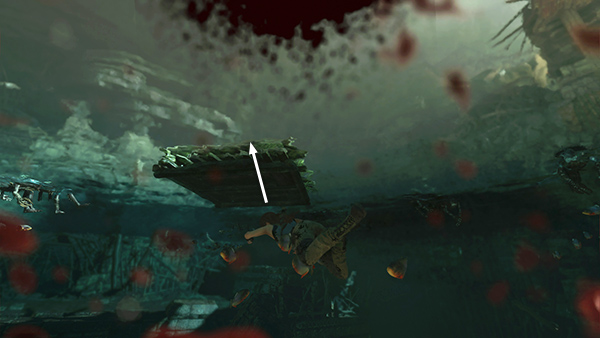
...you should be able to turn around, swim back to the surface and climb out on the second raft before Lara takes too much damage. If Lara dies, as long as you've cut the rope first, the game should reload with the third raft already at the surface so you don't have to do it again.
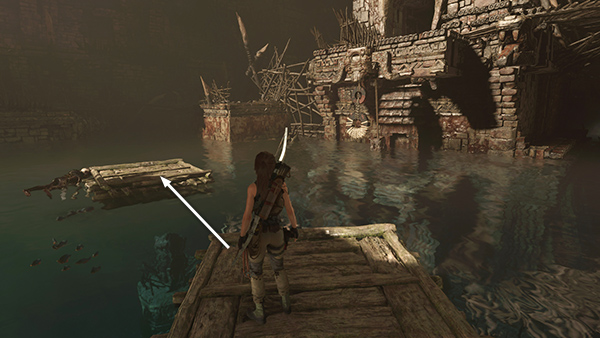
Now jump from the second raft to
the third. If Lara falls short and lands in the water, climb out quickly.
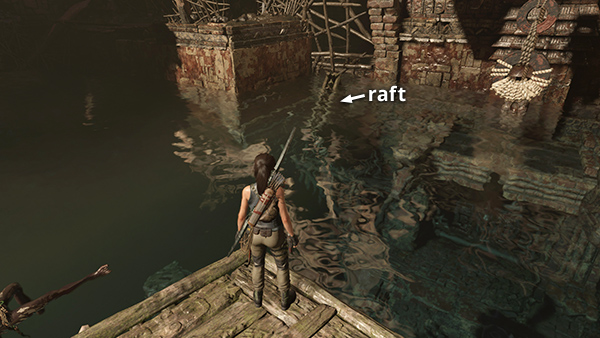
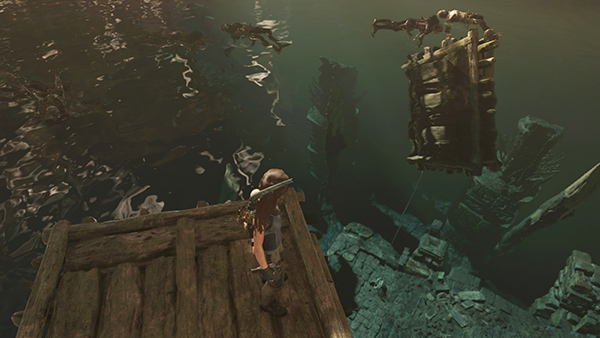
The next wooden raft is near the front of the tower, just to the left of the rope-wrapped ring. Like the previous raft, it's tethered to the bottom with a rope. The piranhas won't come too close to the building, so it's safe to swim quickly toward the tower.
Then you can take your time swimming down to the bottom, where the rope is anchored.
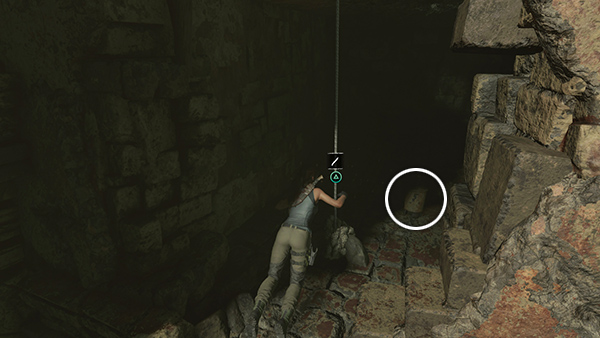
Cut it and loot the nearby resource canister. Then return to the surface.
Now move to the front right corner of the tower, again staying close to the building so the piranhas don't notice.
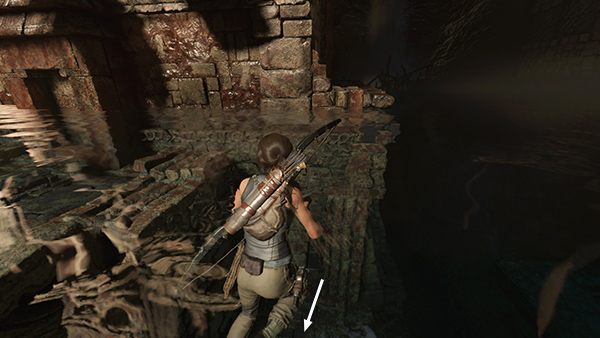
Swim down and away from the building...
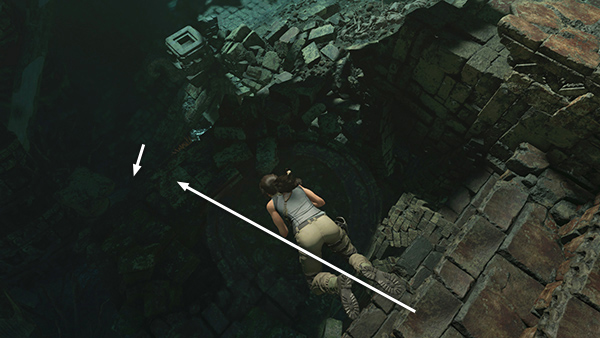
...staying close to the stepped ledges as they slope downward. Swim along just above the circular carving on the floor, then once you pass it, swim straight down...
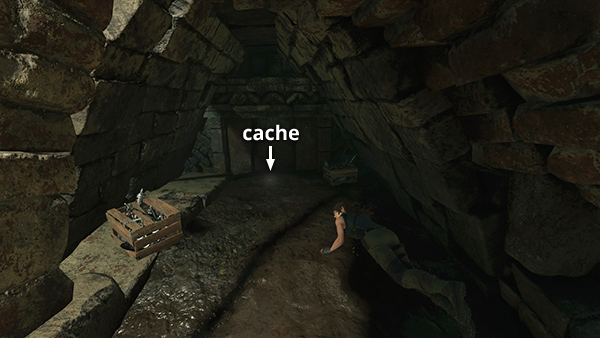
...and turn around to spot a little room beneath that circular floor. Inside are 2 salvage crates and a survival cache (7/8).
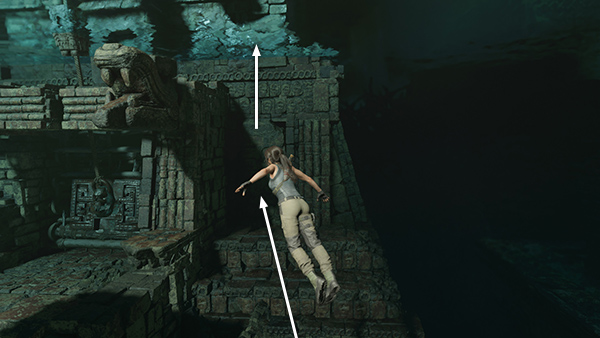
Swim back to the surface, again staying close to the tower to avoid the piranhas.

Around the right side of the tower, way in the back, near the bottom of the pool, there's some gold ore embedded in the wall. Swim down and pry it out. Then return to the front of the tower.
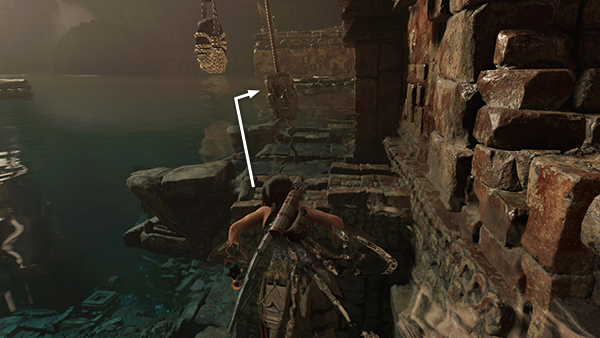
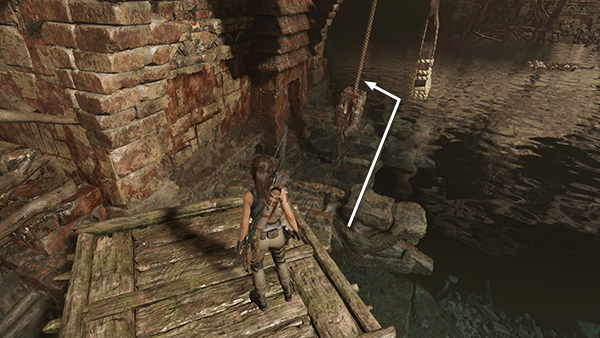
Swim over to the wooden raft in the corner at the front of the tower and climb onto it.
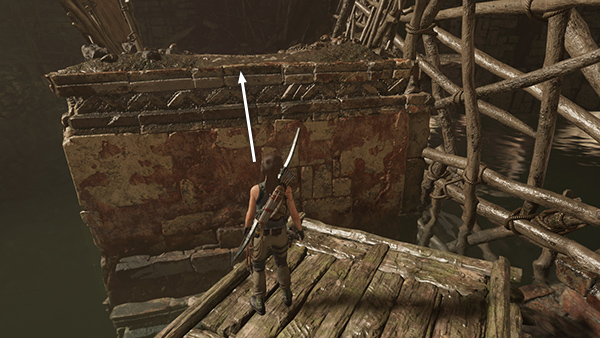
Then climb onto the ledge to the west.
[Previous | Next | Tomb Walkthrough | Main Walkthrough]
Copyright © - Stellalune ( ). All rights reserved. Feel free to copy or print this walkthrough for personal use. By all means, share it with friends, but please include this credit line so people can send me their feedback. No part of this walkthrough may be reproduced on another site without permission. Follow this link for details about this site's advertising and privacy policy.