Mission of San Juan – Thirsty Gods Challenge Tomb (part 1)
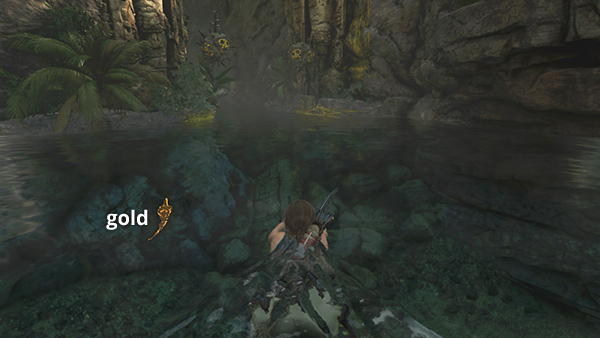
The entrance to the tomb is at the south end of the large pool southeast of the Mission. It's easy to spot thanks to the yellow paint and gilded totems. Swim, then wade, then walk in through the canyon.
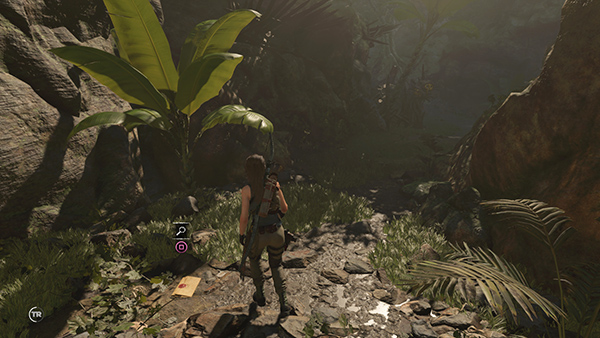
On the left side of the path is a document (16/27), Last Words (Cult of de la Cruz).
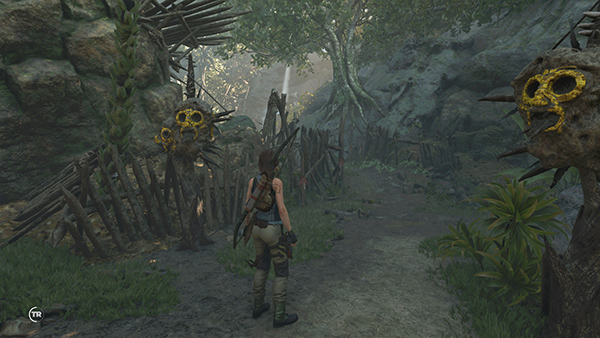
A little farther
on, you'll pass between another set of gilded totems. If you're doing the Side Mission, Star Crossed/Explore the Local Mysteries, you'll receive a new goal: Examine the Stele. This is a bit premature, though, since you'll first need to find the stele.
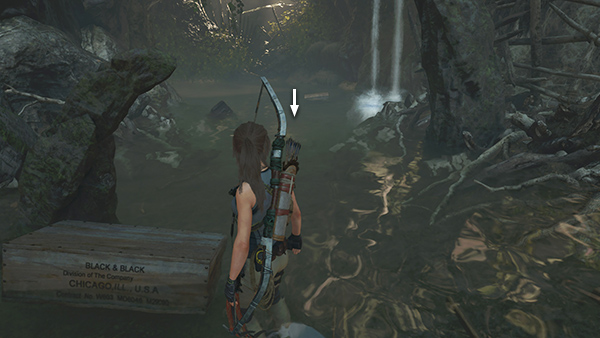
Continue southward. Wade into the shallow pool strewn with debris. When you reach the deeper water, swim down into a flooded tunnel.
Watch out for the moray eel ahead. You can avoid it if you swim down into the grass on the bottom then continue along the tunnel staying close to the floor.
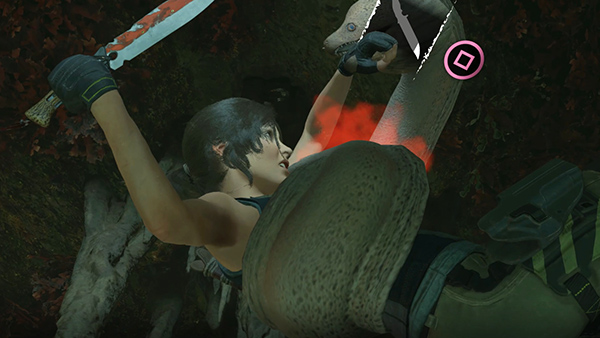
Or deal with it by swimming straight toward it. The eel will then attack Lara, triggering a QTE in which you'll need to mash the Interact button to kill it with your knife. Afterwards, get air if you need it.
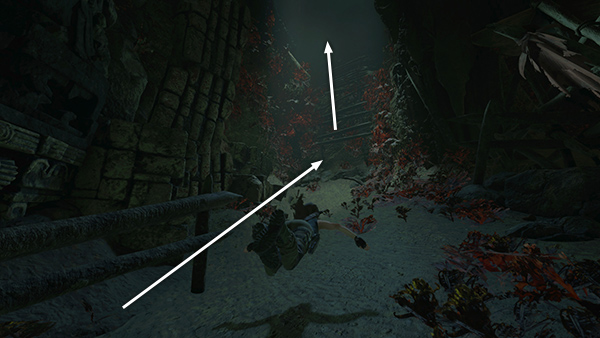
Then continue along the tunnel to the south until you can surface near a wooden ladder surrounded by red leaves.
Climb out of the water and scramble up the stone ledge into the next room.
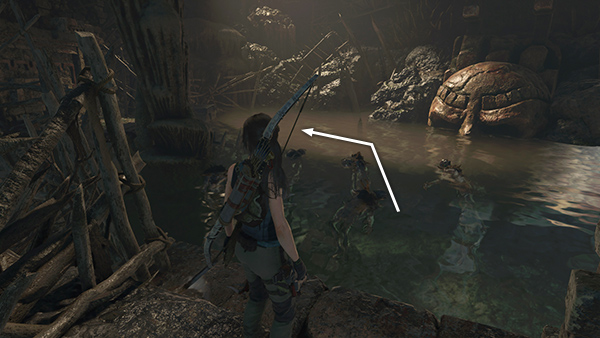
Swim between the floating corpses to the left (northeast) side of the room.
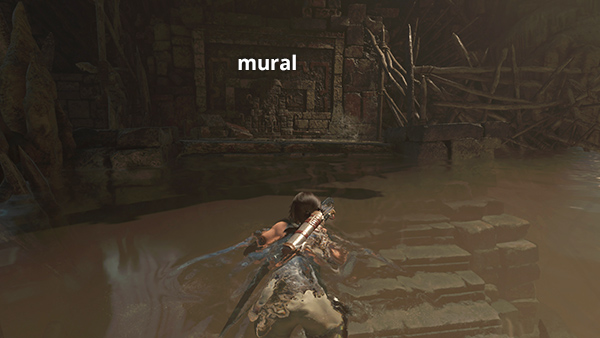
Climb out of the water and examine the mural (3/4), God of Cocoa (Mam/Pantheon of Gods 3).
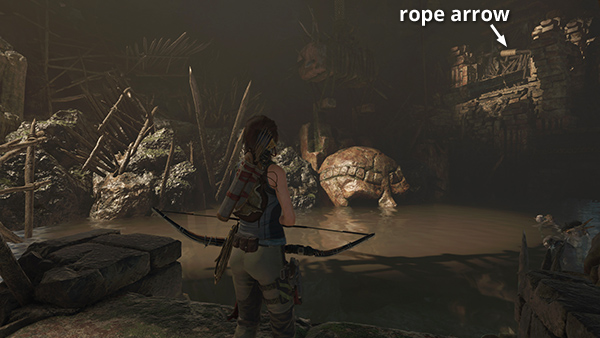
Turn around and use a rope arrow to pull down the wooden barrier high on the west side of the room.
This opens a sluice gate, filling a bucket, which then opens a gate below, causing most of the water—and dead Yaaxil—to flow out of the
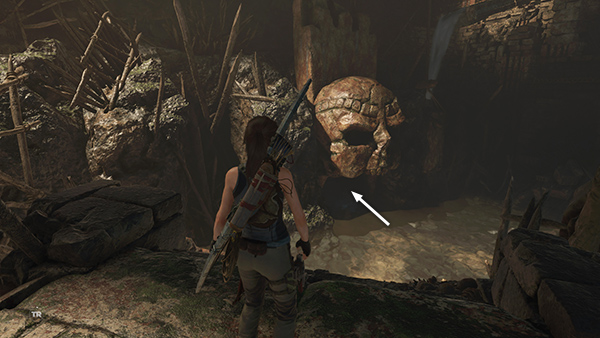
room through the mouth of the giant stone head. Wade through the shallow and into the stone mouth.
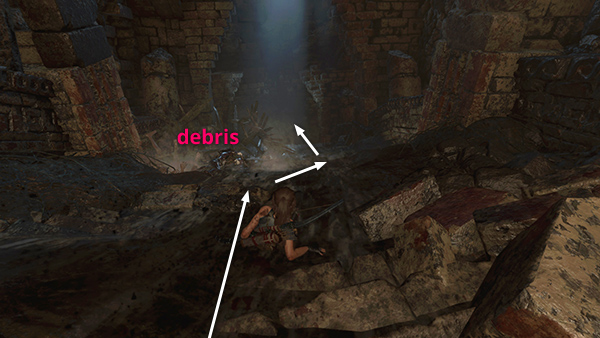
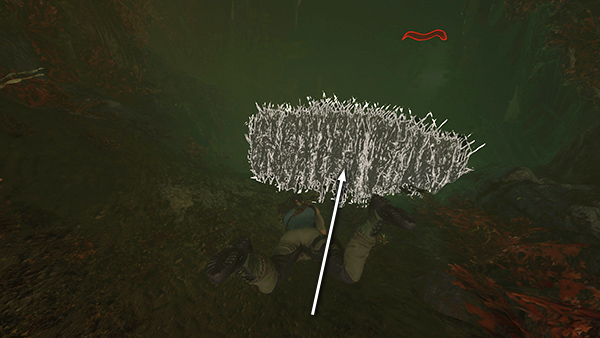
Slide down the slope, taking care to steer around the spiky debris piled up on the left about halfway down.
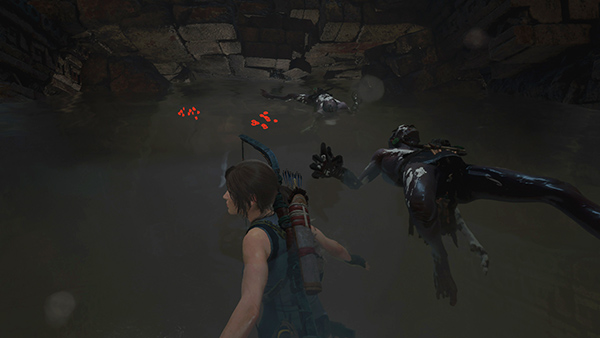
There are piranhas as well as floating corpses in the pool below, but don't worry yet.
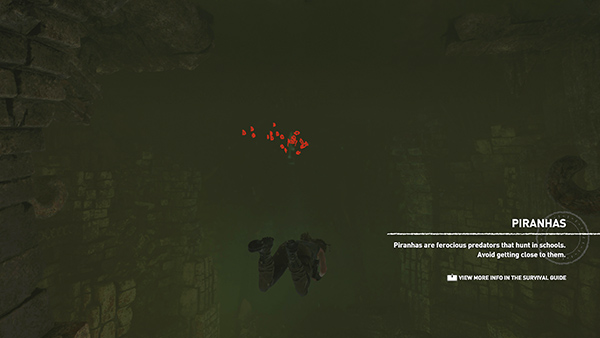
If you swim down toward the piranhas, they'll flee away from Lara through a narrow opening just below the surface in the southwest wall.
Swim through after them. By the time you emerge in the next flooded room, the fish should be gone.
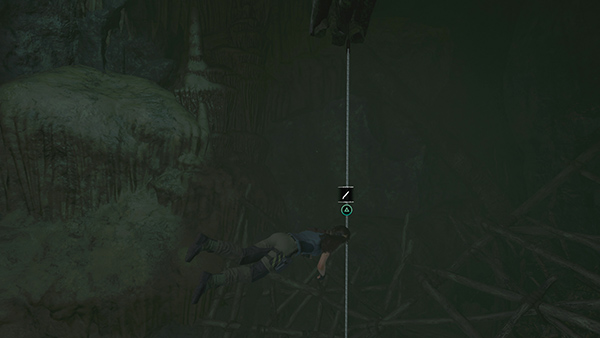
Take a breath. Then swim down and cut the rope anchoring the wooden raft to the floor.
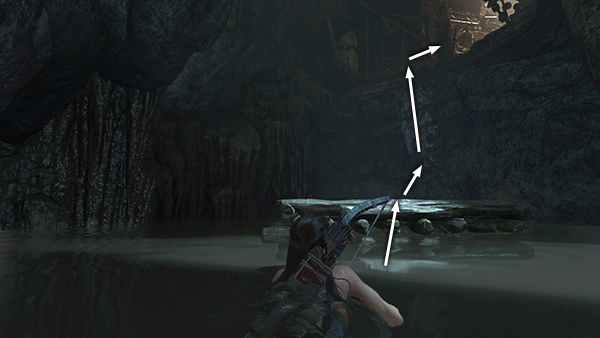
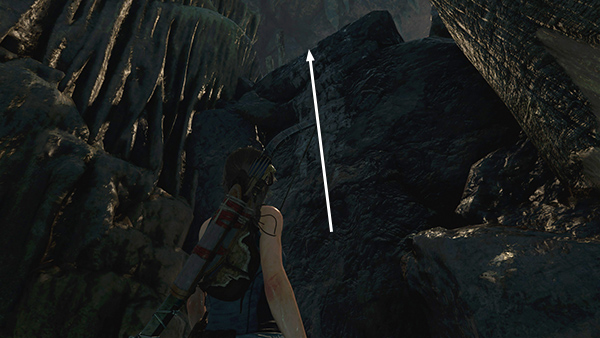
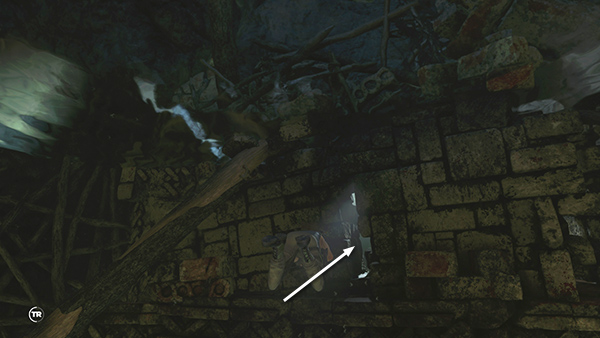
When the raft bobs up to the surface, climb onto it and scramble up into the raised opening to the southwest.
BUG NOTE: If the raft is positioned too far from the wall to make this jump, just reload the checkpoint and it should sort itself out.

Climb the muddy steps to find the Flood Basin Base Camp. Gather a few resources and some salvage. Then climb out of this room via the wooden slats in the far right corner. Move through the low tunnel into the tomb proper.
[Next | Tomb Walkthrough | Main Walkthrough]
Copyright © - Stellalune ( ). All rights reserved. Feel free to copy or print this walkthrough for personal use. By all means, share it with friends, but please include this credit line so people can send me their feedback. No part of this walkthrough may be reproduced on another site without permission. Follow this link for details about this site's advertising and privacy policy.