Mission of San Juan – Tree of Life Challenge Tomb (part 4)
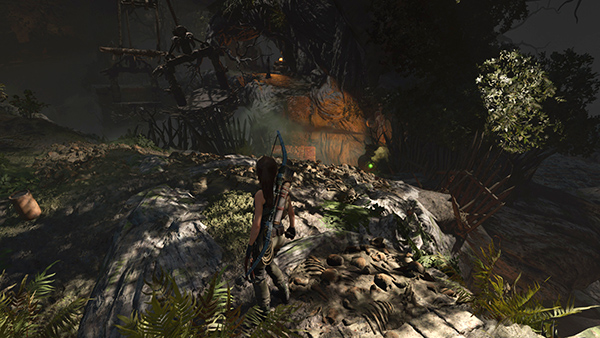
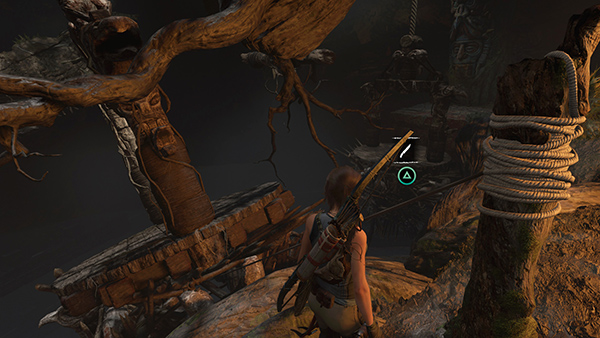
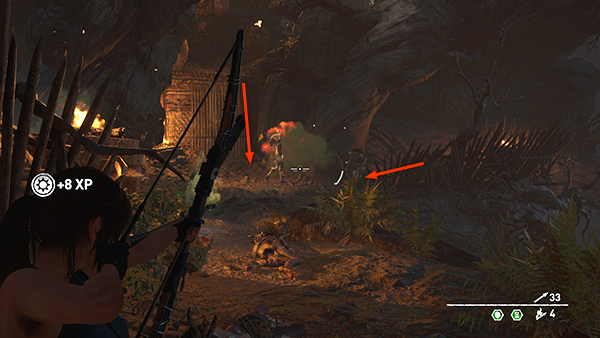
The next 2 Yaaxil appear when you start down the slope to the right.
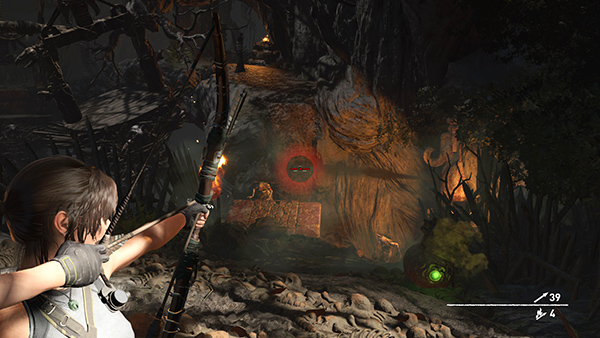
If you ready a fire arrow and target the gas jet as you walk toward it, you'll see the 2 enemies emerge.
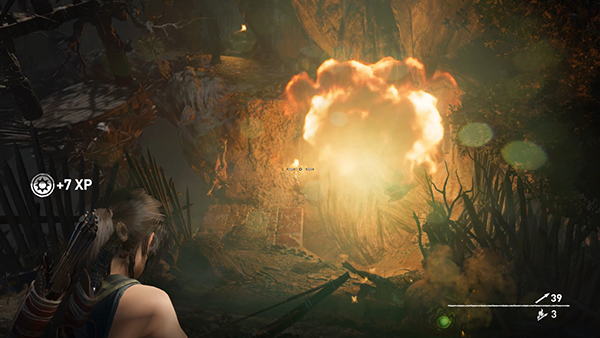
Just let that fire arrow fly and the blast should kill them both.
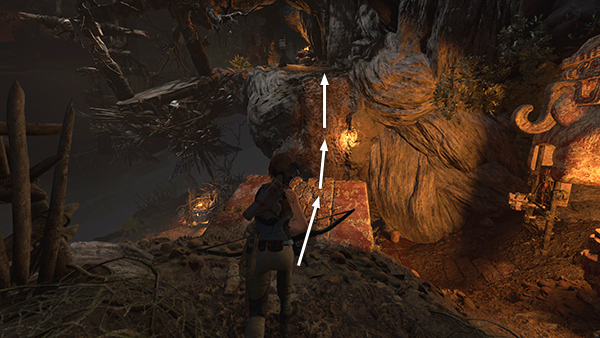
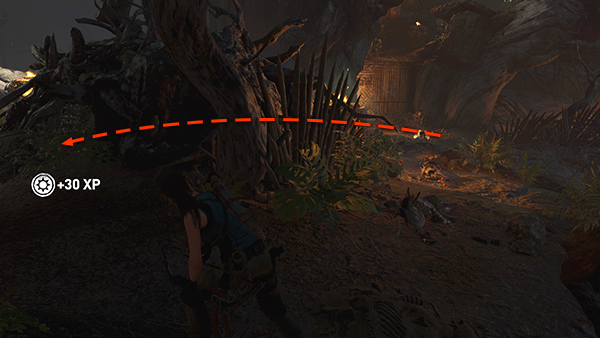
Take a moment to loot the bodies and regroup. Then move back up the slope and shoot the gas vent again. The explosion clears the air so you can run across the reddish stone ledge, jump onto the craggy wall, and climb to the top.
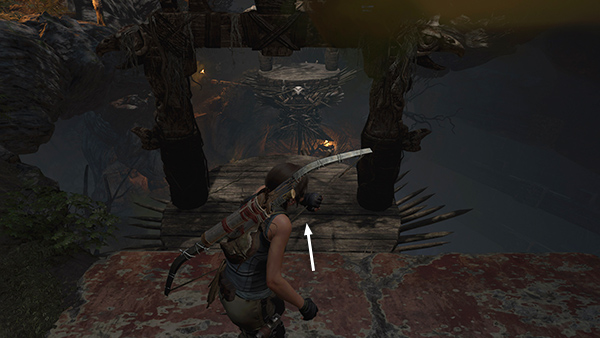
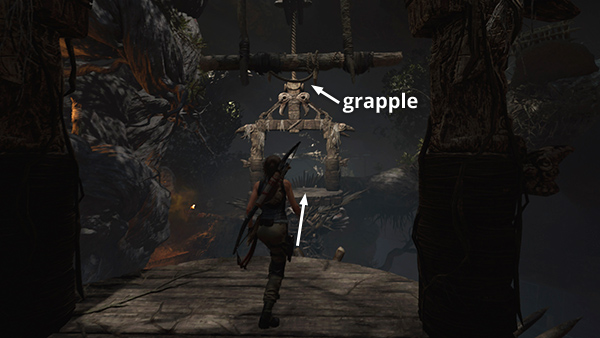
Move forward and cut the rope anchoring one of the round wooden platforms to the post.
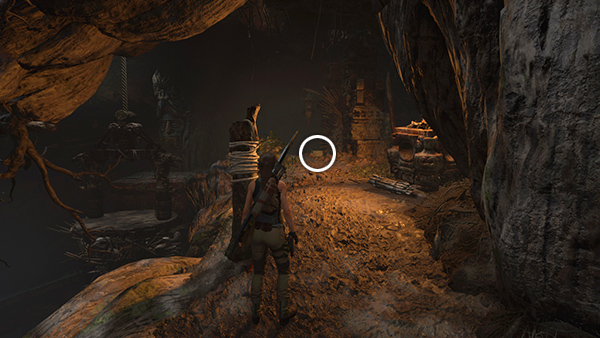
A little farther along the path is a relic (8/9), yet another creepy Primitive Doll (Mam/Handmade Dolls).
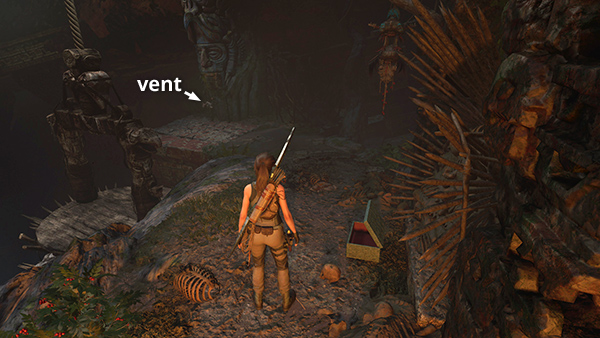
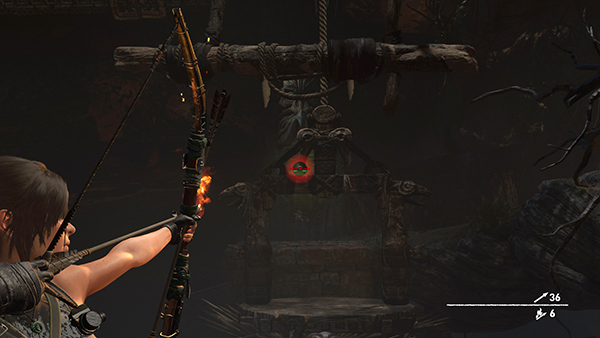
Continue down the path and pry open the next gas vent.
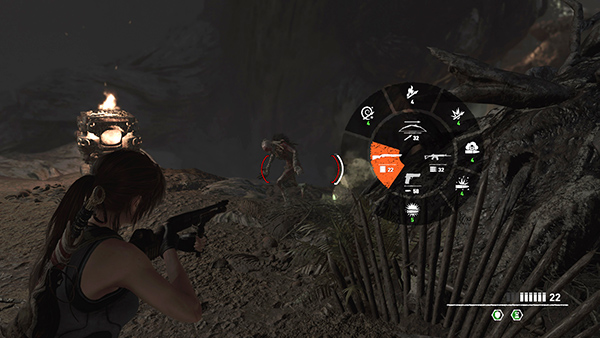
Once the gas is flowing, jump down onto the nearer of the two wooden platforms.
Before Lara is poisoned too badly, grapple-swing over to the other platform.
This time when you shoot the gas jet to move the platforms, things go haywire.
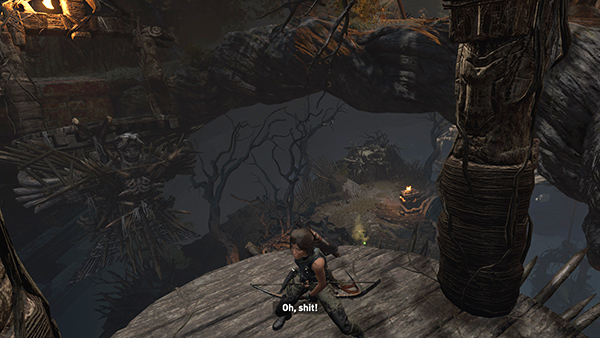
The other platform plummets into the chasm, while the one Lara is standing on settles near the lower ledge. On the plus side, the beam that connected the two balancing platforms has now tilted, so you will soon be able to reach the upper ledges.

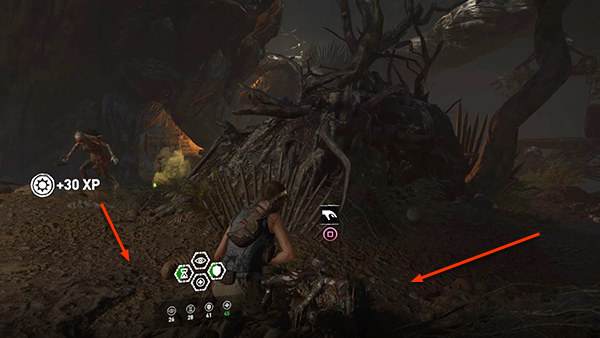
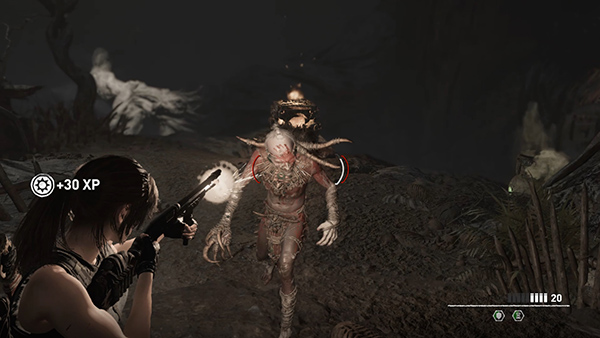
There's just one more band of Yaaxil, 7 in all, standing between you and your goal. They don't emerge until you jump down onto the ledge. So check your weapons and eat some more of those tasty Endurance and Focus herbs. Hop down and run to the left to put some distance between Lara and the enemies as they emerge.
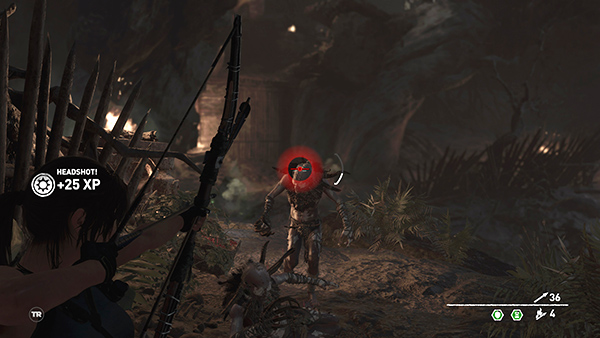
Turn around so the platform you just came from is on Lara's right and shoot the first 2 warriors as they approach. If you've used Focus herbs, the time-slowing effect may allow you to get headshots on both. Otherwise, go ahead and switch to the shotgun or rifle and just blast away as they run toward you.
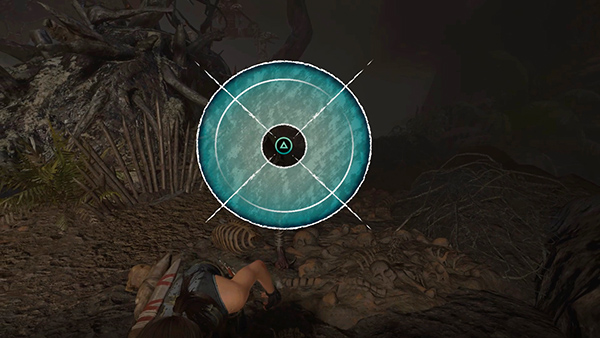
An archer drops down from the ledge to the northeast, while another warrior runs in from the right (southeast). You may be able to kill them both by blowing up the green orb between them. If not, shoot the archer first.
Then wait for the warrior to come to you. He may circle around the left side of the spiky clump of debris in the middle of this area.
If that happens, go around to meet him and blast him with the shotgun, or whatever weapon works best for you.
Two more warriors rush in just behind the last one. They may come from either side of the debris pile. Try to move back a bit, you can see both approaches.
Blast them...
...or use the use the Puma's Feint to dodge...
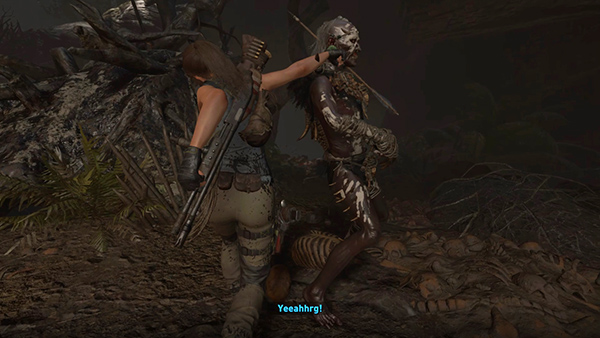
...and stab them as they approach.
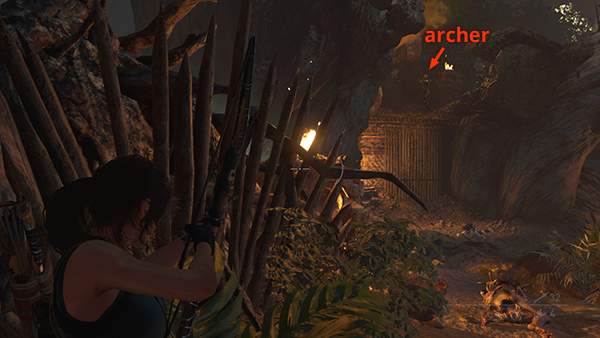
That leaves one more archer, who will probably hold his position on the ledge to the northeast. Peek around the debris pile and take him out with a headshot.
[Previous | Next | Challenge Tomb | Main Walkthrough]
Copyright © - Stellalune ( ). All rights reserved. Feel free to copy or print this walkthrough for personal use. By all means, share it with friends, but please include this credit line so people can send me their feedback. No part of this walkthrough may be reproduced on another site without permission. Follow this link for details about this site's advertising and privacy policy.