Mission of San Juan – Tree of Life Challenge Tomb (part 5)
When you've defeated the last group of Yaaxil, search the bodies and climb onto the ledge to the southeast.
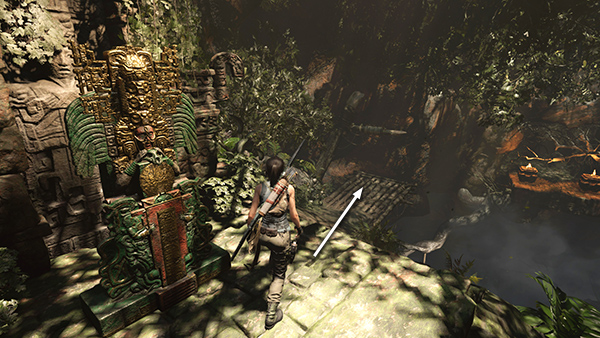
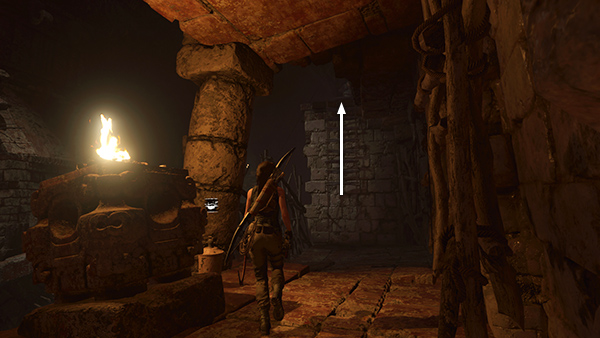
Follow the path up and around to the right.
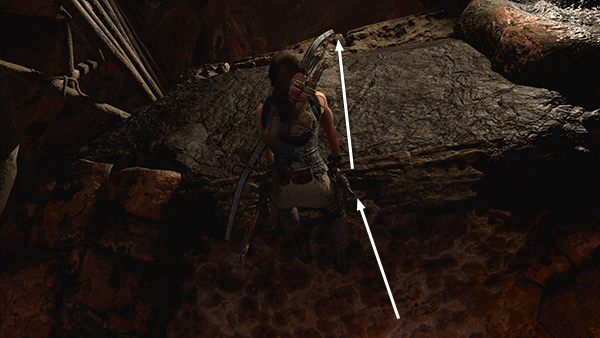
Jump onto the bundle of wooden beams that once supported the circular platforms. Cross over it to the upper ledge.
On the left you'll find 2 piles of gold ore and the tomb stele. Examine it to unlock the Warrior Skill Kinich Ahau's Boon, which restores Lara's health if she's near death. It is a passive skill but only works once per battle.
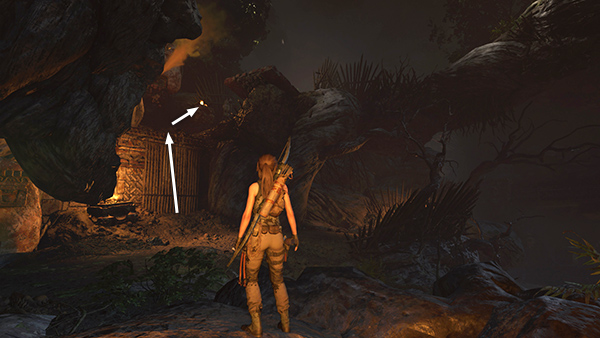
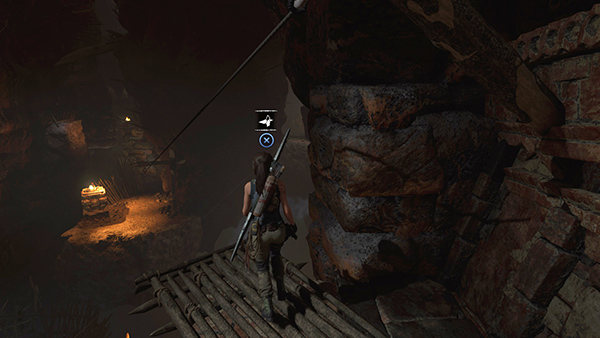
There are no more enemies between here and the exit so you can relax and concentrate on climbing. Move down to the wooden ledge to the right of the stele.
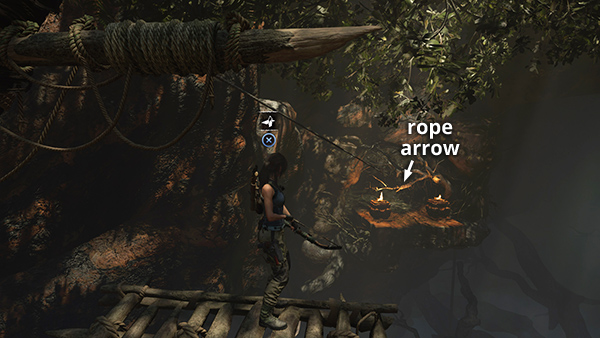
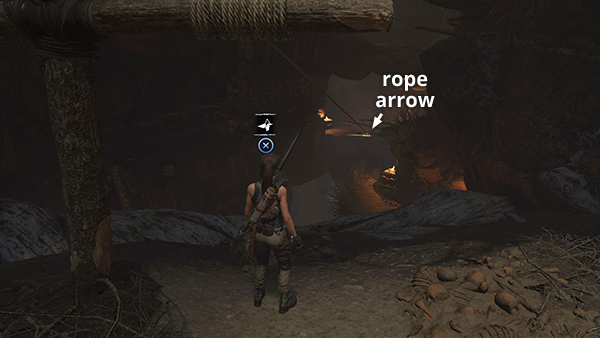
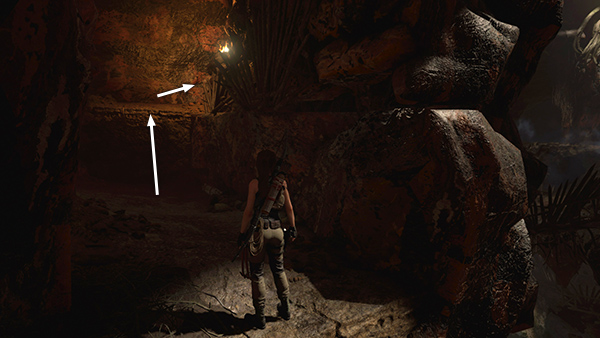
Shoot a rope arrow into the rope-wrapped branch and slide down to the ledge with the 2 lit braziers.
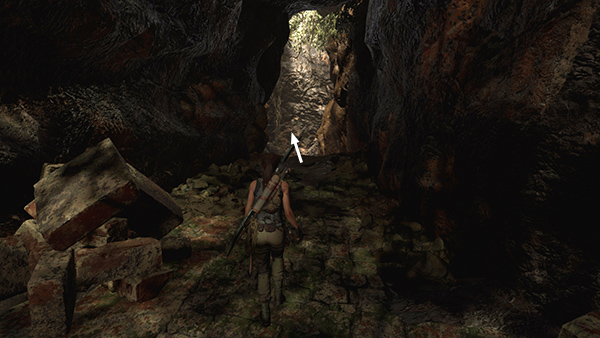
Enter the cave and jump over the hole in the floor onto the climbable wall.
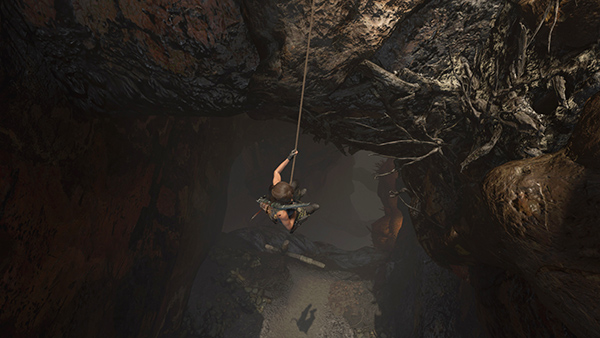
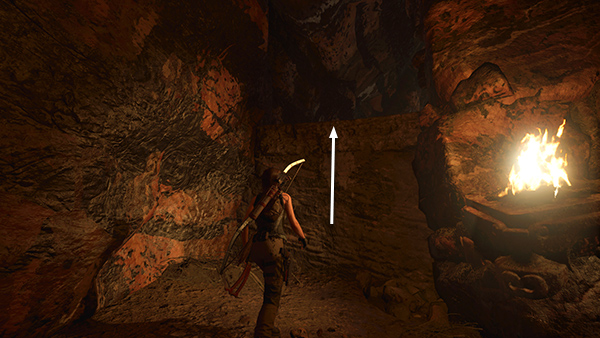
Rappel down to the ground.
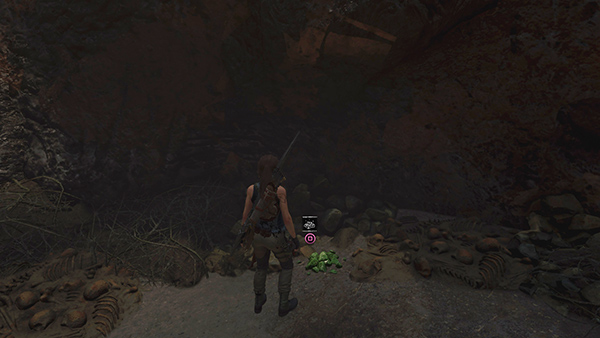
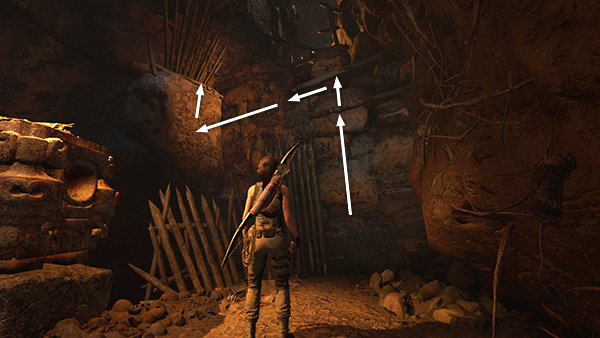
Before moving on, turn around to find a pile of jade ore sitting near the cavern wall.
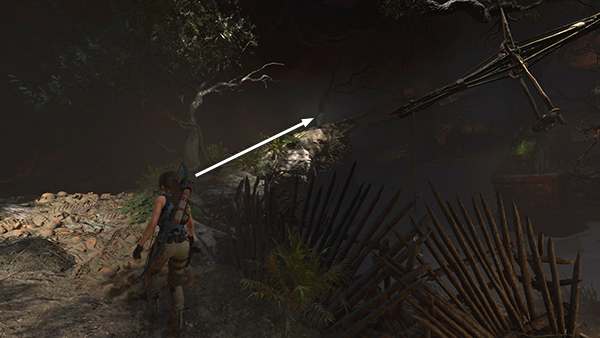
Move to the edge, run another rope line down to the ledge below, and slide down.
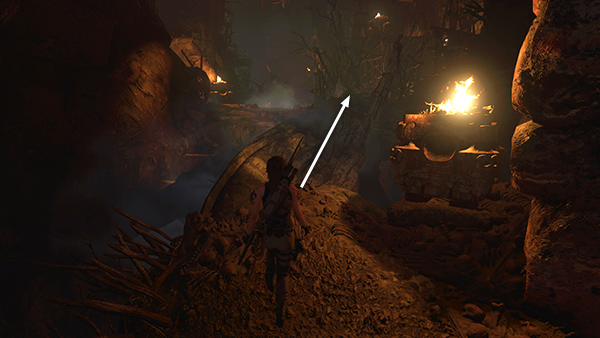
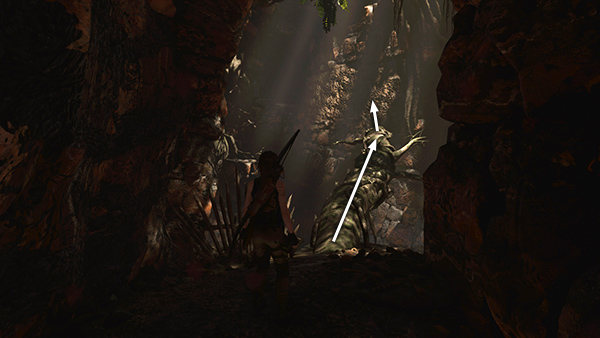
Move up the gnarled wooden root to the north.
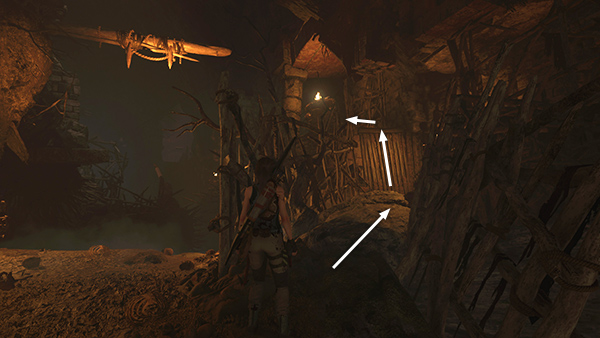
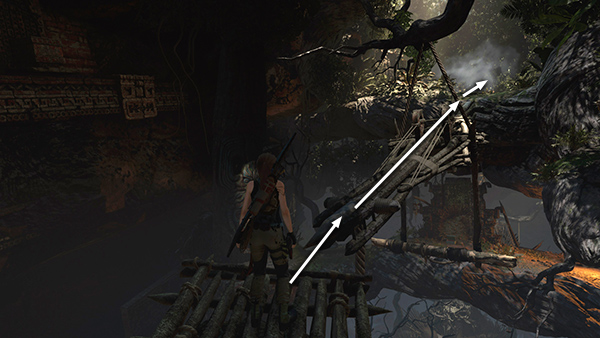
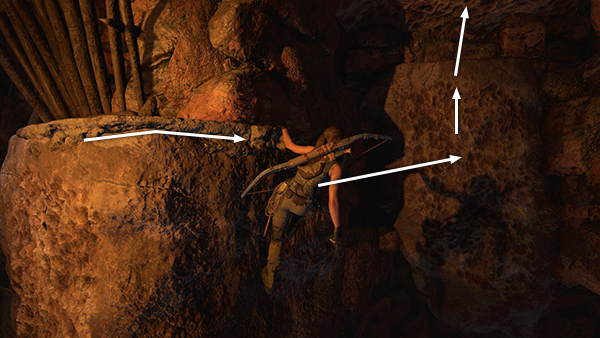
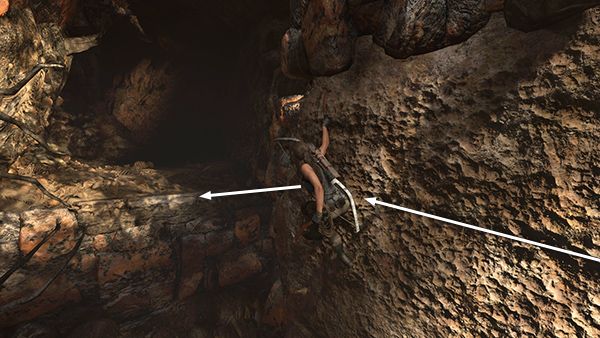
Ignore the grapple point ahead on the left. Instead take the path along the right wall and scramble up the wooden slats onto the ledge.
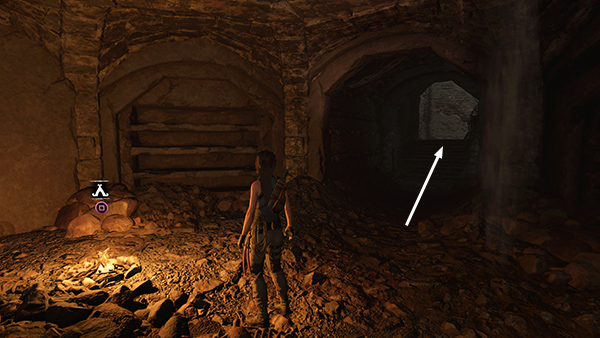
Grab some supplies from the container hidden behind the brazier. Then climb the ladder to the next higher ledge.
Move to the far end of the ledge and ride the fixed zip line down across the chasm.
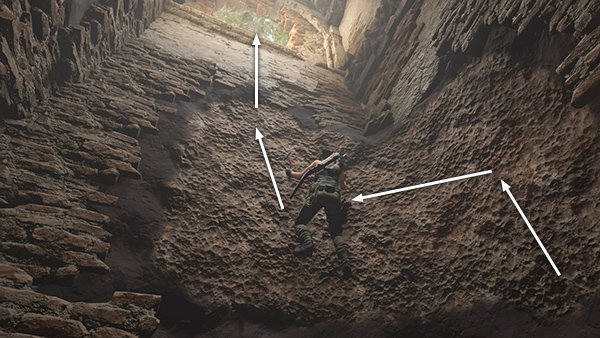
Scramble up the wall ahead. Climb up and over to the left as far as possible, then jump across the gap and to the climbing wall. Climb up until Lara grabs the top edge.
Then continue climbing around the corner to the right. Jump out and latch onto the next climbable area. Axe-climb up as far as possible. Then jump straight up and latch onto the overhang.
Continue climbing upward along the ceiling until you can scramble onto the ledge above.
Vault up onto the
low ledge ahead. Turn right...
...and climb onto another ledge.
Walk out to the end of the fallen tree and jump over to the climbable wall.
Axe-climb to the left end of the wall then jump and grab the man-made ledge beyond. Pull up.

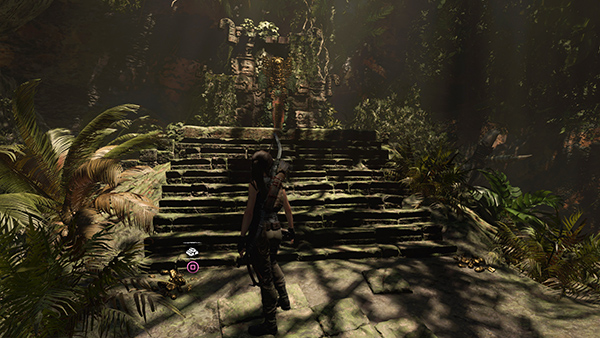
Climb onto the ledge embedded with human bones. Then use your axe to break down the weak wall.
This brings you back to the Mountain Catacombs Base Camp. Use the camp fire to Fast Travel out of here or continue exploring the area southeast of the Mission. To get back up top, head up the steps to the shaft where you dropped in.

Climb/scramble up the northwest wall to the rough climbing area above.
Climb up and around to the left, then scramble up into the doorway. Turn right and follow the corridor to emerge outside near the Deserted Cloisters Base Camp.
[Previous | Challenge Tomb | Main Walkthrough]
Copyright © - Stellalune ( ). All rights reserved. Feel free to copy or print this walkthrough for personal use. By all means, share it with friends, but please include this credit line so people can send me their feedback. No part of this walkthrough may be reproduced on another site without permission. Follow this link for details about this site's advertising and privacy policy.