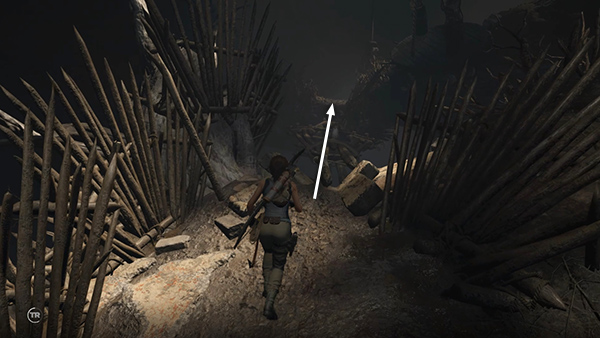
Mission of San Juan – Tree of Life Challenge Tomb (part 3)
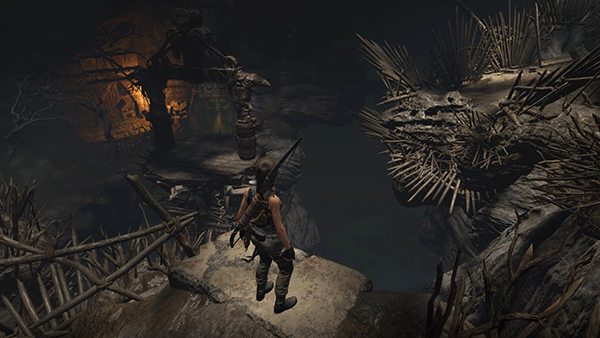
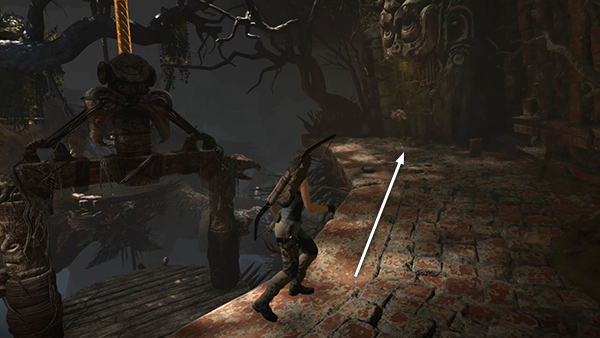
You'll need to use the circular platform to cross the wide gap to the next ledge.
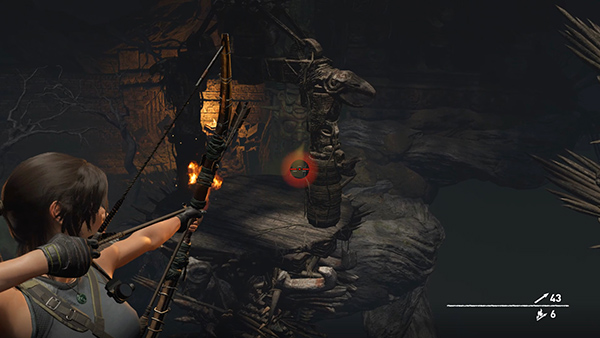
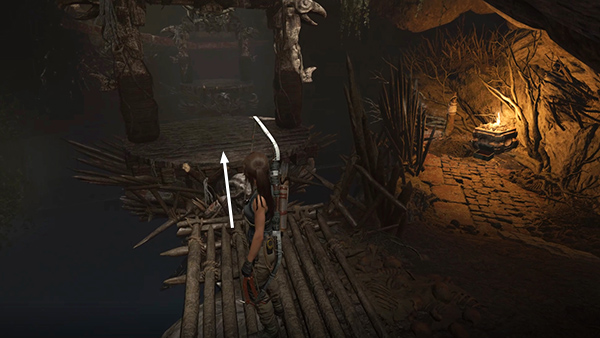
Shoot a fire arrow into the gas vent you opened just before fighting the Yaaxil.
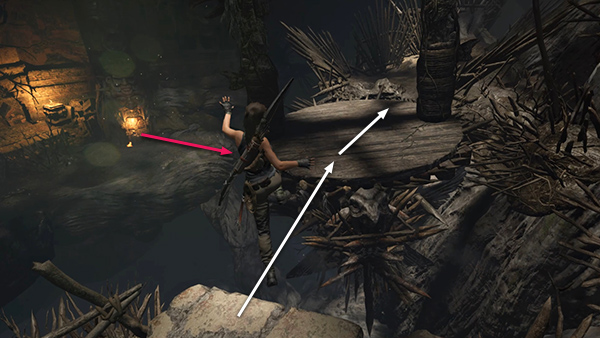
The explosion swings the platform up toward you. Jump onto it, run across...
...and jump onto the path beyond before the platform can swing back. (If it does, you can either wait for the gas to start flowing, ignite it again, and ride the platform up to the ledge, taking a little damage in the process; or return to the ledge overlooking the gap and try the sequence again.)
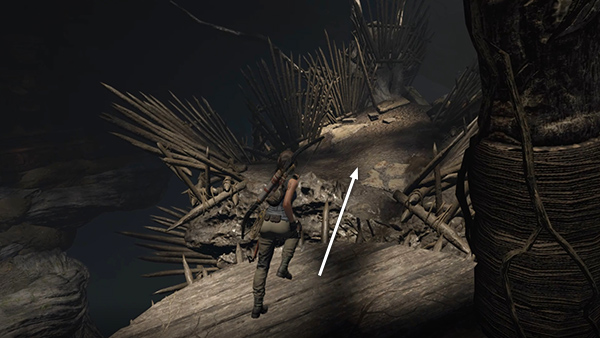
Continue across a rickety bridge made of logs lashed together. It tilts alarmingly but does not break.
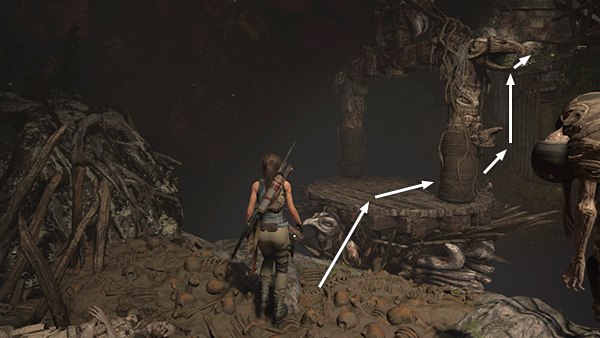
Jump onto the next circular wooden platform. Cross over it and scramble up onto the ledge on the far side.
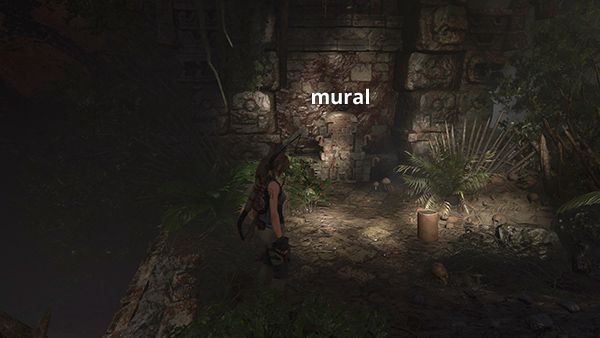
Here you'll find more supplies and a mural (2/4), Tree of Life (Mam/Trials of the Gods).
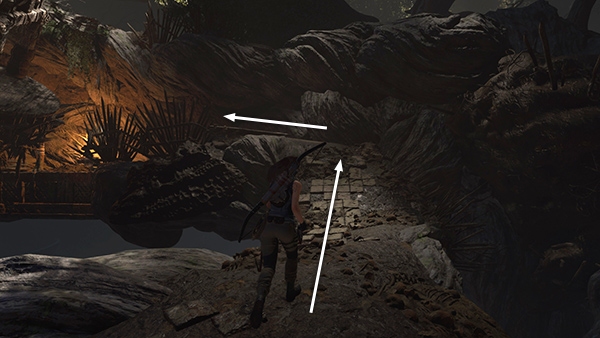
Follow the path away from the mural, up the slope and around to the left. You'll hear more creepy noises, but there's no danger yet.
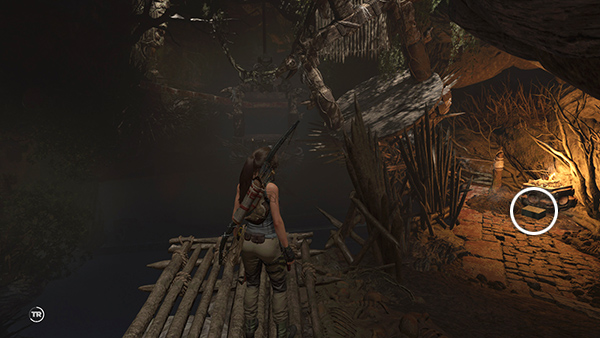
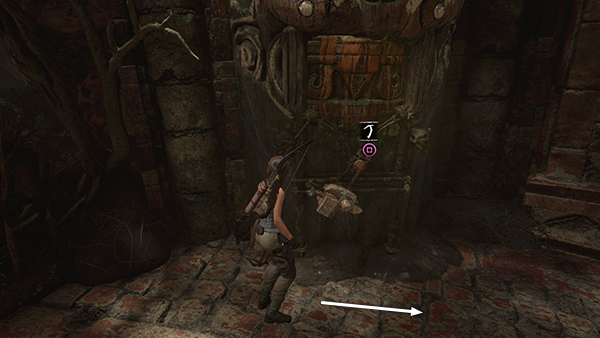
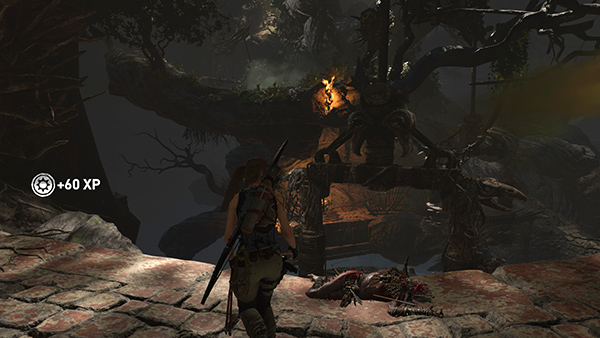
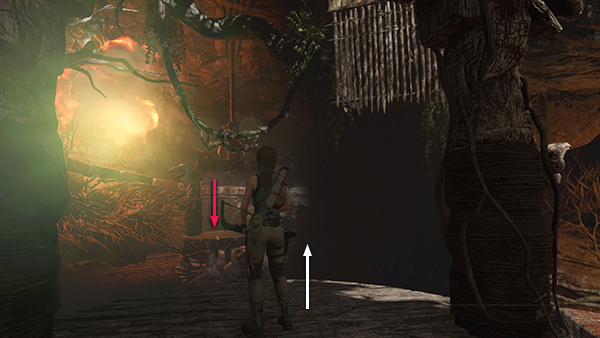
When you come to the wooden ledge jutting out over the chasm, continue down to the right, toward the burning brazier to find a relic (7/9), another identical Primitive Doll (Mam/Handmade Dolls).
Now cut the rope tethering the wooden platform to the post.
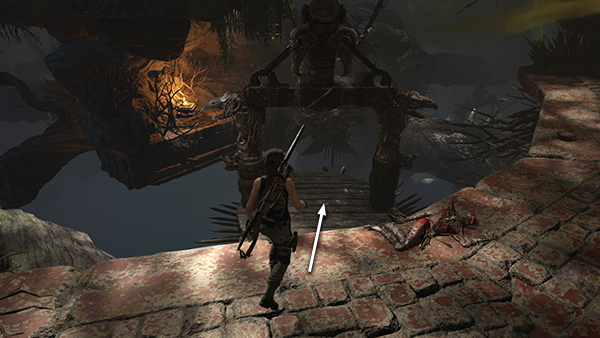
Return to the wooden ledge and jump onto the platform, which is now within reach.
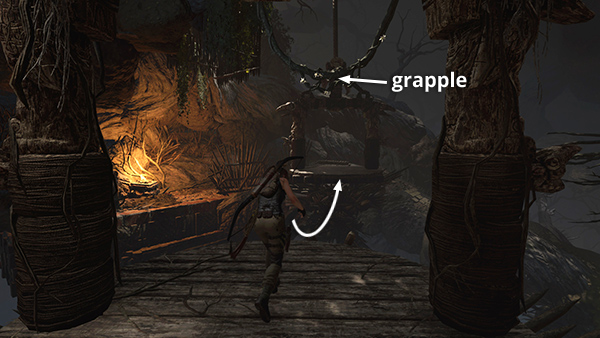
Jump off the other side, grapple the dangling vine, and swing over to the next platform. Cross over it and scramble up onto the ledge beyond.
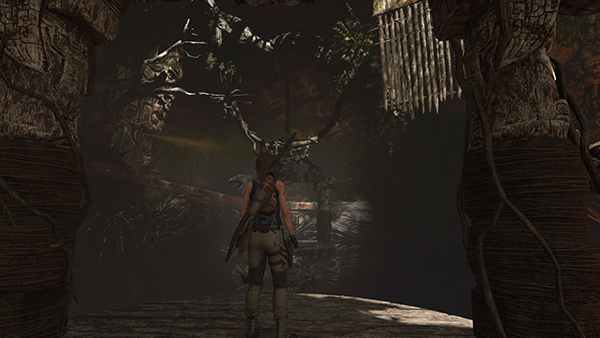
Move to the left end of the ledge and get ready to fight 3 more Yaaxil, which will appear when you pry open the gas vent. You probably won't need Focus this time, but Endurance herbs are always helpful.
Use your axe to open the vent. Then immediately turn right...
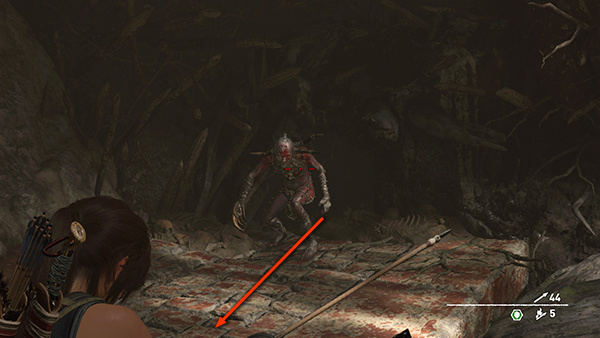
... and kill the warrior who emerges from the tunnel at the other end of the ledge.
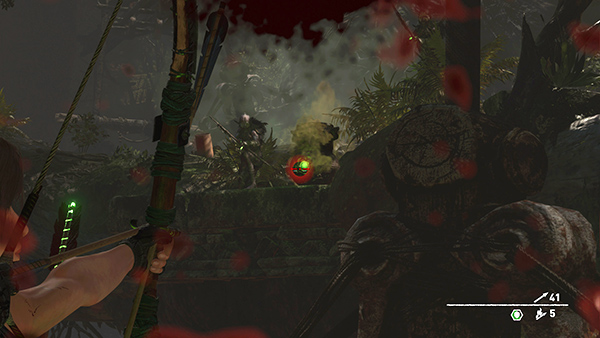
Then shoot the explosive orb on the ledge above and beyond the wooden platforms.
This should take out both archers.
Jump back down onto the nearer of the wooden platforms.
Grapple-swing across to the other.
Then turn around. The little wooden wall above on the right is where you're headed next.

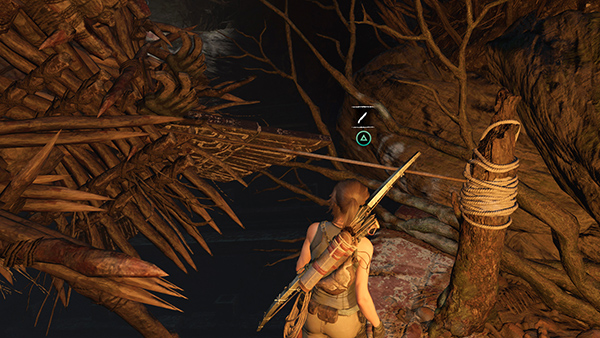
Shoot a fire arrow into the gas vent.
The blast pushes the other wooden platform downward, raising the one Lara is standing on.
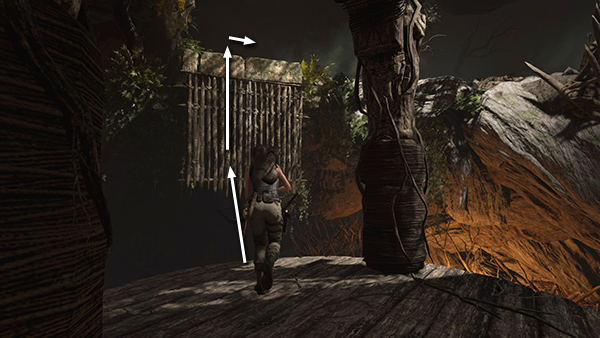
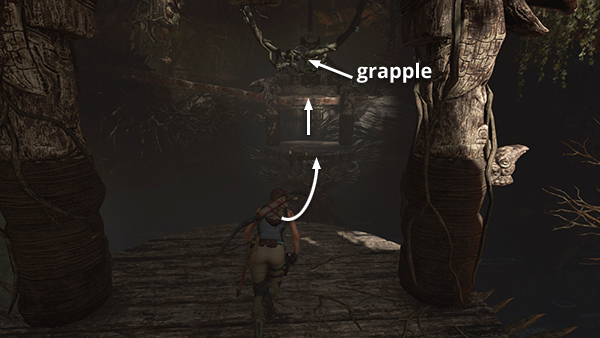
As it reaches its highest point, jump toward the wooden wall and scramble onto the ledge above.
[Previous | Next | Challenge Tomb | Main Walkthrough]
Copyright © - Stellalune ( ). All rights reserved. Feel free to copy or print this walkthrough for personal use. By all means, share it with friends, but please include this credit line so people can send me their feedback. No part of this walkthrough may be reproduced on another site without permission. Follow this link for details about this site's advertising and privacy policy.