Mission of San Juan – Tree of Life Challenge Tomb (part 2)
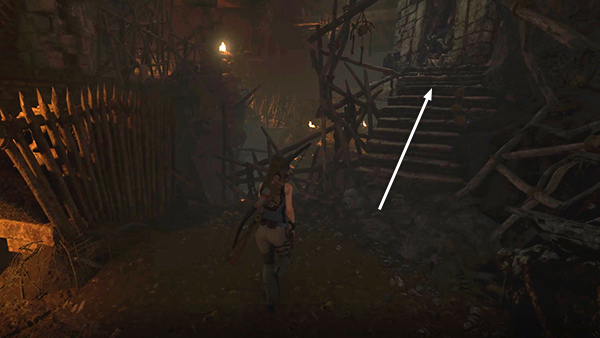
After digging up survival cache #3, climb the stairs...
...and sidestep along the narrow ledge until you can't go any farther. Lara notices a Yaaxil far below. Don't worry. Lara and I will warn you when it's actually time to fight. ;)
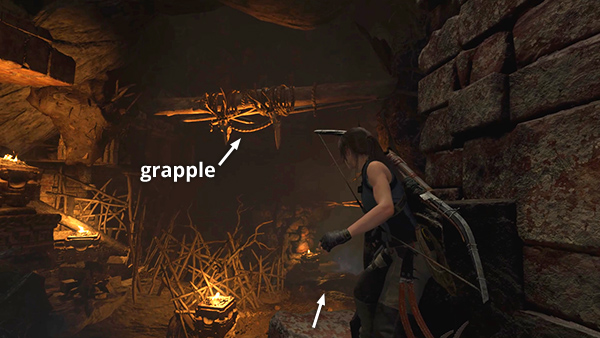
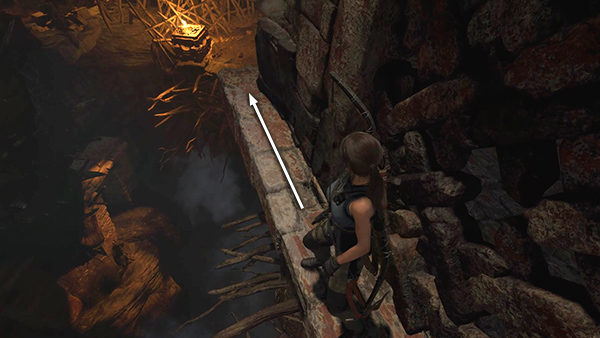
When you run out of ledge, jump out, grapple the beam, and swing over to the next ledge.
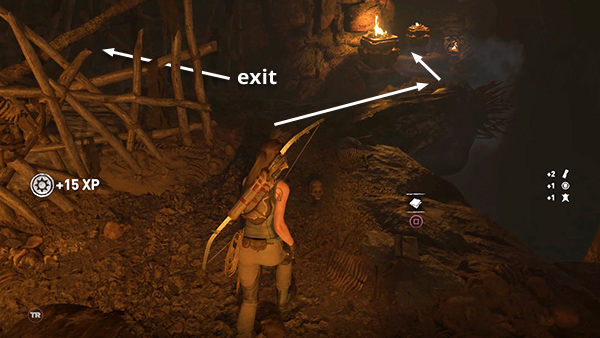
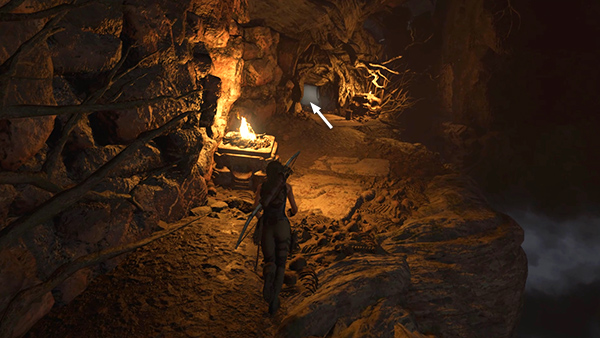
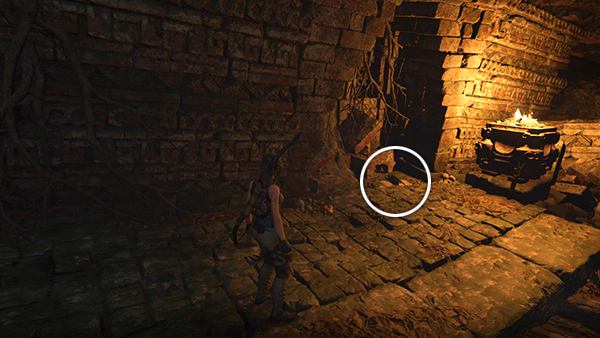
Continue down the path toward the burning braziers. (The path on the left leads back up the slope, but that's the way to the exit.)
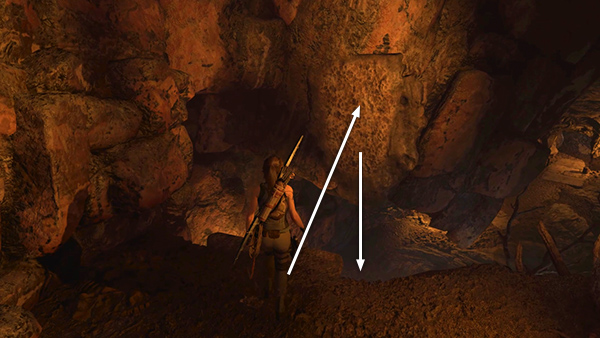
Move to the edge, jump across the gap to the next climbable wall, and rappel down to the ledge below.
Continue southward along the ledge and through a low tunnel.
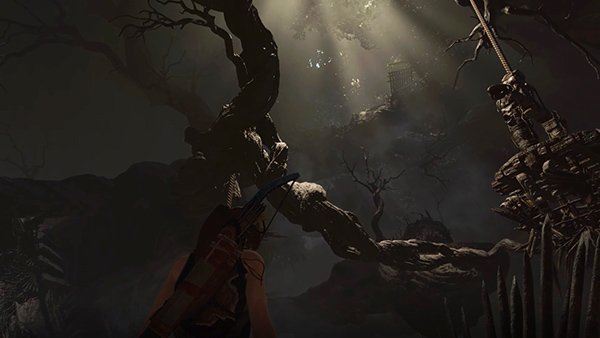
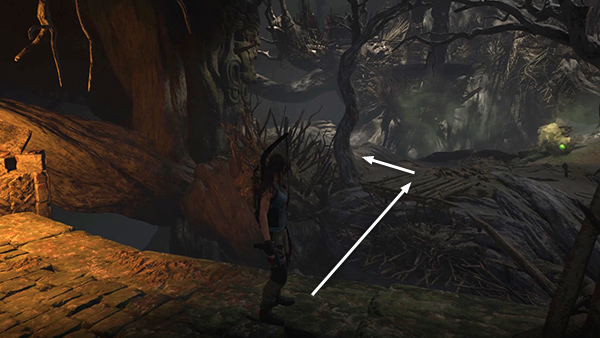
As you emerge from the tunnel, you get a look at the gnarled tree's giant branches stretching up toward the sunlight filtering in from above. The ledge at the top is where you're headed. Unfortunately we'll need to descend before we can climb.
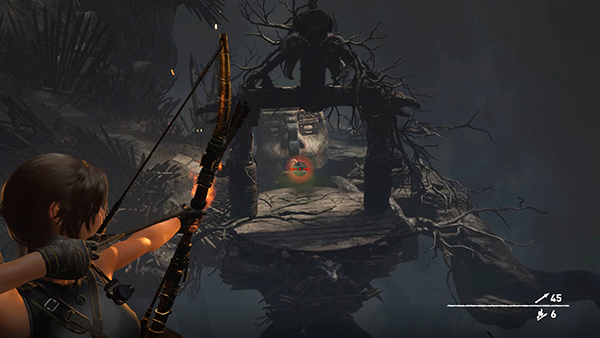
The round, wooden ledge below is too far away to reach, so shoot a fire arrow into the gas vent behind it.
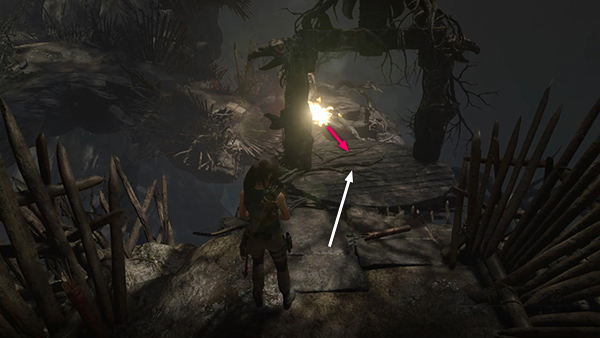
The resulting explosion propels the ledge toward you. Jump onto it and ride it down.
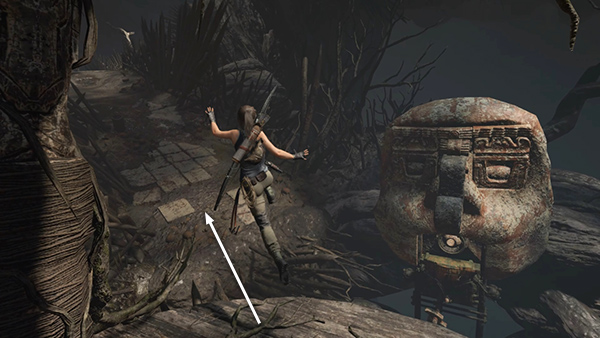
Jump off to the left before the gas starts flowing again.
Follow the path up the slope. The gap at the top of the path is too wide to cross. So for now, head down to the left and jump over to the next ledge.
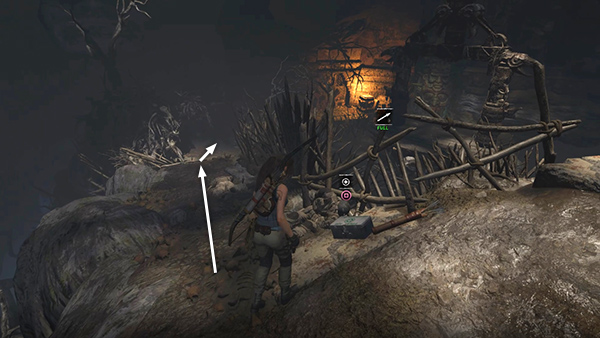
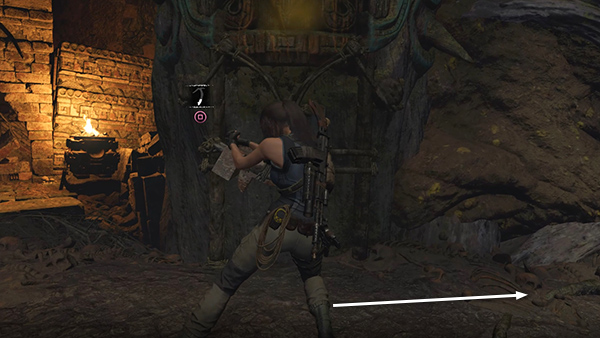
Continue past the green, explosive orb. Move out onto the wooden ledge on the left and jump over to the ledge near the man-made stone wall with the crumbling arch.
Here you'll find a document (15/27), World Tree (Mam/Legends of the Maya).
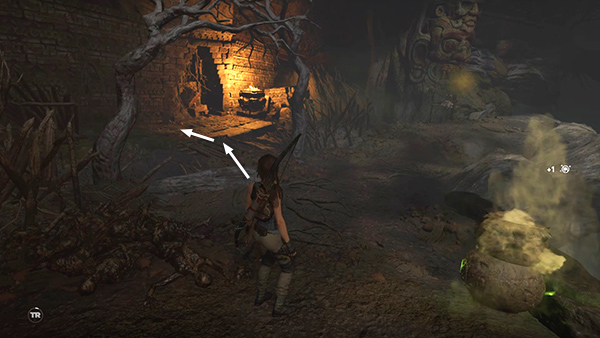
Jump back over to the main path and head to the left toward the next gas vent, but don't pry it open yet.

As soon as you do, 4 Yaaxil will attack: One starts shooting from the upper ledge; the rest rush out of the tunnel at the top of the slope. So get ready beforehand. Use a dose of Endurance and Focus herbs if you have them.
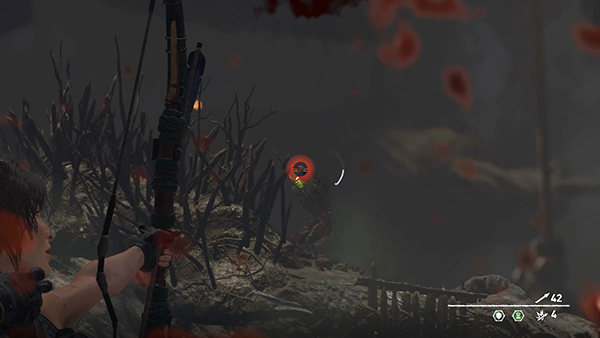
Then pry open the vent, turn left, and step back a bit to avoid the poison gas and move Lara out of range of the archer on the ledge.
Shoot the first enemy, an archer, or blow up the green orb to his left...
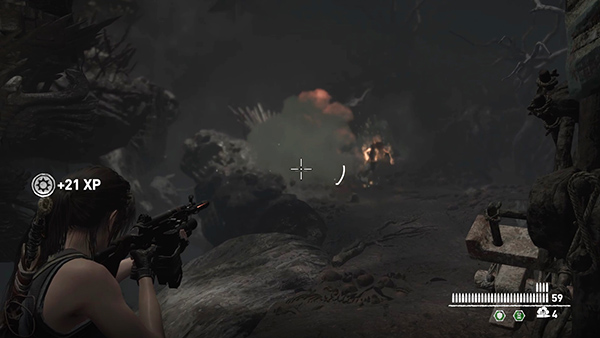
...to set him on fire.
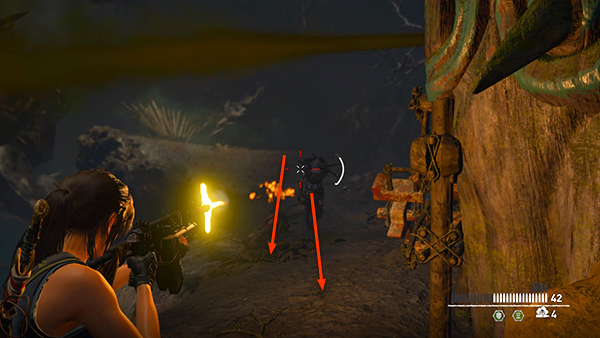
Then shoot 2 warriors as they charge toward you.
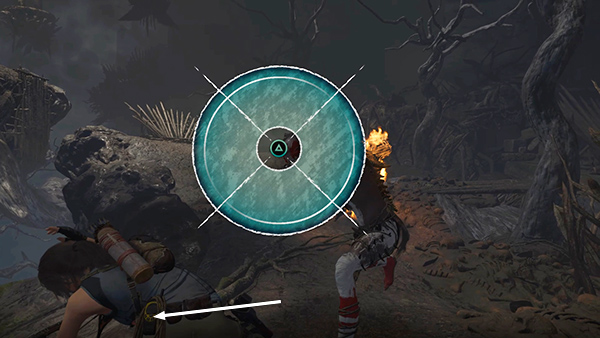
If either of them gets close enough, use the Puma's Feint maneuver, which you've hopefully unlocked by now. (Check the Cenote walkthrough if you need a refresher.)
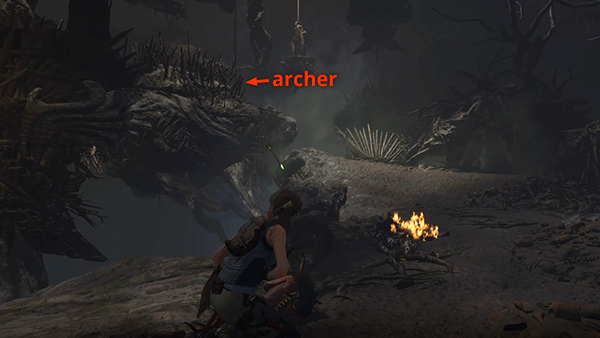
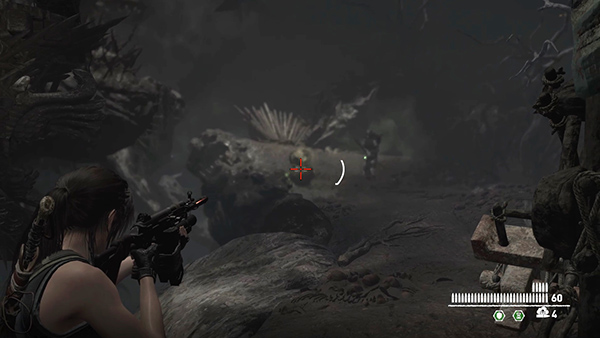
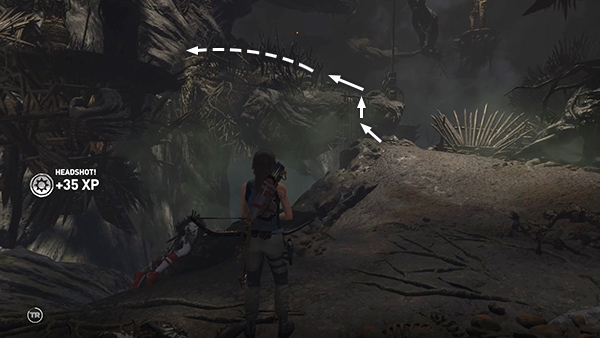
Finally, step out and target the remaining archer hiding behind the spiky branches on the ledge off to the left.
If you can see him, he can see you; so kill him quickly before he can do too much damage.
Loot the bodies, scramble back up onto the walkway where the last archer fell, and follow the path up and around to the left.
[Previous | Next | Challenge Tomb | Main Walkthrough]
Copyright © - Stellalune ( ). All rights reserved. Feel free to copy or print this walkthrough for personal use. By all means, share it with friends, but please include this credit line so people can send me their feedback. No part of this walkthrough may be reproduced on another site without permission. Follow this link for details about this site's advertising and privacy policy.