Mission of San Juan – Tree of Life Challenge Tomb (part 1)
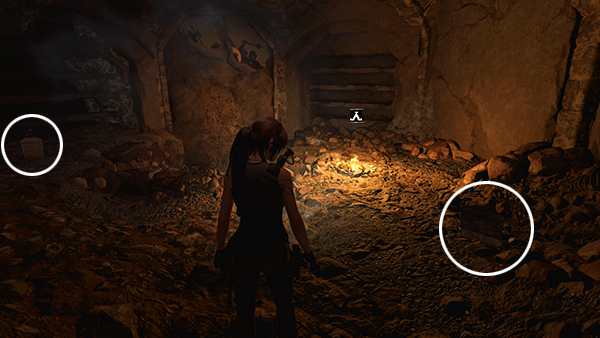
The entrance to this tomb is inside the ruins near the Deserted Cloister Base Camp. Check the main walkthrough if you need help finding it. At the end of the corridor, near explorer backpack #2, is a wooden barrier. Use a rope arrow to pull it down.
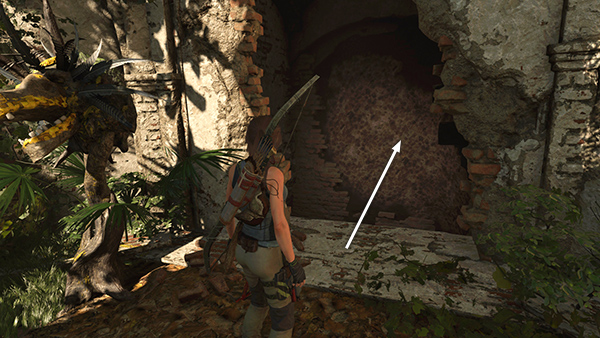
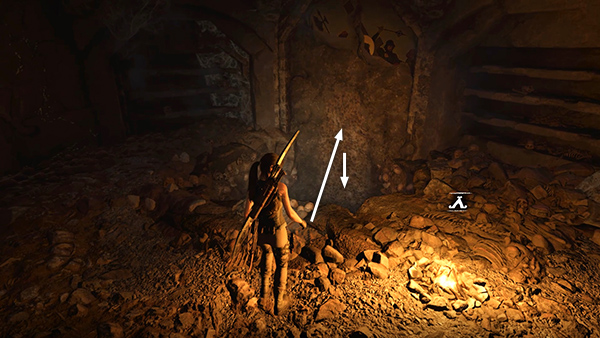
Move into the doorway and jump across the deep shaft to latch onto the climbable back wall.
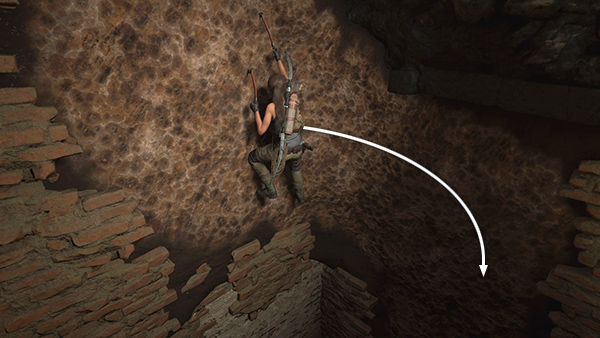
Axe-climb down and around to the right.
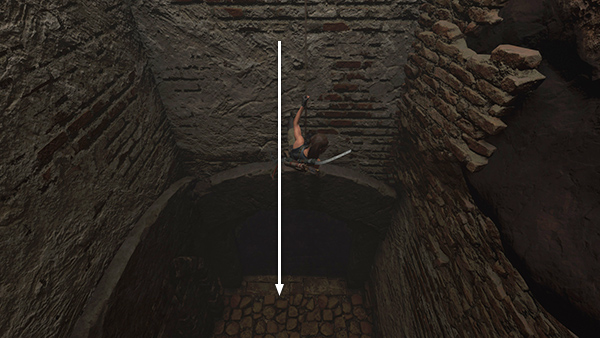
Then rappel down to the floor.
Follow the dark passageway to the a small room containing the Mountain Catacombs Base Camp, a few supplies, and a document (14/27), Chechen and Chaka Trees (Mam/Legends of the Maya).
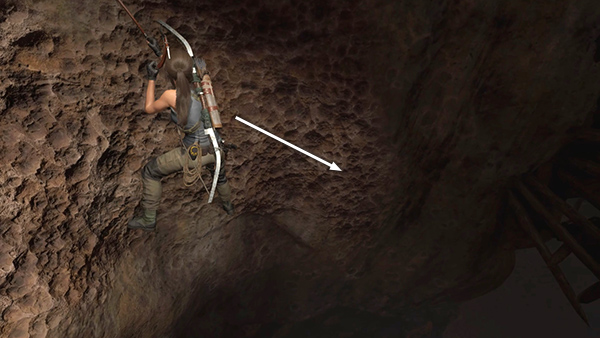
Jump over the hole in the floor and latch onto another climbable wall. Rappel down as far as you can.

Swing back and forth, jump to grab the edge of the opening, and pull up.
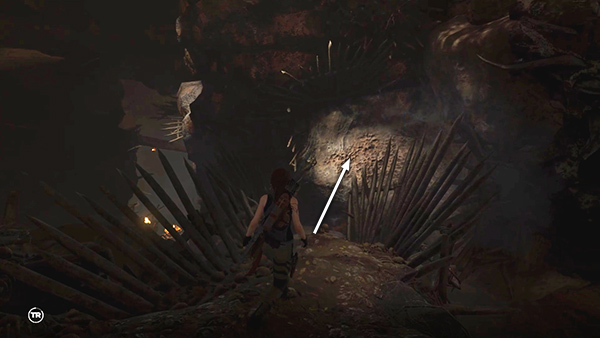
Follow the path down to the bottom and jump across the gap onto another climbable wall.
Climb down and around to the right.

Then rappel down to the floor once more.
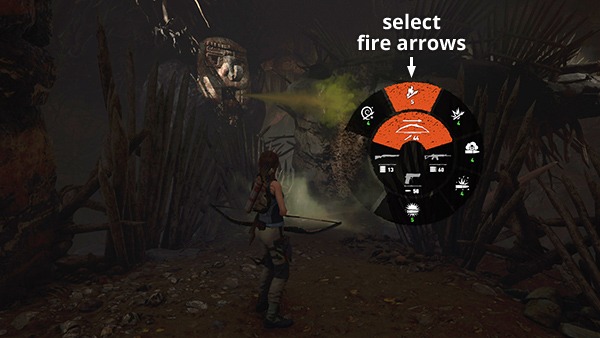
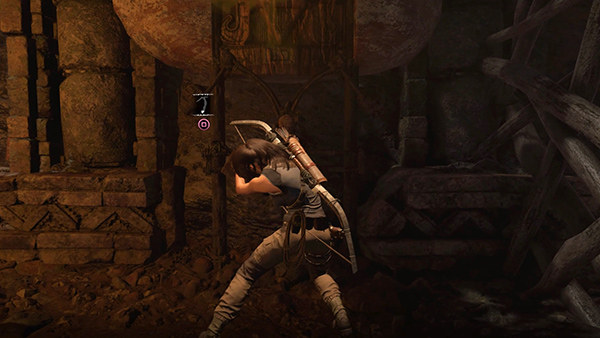
The sulfurous gas billowing out across the path ahead is toxic. If Lara tries to pass through it, she'll take heavy damage. So gather some supplies sitting alongside the path and craft as many fire arrows as you can carry.
NOTE: To review, press the Bow Select button (keyboard 1 or D-Pad Up) repeatedly until Fire Arrows are selected. Then without aiming, hold the Alternate Fire button (Middle Mouse/R1/RB) to combine a regular arrow, cloth, and fat/oil from inventory to make a fire arrow. To fire one, hold Aim, then hold and release Alt Fire.
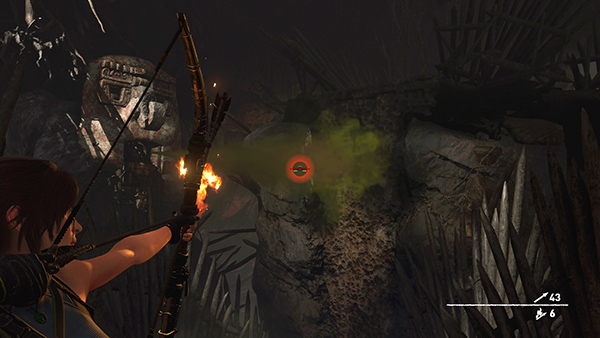
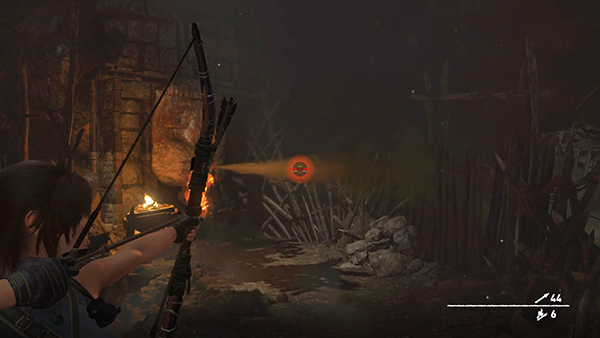
Stand well back from the gas cloud and shoot a fire arrow into it.
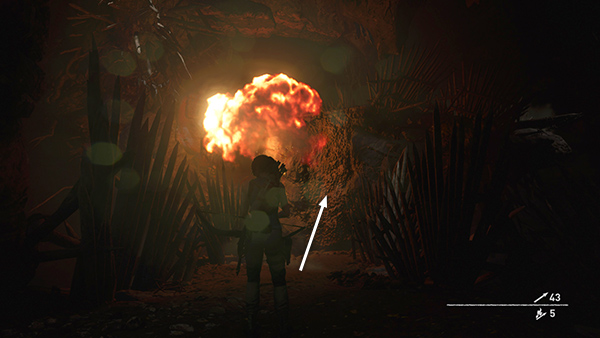
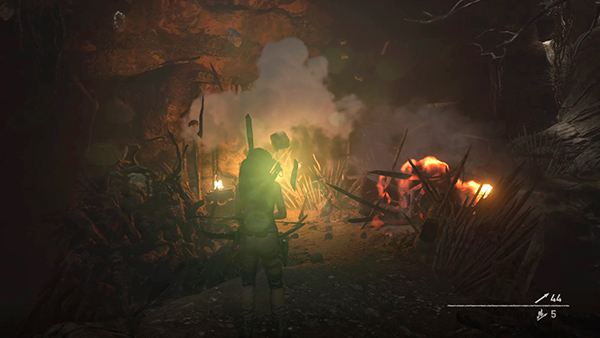
After the gas explodes you'll have just enough time to run forward...
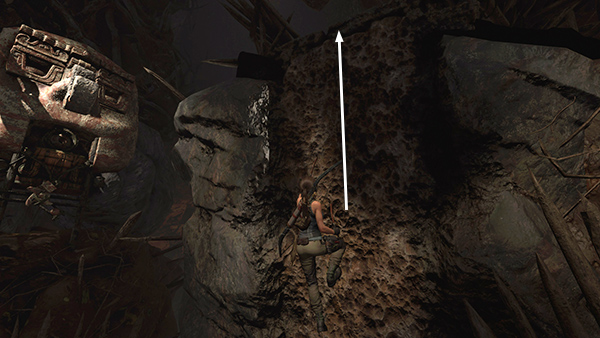
...and scale the climbable wall to the ledge above before the gas starts spewing out again.
Pick up some more resources and jump across the gap onto the ledge below. (From here on, I won't mention every minor pick-up, just the ones that are especially valuable or easy to miss. So keep your eyes open and use Survival Instinct if you have it enabled.)
Use your axe to pry open the next natural gas vent. Then move back to a safe distance so Lara doesn't choke on the fumes.
Stand at a safe distance and shoot a fire arrow into the gas cloud...
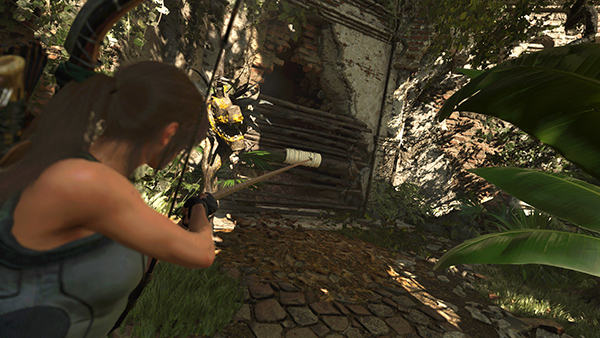
...to blast open a hole in the wooden fence.
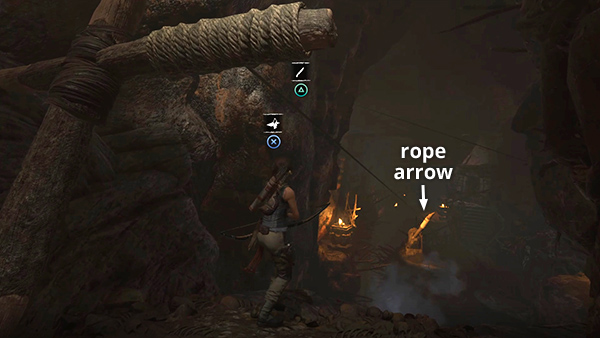
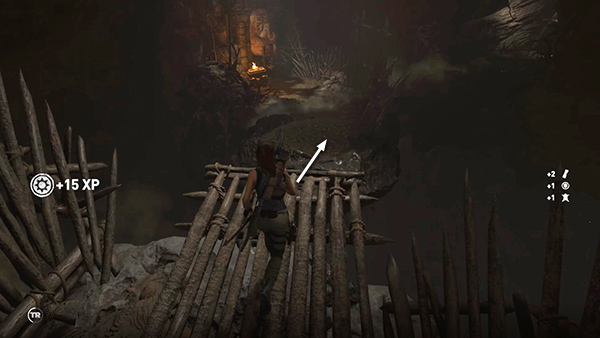
Proceed to the top of the path. Then run a rope line down to the ledge below.
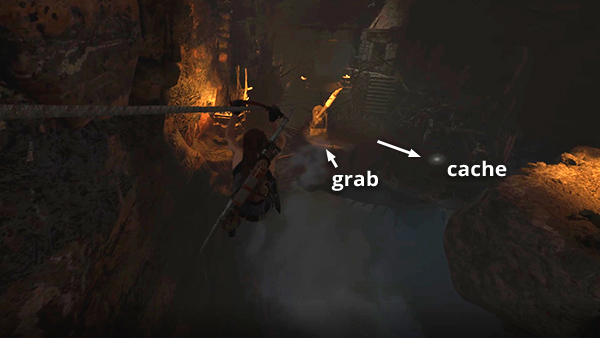
As you slide down, you'll probably spot the flashing light of a survival cache (3/8) below. At the end of the slide, grab the edge and pull up. Then move around to the right...
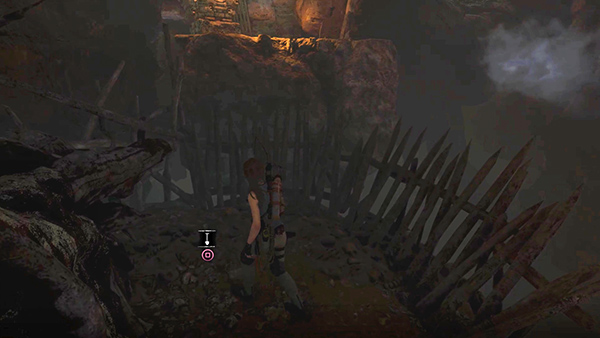
...and dig up the cache.
[Next | Challenge Tomb | Main Walkthrough]
Copyright © - Stellalune ( ). All rights reserved. Feel free to copy or print this walkthrough for personal use. By all means, share it with friends, but please include this credit line so people can send me their feedback. No part of this walkthrough may be reproduced on another site without permission. Follow this link for details about this site's advertising and privacy policy.