Porvenir Oil Fields – Fifth Enemy Encounter
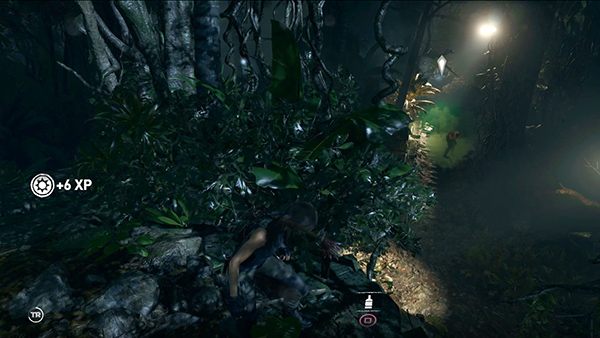
After Unlocking Fear Arrows
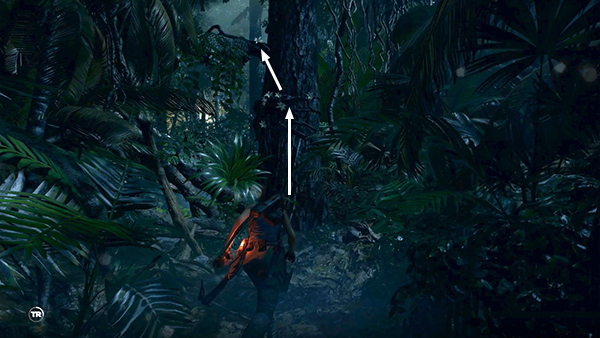
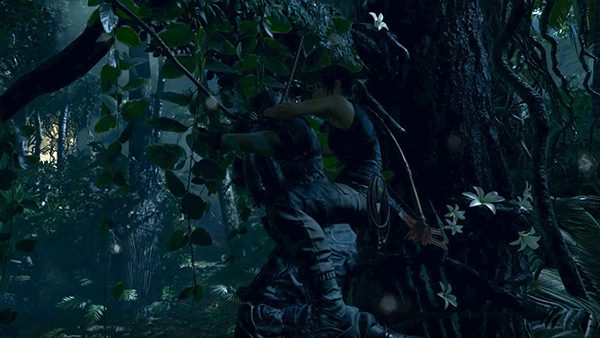
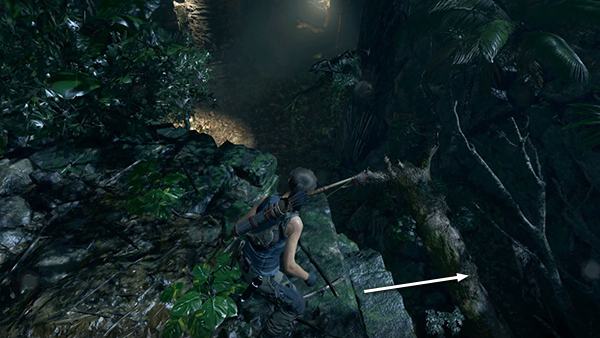
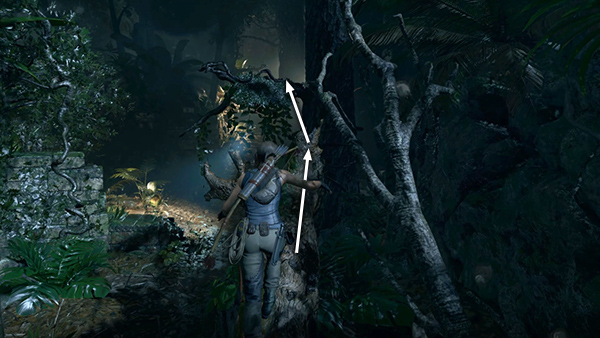
Scramble up the tree directly ahead and remain perched there.
There are 3 enemies in the clearing below. Shoot a fear arrow at the nearest one. (Aim and press Alt Fire, just like using any special ammo.)
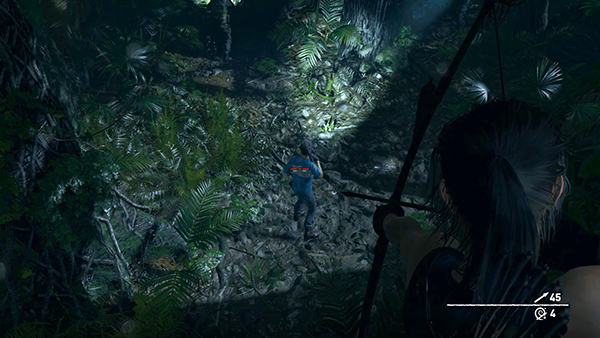
Now watch while he flips out and shoots his comrades then drops dead from the poison.
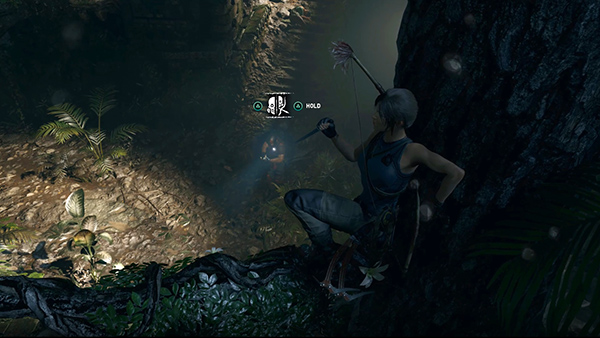
If the man on the far right manages to survive the mayhem, just wait for him to approach the foot of the tree. Then, when you see the Melee prompt, either tap the button once to drop down on him, or hold the button...
...to drag him up into the canopy using the Eagle's Talon maneuver. Drop down and loot the bodies.
There are 9 more men in the jungle ahead, a few sporting thermal goggles. You can identify them by the red glow. Until you're able to reach the next mud patch, Lara's heat signature will be visible, so you'll want to avoid them. There lots of places to hide, trees and ledges to climb, objects you can use for distraction and/or improvised explosives, etc. Now that you have a weapon, you can also take more aggressive action if you like. Here's one possible stealth strategy:
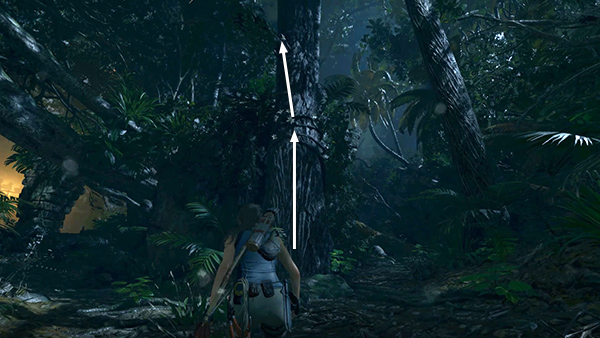
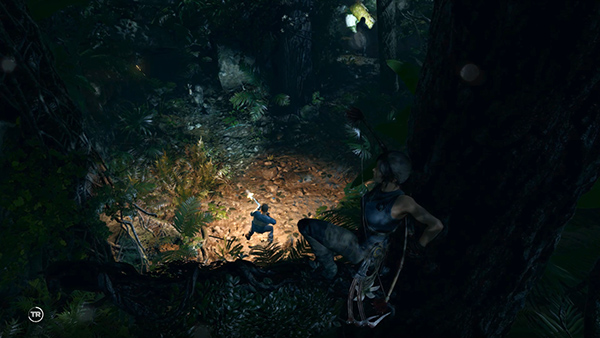
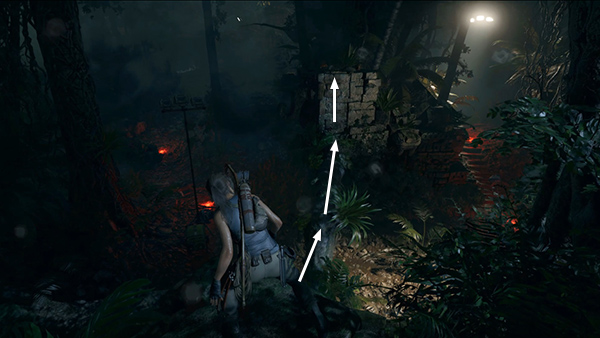
After looting the first 3 bodies, backtrack to the clearing where you shot the first guy with the fear arrow. Turn around to face north. Then climb the tree...

...and jump onto the flat ledge between the two paths. Move to the front left side of the ledge...
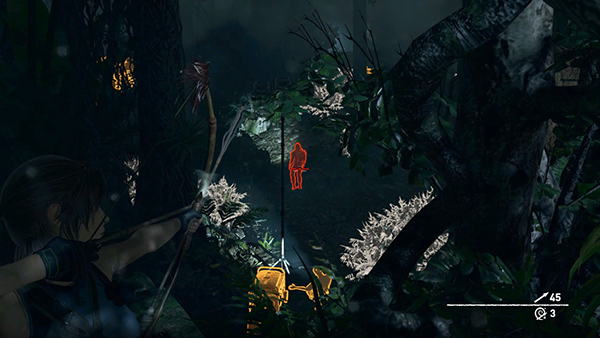
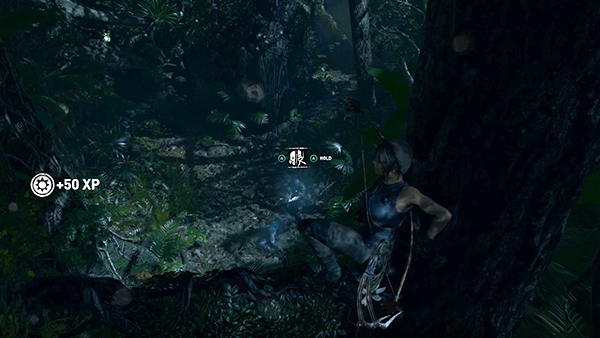
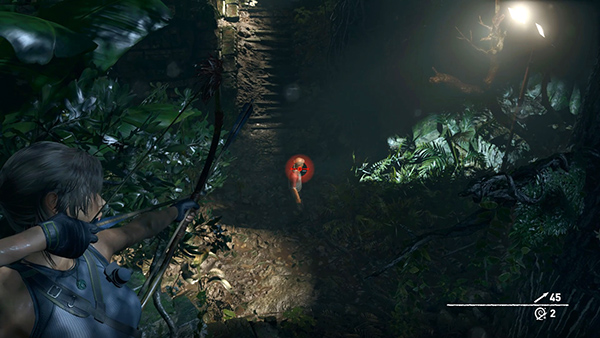
...and scope out the 3 enemies below. Shoot the one wearing armor and goggles with a fear arrow. (Choose him because he's the most dangerous of the trio.)
Then watch him kill the others.
If he only kills one of the other men before dropping dead himself, try and get a headshot on the third guy from above. He's not wearing any armor, so this shouldn't be too difficult.
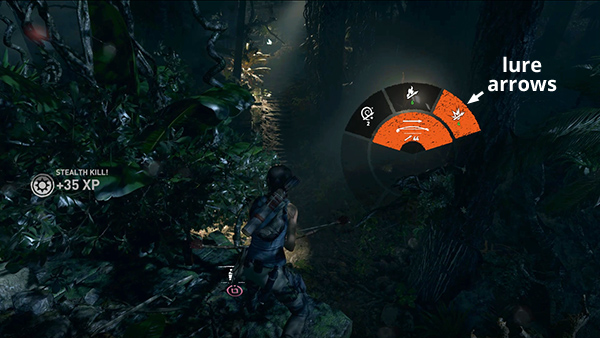
If you've unlocked the Viper's Lure skill and have the components to craft lure arrows, the rest of this sequence should go quickly and easily. (If not, check the main walkthrough for other ideas.) Switch from Fear Arrows to Lure Arrows by pressing keyboard 1 or D-Pad Up until Lure Arrows are selected. Then, without aiming, repeatedly press and hold Alt Fire (Middle Mouse/R1/RB) to combine a regular arrow, cloth, and venom to make a as many Lure Arrows as you can.
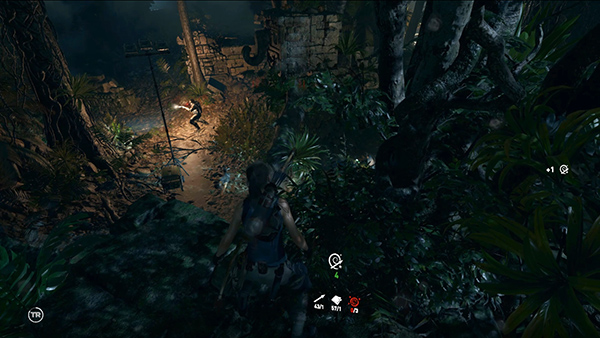
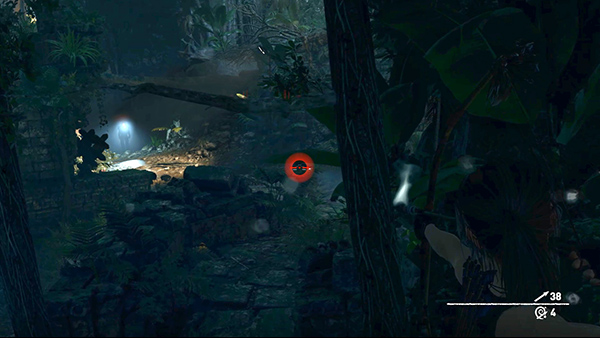
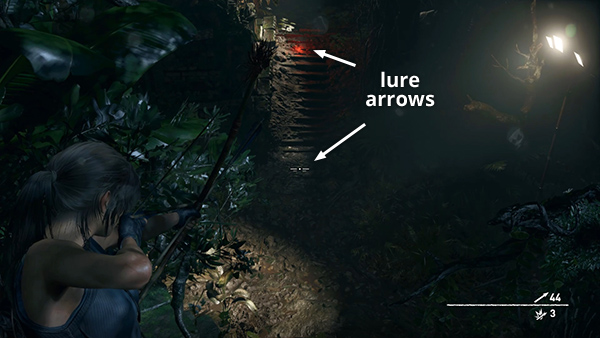 Shoot two of them into the staircase on the far right, one near the top and one near the bottom.
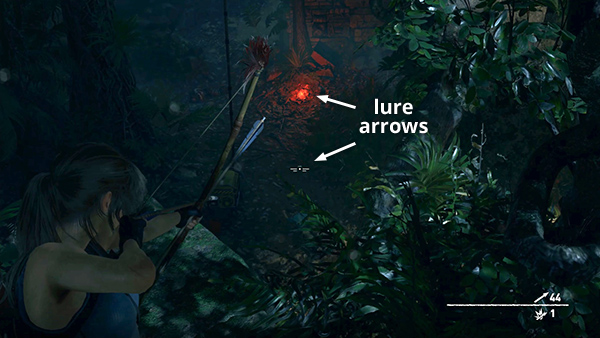
Then move back to the left side of the ledge and shoot a couple more lure arrows onto the path leading in from the northwest.
As you sit back and wait for unsuspecting enemies to stumble into your toxic traps, craft more special arrows in case you need them. Then each time a lure is triggered, shoot another arrow into the same spot. Or, if multiple enemies approach at the same time, hit one of them with a fear arrow and let him do the work for you.
NOTE: If you like, you can shoot out some of the spotlights to make the area a little darker, but I left them in place to make details easier to see in the screenshots.

If you run out of lure arrows, you can also try for headshots on any single enemies who come to inspect their fallen comrades. Just remember that soldiers with helmets will require 2 headshots: one to smash the helmet, and one to kill. Or, use a fire arrow or several shots to the body.
If you like, once you've taken out most of the enemies with special arrows, you can jump down onto the fallen tree to the right of the center ledge.
Walk up the tree trunk and jump onto the branch above.
Then wait for an unsuspecting mercenary to approach. As long as they're not wearing thermal goggles, they shouldn't spot Lara. If they're on their own, you can use Eagle's Talon without detection.
If the last few enemies aren't attracted by your lures, you'll need to go to them. Return to the left side of the ledge between the two paths and jump down onto the fallen tree. Walk across it and scramble up onto the man-made stone wall.
You should have a pretty good view from here. Hit one of the remaining enemies with a fear arrow and let him do as much damage as he can. Then use the tree branch to swing across the gap and take out any stragglers.
Again, there are additional notes in the main walkthrough and an alternate strategy here.
[Porvenir Oil Fields Walkthrough]
Copyright © - Stellalune ( ). All rights reserved. Feel free to copy or print this walkthrough for personal use. By all means, share it with friends, but please include this credit line so people can send me their feedback. No part of this walkthrough may be reproduced on another site without permission. Follow this link for details about this site's advertising and privacy policy.