Porvenir Oil Fields – Fifth Enemy Encounter
Alternative Strategy
If you don't have lure arrows, you can sneak through most of this area with minimal confrontation. Do the first encounter with the fear arrows as described in the main walkthrough.
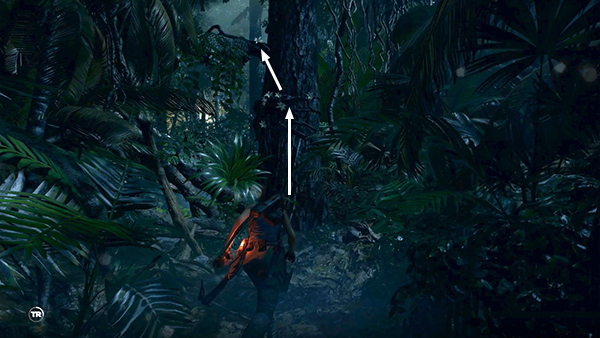
That is, when you first enter the jungle beyond the cave, scramble up the tree and remain perched there.
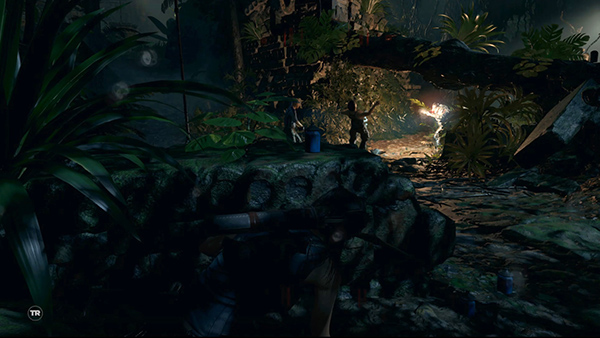
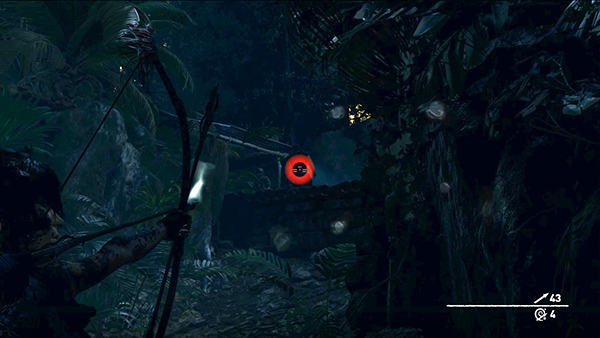
There are 3 enemies in the clearing below. Shoot a fear arrow at the nearest one. (Aim and press Alt Fire, just like using any special ammo.)
Now watch while he flips out and shoots his comrades then drops dead from the poison.
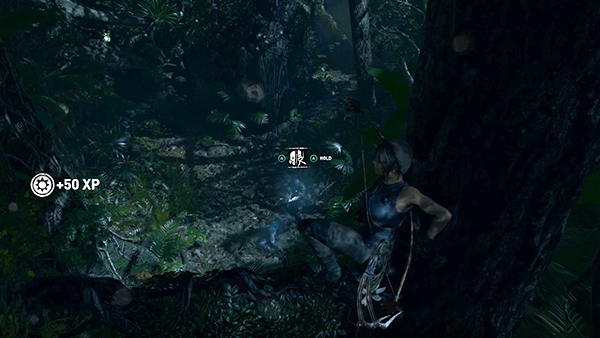
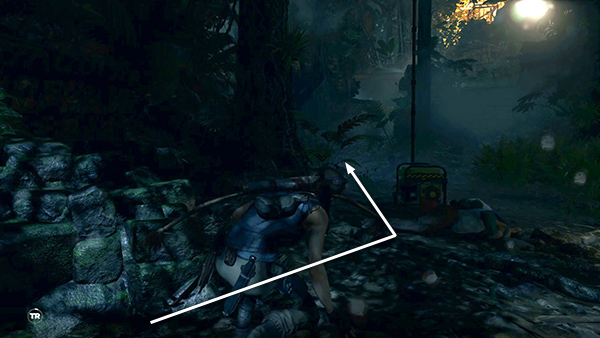
If the man on the far right manages to survive the mayhem, just wait for him to approach the foot of the tree. Then, when you see the Melee prompt, either tap the button once to drop down on him, or hold the button...
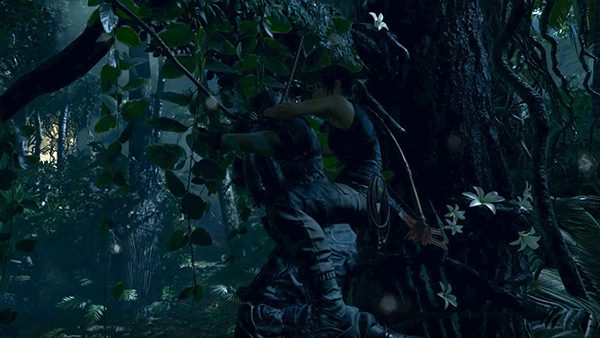
...to drag him up into the canopy using the Eagle's Talon maneuver. Drop down and loot the bodies.
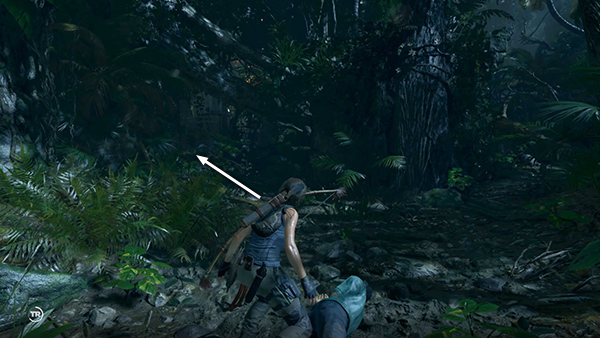
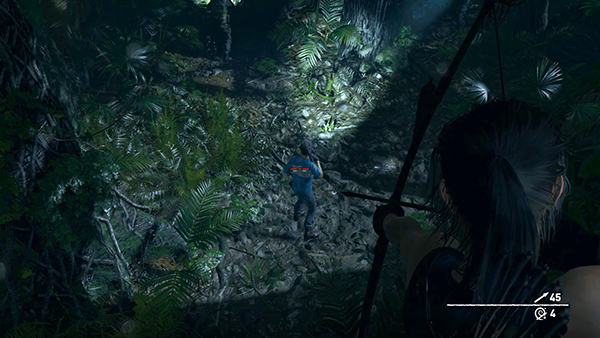
Then, instead of climbing onto the ledge between the paths, follow the left (northwest) path.
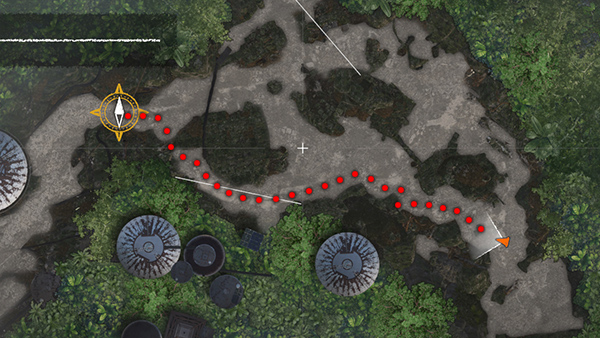
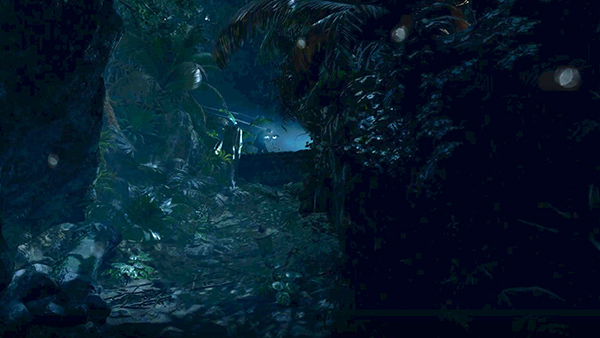
The rest of these screenshots are very dark, I know. Even with the brightness cranked up, it's difficult to make out many details in the darkness. The path you'll take, from the first fear arrow kill to the area exit, is marked with red dots on this map detail.
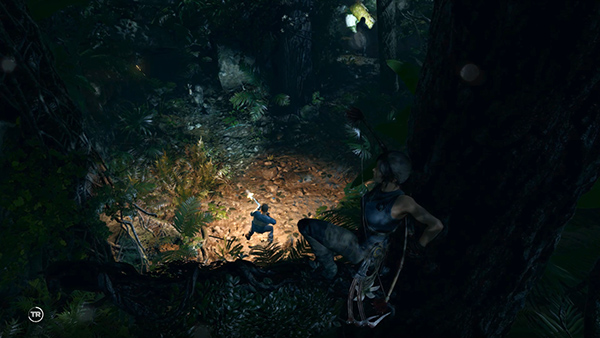
As you approach the next 3 enemies, hide behind the low wall on the left side of the path, near the one working on the generator.
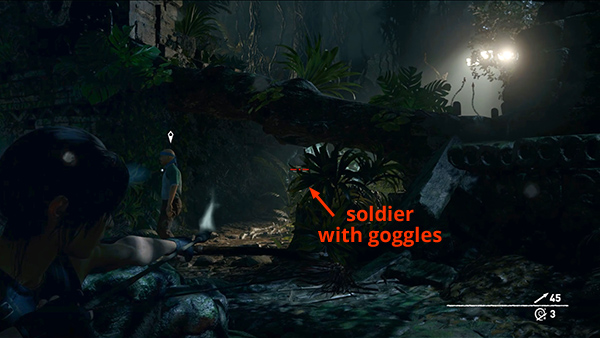
Shoot the one wearing the thermal goggles with a fear arrow...
...and let him kill the others. If he doesn't get both of them, finish off the straggler with a headshot or wait for him to turn his back and attack him from behind.
Move around the low wall to the left. Then continue past the generator to the west, keeping the outer edge of the area on Lara's left.
Head past a short stone wall and down into a tunnel.

Here you'll find a mud patch where you can apply camouflage. Sneak through the tunnel, gathering supplies along the way.

There are 3 more enemies on the ledge at the end of the tunnel (not including a few you avoided by staying away from the east side of the area).
Shoot one of them with a fear arrow and hope that he takes out the others. If not, you'll have to finish them off.
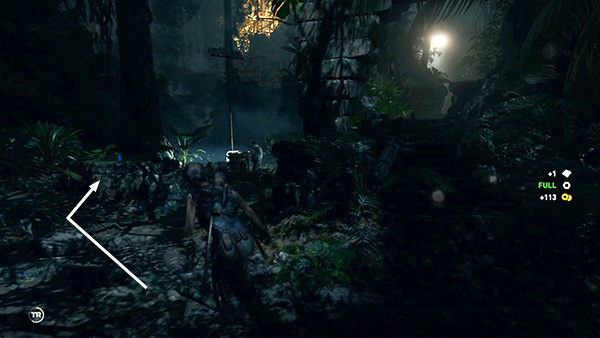
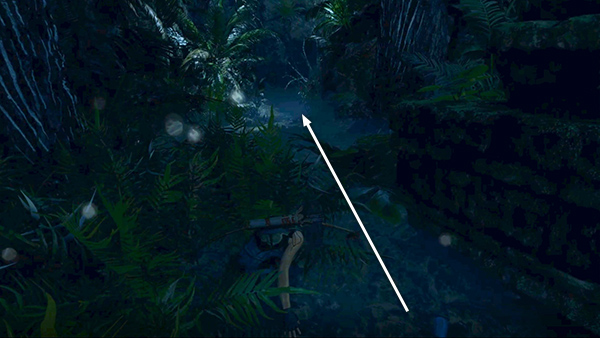
Now, don't wait too long or more enemies will arrive. Climb up on the ledge at the end of the tunnel, turn left, loot the bodies if there's time, then squeeze through the narrow opening to the west to enter the next area. This screenshot shows this path to the exit
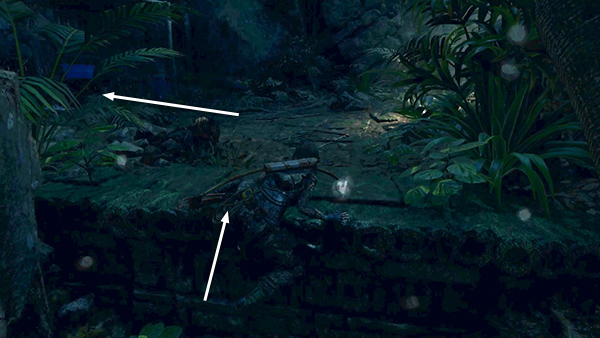
Now, don't wait too long or more enemies will arrive. Climb up on the ledge at the end of the tunnel, turn left, loot the bodies if it's safe to do so...

...then squeeze through the narrow opening to the west to enter the next area.
[Porvenir Oil Fields Walkthrough]
Copyright © - Stellalune ( ). All rights reserved. Feel free to copy or print this walkthrough for personal use. By all means, share it with friends, but please include this credit line so people can send me their feedback. No part of this walkthrough may be reproduced on another site without permission. Follow this link for details about this site's advertising and privacy policy.