Porvenir Oil Fields – Fourth Enemy Encounter (part 2)
Now move into the building on the left and take cover against the right interior wall, which is also covered in vines.
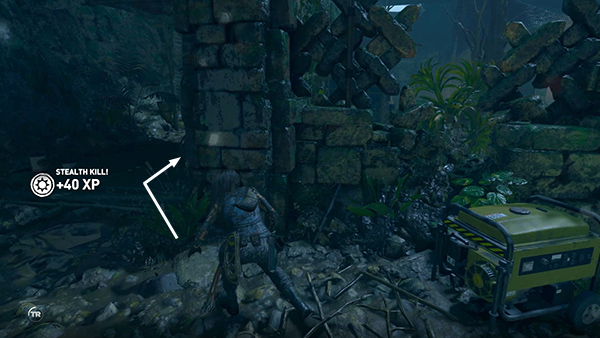
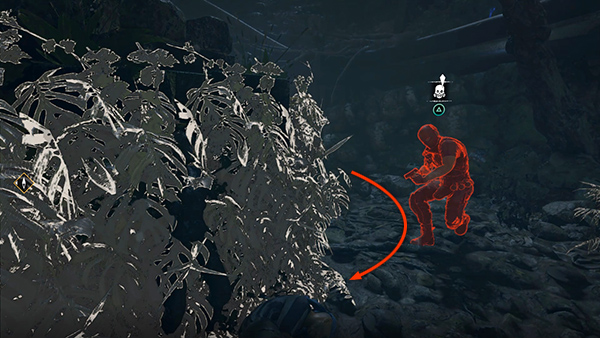
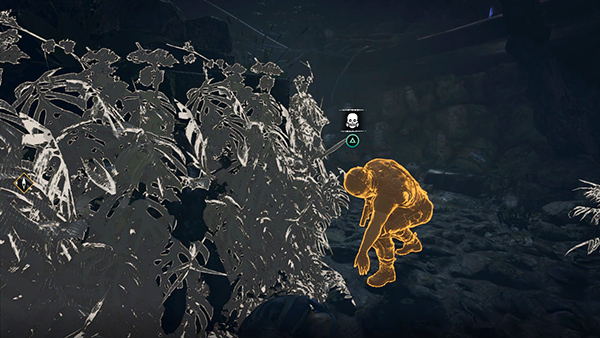
 Sidle along the wall until you can see a fourth enemy standing just outside. Again, check to make sure he's on his own (yellow in Survival Instinct) before doing another stealth attack.
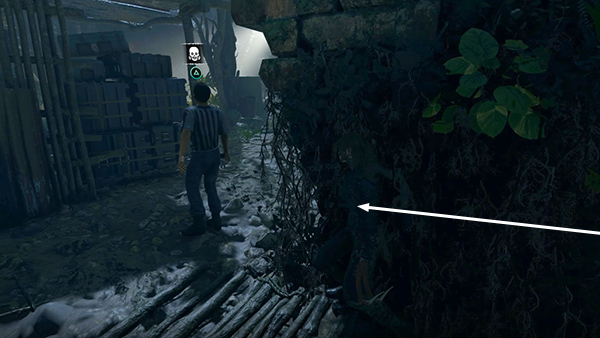
Go back the way you came. Exit the building...
...and once again hide among the vines on the wall to the right of the generator.
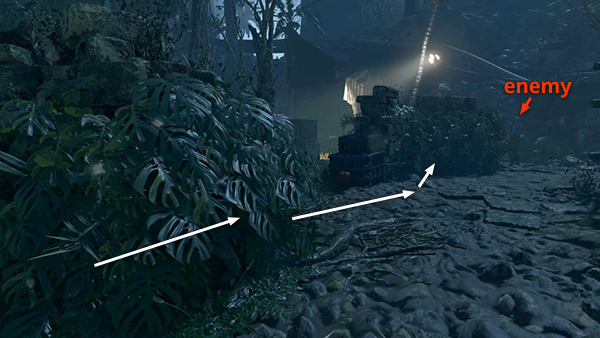
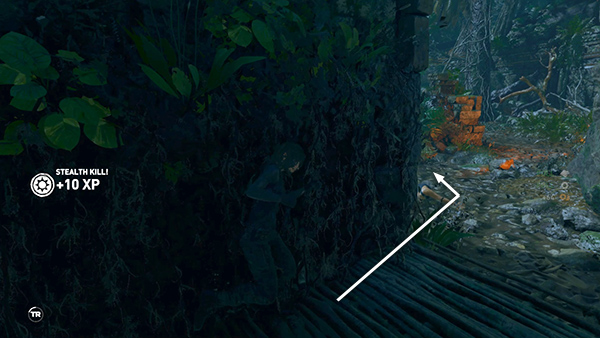
Move forward along the wall, staying hidden in the vines until you're sure none of the enemies ahead are watching. Move quickly across the open area to the next vine-covered wall on the right side of the stacked crates. There's a fifth enemy standing at the end of this wall, but his back should be turned.
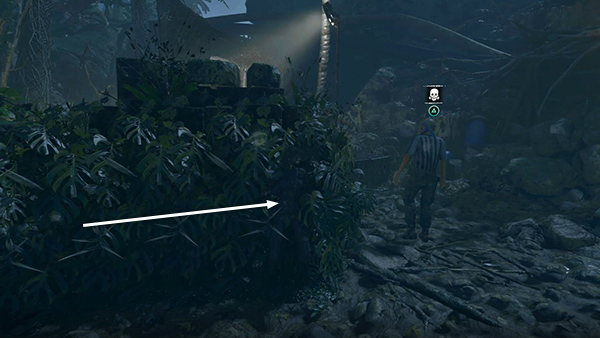
Inch along the wall until you're close enough to see the Melee icon above his head.
If you're not sure where the other 3 remaining enemies are, tap Survival Instinct to make sure this one is out of their line of sight.
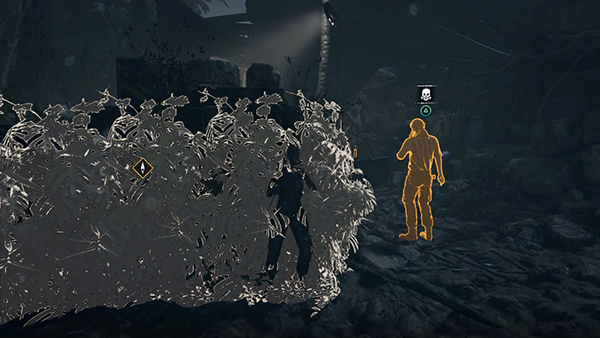
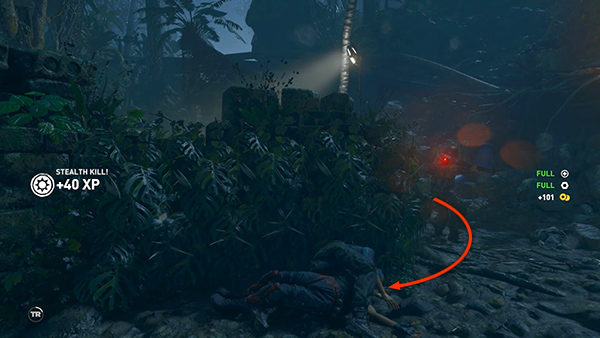
Then press Melee to stab him and drag him behind the wall.
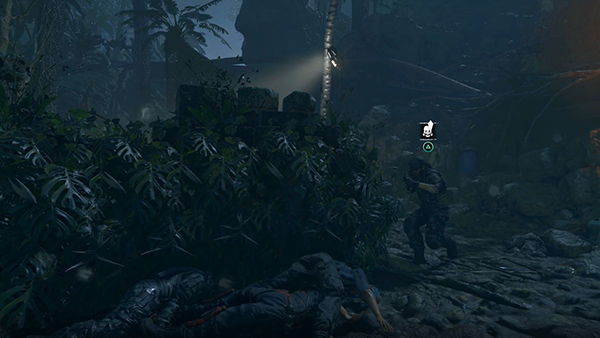
Now just wait here, hidden among the vines, and the last 3 enemies should come to you one at a time. Don't get trigger-happy, though. Make sure each one comes all the way around the wall before you attack. If you have Survival Instinct enabled, again, just activate it briefly. If the enemy is still red, wait until he gets a little closer.
When he turns yellow, go ahead and press Melee for an unobserved kill.
Repeat with the next enemy...
 ...and the last one.
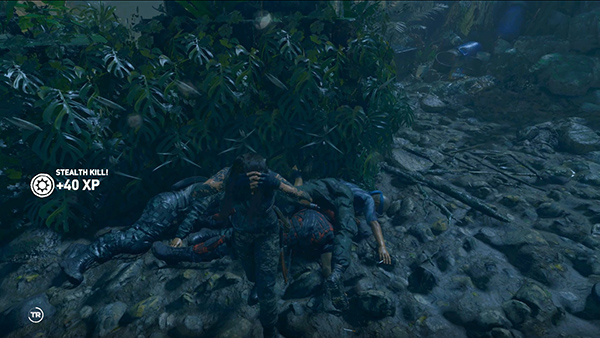
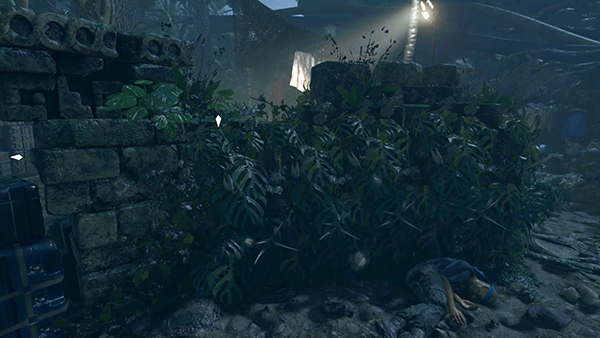
Then just wade out of the pile of bodies and sort out your hairdo. As the Brits say, done and dusted.
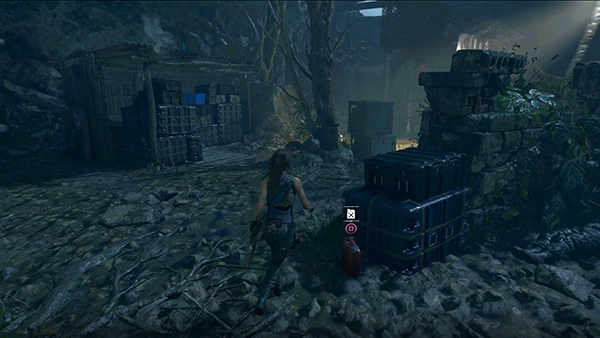
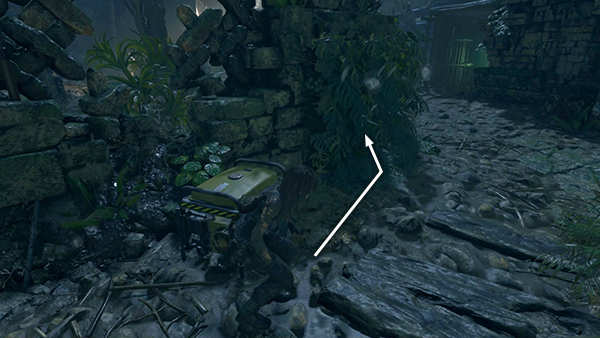
If this strategy doesn't work for you, there are plenty of other places to hide and lots of objects that can be used for distraction and crafting improvised explosives. If you manage to kill all but the last few men by stealth, go ahead and engage. There's a red jerrycan sitting on the ground near the stacked crates just before that last vine-covered wall.
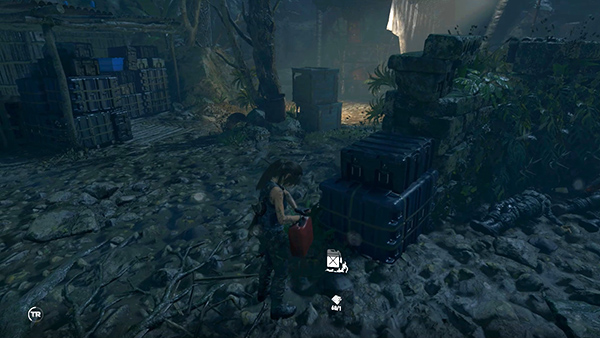
You can pick it up, then hold Alt Fire to combine it with cloth from your inventory to make a petrol bomb...
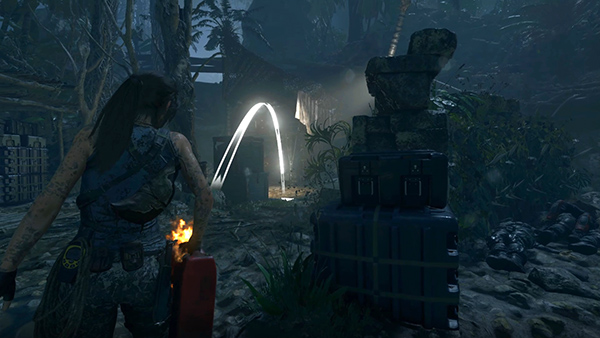
...and throw it at nearby enemies just like a Molotov.
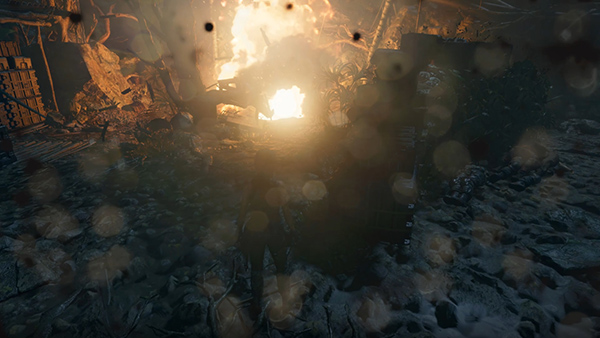
It causes a spectactular explosion, especially if you aim in the direction of the area exit, where several fuel barrels are stored. (They're shown intact in the screenshot below.)
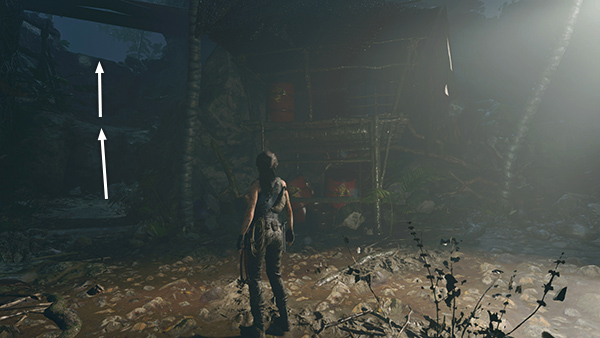
When you've cleared the area, search the bodies, gather various resources, and climb the ledges to the north.
[Previous | Porvenir Oil Fields Walkthrough]
Copyright © - Stellalune ( ). All rights reserved. Feel free to copy or print this walkthrough for personal use. By all means, share it with friends, but please include this credit line so people can send me their feedback. No part of this walkthrough may be reproduced on another site without permission. Follow this link for details about this site's advertising and privacy policy.