Porvenir Oil Fields - Fourth Enemy Encounter (part 1)
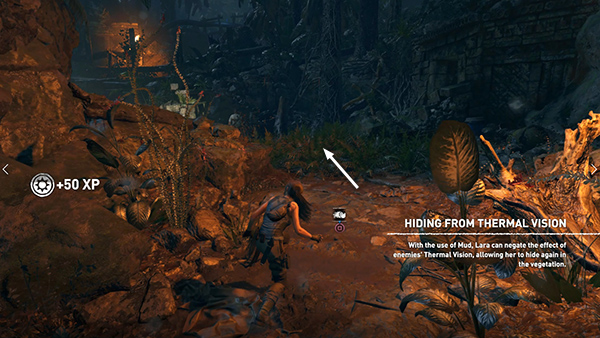
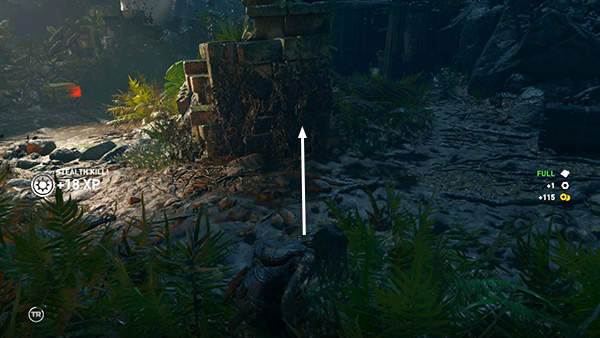
As you enter the next area, Lara over hears 2 mercenaries greeting each other. (In case you missed the reference, this is a Warner Bros. cartoon Easter egg.) Use the mud puddle to apply camouflage, which will not only allow Lara to hide against mud-covered walls but will hide her heat signature from the men with the thermal goggles. Move forward into the bushes.
Wait for all but one of the first 3 enemies to move away, leaving only the guy with the goggles. Inch forward until you see the Melee icon above his head.
If you're playing on easy or medium difficulty, tap Survival Instinct just to make sure he's unobserved (yellow rather than red).
Then press Melee to stab him and drag him into the bushes.
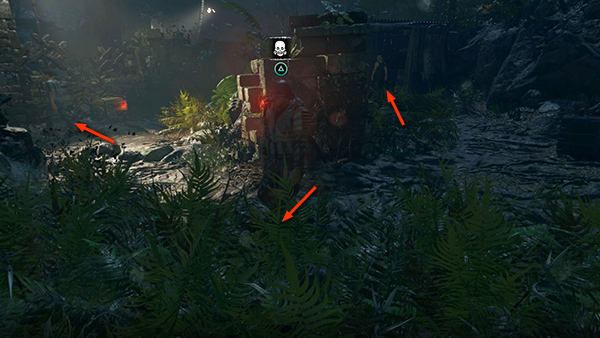
Move forward to the mud-covered stone wall.
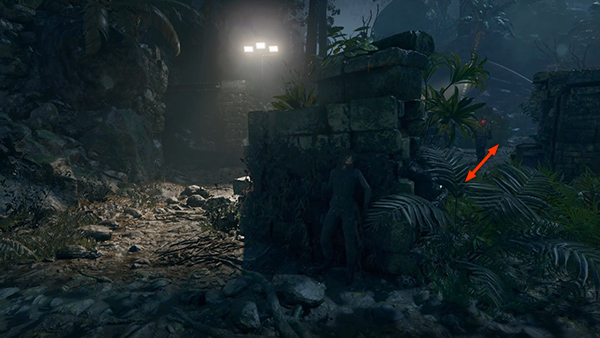
Wait here until you see 2 enemies—one with goggles, one without—approach then move away again.
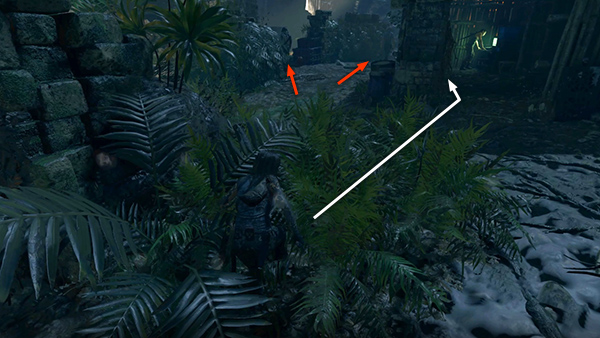
Then move around into the bushes on the right, then on into the open shed ahead on the right. The left interior wall is covered in vines...
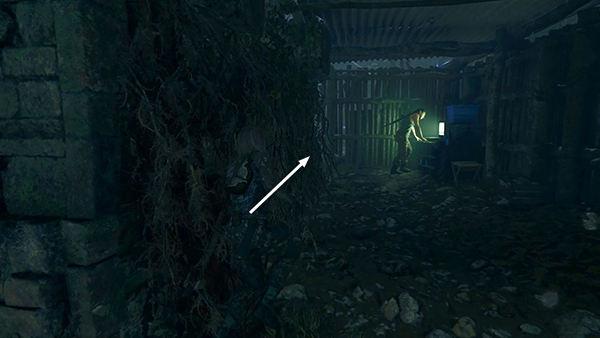
...so you can hide up against it and sneak forward toward the mercenary standing at the computer.
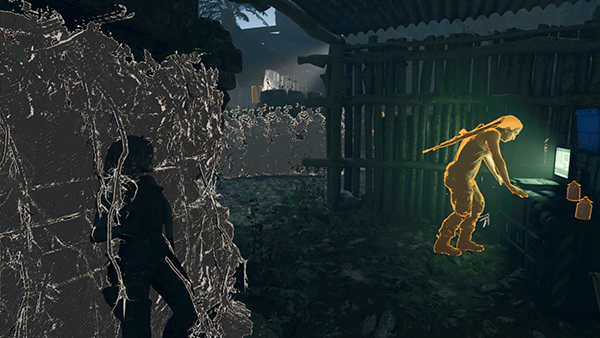
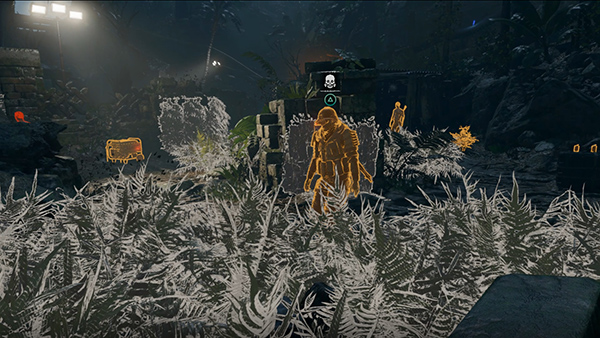
Again, check to make sure he's not being watched by any other enemies (yellow in Survival Instinct).
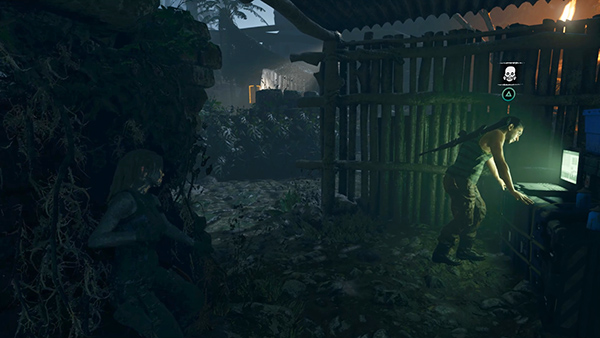
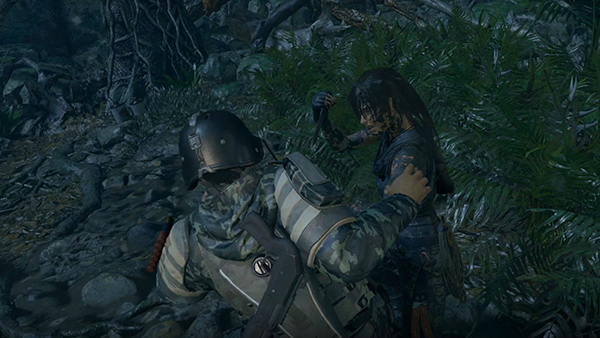
Then inch out toward him until you see the prompt...
...for a stealth takedown.
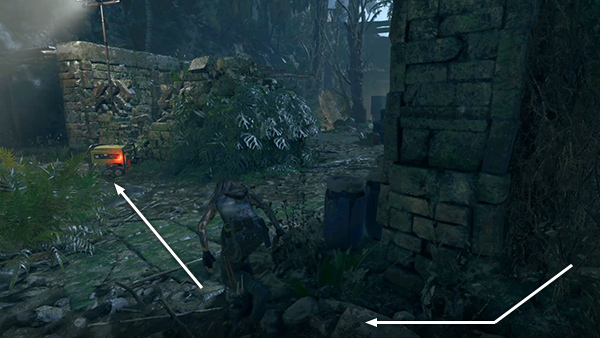
Return to the left end of the vine-covered wall. Peer around the corner to make sure the coast is clear. Then move across the open area to the generator.
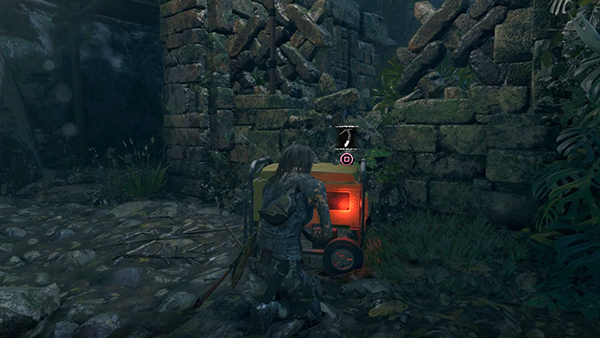
Hold Interact to sabotage it.
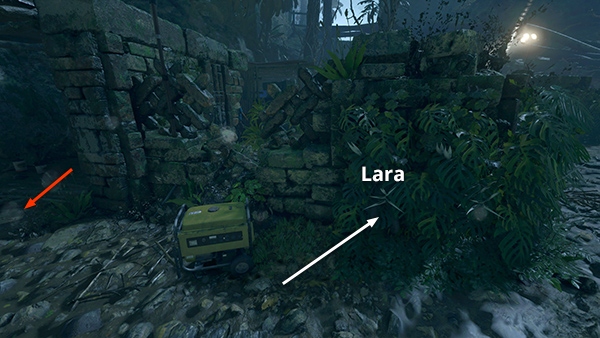
Then hide among the vines on the wall to the right. A lone enemy should come through the building on the left to investigate the power outage.
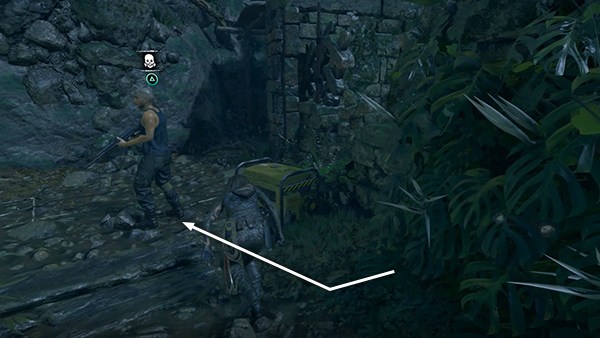
He'll look around for a bit then eventually turn his back on Lara. Move up behind him and press Melee to take him out.
[Next | Porvenir Oil Fields Walkthrough]
Copyright © - Stellalune ( ). All rights reserved. Feel free to copy or print this walkthrough for personal use. By all means, share it with friends, but please include this credit line so people can send me their feedback. No part of this walkthrough may be reproduced on another site without permission. Follow this link for details about this site's advertising and privacy policy.