Porvenir Oil Fields - Revisiting the Area for the Mural and/or Document #3
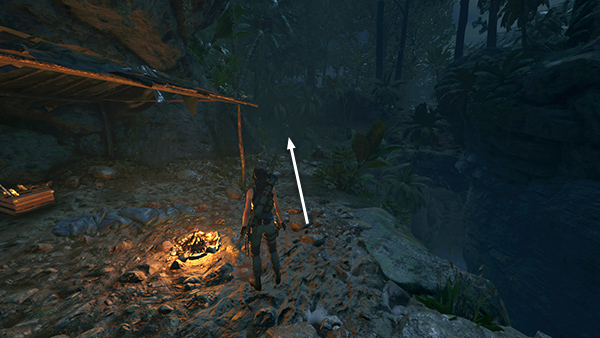
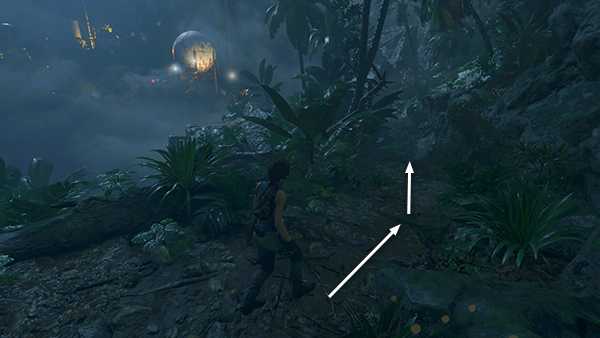
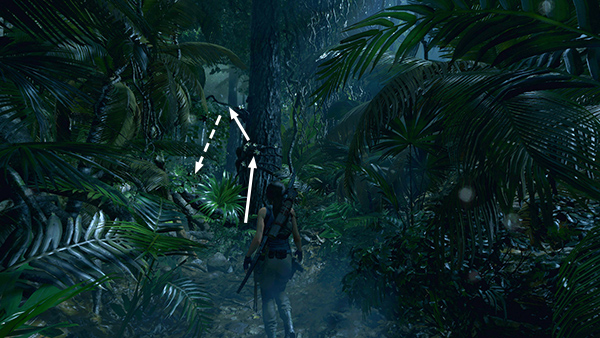
Porvenir's only mural and third document are in the cave where you found Six Sky's War Bow and unlocked the Jaguar's Fear Skill, allowing you to craft Fear Arrows. This cave is closer to the Destroyed Bridge Base Camp; however, climbing the tree just north of the cave (shown in this screenshot and map detail) can be challenging if you're approaching from the north. It sometimes works, sometimes not. So I recommend starting from The Beach Base Camp instead.
From The Beach Base Camp, follow the path to the north.
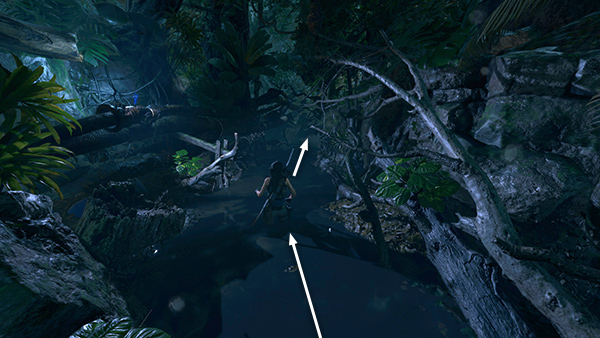
Slog through the flooded area and duck under a low branch to emerge in a clearing (one of the areas where you stealthily fought some Trinity soldiers earlier).
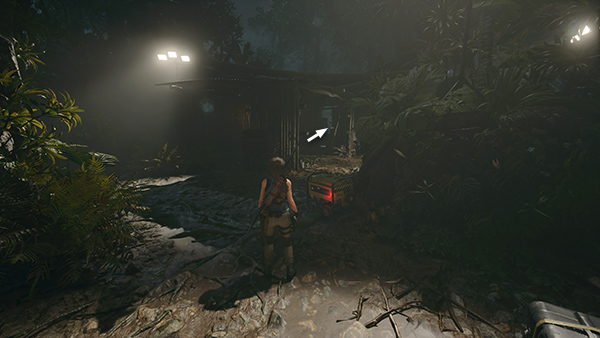
Head for the shed about halfway along the right (east) side of the clearing. Inside this shed is a narrow gap in the wall. Squeeze through into the next area.
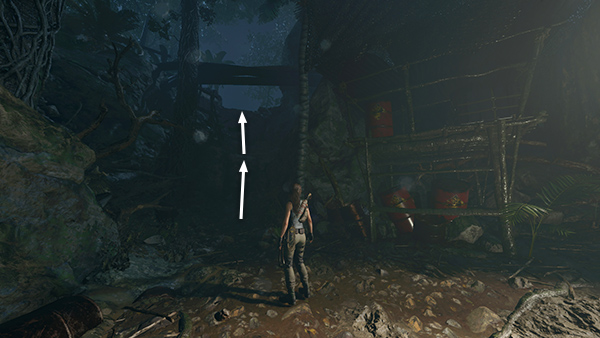
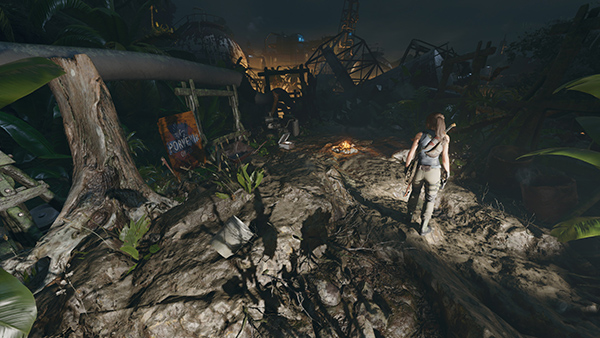
Cross this clearing (another area with storage sheds and low walls where you killed a squad of Trinity soldiers during your first visit) and climb out on the north side.
You're now on the path overlooking the refinery. Head down to the right (north).

When you reach the drop-off, jump forward, grapple the climbable wall, and rappel down into the cave.
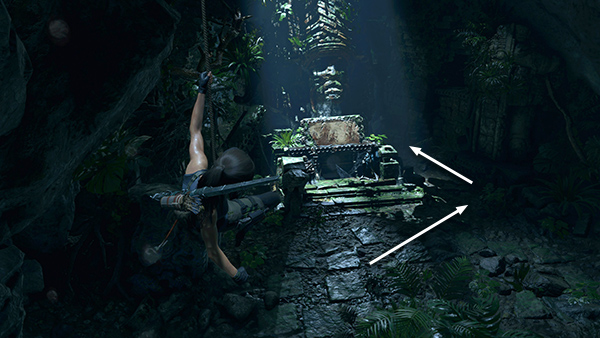
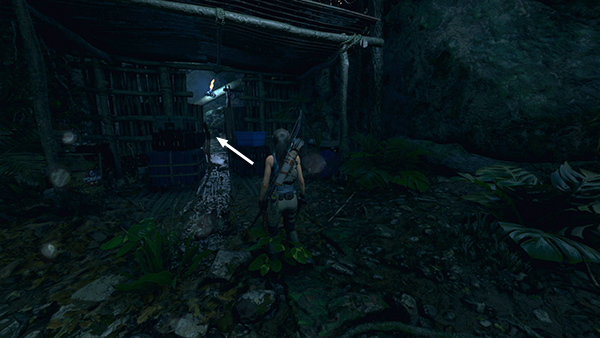
Move past the altar where you found Six Sky's War Bow earlier.
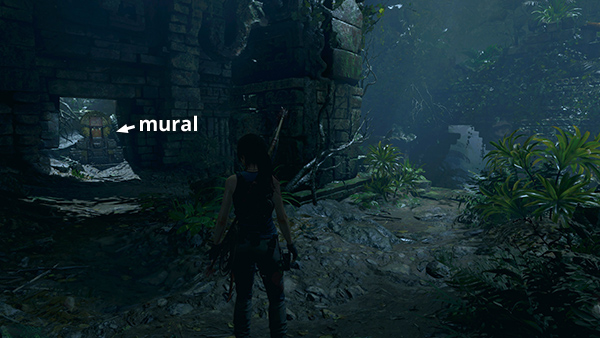
The mural (1/1), Mama Zara (Quechua/Pantheon of Gods 2) is just ahead on the left.
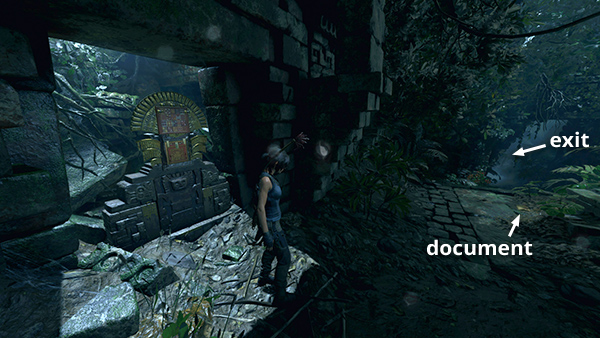
Document (3/4), The Truth (Trinity), is lying on the ground just beyond the mural.
You can't climb back the way you came, so you'll need to continue northward to the Destroyed Bridge Base Camp.
Exit the cave with the mural and document and follow the path to the north. Climb the tree with the vines and white flowers and jump down into the clearing on the other side. (This was another combat area during the first pass through the level, but you shouldn't encounter any enemies when revisiting later.)
Head for the far left (northwest) corner of this area and squeeze through the gap in the corrugated metal wall.
Then just follow the path to the southwest and you'll soon reach the Destroyed Bridge Base Camp. From there, you can fast travel to wherever you need to go next.
[Porvenir Quick Guide | Porvenir Walkthrough]
Copyright © - Stellalune ( ). All rights reserved. Feel free to copy or print this walkthrough for personal use. By all means, share it with friends, but please include this credit line so people can send me their feedback. No part of this walkthrough may be reproduced on another site without permission. Follow this link for details about this site's advertising and privacy policy.