Porvenir Oil Fields – Firefight at the Refinery (part 2)
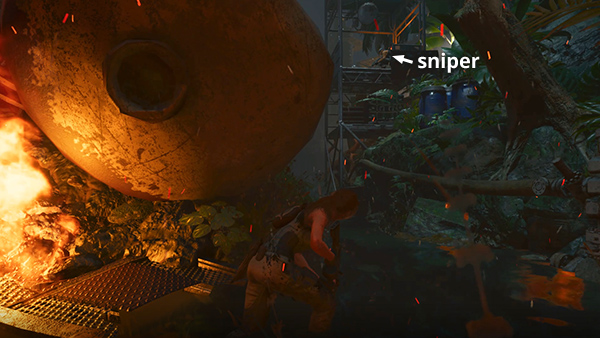
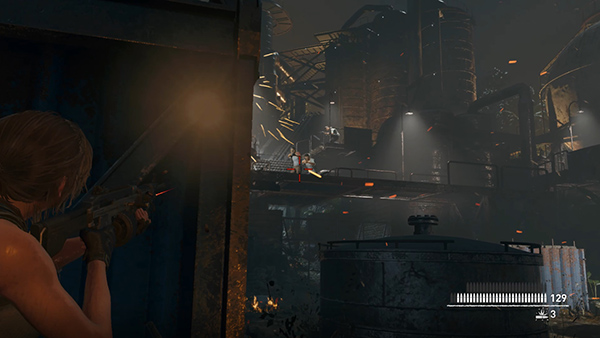
As you turn the corner heading into the second area, a sniper above on the right takes a few potshots at Lara.
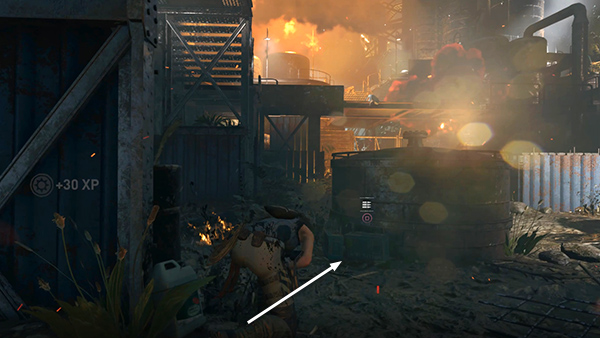
Shoot him before he can do too much damage.
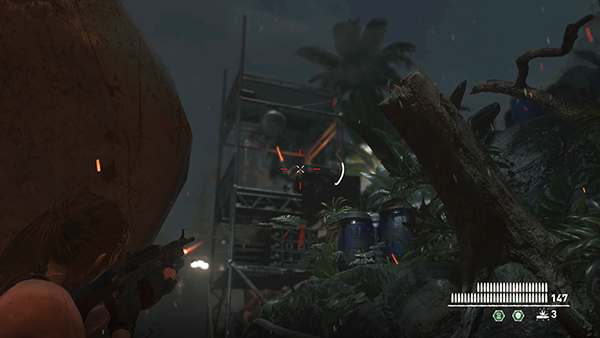
Then run straight ahead past his position and take cover behind the blue metal barrier. Pick up more rifle ammo here if you need it.
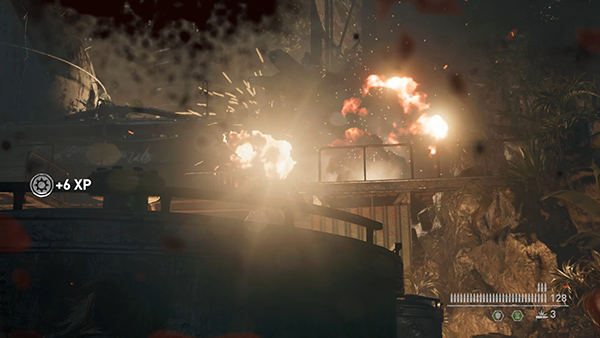
Several mercenaries begin to converge on your position, so immediately turn right and shoot the stack of red barrels.
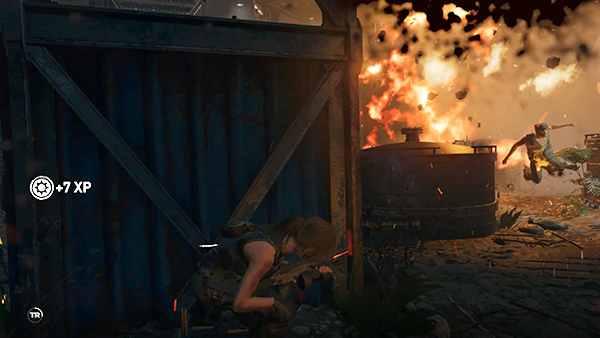
The ensuing fireball should take out the guy coming toward you plus a few unseen enemies.
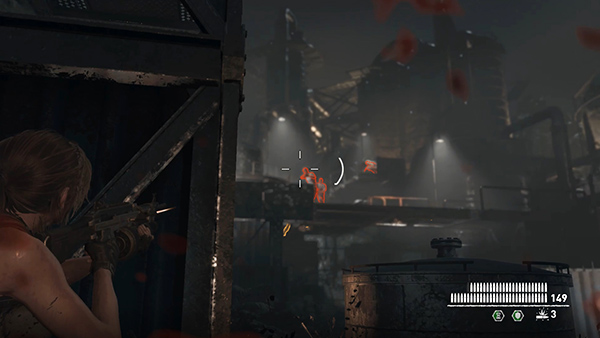
Next, peer around the right side of the metal barrier and shoot
several enemies on the walkways on the far side of the area. If you need to shoulder swap for a better angle, press Left Shift on the keyboard or click the left stick (L3).
If you're having trouble spotting enemies at this distance, use Survival Instinct.
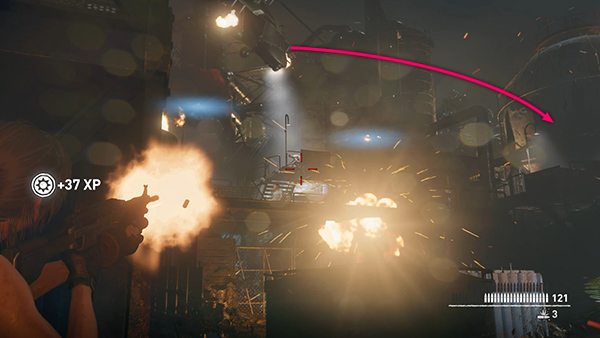
As you eliminate these guys, the helicopter swings around to the right, moving into position to do some serious damage.
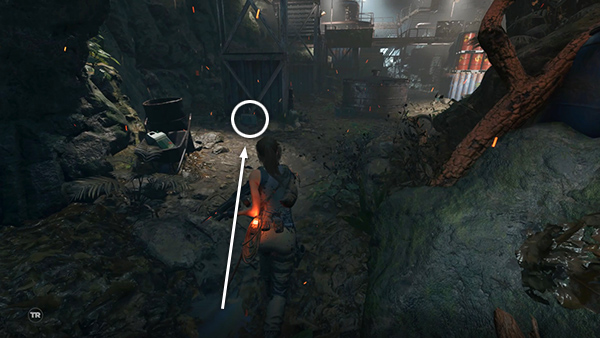
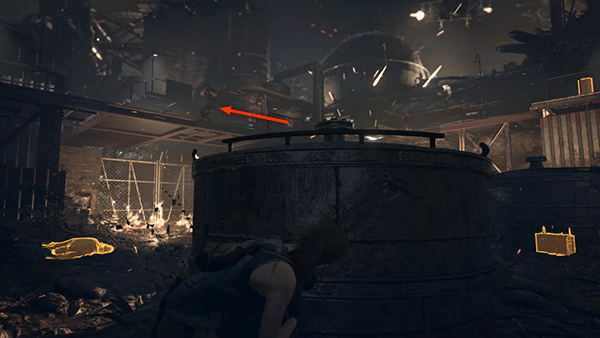
You definitely don't want that, so scramble out and take cover behind the cylindrical metal thingy just ahead. There are 2 more boxes of ammo sitting on the ground next to it. (Sorry, I don't know what this is—a well cap?—but I do know it's sturdy.) There are many other places to hide, but as long as you have herbs and ammo to spare, you won't need to move from here, except to shift position from left to right to avoid being shot at.
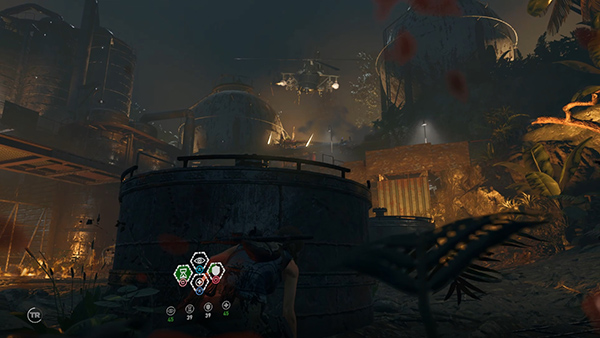
The biggest danger is the helicopter. Whenever it starts firing, release the Aim button to stow your weapon and crouch behind the metal cylinder. Heal if necessary and use another dose of Focus and Endurance herbs whenever the effects begin to wear off.

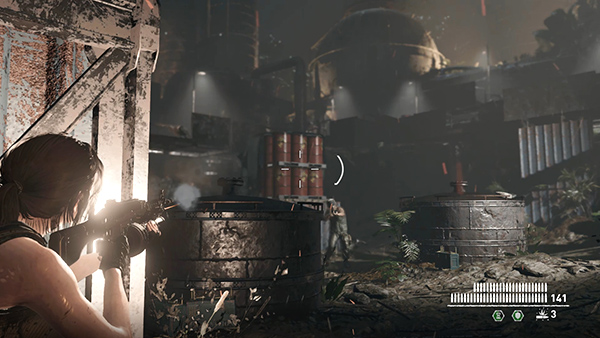
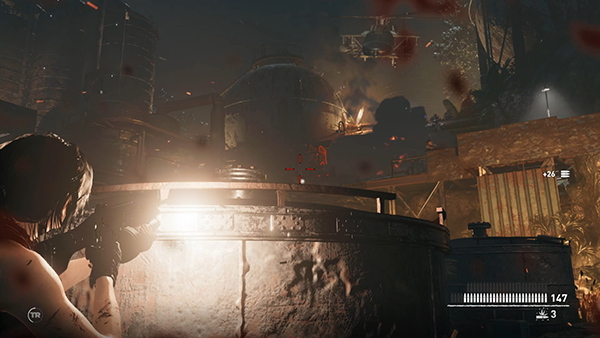
About a dozen new enemies appear a few at a time on the wall below the helicopter. Each time the helicopter stops shooting...
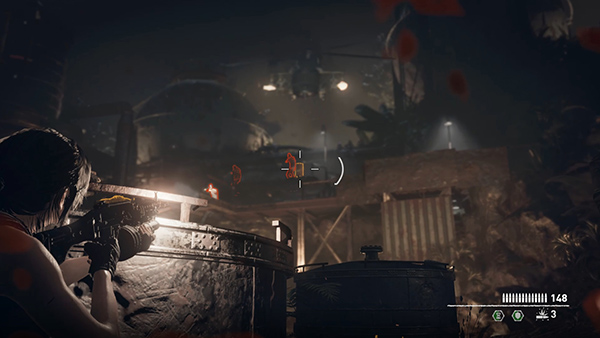
...draw your weapon and aim over the top or around the side of the metal cylinder to take out as many soldiers as you can.
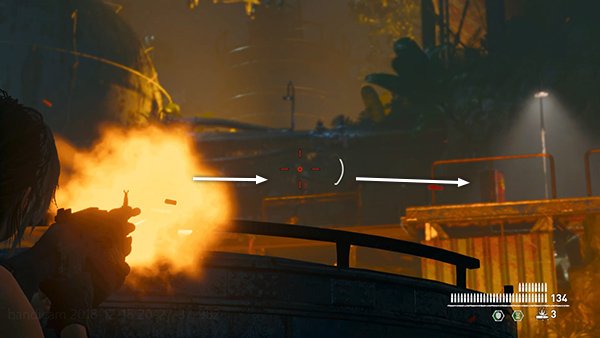
The time-slowing effects of the Focus herbs should help a lot. Even if you can't line up perfect headshots, just sweep your weapon from side to side, firing when the reticle turns red. Or aim for the fuel barrels...
...to take out multiple enemies at once.
Occasionally one of the soldiers will attempt to flank Lara by moving along the walkway on the left. Be sure to take these guys out right away so you're not taking fire from two directions.
Repeat these same basic tactics: eliminate new enemies as they appear...
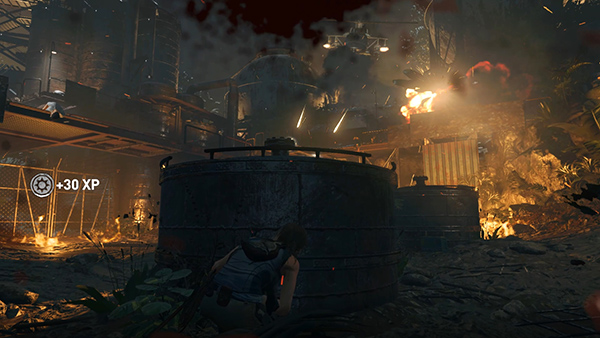
...then release the Aim button to take cover whenever the helicopter opens fire, or when you need to use Health, Focus, or Endurance mixtures.
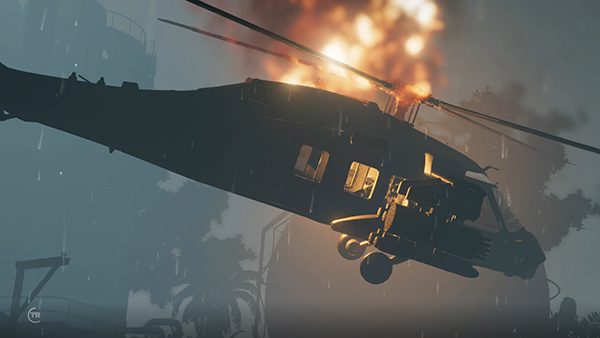
When the last mercenary falls, you'll hear Winters shout out a mayday as the helicopter spirals out of control and crashes.
[Previous | Porvenir Oil Fields Walkthrough]
Copyright © - Stellalune ( ). All rights reserved. Feel free to copy or print this walkthrough for personal use. By all means, share it with friends, but please include this credit line so people can send me their feedback. No part of this walkthrough may be reproduced on another site without permission. Follow this link for details about this site's advertising and privacy policy.