Porvenir Oil Fields – Firefight at the Refinery (part 1)
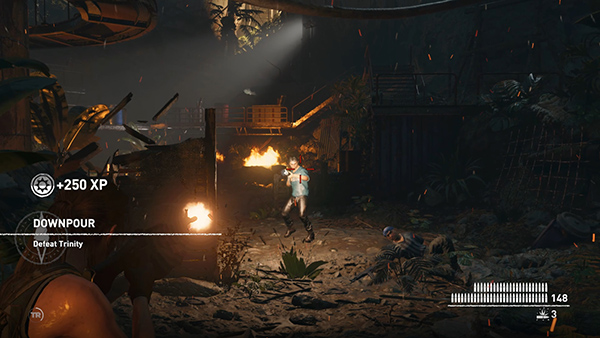
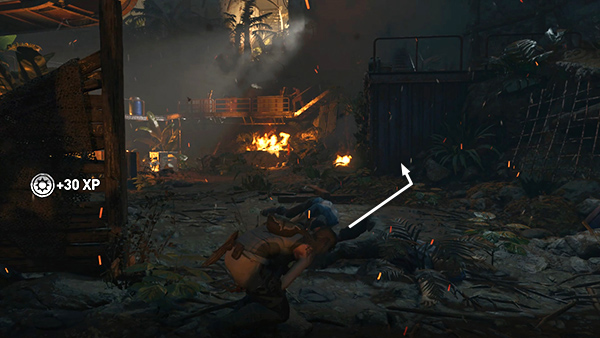
You begin the fight out in the open, facing 2 men sporting guns and soiled undergarments. Your new weapon is the PN-TF 267 LIGHT MACHINE GUN. It's not super powerful, but it is fast, and it holds an awful lot of ammo. Shoot those first two.
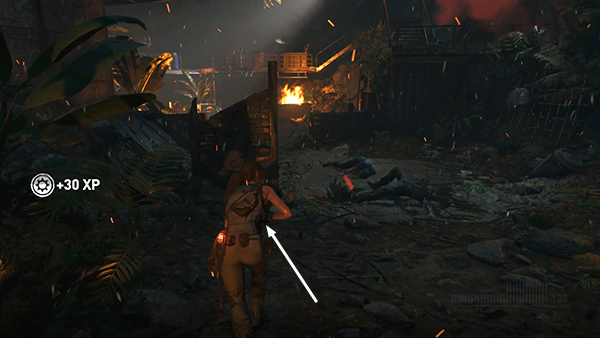
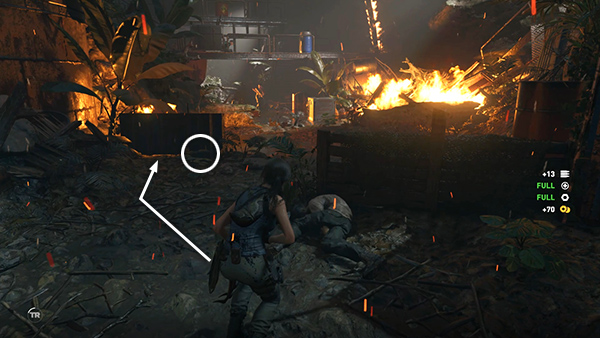
Then take cover behind the wooden wall ahead on the left...
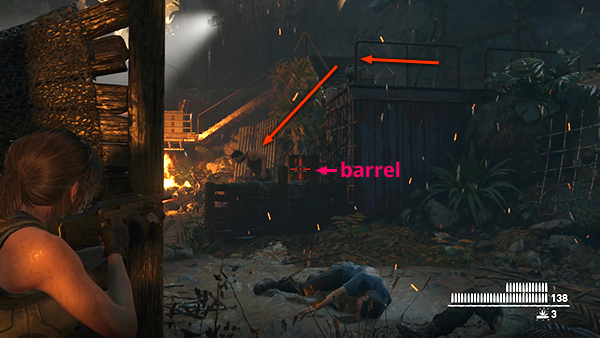
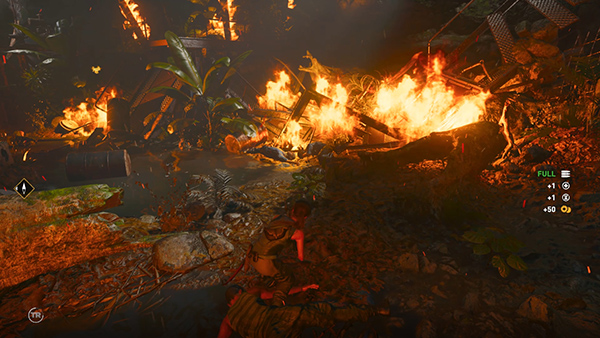
...as a third enemy jumps down from the walkway on the right. Shoot him, or even better, the fuel barrel near him.
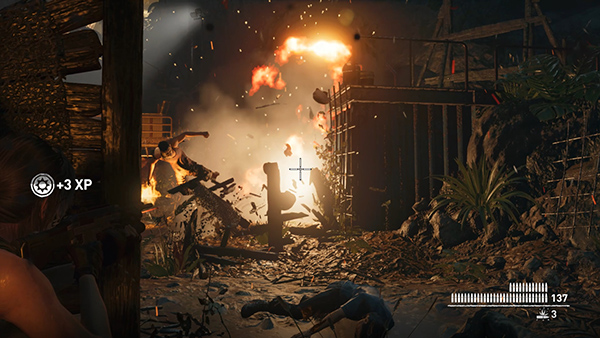
A lot of bang for just one bullet.
The flimsy wooden barrier won't last long, but with the barrel taken care of, you can advance and take cover below the metal walkway where the third enemy came from.
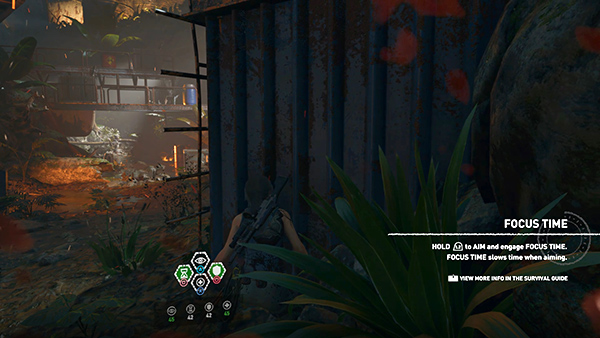
If you have Endurance and Focus herbs in your inventory and have unlocked the skills to use them (Heart of the Jaguar and Scales of the Serpent, respectively), go ahead and take a dose of each now. For Endurance, press F2 on the keyboard or hold L1/LB on the controller and press Circle/B. For Focus, press F3 or hold L1/LB and press Square/X. Endurance mixtures reduce damage from enemy attacks and, with the second-level skill, also reduce damage from fire and explosives. Focus mixtures speed up Lara's reaction time, so enemies seem to move in slow motion, giving you a big advantage when fighting multiple foes.
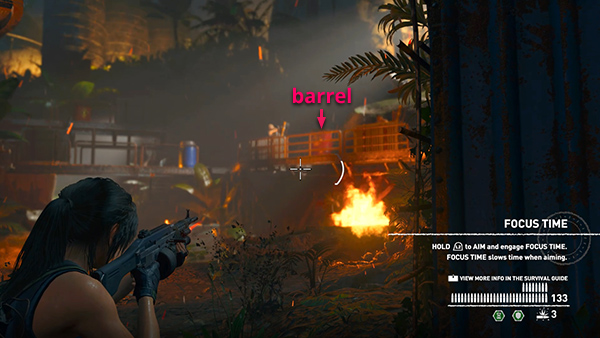
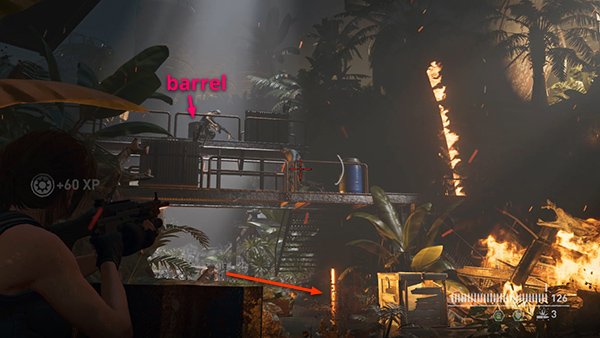
The next 3 enemies appear on the catwalk on the far right side of this area. If you linger too long in any one place, they'll start throwing Molotovs and you'll need to move. But if you act quickly, you can shoot the barrel on the catwalk...
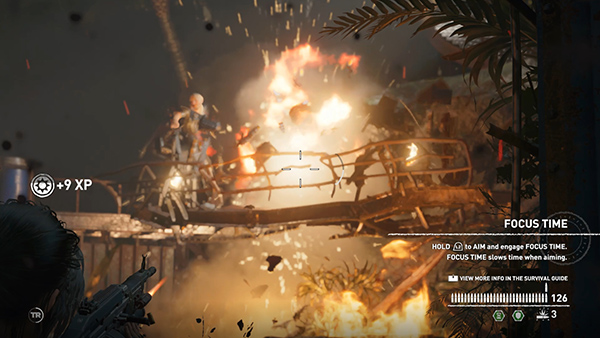
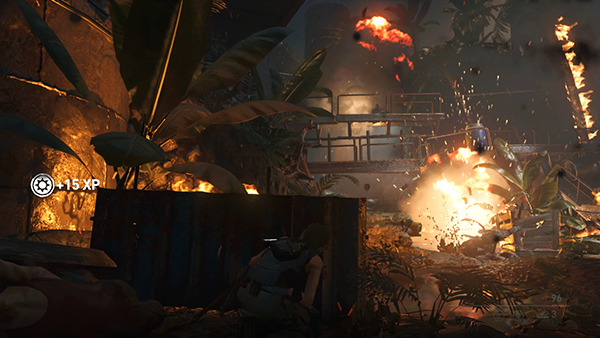
...which then explodes, hopefully killing all of them. If one of them manages to jump down before you hit the barrel, you'll need to finish him off.
Then advance to the low wall made of sheet metal, just ahead on the left. There's a box of rifle ammo here in case you need it.
Three more mercenaries arrive on and just below the next set of metal walkways. Again, you can shoot them all, or just shoot the barrel on the upper walkway.
The explosion should set off a chain reaction, detonating the barrel on the ground and killing all 3 men.
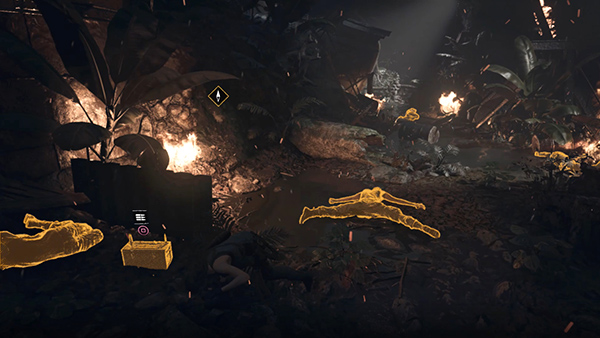
At this point you get a break. Take a few deep breaths as you search all the bodies and pick up that ammunition if you didn't get it before. If you had no Focus or Health herbs before, most of the bad guys carry some, along with bullets, cloth, salvage, and gold.
Lara has a few choice words for Rourke, but Mr. Tough Guy is apparently too scared to face her. He radios his men to say he's been called away and is turning the op over to someone named Winters.
By this point your first dose of Focus and Endurance herbs should be wearing off. The ambient colors go super-saturated for a moment when a mixture is about to wear off. Take another dose of each.
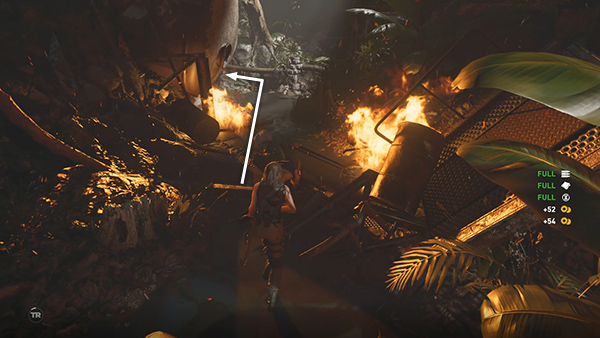
Then follow the path toward the next area.
[Next | Porvenir Oil Fields Walkthrough]
Copyright © - Stellalune ( ). All rights reserved. Feel free to copy or print this walkthrough for personal use. By all means, share it with friends, but please include this credit line so people can send me their feedback. No part of this walkthrough may be reproduced on another site without permission. Follow this link for details about this site's advertising and privacy policy.