Hidden City - The Pillar DLC
The Age Makers Mission Continues (part 10)
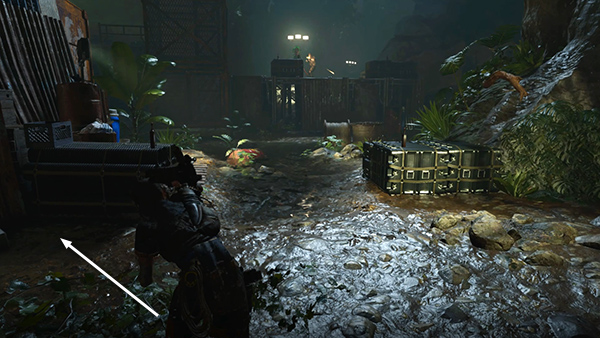
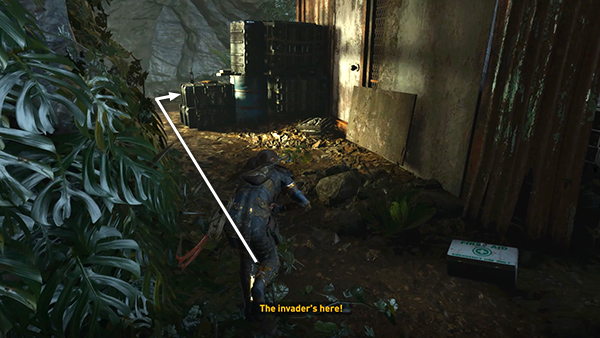
As soon as you regain control after the cutscene, move behind the storage crate on the left.
There's a first aid kit here if you need health.
Take a quick dose of Endurance herbs.
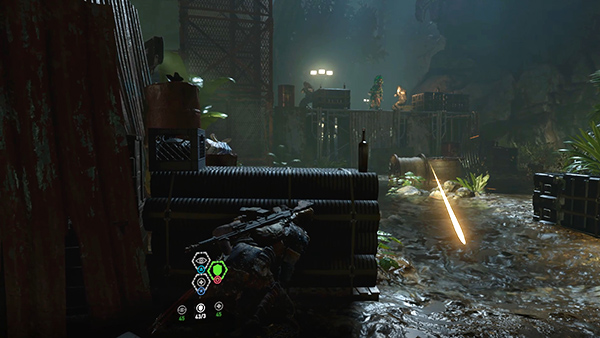
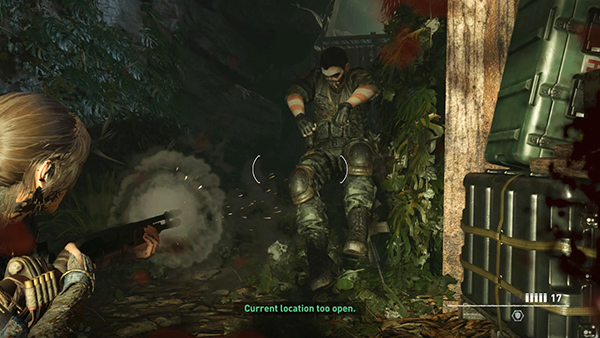
Then aim at the red fuel barrel below the right side of the ledge where the enemies are coming in. When two or three of them have dropped down...
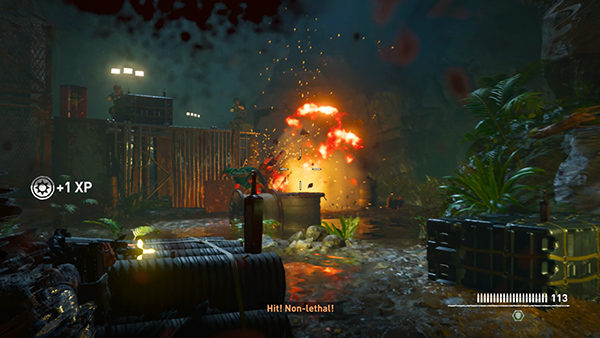
...shoot the barrel to kill as many as you can.
Then target the barrel on the left side of the ledge to take out another.
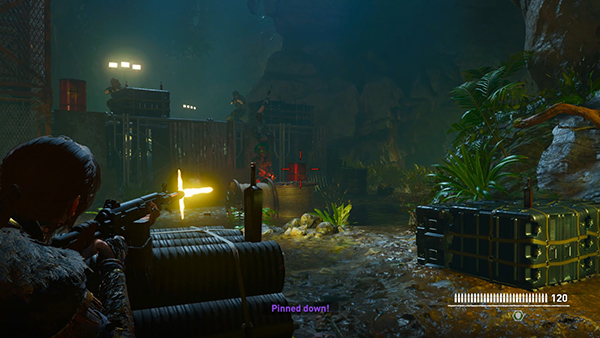
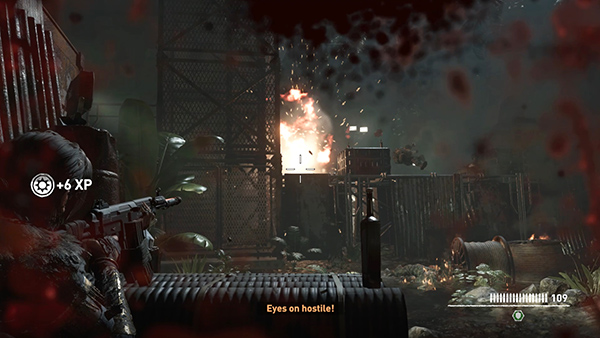
If you've taken some damage, release Aim to crouch behind the crate so you can heal. Of course, if any of the remaining enemies start throwing explosives, scramble out of the way before they detonate.
Then finish off the last man on the ledge. If you act quickly, you can probably take care of the first 5 enemies from here.
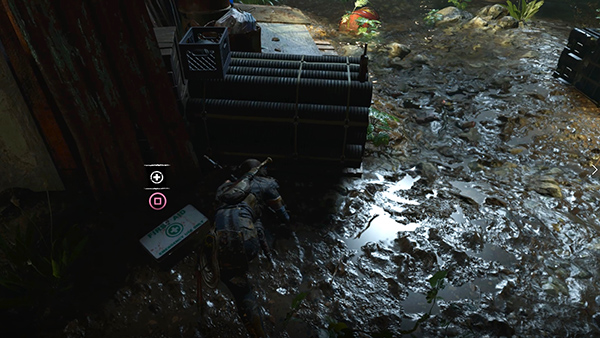
Run behind the storage shed on the left as 3 more enemies arrive. There are several vine-covered walls here: one on the west cavern wall, one on the north side of the storage shed, and another on the cavern wall opposite. If you run around the corner...
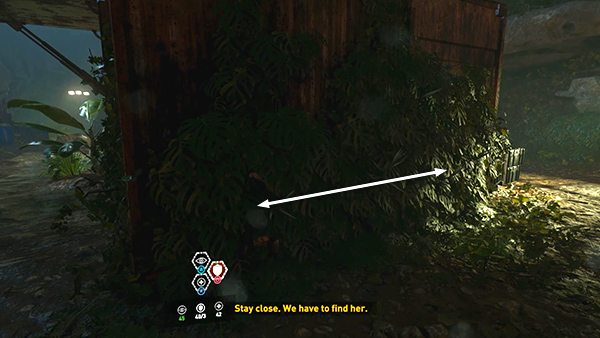
...and hide in the vines on the back of the shed, you can creep back and forth to spot approaching enemies from either side. Heal and top up your Endurance meds as you wait for the next few enemies to come to you.
Then use stealth attacks to take them out one at a time. Wait in concealment until you see the Melee
prompt above an enemy's head...
...then let him have it.
If Lara is spotted, switch to the shotgun or rifle and blast away.
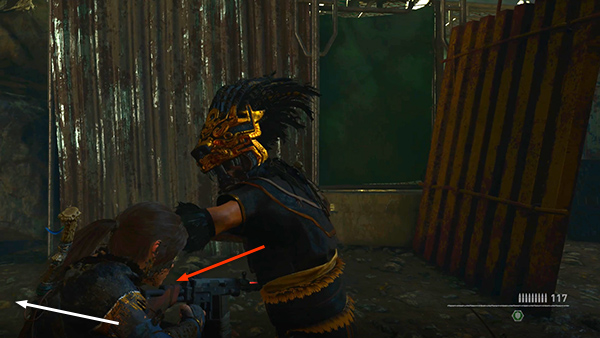
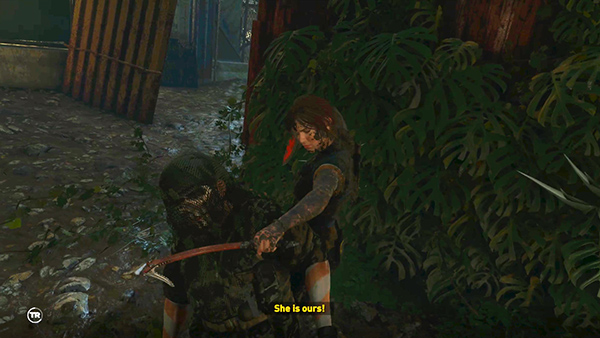
Or, if one of the Jaguar Warriors attacks, wait for him to lunge at you with his obsidian-edged blade, and use the Puma's Feint/Dodge Kill maneuver...
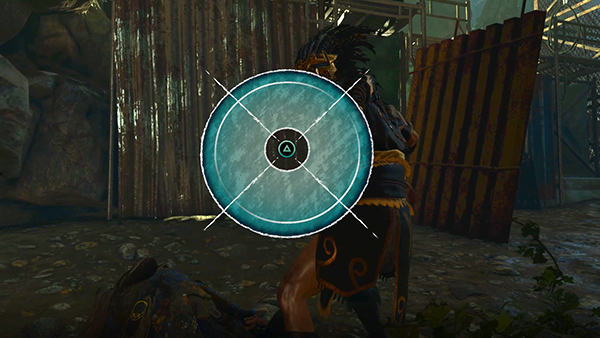
...and press Melee at the prompt...
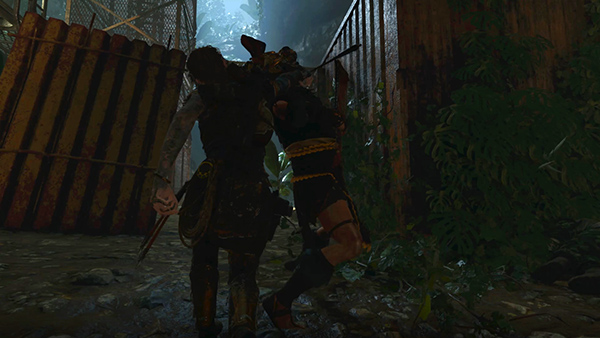
...for an instant kill. (Again, check the Cenote walkthrough for details if you've unlocked the skill but haven't practiced it yet.)
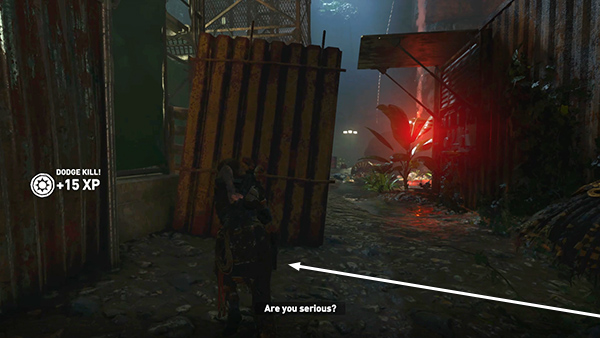
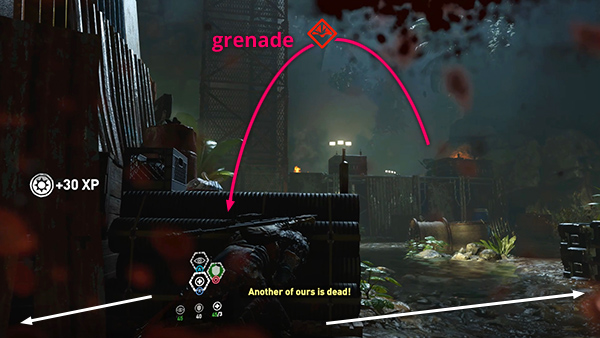
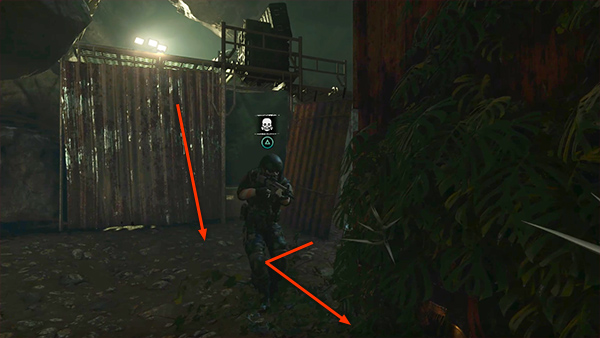
When Lara kills the 8th enemy, 4 more Trinity soldiers slide down rope lines from above. If you don't see this happening because you're hiding, you'll probably notice the glow from the flare they drop and hear Lara say, "Are you serious?" If you're still near the vine-covered wall on the north side of the storage shed, quickly move out and take cover behind the sheet metal barrier near the west wall.
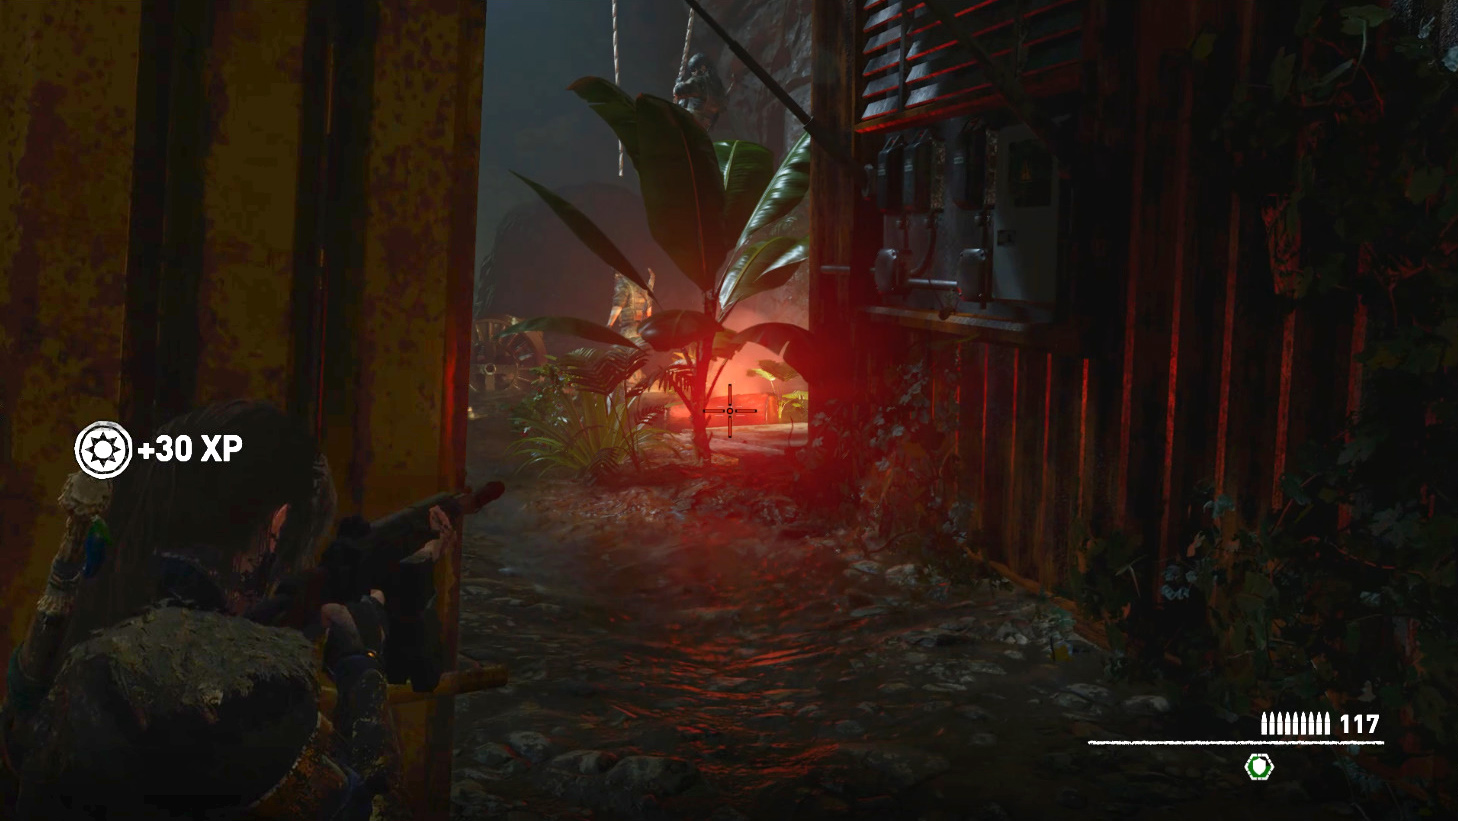
From here you can target the partially buried fuel barrel in the middle of the clearing as the men descend.
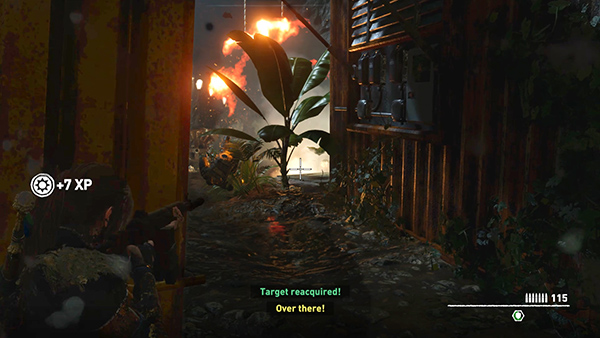
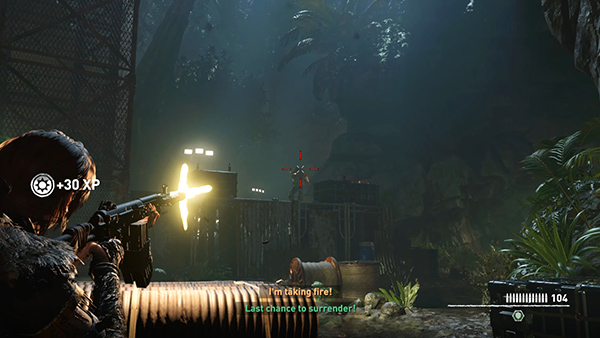
Then shoot the barrel to take some of them out and pick off any survivors with your weapon of choice.
If you're out of ammo or just don't like confrontation, you could also return to hiding in the vines behind the shed. Or, if Lara is discovered, run to the south side of the clearing to find more vine-covered walls where you can hide and finish off the last few enemies when they approach.
[Previous | Mission Walkthrough| Hidden City Walkthrough]
Copyright © - Stellalune ( ). All rights reserved. Feel free to copy or print this walkthrough for personal use. By all means, share it with friends, but please include this credit line so people can send me their feedback. No part of this walkthrough may be reproduced on another site without permission. Follow this link for details about this site's advertising and privacy policy.