Peruvian Jungle – First Crypt (part 2)

The exit is just behind the sarcophagus on the left. Squeeze through the narrow opening.
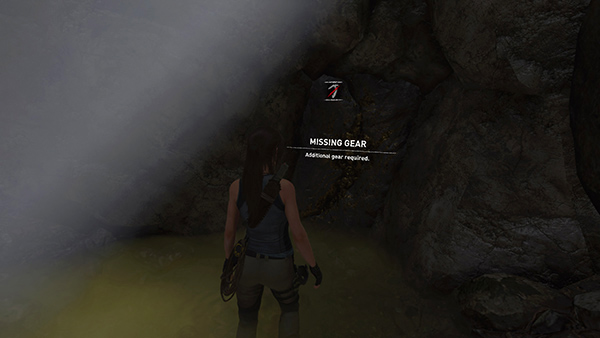
On the far side of the shallow pool is a vein of gold ore. If this is your first time through this level, you're still missing the CLIMBING AXES so you won't be able to pry the gold out of the wall.
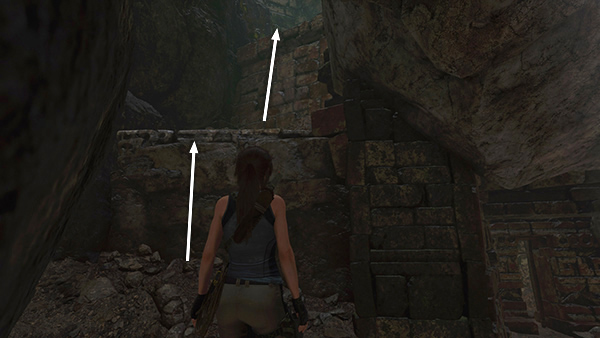
Turn around and climb the ledges on the left.
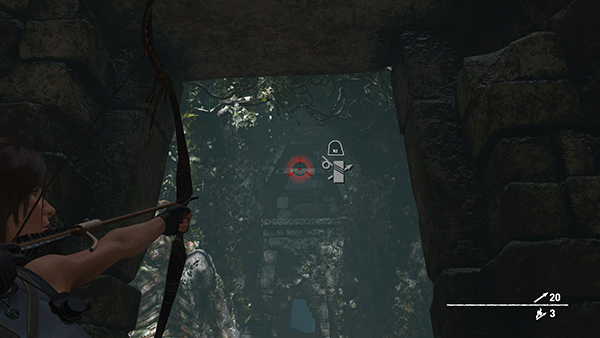
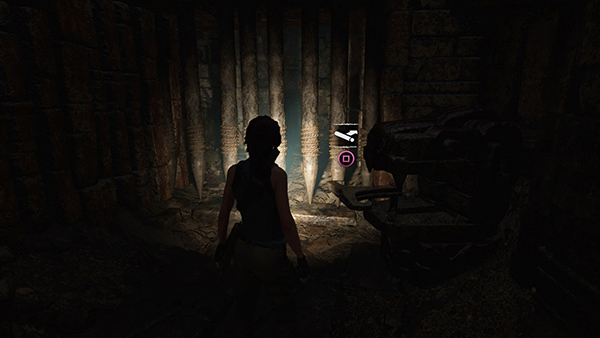
Stand near the rope-wrapped post and shoot a rope arrow into the rope-wrapped beam on the far side of the room.
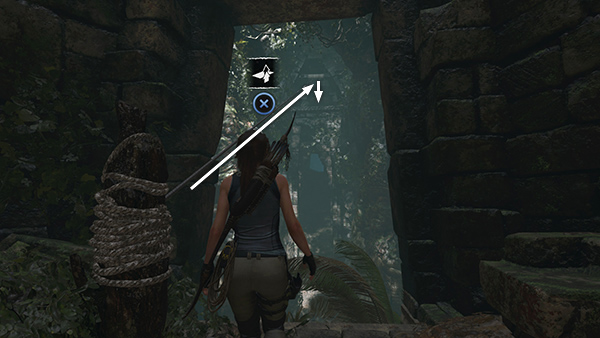
Grab the line and climb along above the sarcophagus to the other side. Drop down in the high doorway.
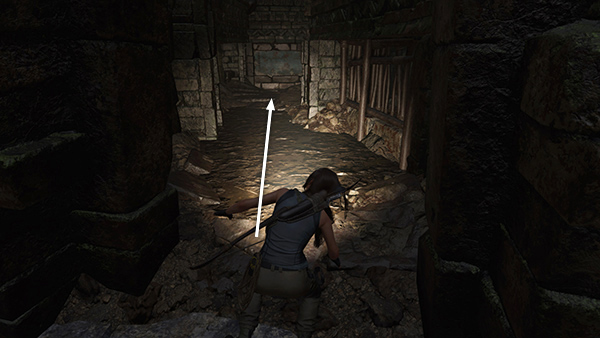
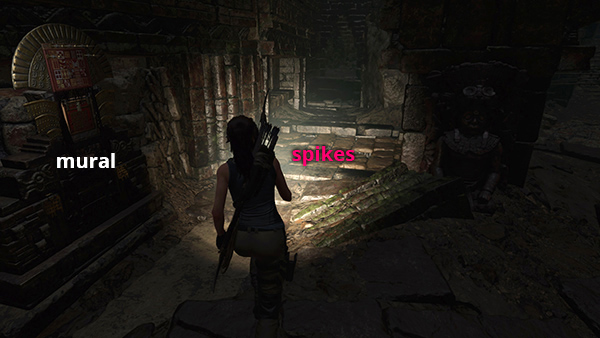 Duck through the low tunnel and drop down into the room with the mural from before. Move past the mural and advance cautiously toward the concealed spike pit.
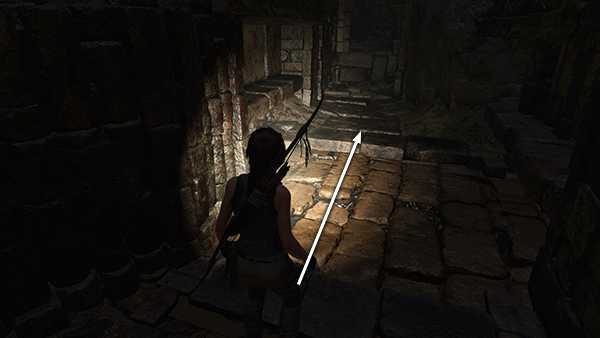
It's difficult to spot at this stage (later you'll earn a skill that will help), but if you watch out for the lighter brown stones with visible gaps between them, you can jump safely over the pit.
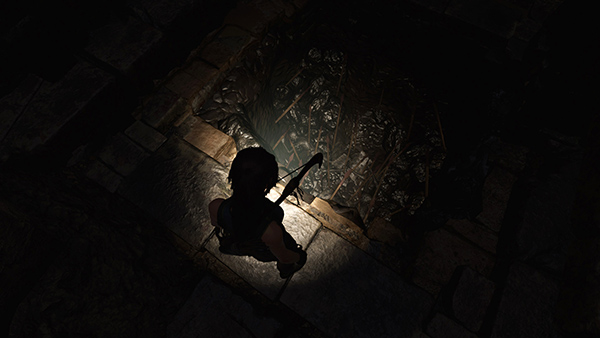
The floor collapses as you pass over it. If you turn around, you'll see what Lara would have fallen into.

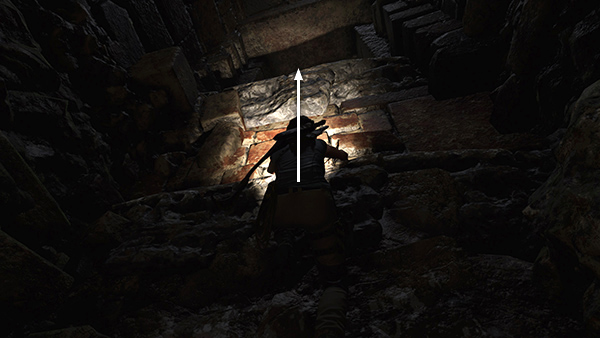
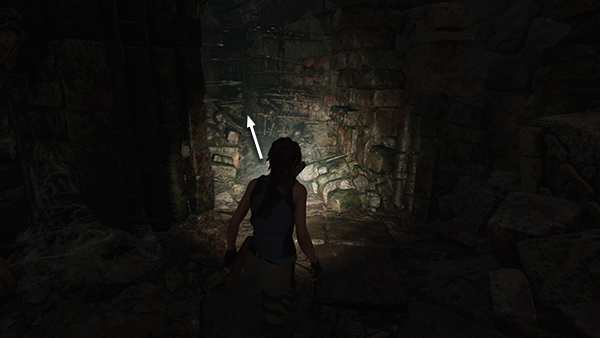
Continue along this passageway, jumping over an open spike pit to grab the ledge on the other side. Pull up and continue.

At the next open spike pit, you'll need to jump over the pit, scramble up the wall, and grab a handhold above.
Then jump up to grab the ledge above and pull up.
Slog through another muddy area.
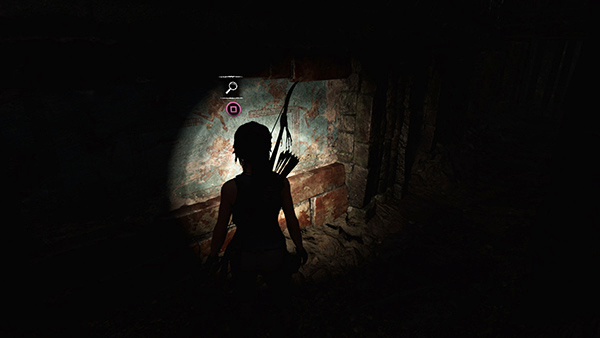
Then examine the painted wall ahead. This is not an "official" mural, but it does provide a clue. Lara says, "This seems to describe a hidden chamber nearby."
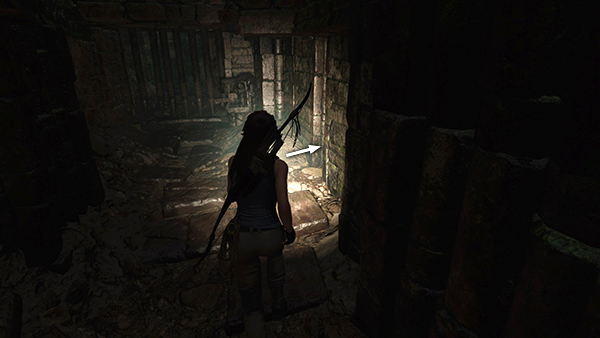
And sure enough, just ahead on the right is a narrow gap in the wall that you can squeeze through.
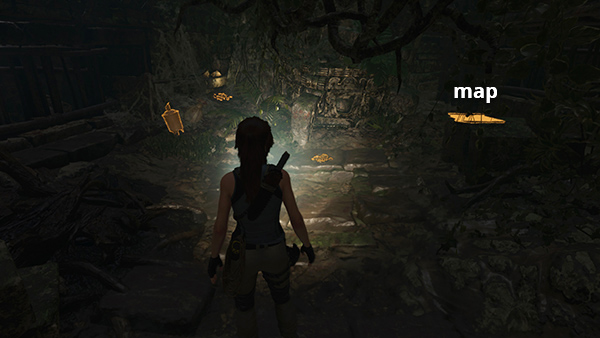
Inside you'll find an Archivist Map (1/2). When you examine it, a number of documents, relics, and murals are revealed on your in-game map, as well as this level's one monolith. There's also a container of supplies and 2 piles of gold ore. Grab everything and exit through the narrow gap the way you came.
Turn right and use the handle to open the wooden bars. On the other side is the room with the handle you used earlier.
Turn left, squeeze between the spikes, and follow the passageway back the way you came to exit the crypt.
[Previous | Crypt Walkthrough| Main Walkthrough]
Copyright © - Stellalune ( ). All rights reserved. Feel free to copy or print this walkthrough for personal use. By all means, share it with friends, but please include this credit line so people can send me their feedback. No part of this walkthrough may be reproduced on another site without permission. Follow this link for details about this site's advertising and privacy policy.