Peruvian Jungle – First Crypt (part 1)
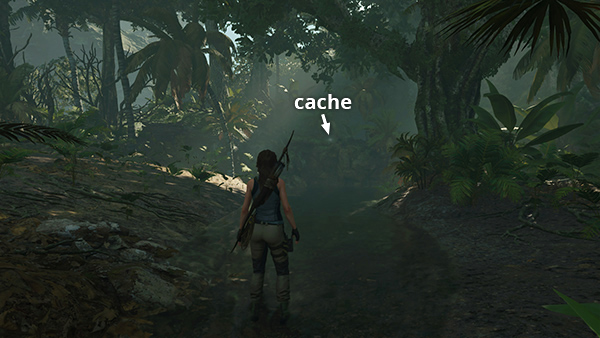
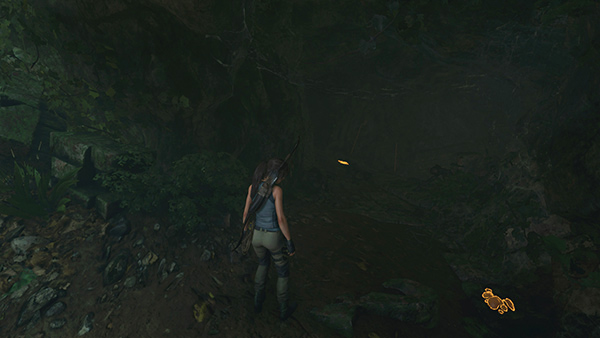
Follow the streambed out of the large pool toward the northwest. As you approach, you'll notice the telltale flashing light of a survival cache on the rock ledge. (See the map screencap below if you need more direction.)
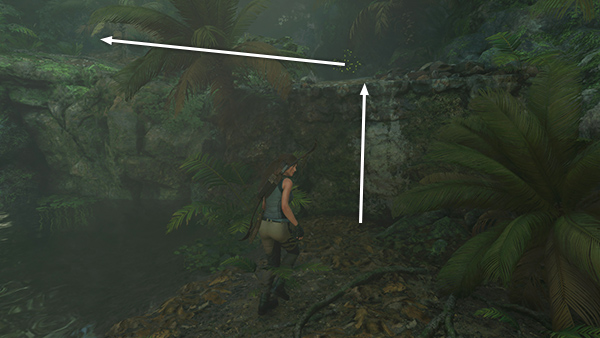
Climb up on the right then follow the ledge to the left.
Dig up the survival cache (1/9) here.
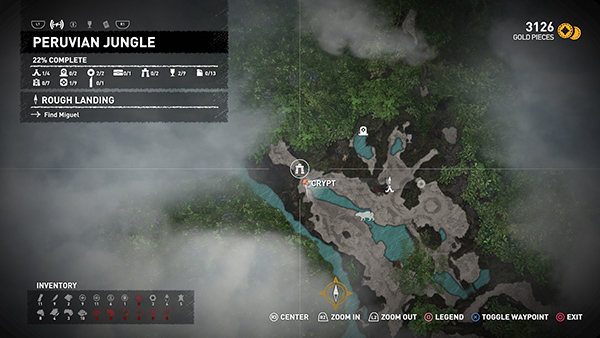
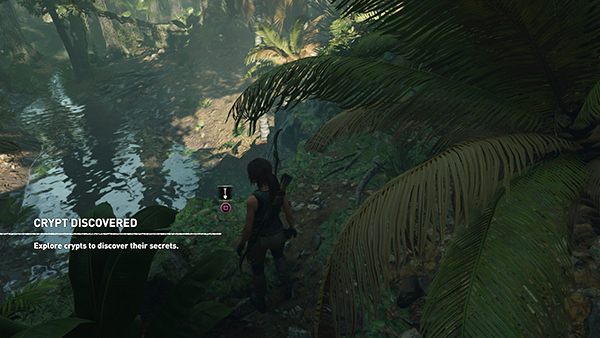
Exploring this area also reveals the Crypt entrance on your map.
Enter the tunnel and keep your eyes peeled for collectibles, including some mushrooms...
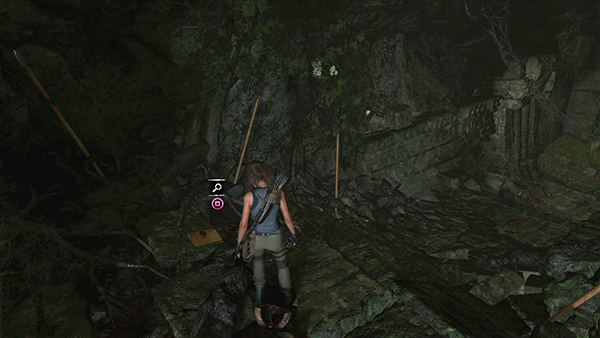
...and a document (1/3), Struggle for Power from the Conquerors Story, just inside the entrance.
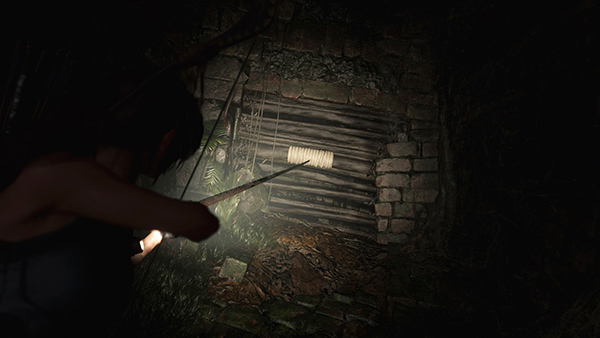
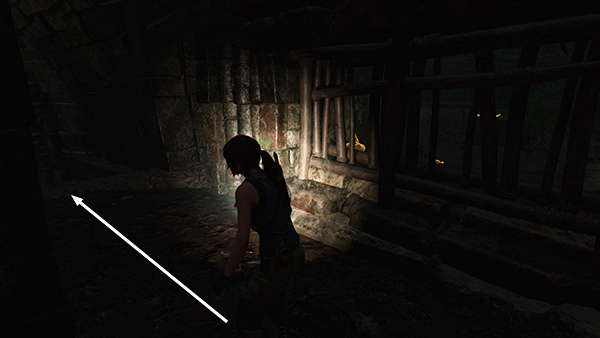
Use a rope arrow to tear down the barrier blocking the passageway.

Scramble through the low opening and continue on.
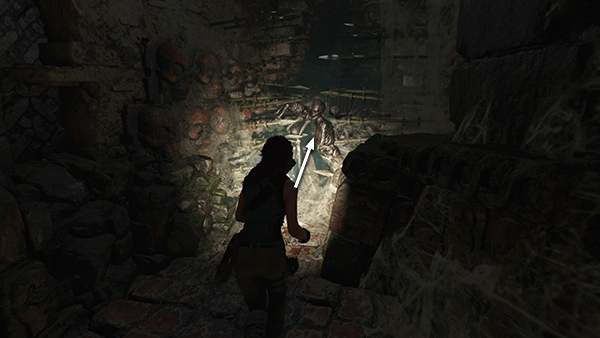
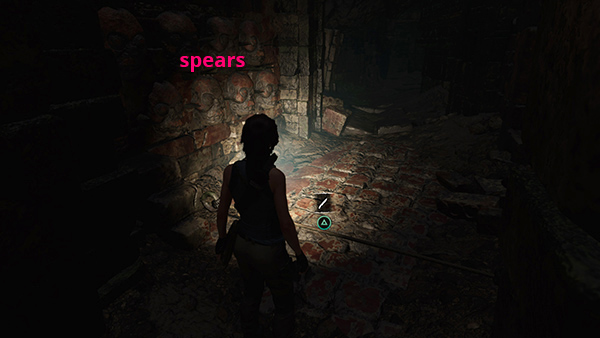
Move between the spears—they aren't actually dangerous—into a room with two gates.
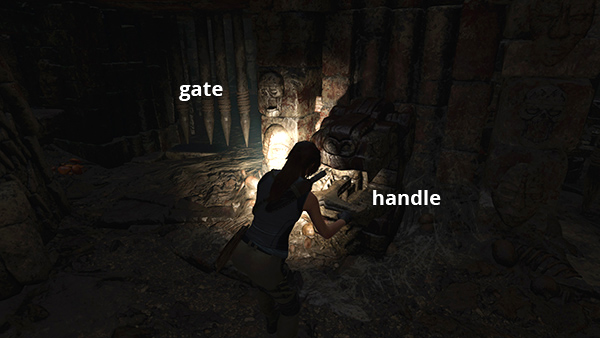
Push the handle to open the gate on the left.
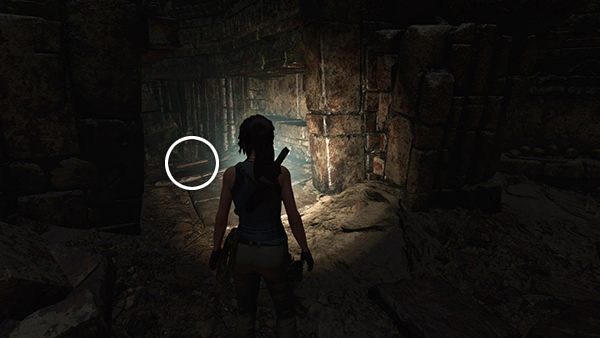
As you slog through the mud, you may notice some interesting items behind the bars on the right. We'll get them on the return trip. Continue forward.
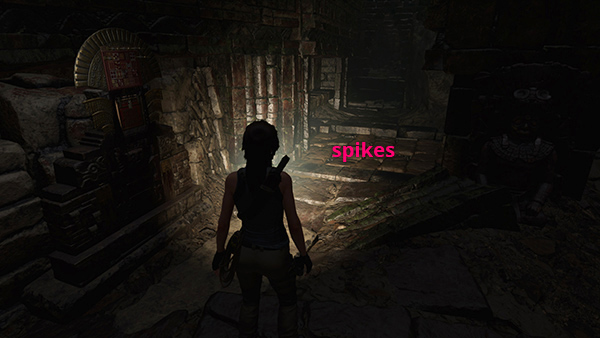
The passage slopes downward. Go cautiously. There's a spear trap at the bottom where the passage levels out, but you can trigger it safely by cutting the tripwire. Then scramble under the spears.
Just beyond the spear trap, on the left, is an alcove with a document (2/13), Jack's Journal 2, from the Expedition Unknown 2 Story.
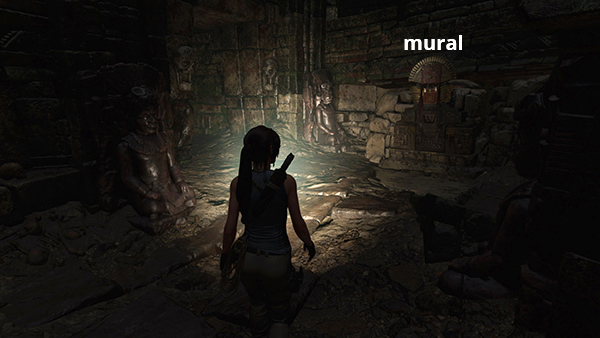
Continue along the main passage to a small room with a mural (1/7), Urqu, the Scout, from the Resting Places Story. Examine it to improve Lara's skill in a new dialect: Quechua.
Ignore the passageway off to the right (south) for now. It's trappy and just leads back to the start.
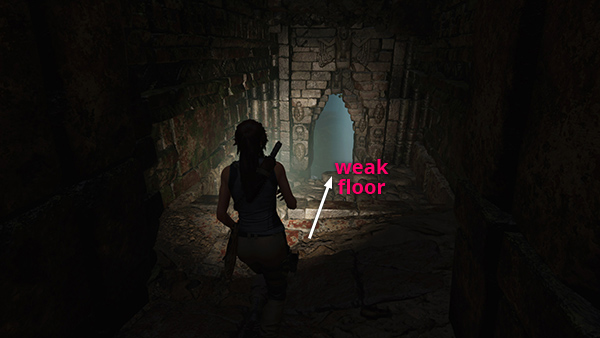
Instead continue northward toward the light. The stone floor collapses as Lara steps on it, but there's no danger; she just slides down into the room below.
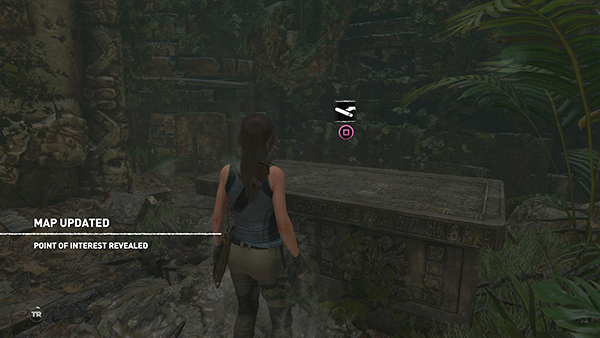
When you approach the sarcophagus, it too is revealed on your map. Push it open for a gear reward: Vestige: Eveningstar's Boots, plus 750 gold coins. We'll cover this outfit component at the next Base Camp, since that's where you craft and change outfits.
[Next | Crypt Walkthrough | Main Walkthrough]
Copyright © - Stellalune ( ). All rights reserved. Feel free to copy or print this walkthrough for personal use. By all means, share it with friends, but please include this credit line so people can send me their feedback. No part of this walkthrough may be reproduced on another site without permission. Follow this link for details about this site's advertising and privacy policy.