The Hidden City – Temple of the Sun Challenge Tomb (part 3)
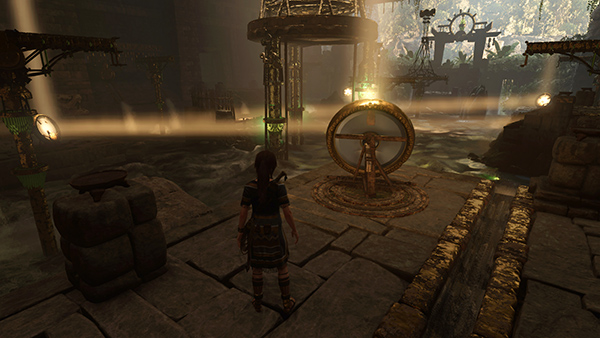
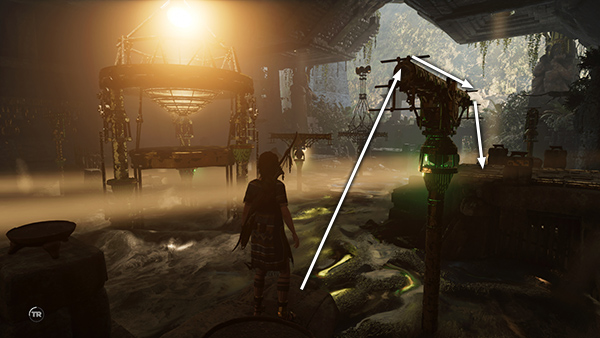
Now to the puzzle itself. There are 4 mirrors which can be rotated to direct beams of light around the room. The goal is to lower the golden pavilion in the middle of the room. From there you'll be able to reach the stele at the south end. If you fall into the rushing water, Lara will die and you'll need to restart from the last checkpoint.
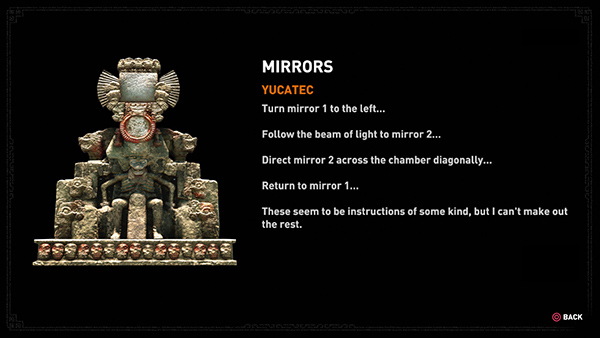
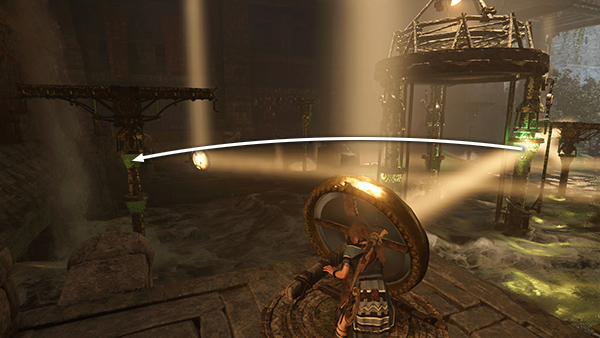
One of the murals you passed earlier (Mirrors from the Secrets and Lies Story) provided a few clues: "Turn Mirror 1 to the left. Follow the beam of light to mirror 2. Direct mirror 2 across the chamber diagonally. Return to mirror 1." That's a start.
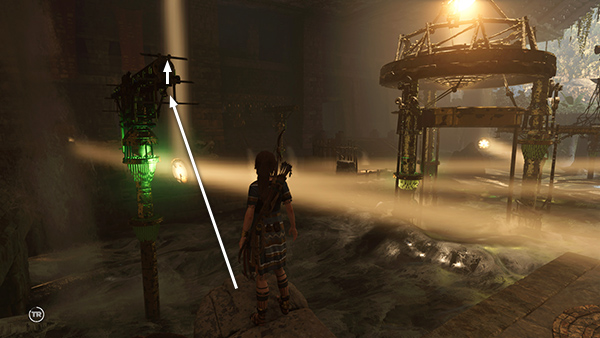
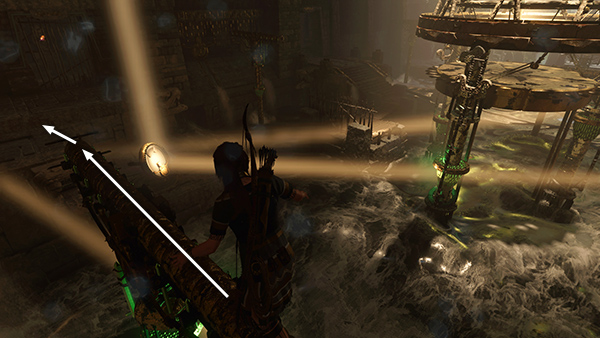
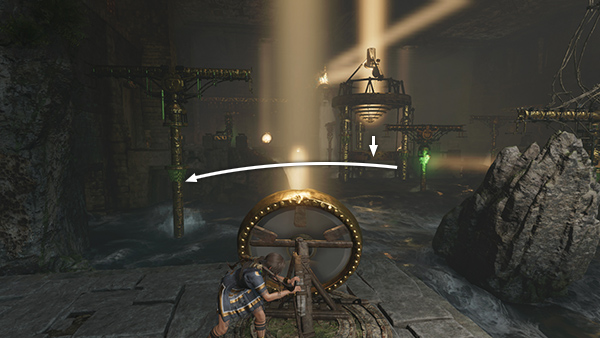
Mirror 1 is in the northwest corner of the room, near the entrance. Grab the handle and rotate the mirror so the beam of light points at the rotating armature near the left (north) wall.

As the light moves away from the pavilion, the platform in the middle ratchets downward a few notches. Then, when the light activates the armature, one end rotates toward you.
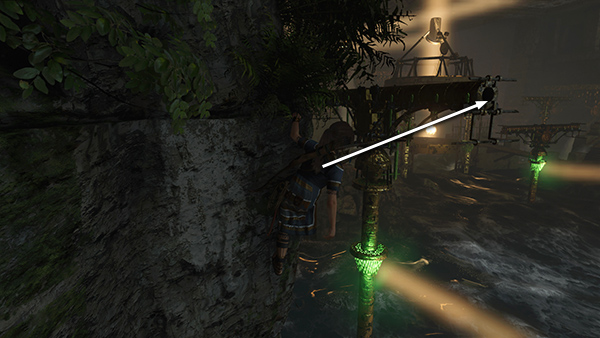
Now you can jump to grab the end of the armature and climb on top of it.
Walk along the armature and jump down onto the ledge
in the northeast corner near mirror 2.

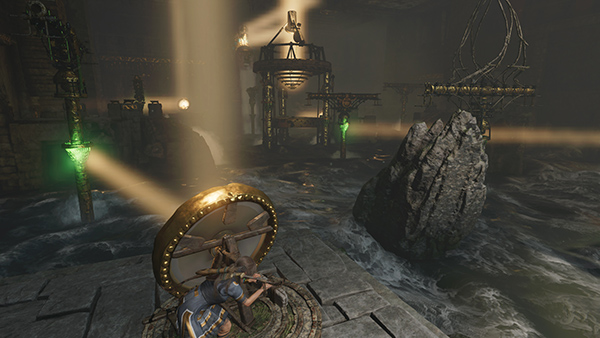
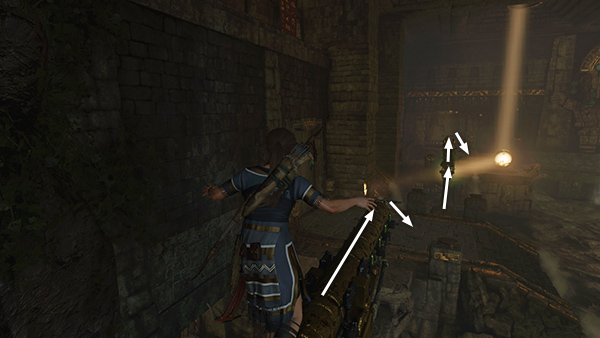
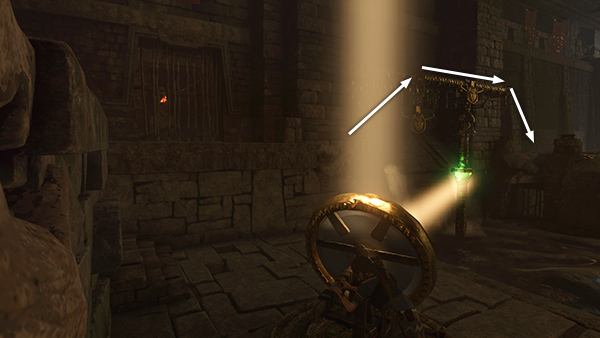
Rotate mirror 2 so the beam of light shines diagonally across the room, passing through the central pavilion, and activating the rotating armature in the opposite corner of the room. (In the process, the platform in the middle of the pavilion sinks a little further, now that the beam of light is no longer activating it.)

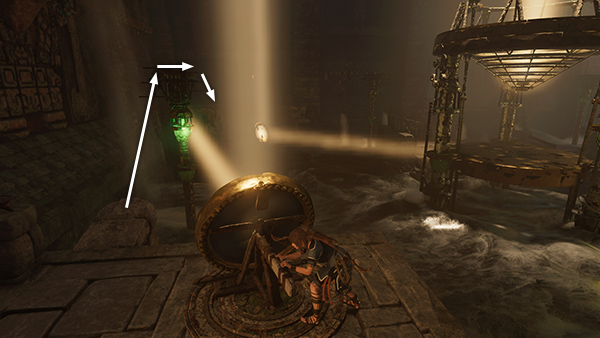
It's a little difficult to tell from here whether the armature is oriented correctly, but if you climb onto the ledge next to the mirror, you can get a better view. When the green gem (or whatever this is) is activated by the light...
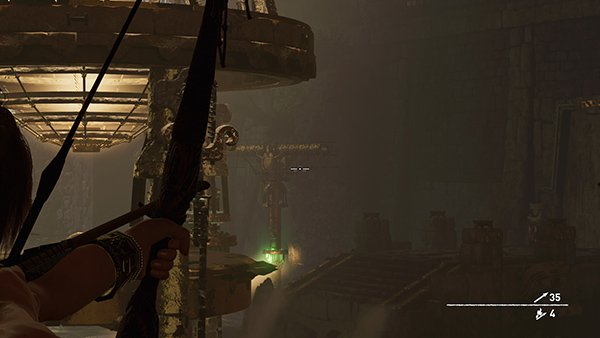
...the armature will point north-to-south, as shown here.
Climb back across the first armature to mirror 1.
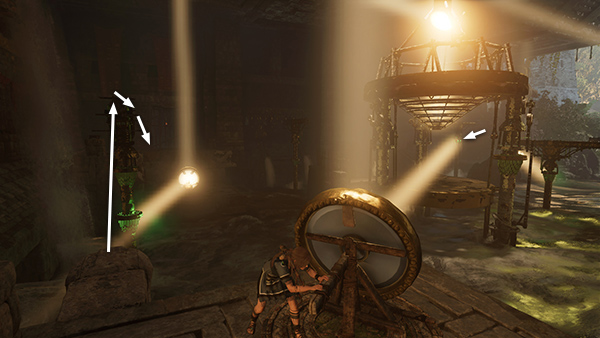
Rotate mirror 1 so it activates the armature to the right (west). This causes it to rotate so it's oriented north-to-south.
Now you can jump and grab it, cross over the top, and jump down on other side.

Climb across the next armature (the one you activated with the light from mirror 2) to reach mirror 3 in the southwest corner.
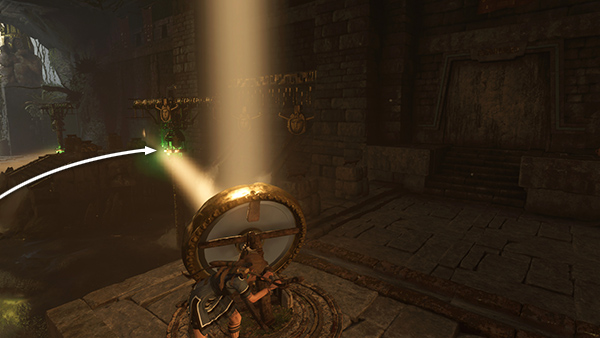
Rotate mirror 3 to point the beam of light away from the central pavilion. This lowers the platform in the middle another notch. The platform blocks the light from mirror 2, causing the nearest armature to swing back into its original position.
In order to get back to mirror 1, you'll need to orient mirror 3 so its beam of light activates the armature.
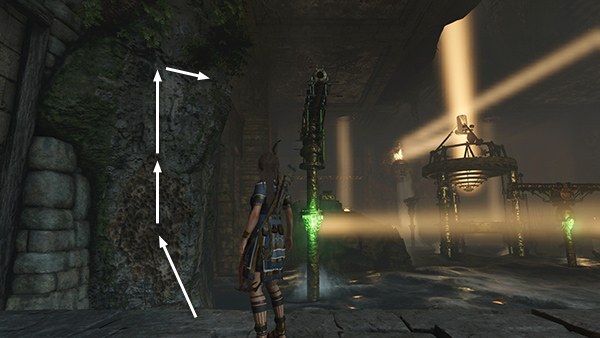
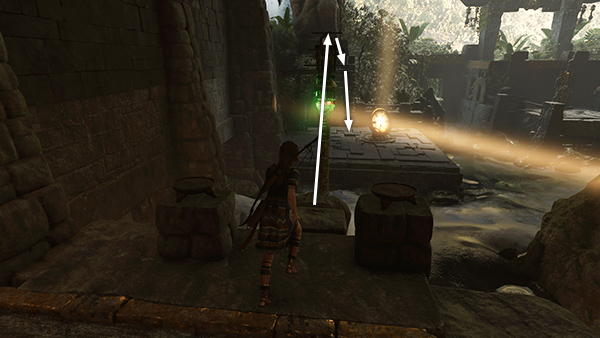
Now jump to the climbing wall to the left of the armature. Climb up, scramble to grab the handhold above, then climb to the right as far as you can.
Jump to grab the armature and pull up.
Cross over this armature, then the next one, to get back to mirror 1.
Rotate mirror 1 back toward the armature on the left. Then cross over to mirror 2 again.

Rotate mirror 2 toward the armature on the right (i.e., the one you just climbed across). This will keep it in place so you can move mirror 1 again. Cross back over to mirror 1.
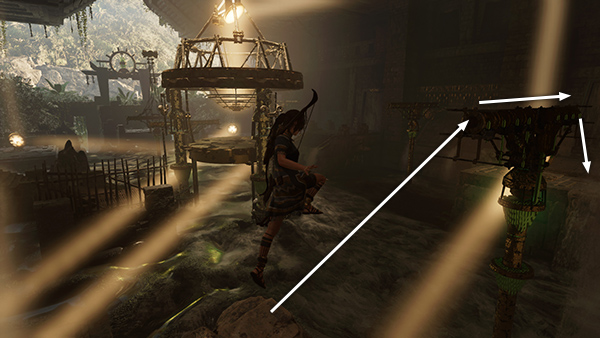
Rotate mirror 1 so the beam of light points through the center pavilion and activates the armature to the left of mirror 4, in the opposite (southeast) corner of the room. Then cross back over to mirror 2.
Rotate mirror 2 so the beam of light points at the armature on the left, turning it so you can reach it. Cross over to the ledge in the middle of the east side of the room.
Ignore the hallway on the left for now, that's the exit. Instead climb across the next armature to mirror 4.
[Previous | Next | Challenge Tomb Walkthrough | Hidden City Walkthrough]
Copyright © - Stellalune ( ). All rights reserved. Feel free to copy or print this walkthrough for personal use. By all means, share it with friends, but please include this credit line so people can send me their feedback. No part of this walkthrough may be reproduced on another site without permission. Follow this link for details about this site's advertising and privacy policy.