The Hidden City – Returning Later to Uturunku's Crypt
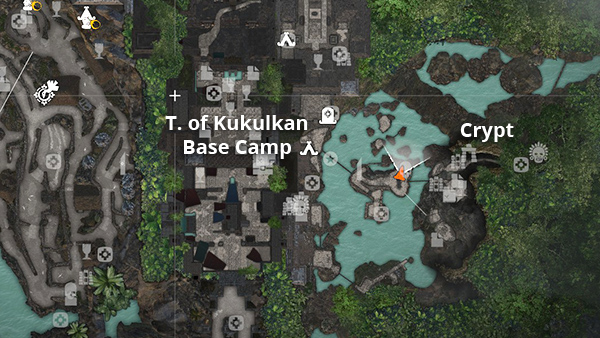
If you missed this crypt during the 'Rebellion Lives' story mission, when you freed Queen Unuratu from prison, fast travel to the Temple of Kukulkan Base Camp, which appears on your map after you've cleared this area and moved on to Porvenir Oil Fields.
Cross the rope bridge to the island in the middle of the gorge.

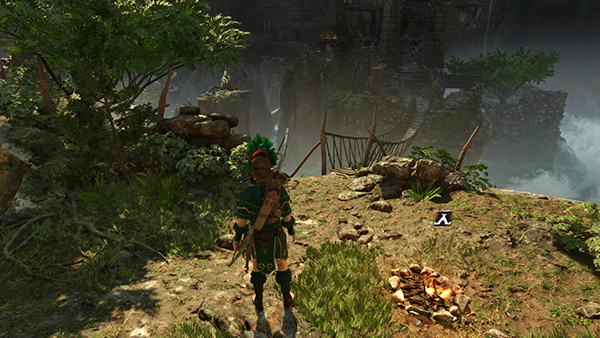
Climb the stone steps near monolith #7.
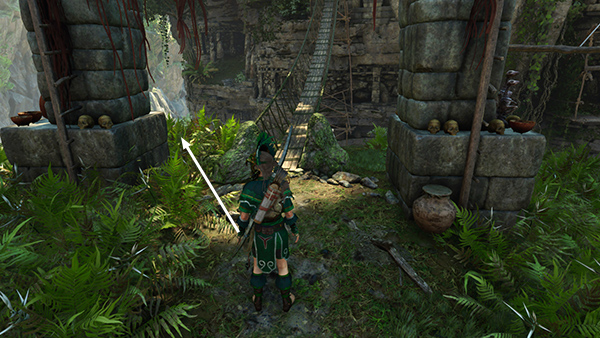
Then, instead of crossing the second bridge, move into the bushes just to the left of where the bridge is anchored, to the point where Lara (orange arrow) is standing in the map above.
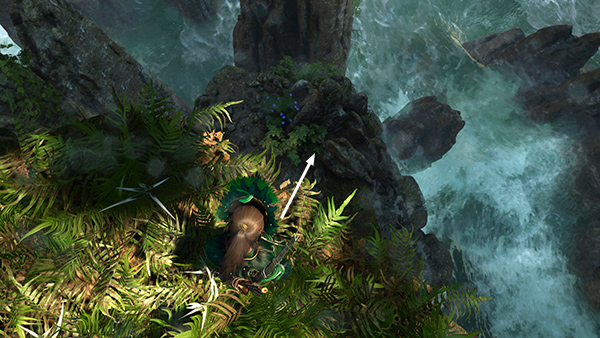
Look over the edge to spot a ledge with blue flowers growing on it. Carefully jump down onto that ledge.
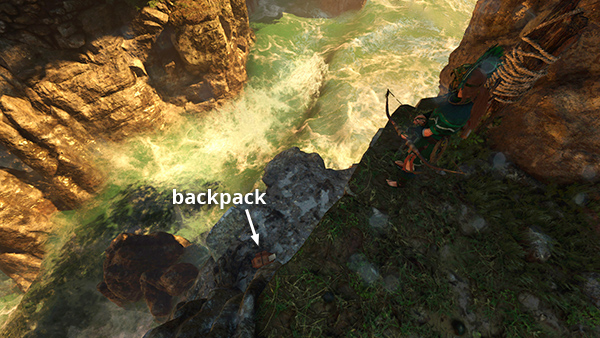
If you have not yet collected the explorer backpack (5/6) on the ledge below the one with the blue flowers and rope-wrapped post, drop down and examine it now. Then climb back up.
NOTE: If the backpack was all you needed in this area, you may still have to climb the rope line across the river and take the long way back to the base camp, but first try killing Lara by jumping off the island into the gorge. The game should reload with Lara on top of the island. You can then cross the bridge to get back to the camp. If this doesn't work, use the rope line to cross the river to the ledge with mural #18 (below). Then follow this link to return to the base camp.
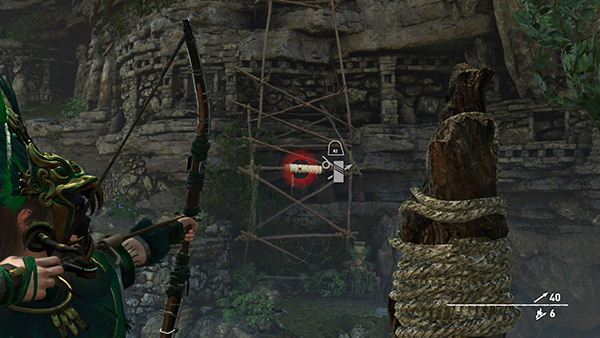
To cross the river, stand near the rope-wrapped post and use a rope arrow to run a line over to the east.
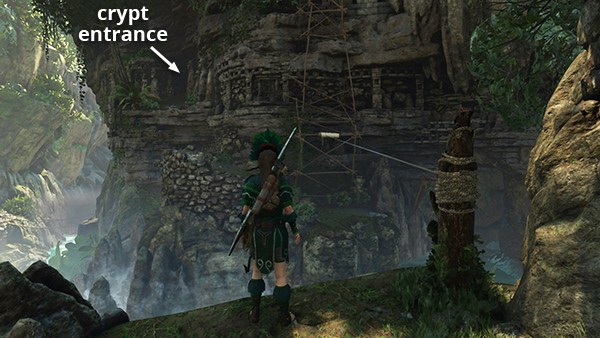
Climb across and drop down on the opposite ledge. There's a mural (18/23), The Winged Serpent (Yucatec/Pantheon of Gods), here and the crypt entrance is above on the left.
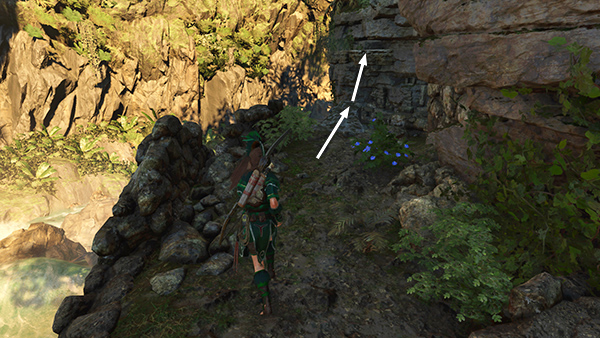
To get there, follow the ledge around to the left and jump to grab a handhold on the rock wall ahead.

Climb around to the left and scramble up onto the ledge above.
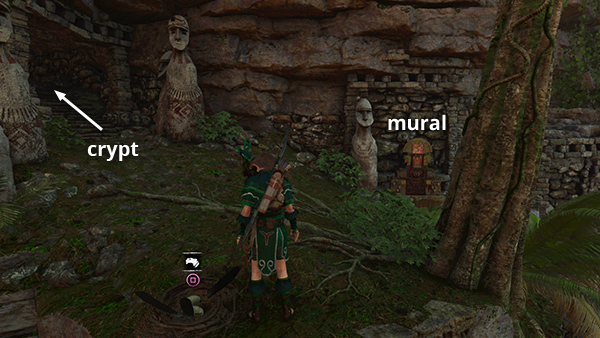
There's a condor's nest on the ground here (part of the Keep Calm and Carrion Challenge) and another mural (19/23), Uturunku, The Ferryman (Quechua/Resting Places), off to the right. The crypt entrance is ahead on the left.
If all you needed was the mural, you can skip the next section and return to the base camp.
If this is your first time exploring the crypt, follow the crypt walkthrough.
If you raided the crypt earlier, the cavern will now be flooded. Click the 'Next' link below to continue.
[Next | Quick Collectibles Guide]
Copyright © - Stellalune ( ). All rights reserved. Feel free to copy or print this walkthrough for personal use. By all means, share it with friends, but please include this credit line so people can send me their feedback. No part of this walkthrough may be reproduced on another site without permission. Follow this link for details about this site's advertising and privacy policy.