The Hidden City – Path of Battle Challenge Tomb (part 1)
Begin in the pool just north of the Wild Jungle Base Camp. If you're not sure how to get there, check the tomb walkthrough for details.
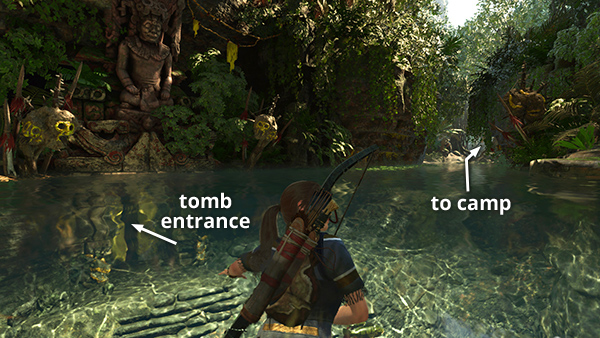
To reach the tomb, swim through the narrow opening just below the surface on the west side of the pool.
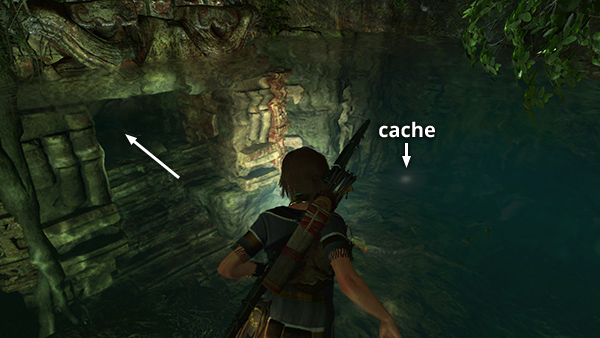
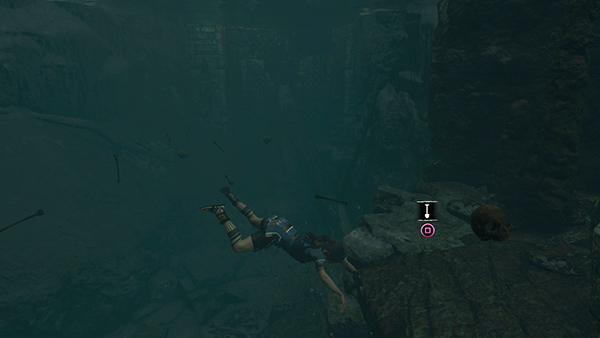
Just inside, surface for air if you like. Then swim down and dig up a survival cache (32/34) in the far left (southwest) corner of this little, dark room. Proceed through the tunnel on the left.
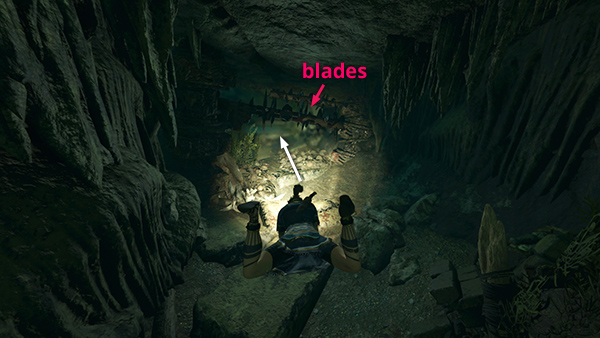
When you come to the part of the tunnel with obsidian blades above, hug the bottom to avoid taking damage.
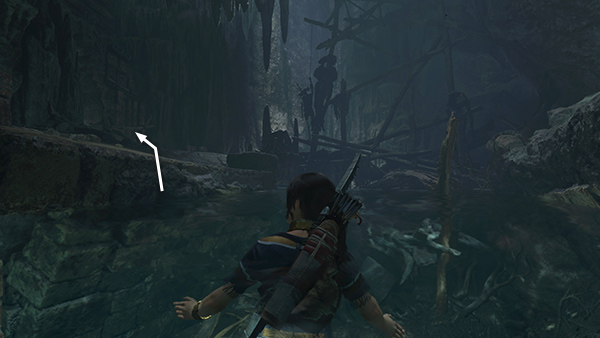
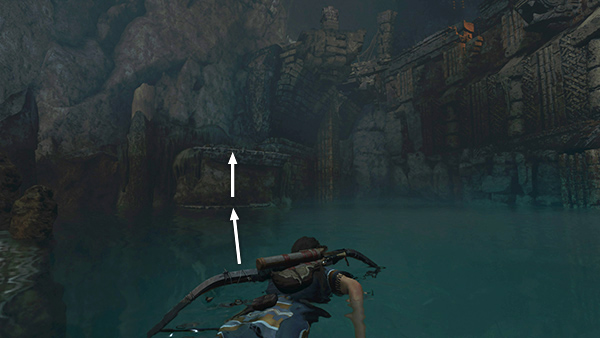
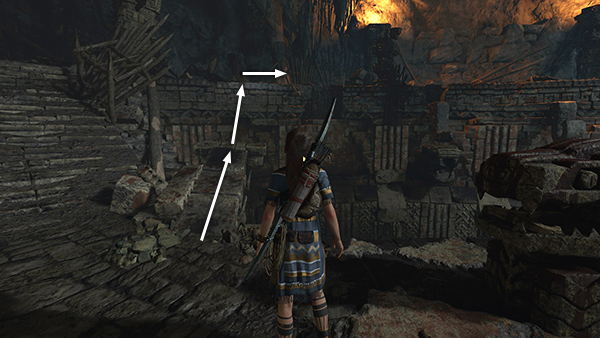
Just beyond this area, surface and climb out on the left.
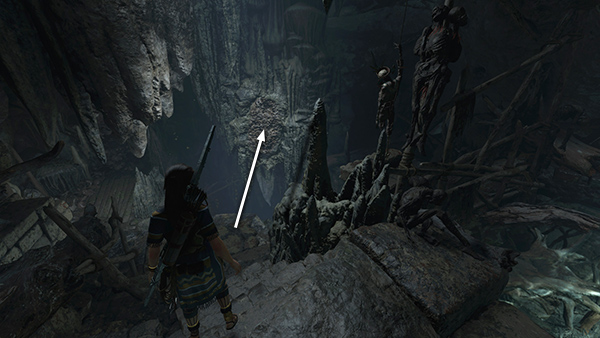
Move down the steps to the edge of the chasm and jump over to the climbable wall on the right. (There's a ledge below on the left, but this is the path back to the exit.) A flock of bats flies out, but there's no danger as long as you don't freak out and lose your grip.
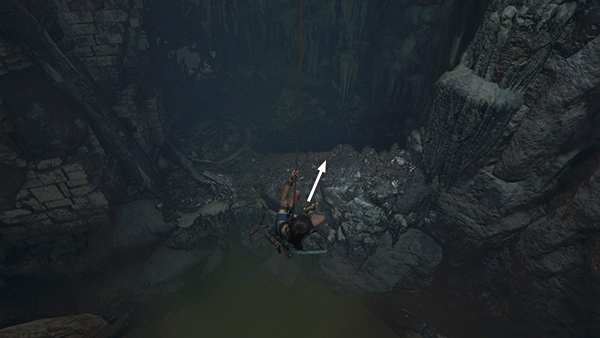
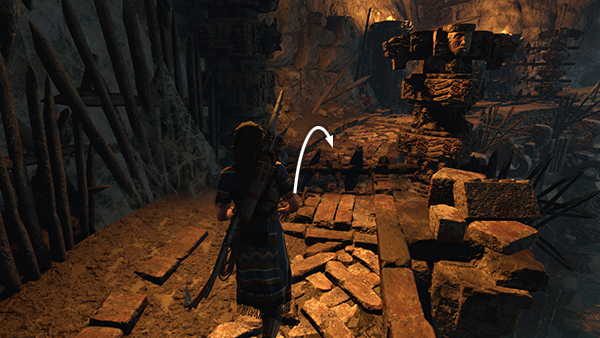
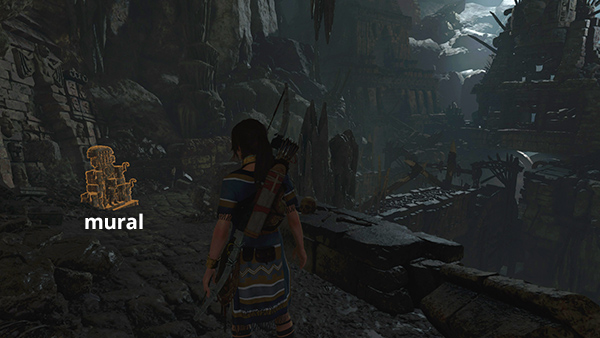
Climb/rappel down as far as you can. Then swing and jump onto the wide ledge ahead.
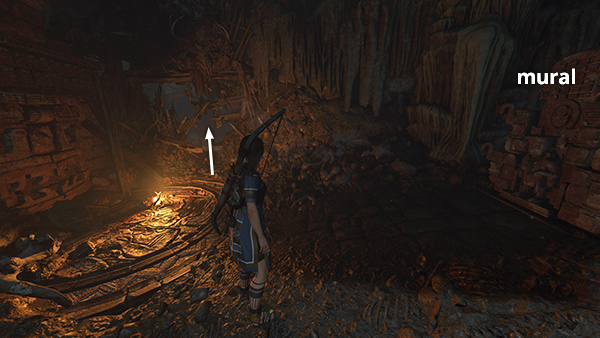
On the right is a mural (22/23), Mother Deity (Mam/Pantheon of Gods 3), and on the left is the Ossuary Base Camp. I've lit the fire to make it more visible in the gloom. Stop if you like, then proceed through the blade-lined doorway to the west.
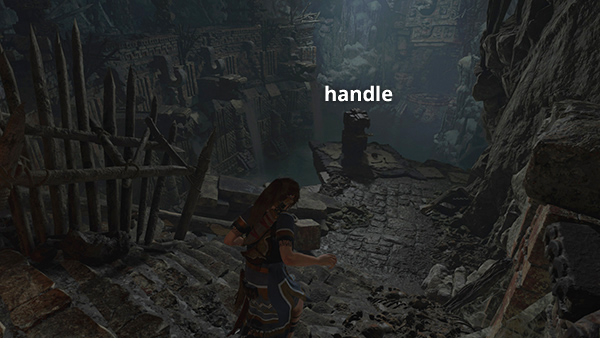
Head down the steps and use the jaguar-head handle to start up the ancient machine...

...opening the gate at the far end of the cavern and lighting the way forward.
Before heading deeper into the
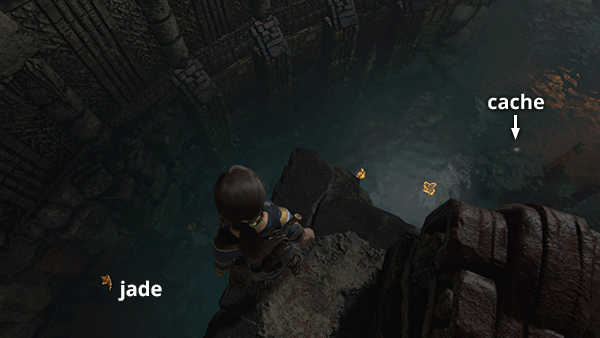
tomb, dive off the edge into the pool below. Gather some aquatic plants on the bottom. Pry some jade ore out of the left (southeast) wall.
Then and dig up another survival cache (33/34) sitting on a rocky shelf about halfway along the right (northwest) side of the pool. The current pulls Lara along. It's annoying but not dangerous. You can fight it by holding either trigger or mouse button to swim faster.
Climb out of the water on the ledges below the jaguar handle.
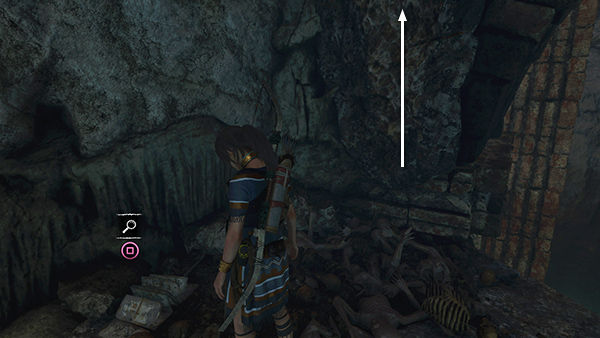
Examine the document (42/42), Warriors of Kukulkan (Yucatec/Cult of Kukulkan). Then scale the climbable wall to get back to the ledge with the handle.
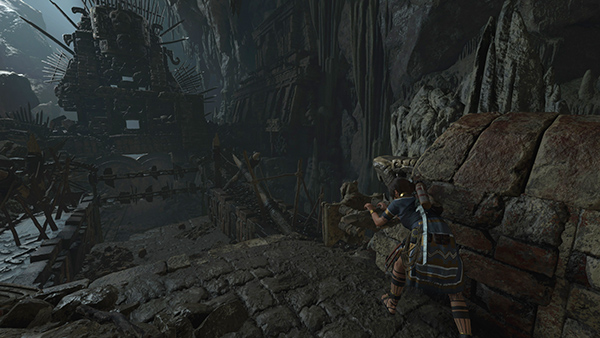
Move out onto the jutting stone beam between the handle and the stairs and jump to grab the edge of the walkway. Pull up and head to the right...
...jumping carefully over 2 sets of spinning obsidian blades...

...and moving carefully around the left side of the blades mounted on the column.
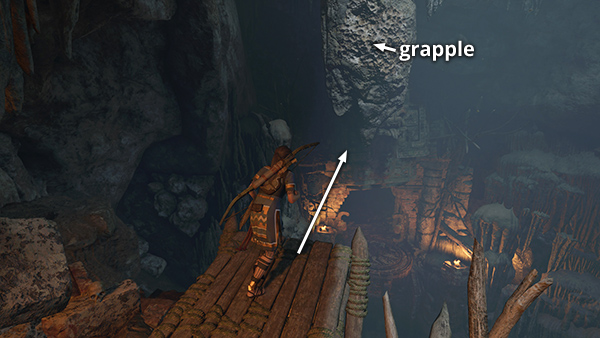
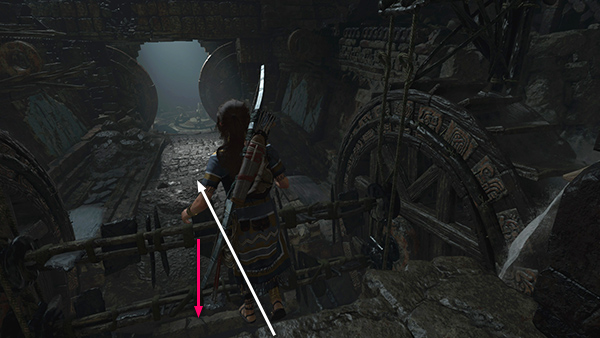
Jump off the end of the walkway and grapple the
craggy rock above the doorway.
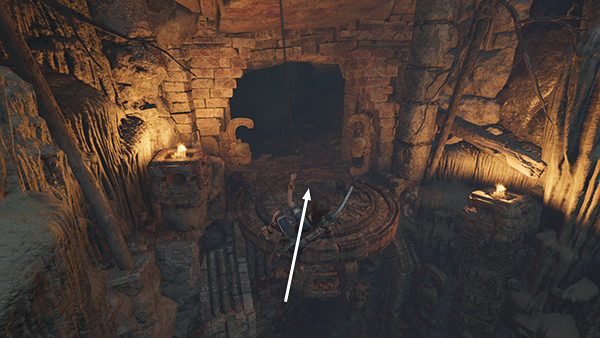
Rappel down, swing back and forth to build momentum, then jump over to the circular ledge in front of the doorway.
Enter and follow the walkway to the left to find the last mural (23/23), Path of Battle (Mam/Trials of the Gods).
NOTE: There's one more survival cache marked on the map. We'll get it on the way out.
Just beyond the mural is a handle. Push it to open the gate ahead and also activate another obsidian blade trap between here and there.
Move to the edge and jump over the blades as they descend. Continue into the main room of the tomb.
[Next | Tomb Walkthrough | Main Walkthrough]
Copyright © - Stellalune ( ). All rights reserved. Feel free to copy or print this walkthrough for personal use. By all means, share it with friends, but please include this credit line so people can send me their feedback. No part of this walkthrough may be reproduced on another site without permission. Follow this link for details about this site's advertising and privacy policy.