The Hidden City – Crypt of Uturunku, the Ferryman (part 1)
The entrance to this crypt is in the river gorge area on the east side of the Upper City. You'll pass near it during the REBELLION LIVES chapter, on your way to free Unuratu from prison. See the main walkthrough for details.
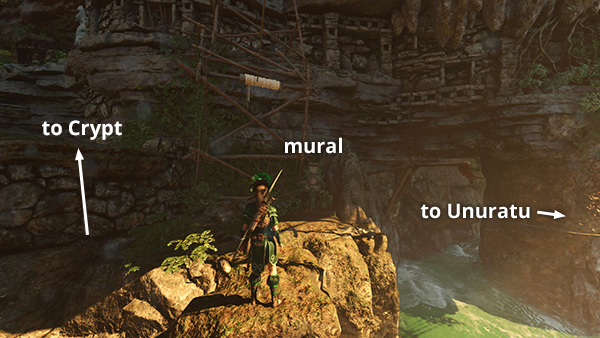
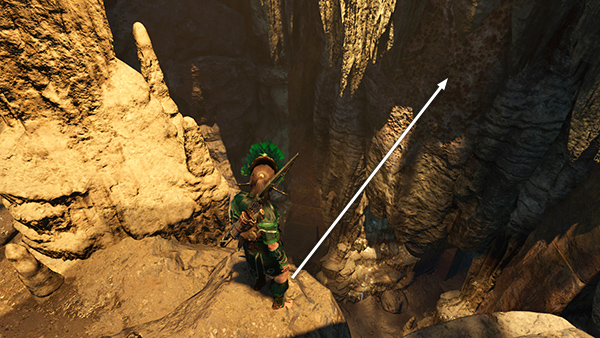
After using the rope line to climb across the gorge, you'll come to the ledge with the mural (18/23), The Winged Serpent (Yucatec/Pantheon of Gods). To reach the CRYPT ENTRANCE, climb onto the man-made stone ledge to the left of the mural.
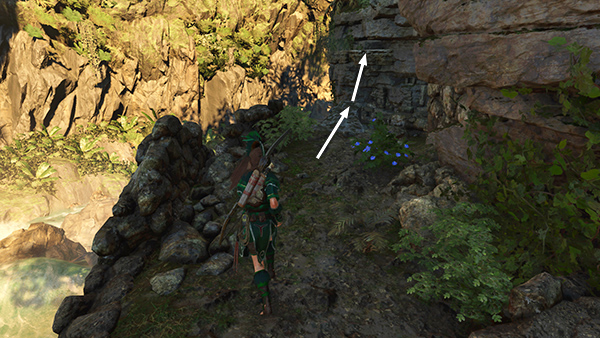
Cross this ledge and jump to grab a handhold on the rock wall ahead.

Climb around to the left and scramble up onto the ledge above.
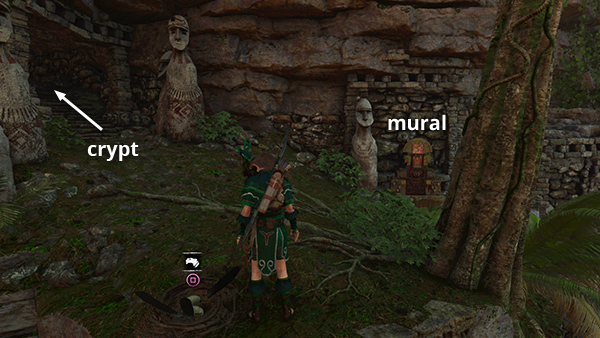
Loot the condor's nest. (If you haven't completed the Keep Calm and Carrion Challenge, this will add to your total.) Examine another mural (19/23), Uturunku, The Ferryman (Quechua/Resting Places), off to the right. Then enter the crypt.
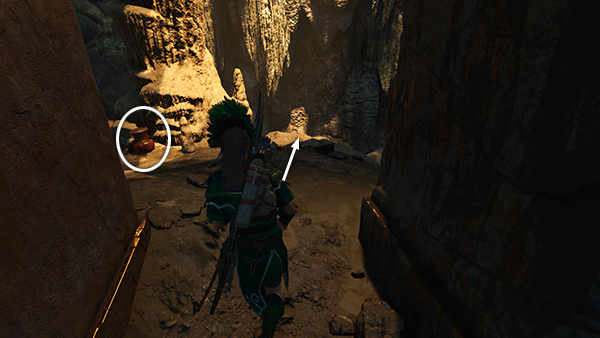
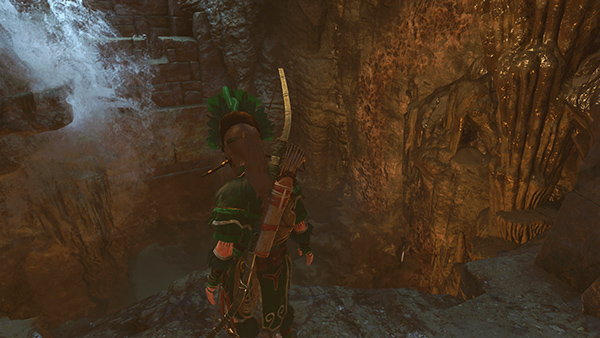
Move through the low, dark tunnel (not shown). Then continue forward through a sunlit doorway. Loot the ceramic jar on the left to get some random resources. Then move out onto the ledge overlooking a deep cavern.
Jump over to the climbable wall.
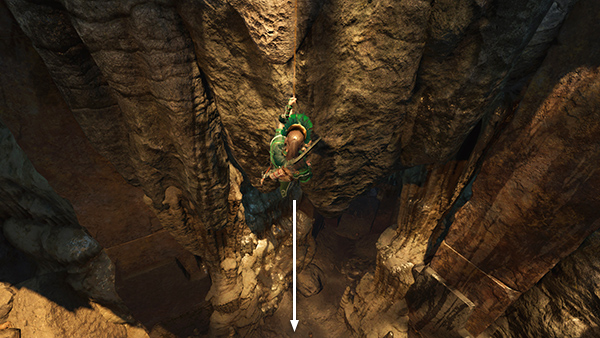
Then rappel down to the cavern floor.
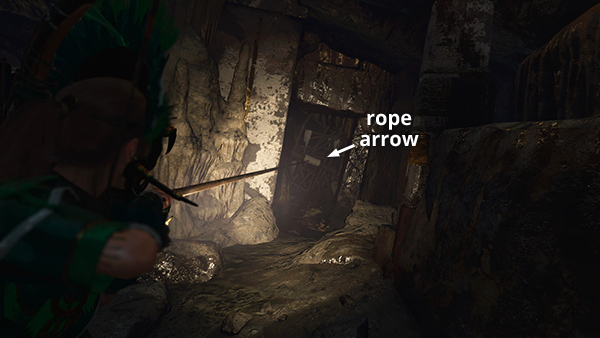
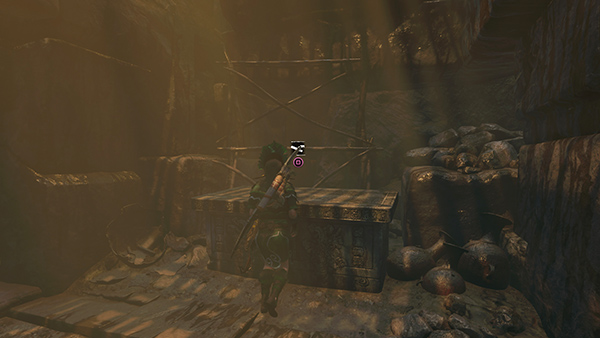
Follow the passageway to the south. Don't worry; there are no traps or hazards. Squeeze through a doorway that's been partially blocked by dripping limestone. In the next room, use a rope arrow to pull down the wooden barrier blocking the exit.
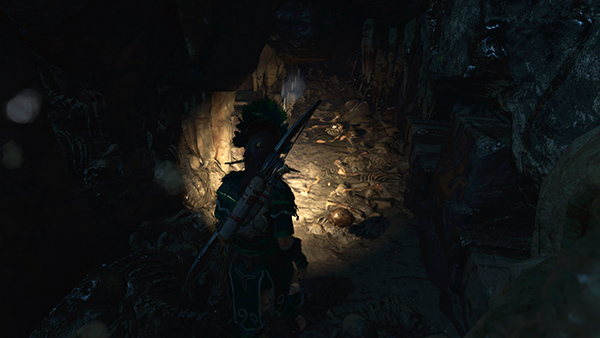
Continue along the dark passageway, through an area where you have to wade through shallow water and scattered bones...
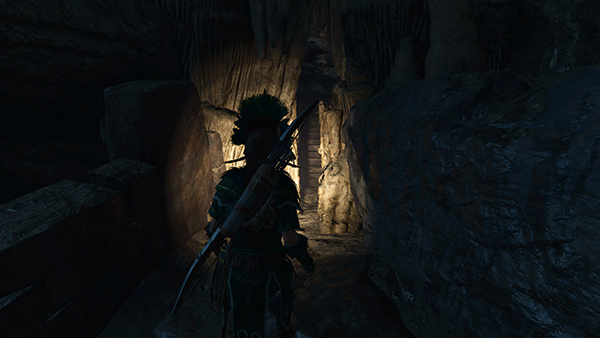
...then up a flight of stone steps, through another narrow opening, and up another flight of steps.
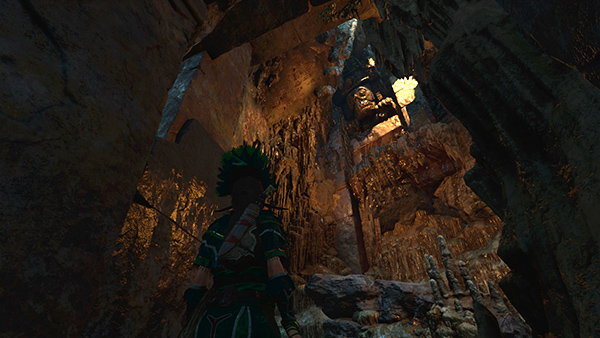
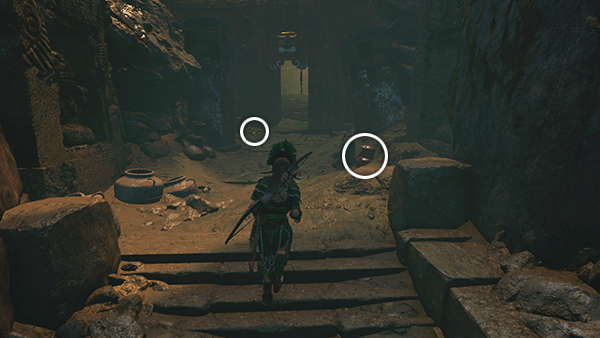
Next, you enter a high-ceilinged cavern and Lara notices a carved head above.
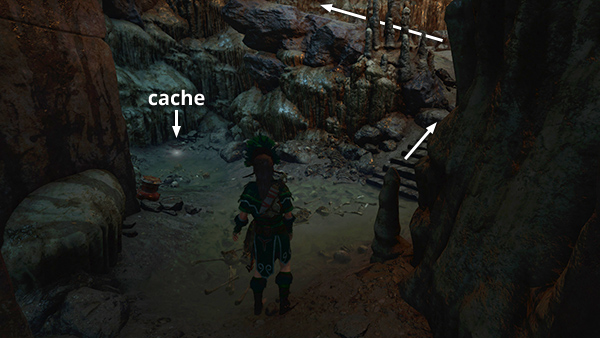 Loot another resource container and dig up a survival cache (28/34) on the left. Then climb the steps on the right and follow the stone ramp up and around toward the climbable wall.
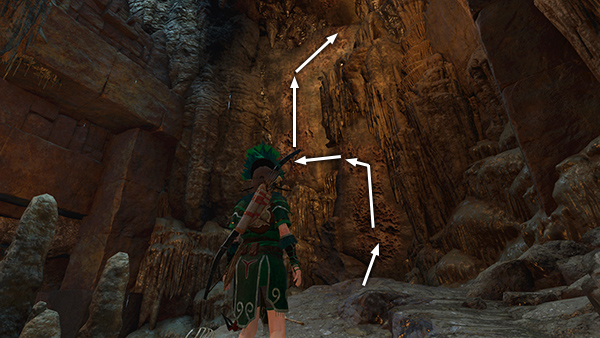
Jump from the end of the ramp to the climbing wall. Climb up and to the left. Then jump to the left and latch onto the next section of climbable wall. Climb up and to the right as far as you can.
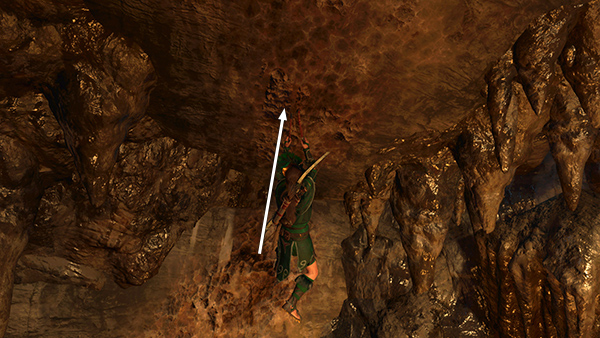
When you reach the top of the climbable wall, jump straight up and press Interact to latch onto the craggy overhang.
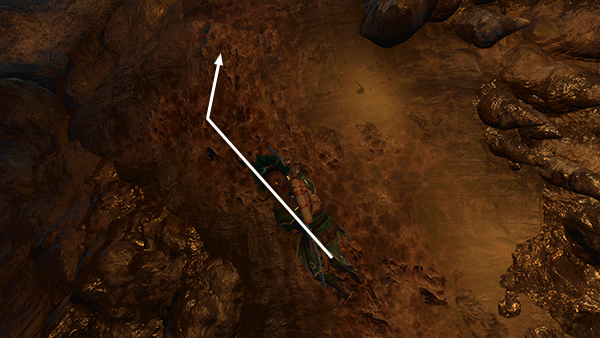
Lara's sandals automatically sprout magical climbing cleats! Hurrah! Continue climbing upward along the overhang.
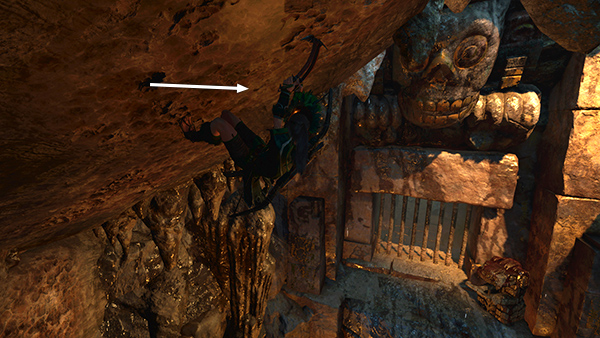
At the top, climb to the right a bit and you'll be prompted to rappel.
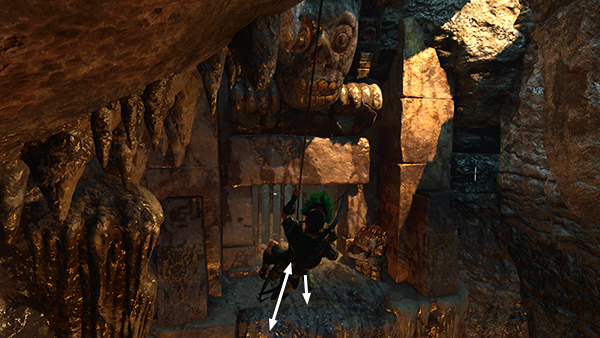
Dangle from the rope line, move the camera to face the barred opening below the huge, carved head. Swing back and forth then jump onto the ledge.
Use the jaguar-head switch to open the bars.
This also triggers a flood, filling the cavern you just climbed with water. There's no danger, though, since the water stops rising before it reaches Lara.
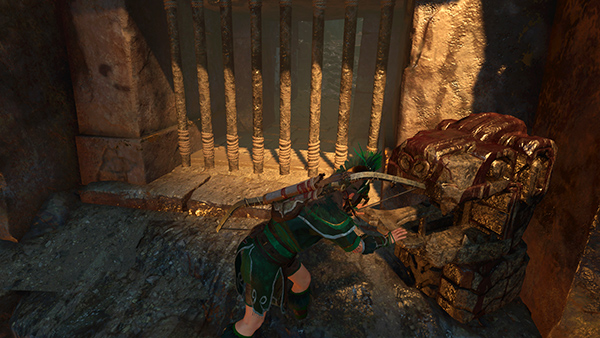
Go through the doorway near the switch and follow the wide hallway to the crypt, looting a resource container and picking up some gold ore before entering the inner chamber.
Open the sarcophagus to find a Vestige: Ch'Amaka's War Vest and 750 gold pieces. When this vestige is restored and equipped, it will provide protection against melee attacks. Completing this crypt also counts toward the Speak of the Dead Challenge, in which you must uncover the secrets of 4 ancient crypts in Paititi.
Follow the flooded passageway back to the entrance. I haven't included screenshots, since it's pretty straightforward (pun intended), but there are written instructions at the end of the CRYPT WALKTHROUGH.
[Crypt Walkthrough | Main Walkthrough]
Copyright © - Stellalune ( ). All rights reserved. Feel free to copy or print this walkthrough for personal use. By all means, share it with friends, but please include this credit line so people can send me their feedback. No part of this walkthrough may be reproduced on another site without permission. Follow this link for details about this site's advertising and privacy policy.