The Hidden City – Ancient Aqueduct Challenge Tomb (part 4)
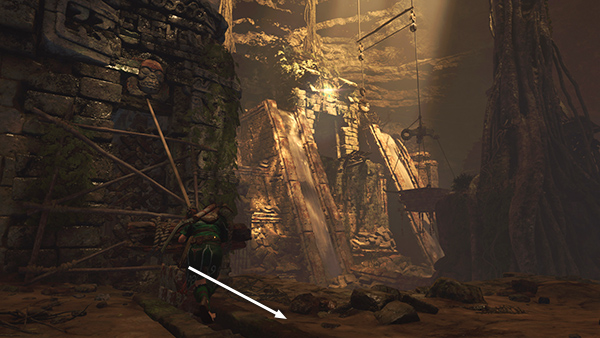
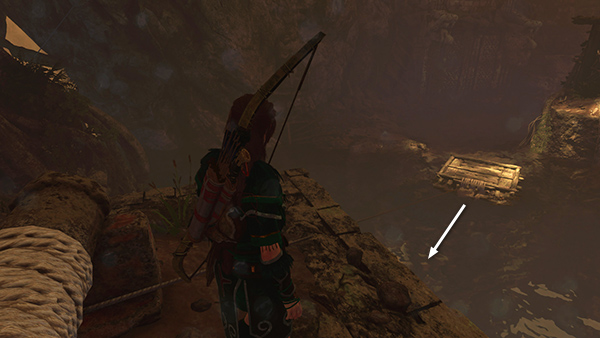
Approach the handle where the Yaaxil archer was standing. Pull it along the track to start the water flowing again. When you finish, the handle breaks off, but that's OK. The pool will continue to fill until it reaches its highest level.
The wooden raft should then drift slowly around the tower in the middle of the pool. Follow it around to find some mushrooms and a resource canister on the right bank.
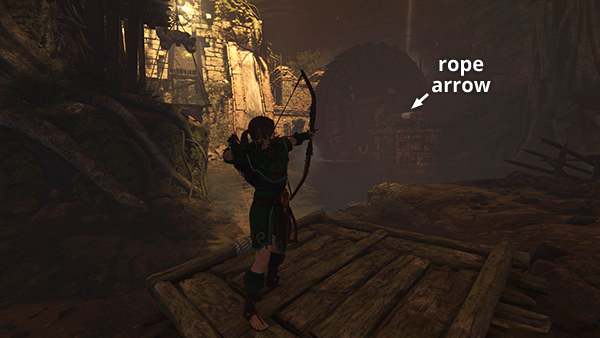
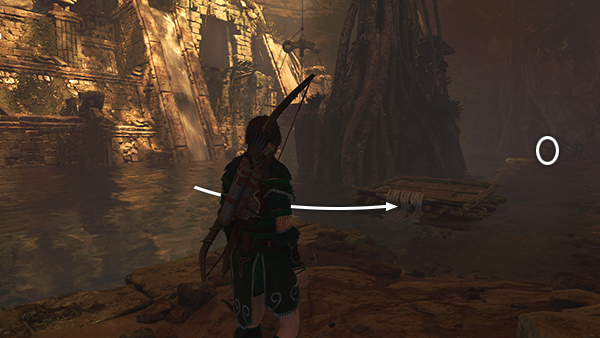
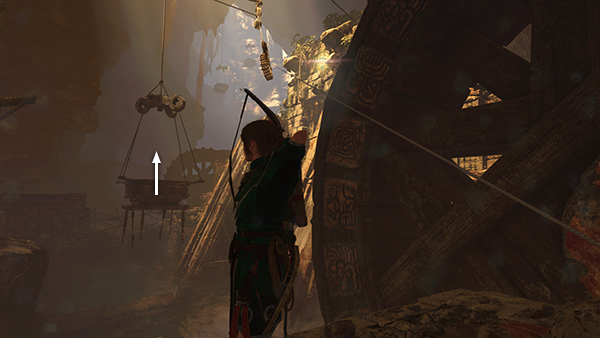
When the raft comes to rest, stand on top of it and shoot a rope arrow into the coil wrapped around the water wheel's axle.
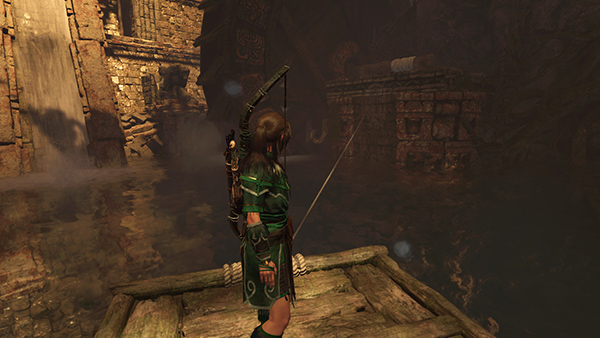
As the wheel turns, it pulls the raft, with Lara standing on it, toward the ledge.
Scramble up the wall onto the ledge with the axle before the rope breaks and the raft begins to drift away.
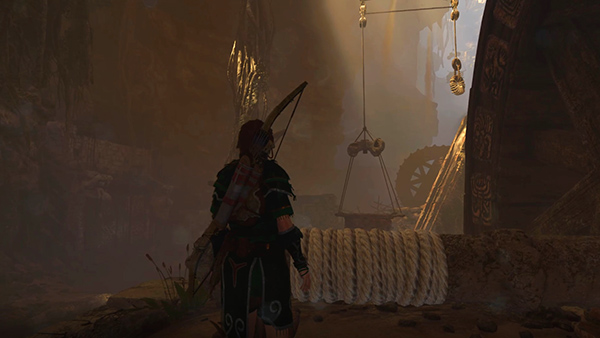
Now move behind the axle...
...and shoot a rope arrow into the rope-wrapped metal ring connected to the dangling platform, in order to tether the ring to the axle.
The first time you do this, 2 more Yaaxil archers appear. One jumps down onto the dangling platform, breaking your rope tether.
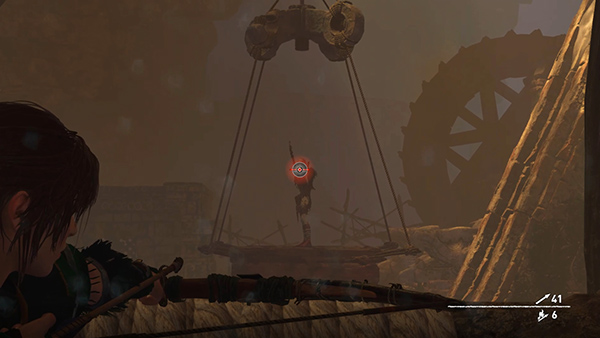
The axle offers a bit of cover, but you'll still want to shoot him quickly.
Then take out his companion on the ledge above on the right. That's the last of the enemies in this area.
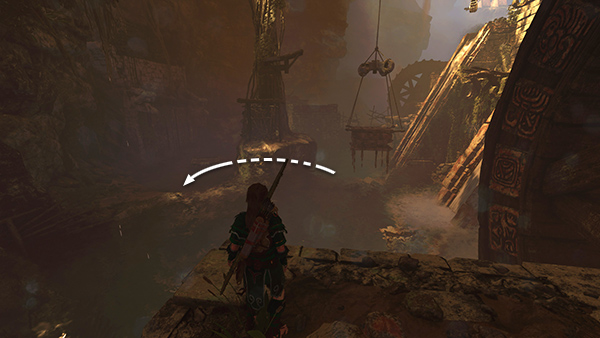
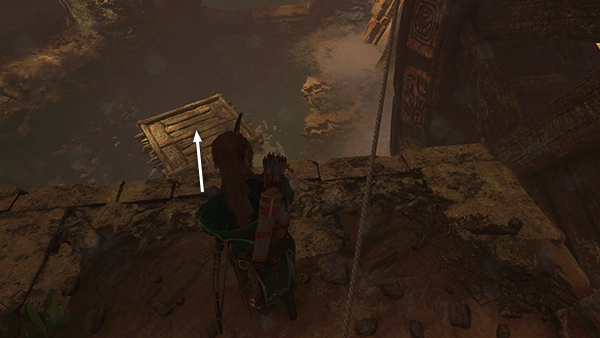
Wait for the wooden raft to float back around to the left side of the central tower.
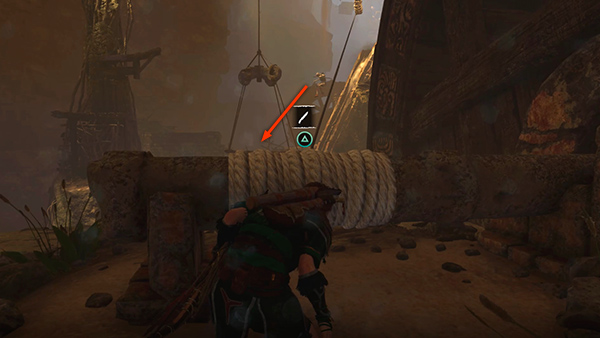
Stand near the axle and shoot a rope arrow into the raft...
...tethering it to the axle and pulling it toward you.
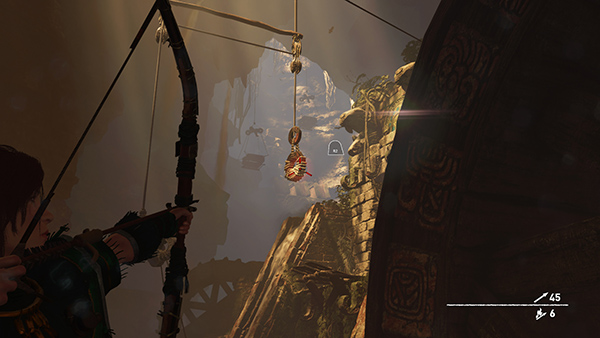
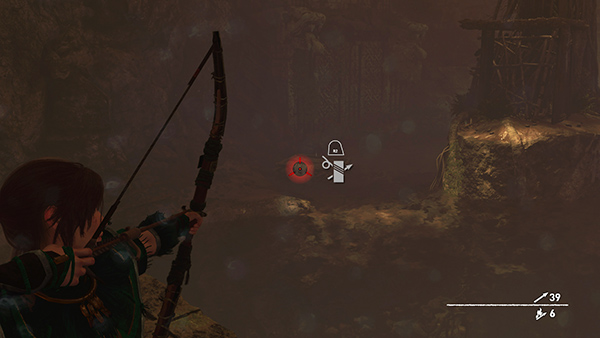
Just before the raft reaches the ledge where Lara is standing, shoot another rope arrow into the ring, like you did before.
This time, without enemies to interfere, the ring remains tethered to the axle, raising the dangling platform.
You'll have about 30 seconds before the rope snaps and the platform sinks back to its original position. So jump down onto the raft, or jump into the water, swim to the raft, and climb on top.

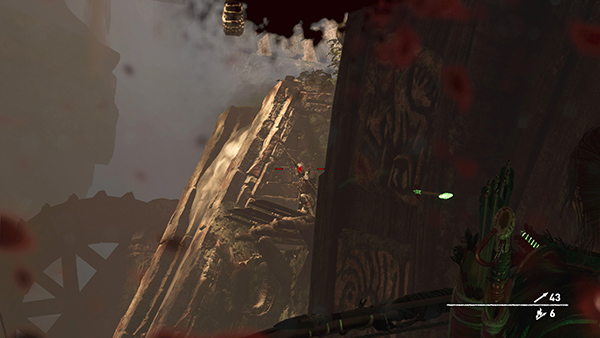
As the raft drifts past the central tower, jump onto the stone ledge surrounding it. Then
scramble up onto the wooden ledge above.
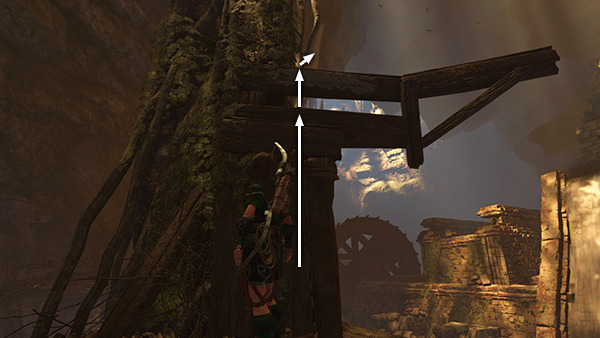
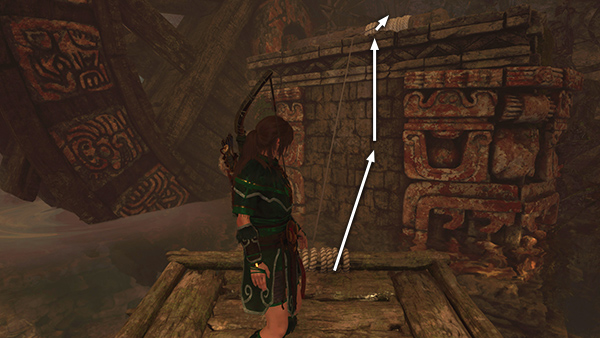
Turn right, climb the wooden slats, and then pull up onto the horizontal beam.
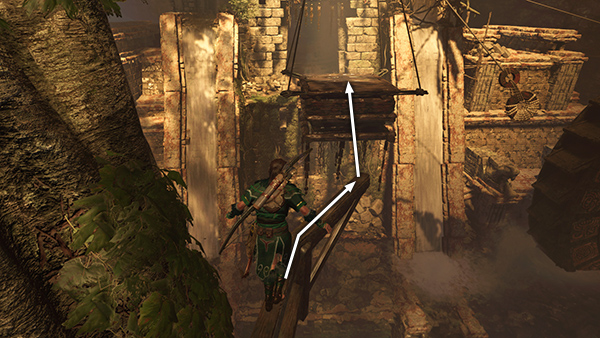
Turn right, walk quickly out to the end of the beam, and jump to grab the dangling platform.
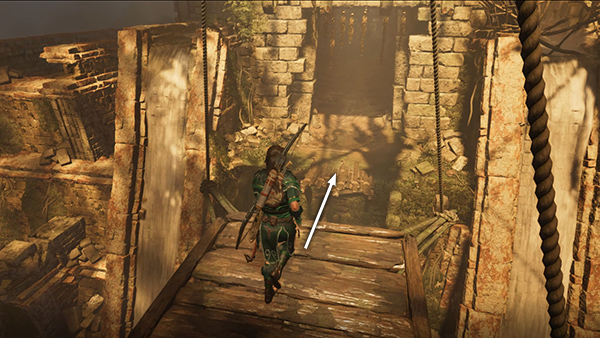 Pull up, run across the platform, and jump down onto the wooden ledge in front of the high doorway.
If you don't make it to the doorway before the dangling platform sinks, just return to the wooden raft and try the sequence again.
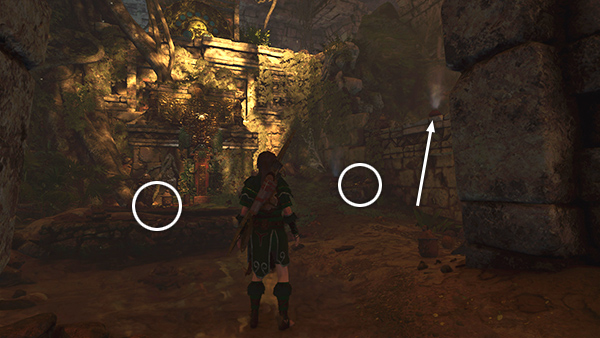
Once you reach the doorway, go inside to find the tomb stele and 2 piles of gold. Examining the stele unlocks the Warrior Skill Jaguar's Paw, which automatically increases Lara's chances of knocking down enemies with melee attacks. To exit the tomb, climb onto the ledge beside the stele.
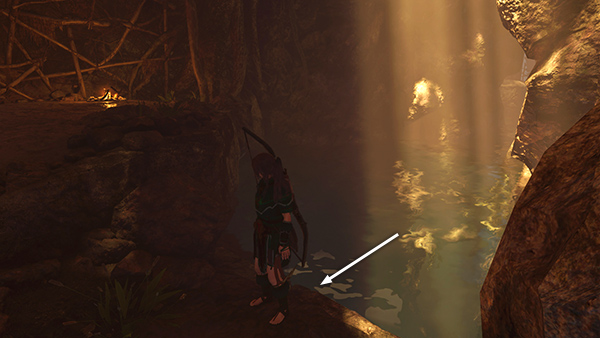
Follow it to the edge overlooking the pool and slide down the zip line through an opening in the cavern wall.
Swim across the smaller pool and climb out near the Subterranean River Base Camp.
[Previous | Tomb Walkthrough | Main Walkthrough]
Copyright © - Stellalune ( ). All rights reserved. Feel free to copy or print this walkthrough for personal use. By all means, share it with friends, but please include this credit line so people can send me their feedback. No part of this walkthrough may be reproduced on another site without permission. Follow this link for details about this site's advertising and privacy policy.