The Hidden City – Ancient Aqueduct Challenge Tomb (part 2)
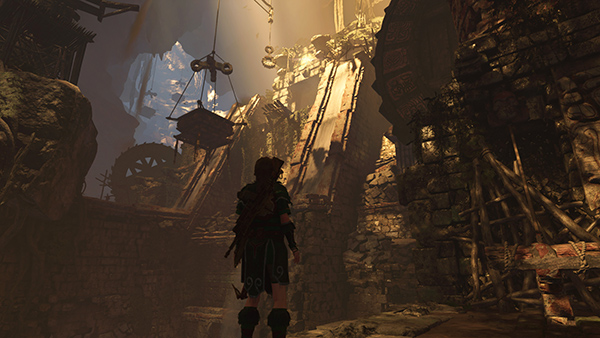
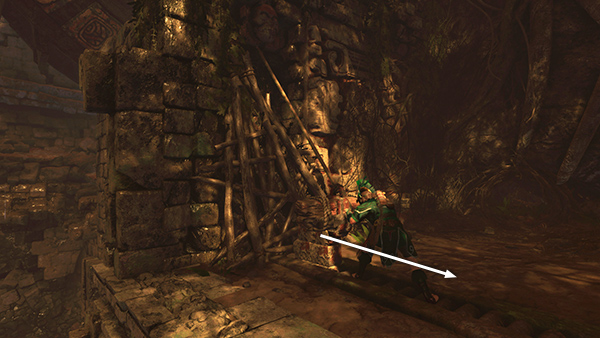
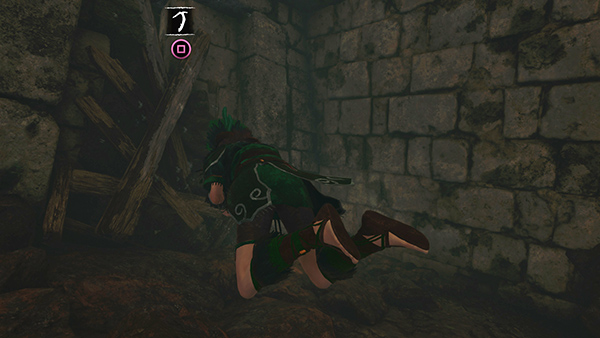
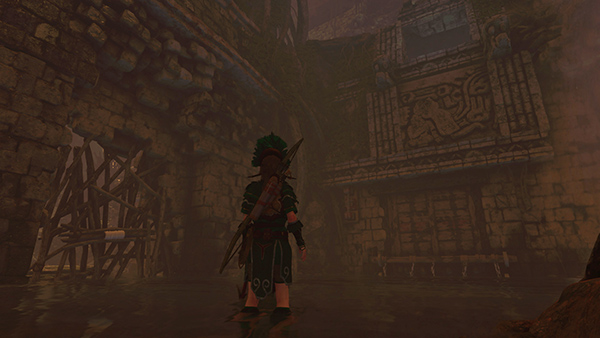
As you enter the tomb, Lara moves forward and takes a look around. Her attention is focused on the dangling platform that is almost high enough to reach the room at the top of the tomb. That's where you're eventually headed.
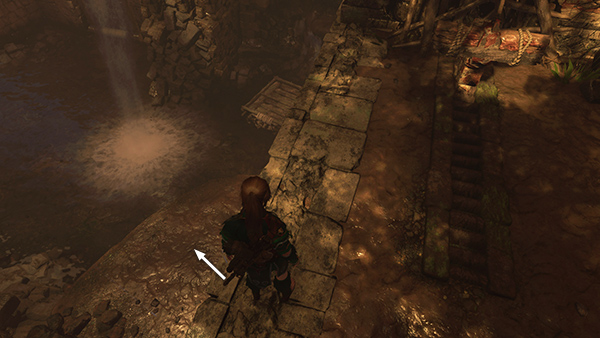
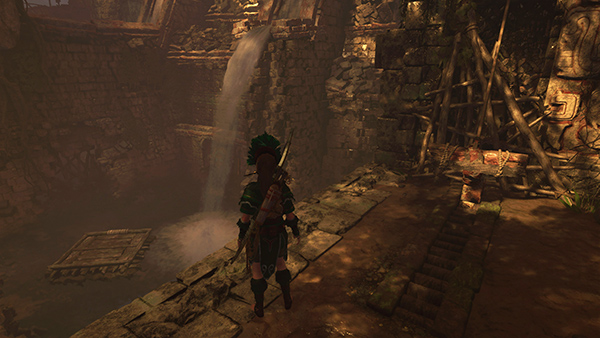
Start by dropping down into the shallow pool on the left.
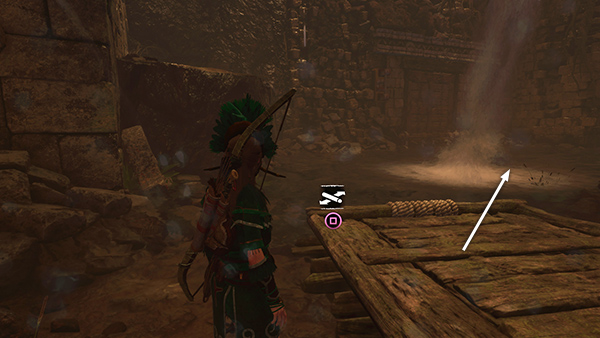
Kick the wooden raft out into the middle of the room.

Stand on or near the raft and shoot a rope arrow into the rope coil at the bottom of the wooden door...
...to tether the raft to the door.

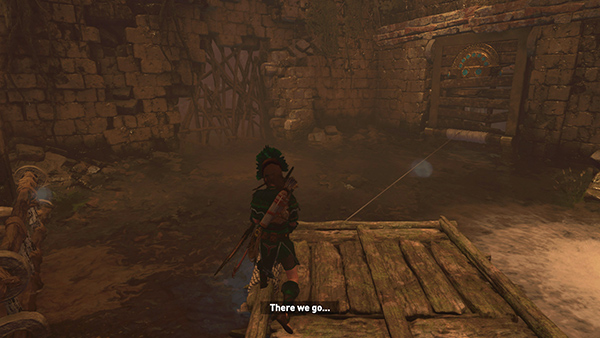
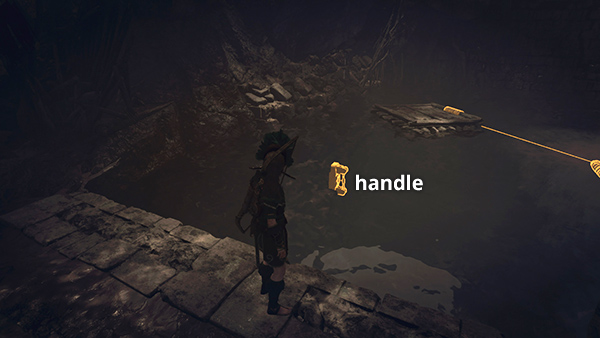
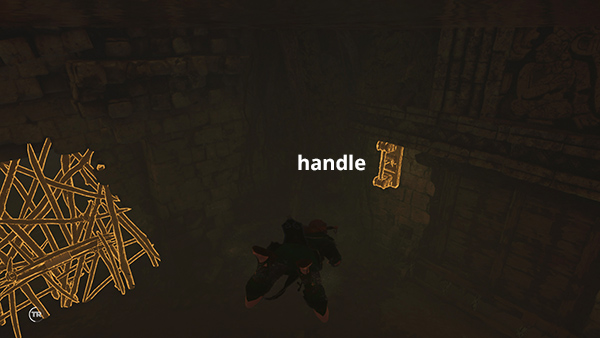
Now climb back onto the ledge near the entrance...
...and pull the handle along the track in the floor...
...to fill the pool, raising the wooden raft and opening the door, which is now below the surface.
If you make a mistake and fill the pool before tethering the raft to the door. Just swim down and pull the handle on the left side of the pool to drain the water. Then you can start again.
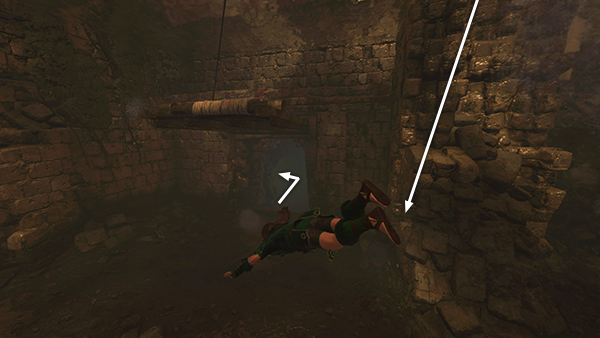
Once the door is open, swim through.

Stop for air about halfway along the passageway.
Then continue to the end. Pry away the wooden barrier, swim through the narrow opening behind it...
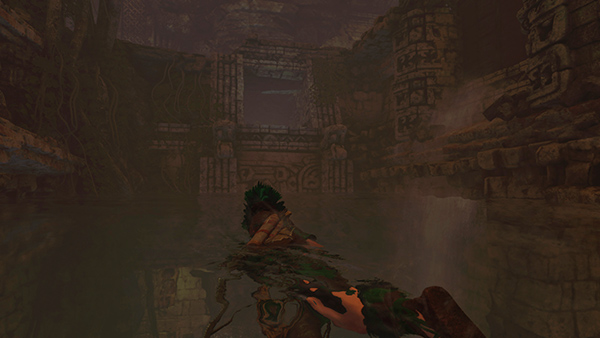
...and surface in a pool on the east side of the cavern.
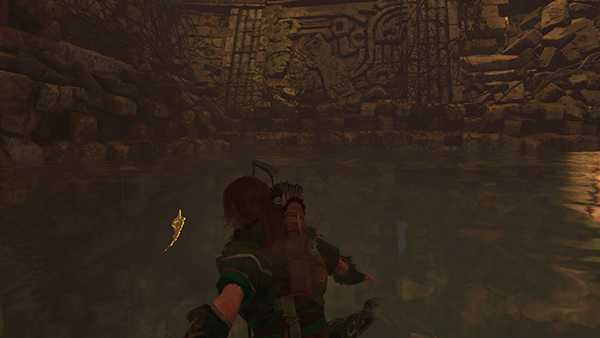
Swim down and pry some gold out of the wall in the southeast corner (i.e., to the left of the narrow oping).
Then use the lever in the opposite (northwest) corner...
...to lower the water level.
[Previous | Next | Tomb Walkthrough | Main Walkthrough]
Copyright © - Stellalune ( ). All rights reserved. Feel free to copy or print this walkthrough for personal use. By all means, share it with friends, but please include this credit line so people can send me their feedback. No part of this walkthrough may be reproduced on another site without permission. Follow this link for details about this site's advertising and privacy policy.