Kuwaq Yaku – The Forge DLC
Forge of Destiny Challenge Tomb (part 2)
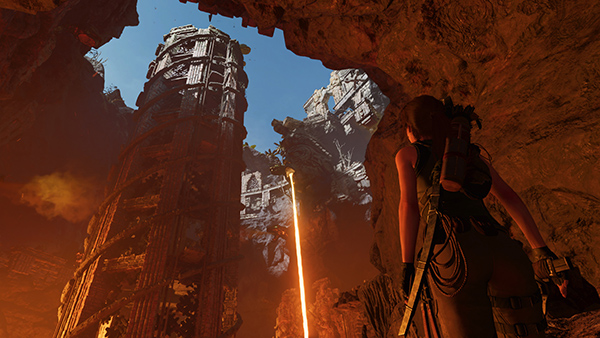
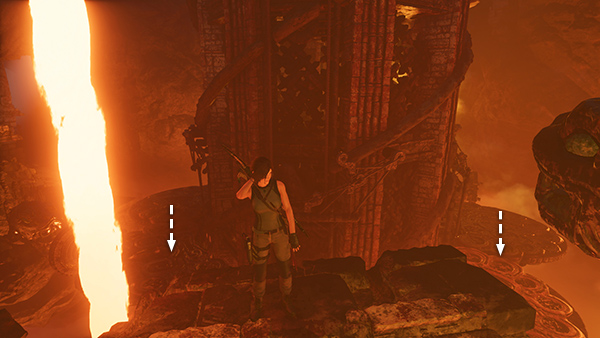
As Lara enters the next cave, she observes the tall tower with helices of wood spiraling up its sides and notes that it's going to be quite a climb.
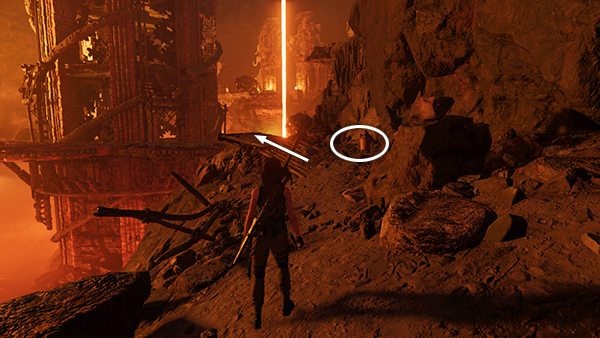
Follow the path toward the tower, picking up more arrows and supplies ahead on the right.
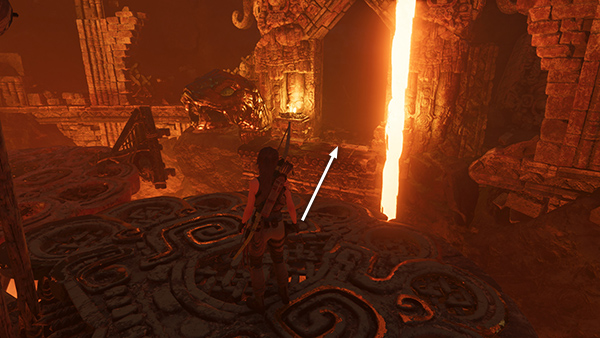
Jump from the wooden ramp onto the ornate ledge running around the base of the tower.
Before entering the tower, note the the golden serpent's head on the right with the natural gas jetting out of it.

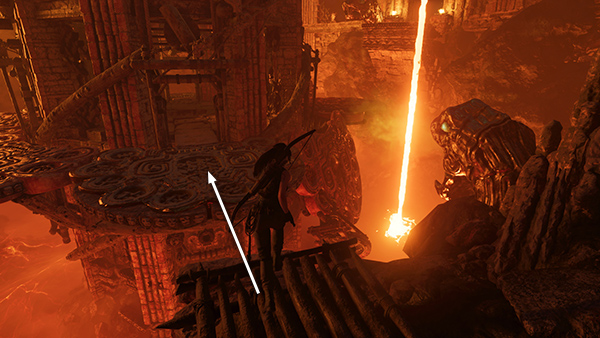
Inside the tower there's another resource container and more arrows on the left...
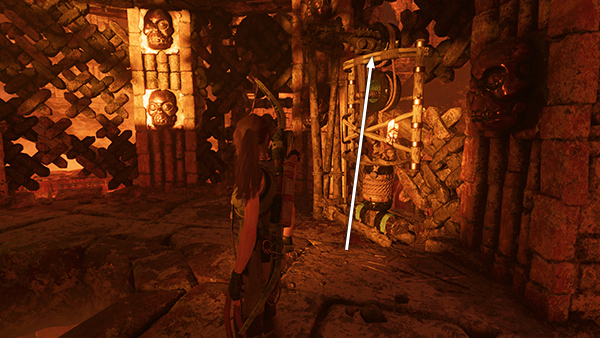
...and a counterweight on the right. Jump onto it.
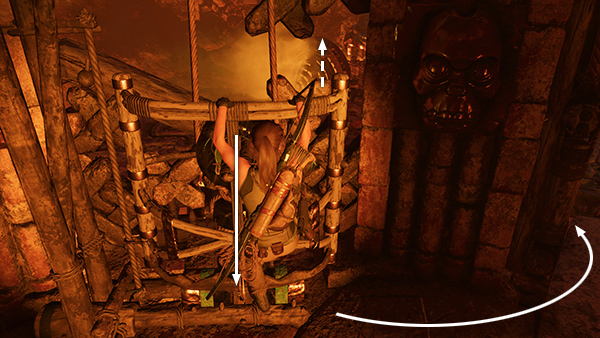
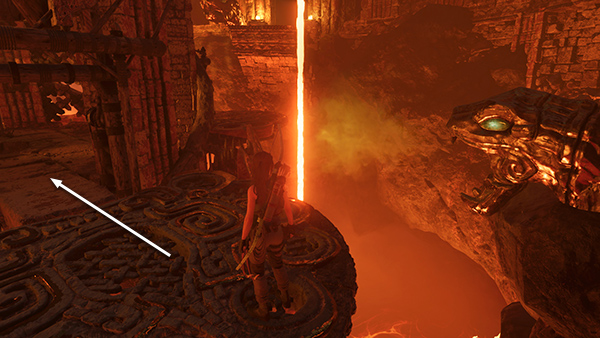
Pulling down the counterweight raises a ledge on the outside of the tower, but it only remains in place briefly. Drop down, run out through the doorway on the right...
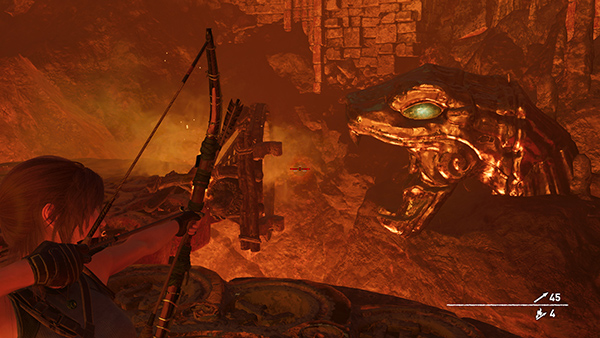
...turn left, and quickly shoot a fire arrow into the gas jet.
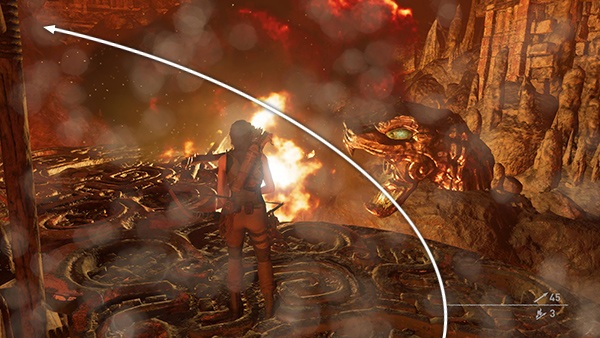
When the gas ignites it hits the basketlike scoop on the ledge you just raised, spinning the entire ledge and raising it along the helical track. Just stay where you are as the ledge rises.
Then, when it reaches its highest point, jump into the doorway to the left of the falling lava.
Without anything to hold it in place, the ledge surrounding the tower sinks back to its original position.
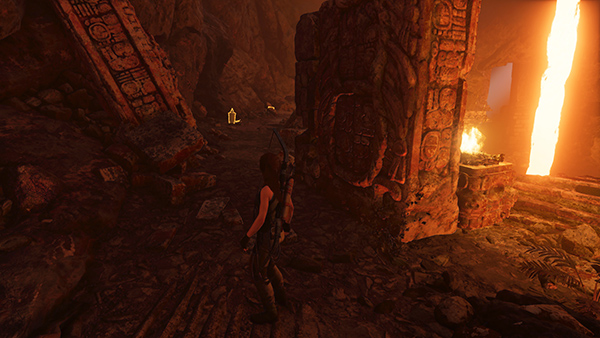
Inside the doorway,
on the right, are more supplies...

...and a relic (1/1), a Porvenir Hardhat (The Hidden Past).
[Previous | Next | Tomb Walkthrough | Main Walkthrough]
Copyright © - Stellalune ( ). All rights reserved. Feel free to copy or print this walkthrough for personal use. By all means, share it with friends, but please include this credit line so people can send me their feedback. No part of this walkthrough may be reproduced on another site without permission. Follow this link for details about this site's advertising and privacy policy.