Kuwaq Yaku – The Forge DLC
Forge of Destiny Challenge Tomb (part 1)
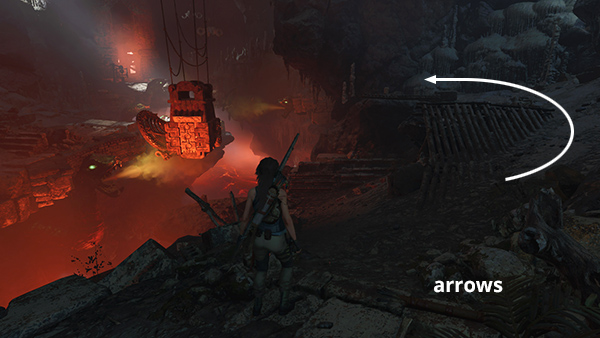
Just inside the cavern, pick up some arrows on the right. Then follow the path around to the wooden ramp on the far right, where you'll find more supplies and arrows.
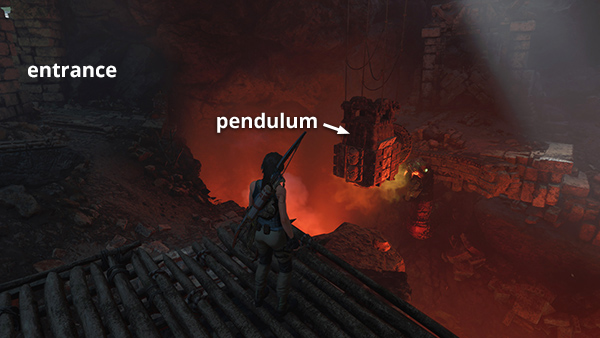
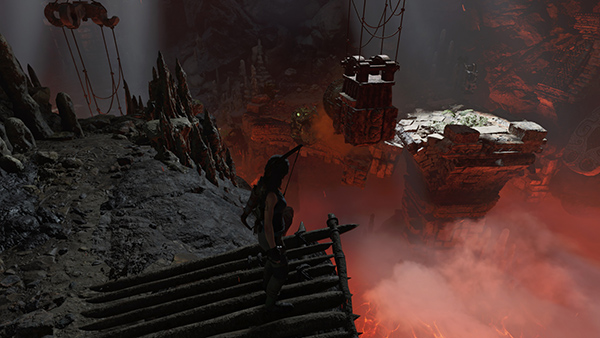
Notice the stone pendulum dangling midway across the canyon. That's your way across, but you can't reach it from here, so you'll need to bring it closer.
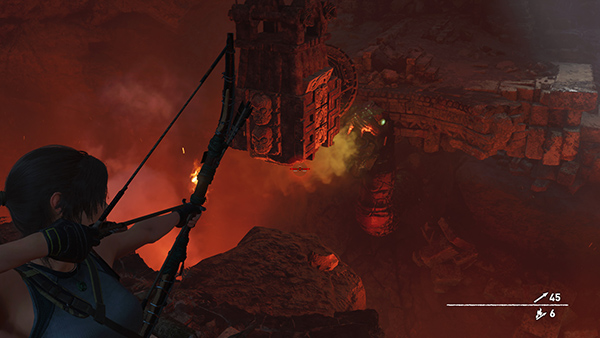
Shoot a fire arrow into the flammable gas billowing from the carved serpent head.
The blast swings the pendulum toward you.
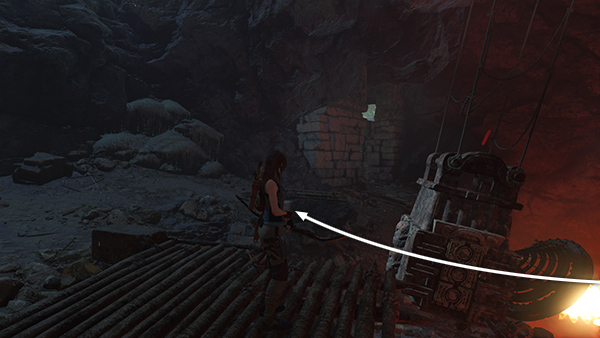
Jump from the wooden ramp to grab the pendulum as it approaches.
Ride it across the canyon...
...and jump down onto the ledge behind the serpent's head.
Pick up more resources and arrows on the left.
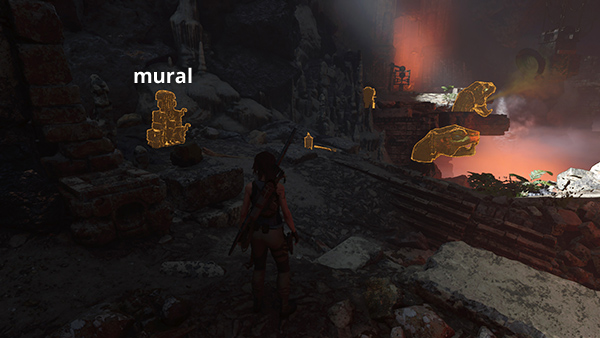
Then head to the right (east) to find a mural (1/1), Ancient Forge (Mam/The Hidden Past), another resource container, and more arrows. (If you can't pick up everything, try crafting more fire arrows to make space for the components in your inventory.)
At several points during your explorations, Lara talks to Abby by walkie-talkie. I won't cover every exchange.
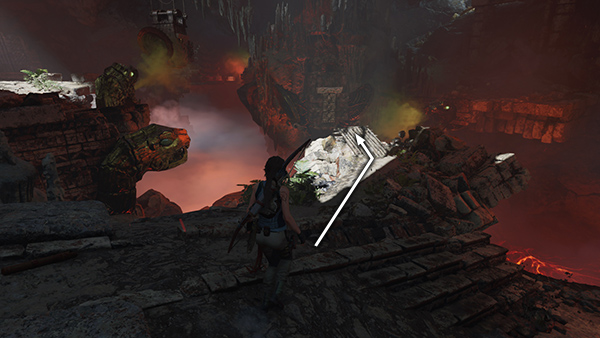
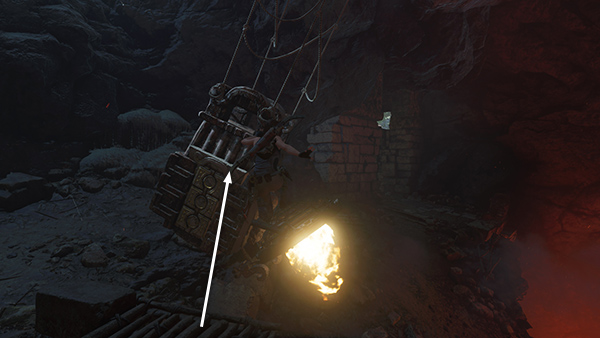
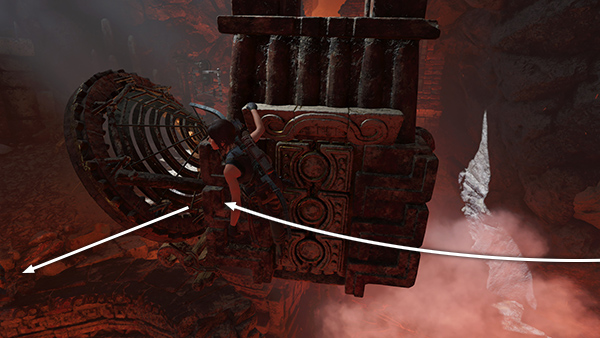
To cross the next gap, move up the wooden ramp to the southeast to face the next stone pendulum.
You're actually headed for the climbable wall behind the pendulum, not the pendulum itself.
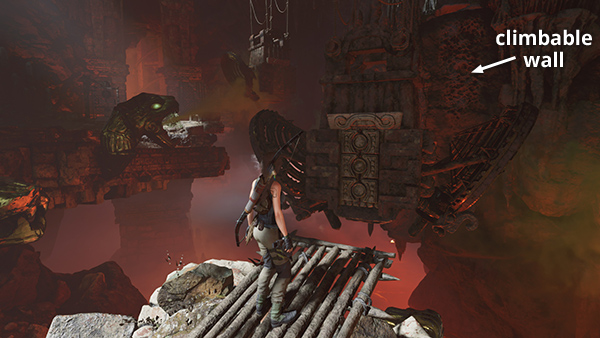
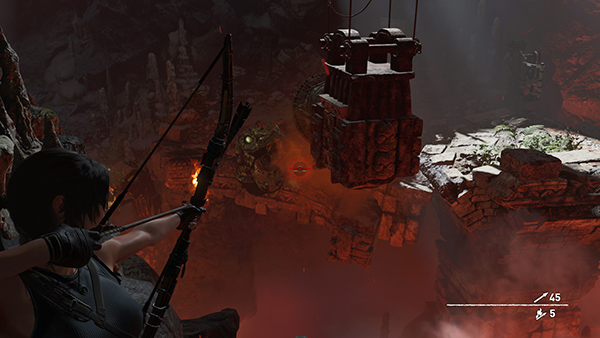
Shoot a fire arrow at the gas jet to the right of the pendulum.
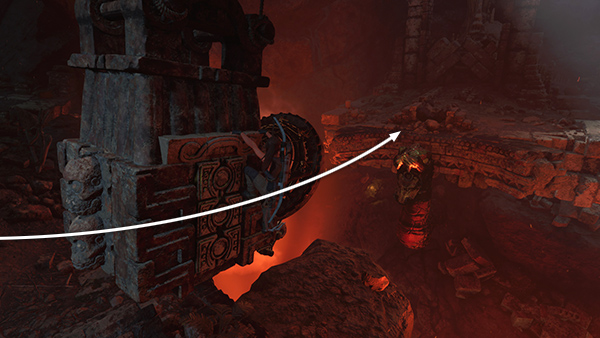
The explosion propels the pendulum to the right.
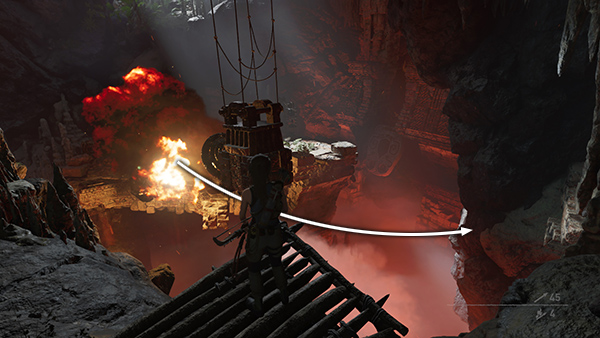
Before the pendulum can swing back, jump from the end of the wooden ramp toward the climbing wall and press Interact to throw the grapple.
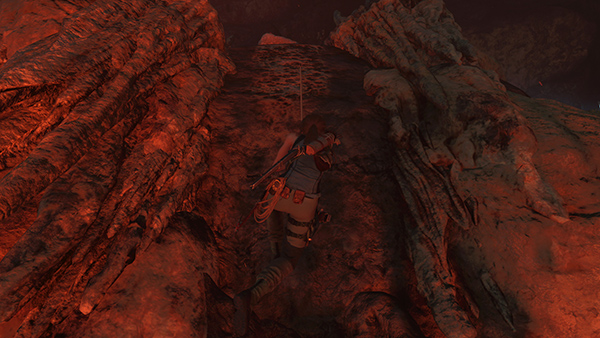
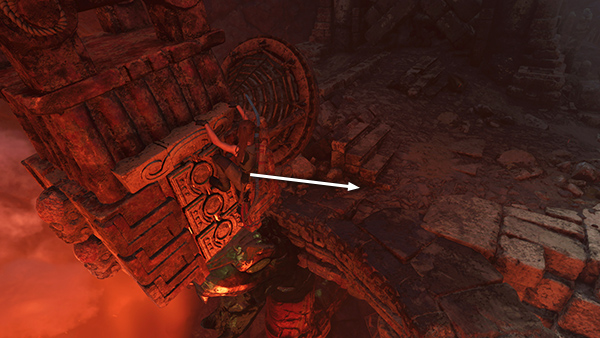
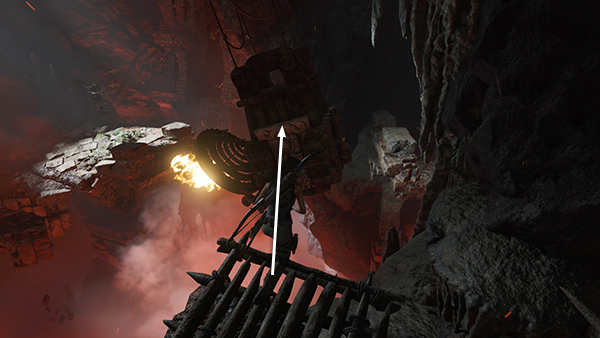
Climb the rope until you can latch onto the rock. Then continue climbing onto the ledge above.
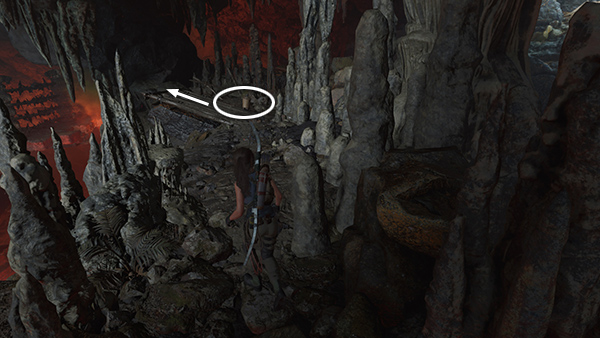
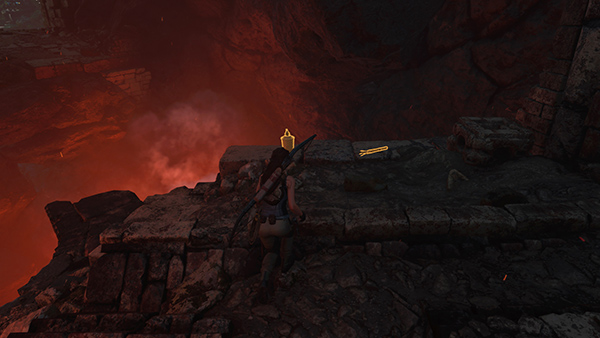
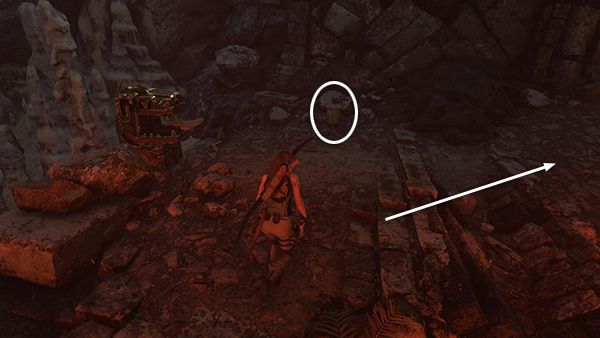
Follow the path to the end of the next wooden ramp, picking up more arrows and crafting resources on the way.
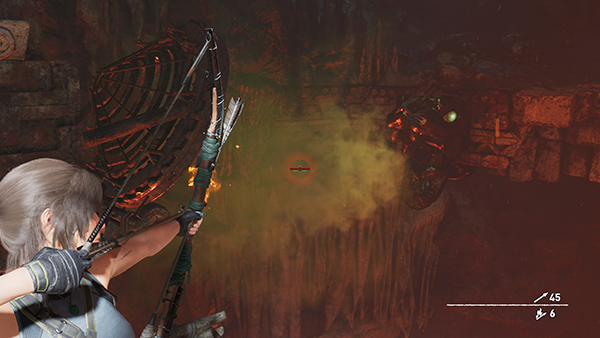
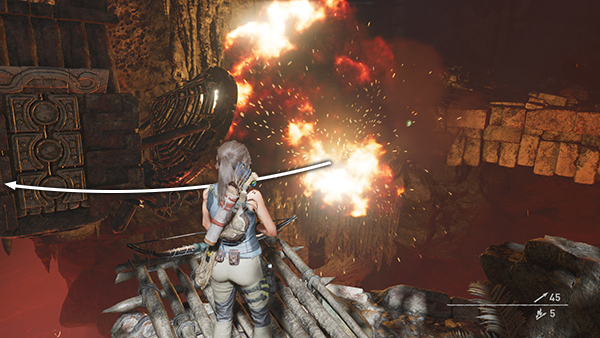
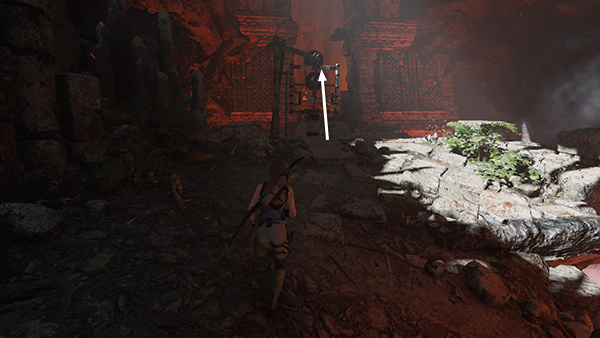
The next pendulum is way off to the left.
Shoot a fire arrow into the gas jet behind it...
...to blast it toward you.
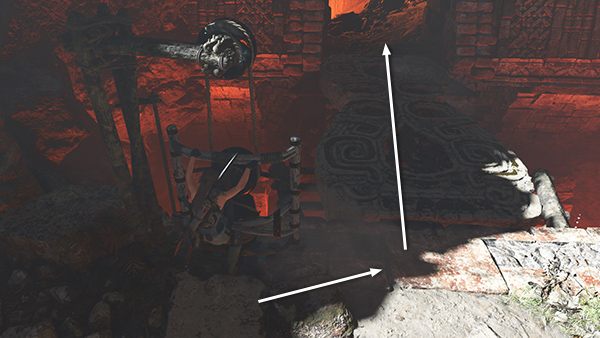
Jump from the ramp to grab the pendulum.
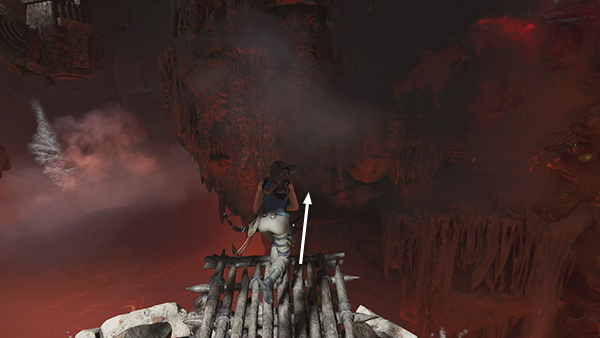
As it swings back to the left, climb then lean to the left so you're ready to jump down when it reaches the other side. If you hesitate and the pendulum swings back, there's no safe way down. You'll need to drop into the lava, reload, and try again.
Ignore the jaguar-head switch on this side of the canyon. It activates the gas jet below, which you don't need. Loot the resource container nearby then head to the right (east).
Jump onto the counterweight...
...to raise another bridge, this time made of carved stone. Drop down and run across before the bridge collapses.
[Previous | Next | Tomb Walkthrough | Main Walkthrough]
Copyright © - Stellalune ( ). All rights reserved. Feel free to copy or print this walkthrough for personal use. By all means, share it with friends, but please include this credit line so people can send me their feedback. No part of this walkthrough may be reproduced on another site without permission. Follow this link for details about this site's advertising and privacy policy.