Kuwaq Yaku – The Forge DLC
Forge of Destiny Challenge Tomb (part 3)
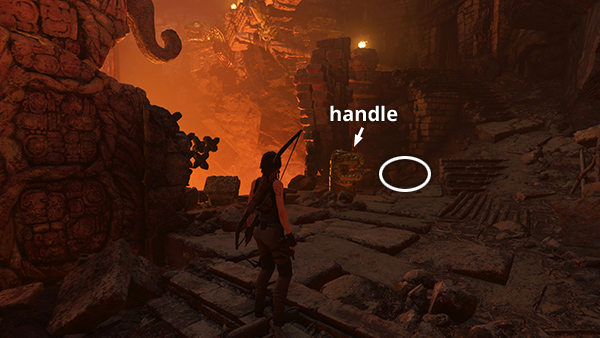
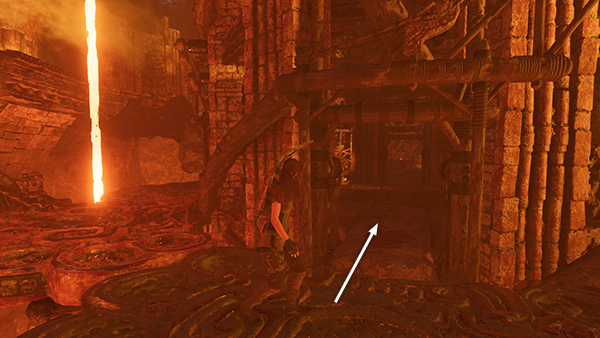
After examining the relic, head back to the northeast. Just beyond the doorway
near the falling lava, there are more supplies for making fire arrows and a jaguar-head handle.
Use the handle to activate the nearby gas jet. This one cycles on and off, but it will still be useful.

Move to the top of the ramp to the right of the handle to find a document (1/3), Porvenir Field Report (The Hidden Past).
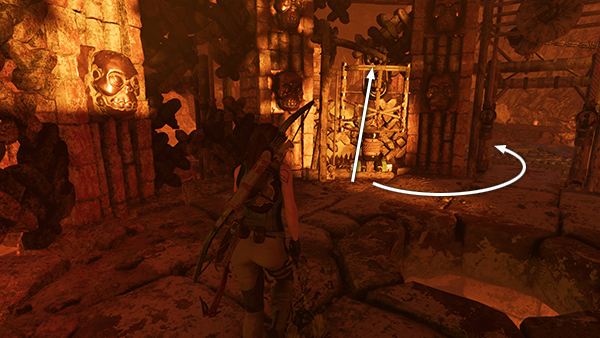
Return down the ramp to the doorway near the falling lava...
...jump down onto the ledge surrounding the tower, move around to the right...
...and re-enter the room in the center of the tower.
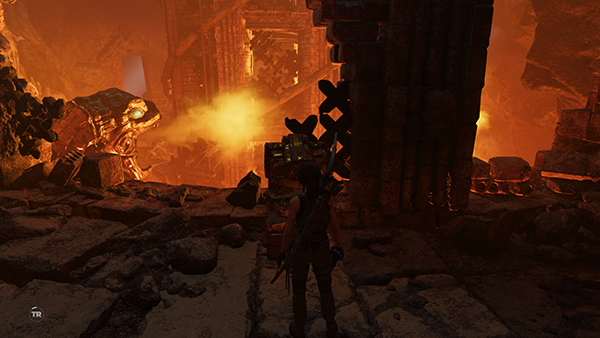
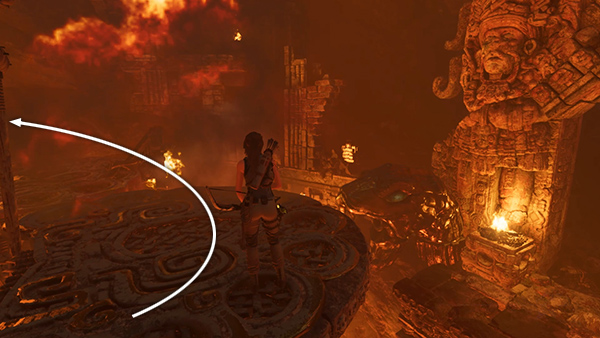
Jump onto the counterweight again to raise the ledge outside. Then drop down, run out the doorway on the right, turn left...
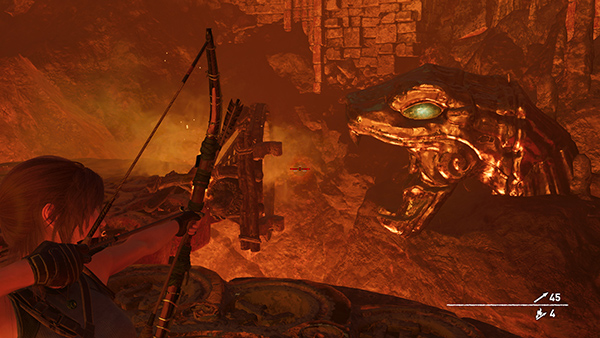
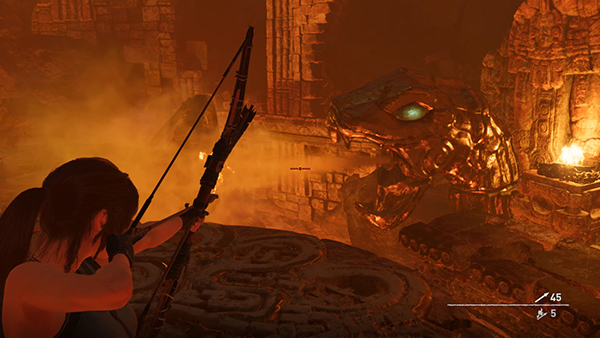
...and quickly shoot a fire arrow into the gas jet, just like you did before.
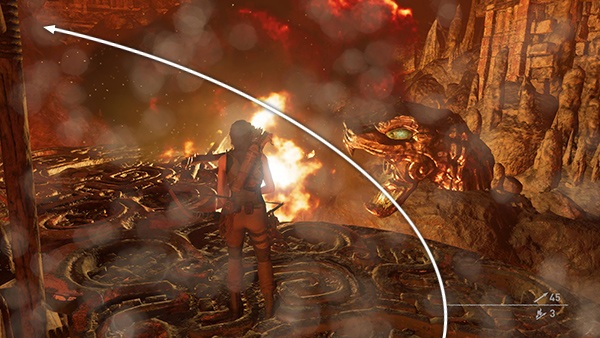
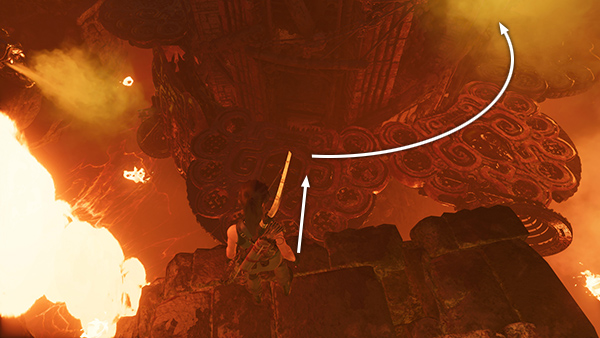
The blast rotates and raises the ledge with Lara standing on it. Again, just stay where you are as the ledge rises.

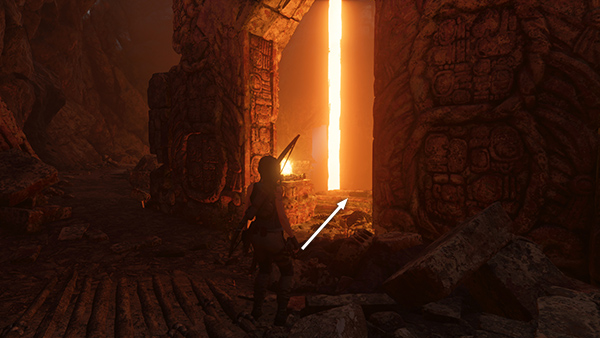
This time, instead of jumping into the doorway, wait for the gas jet you just activated to start venting...
...and shoot another fire arrow into the gas cloud. (Don't wait too long or the ledge will sink again and you'll need to repeat the sequence.)
This propels the ledge up and around to the SECOND LEVEL, where it locks into place.
[Previous | Next | Tomb Walkthrough | Main Walkthrough]
Copyright © - Stellalune ( ). All rights reserved. Feel free to copy or print this walkthrough for personal use. By all means, share it with friends, but please include this credit line so people can send me their feedback. No part of this walkthrough may be reproduced on another site without permission. Follow this link for details about this site's advertising and privacy policy.