Trial of the Eagle (part 3)
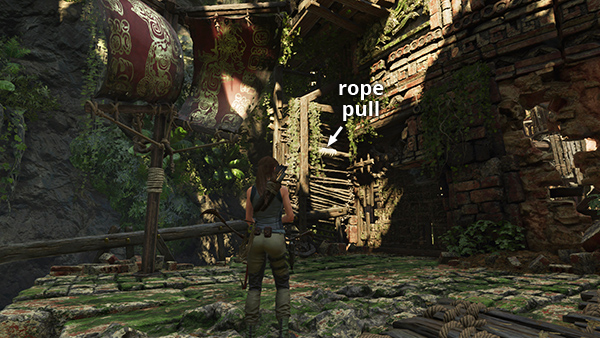
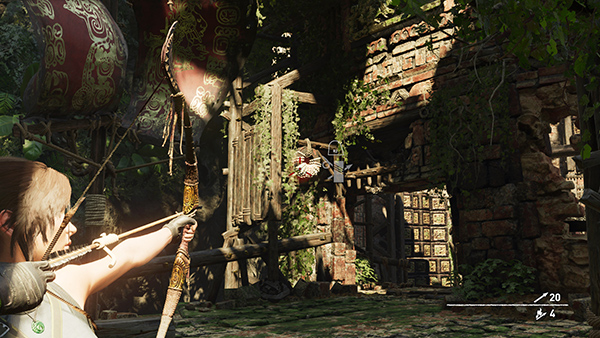
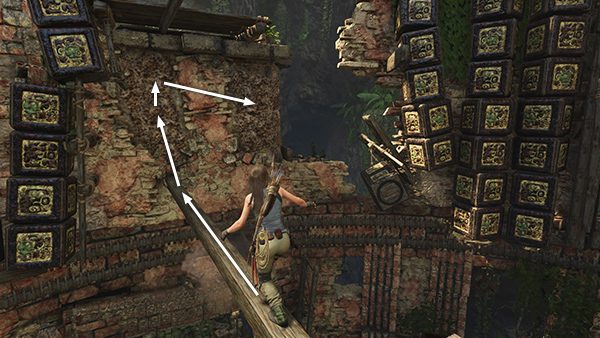
Use a rope arrow to pull down the wooden barrier to the left of the opening in the wall.
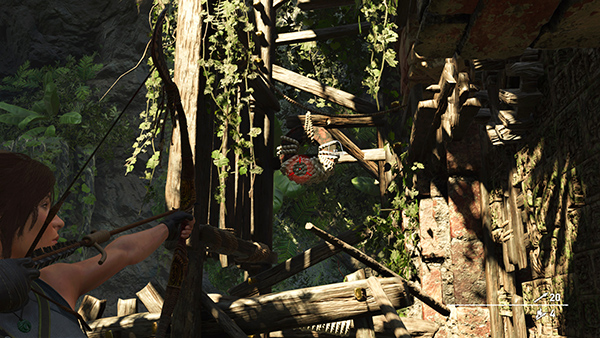
Behind it is a rope-wrapped metal ring. If you use a rope arrow to pull it...

...the nearby door opens; however it won't stay open for long.
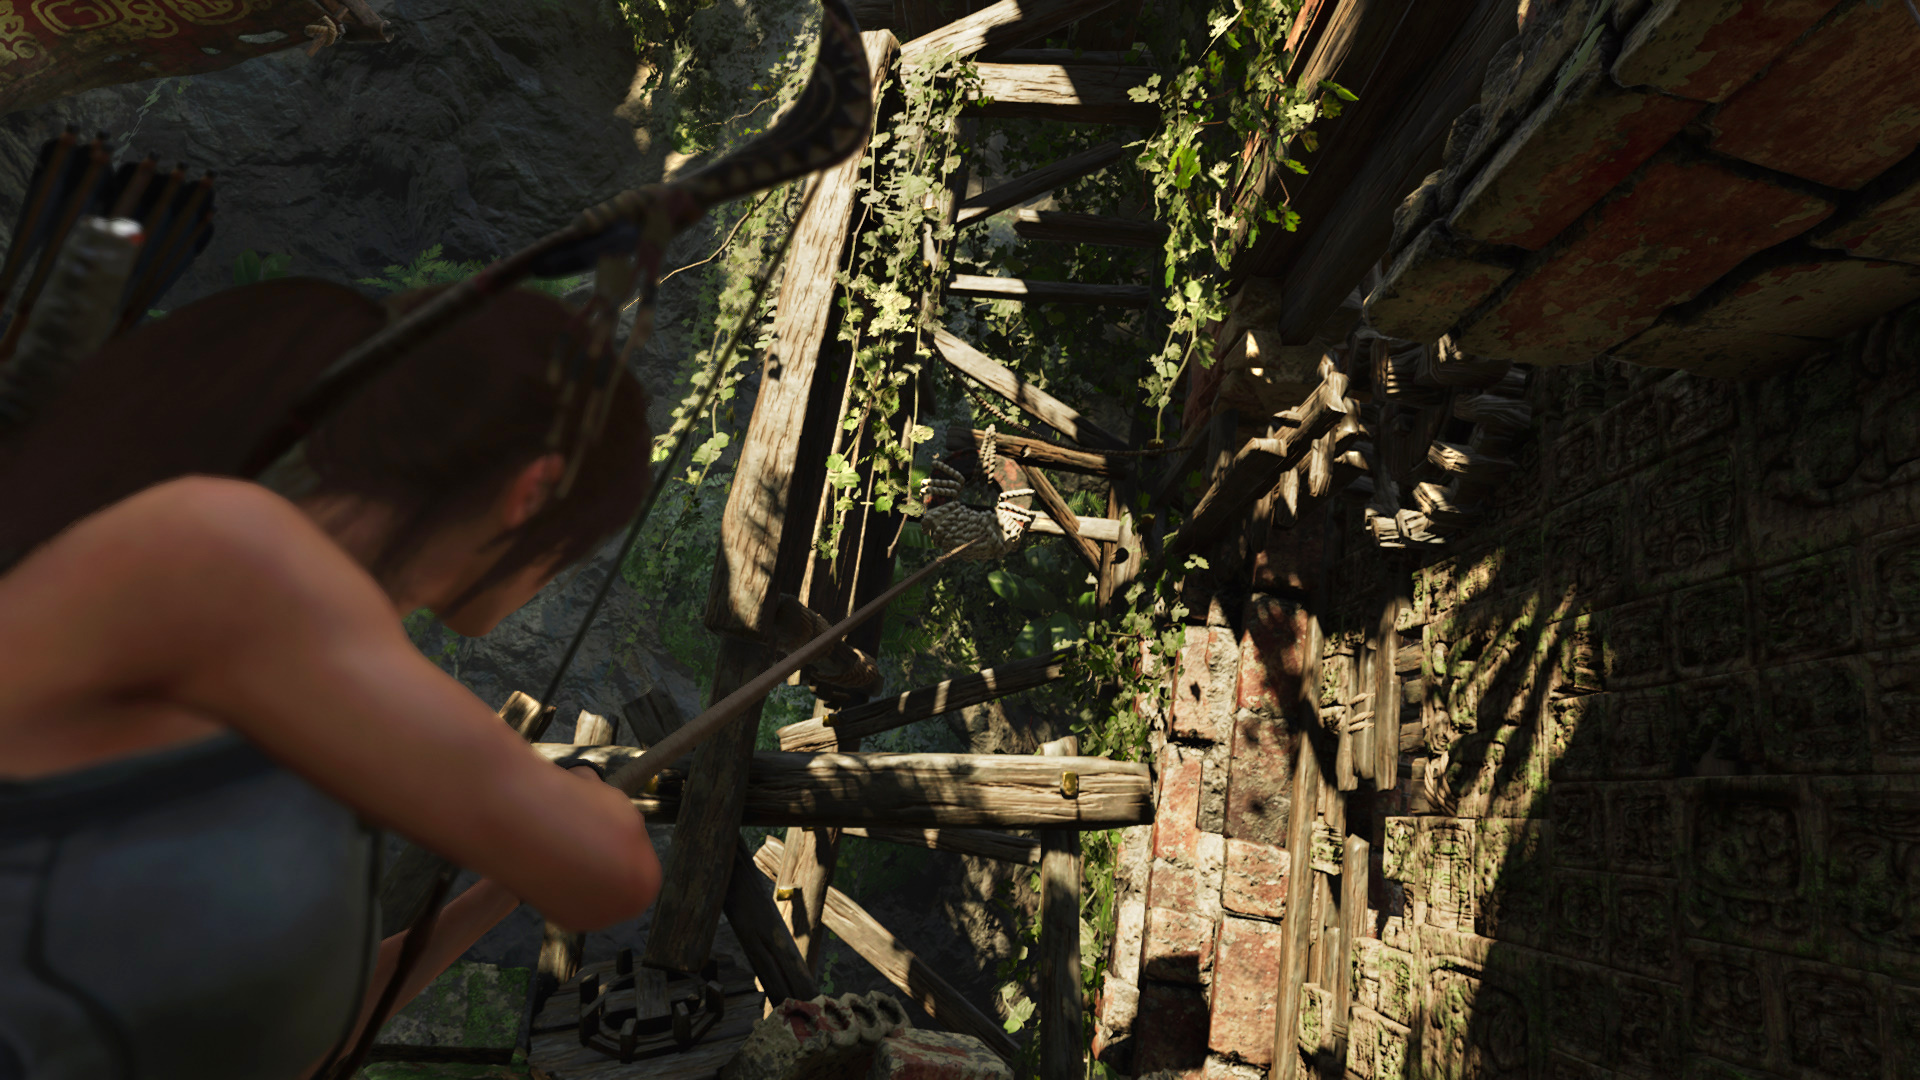
To make it stay open, rope-pull the ring...
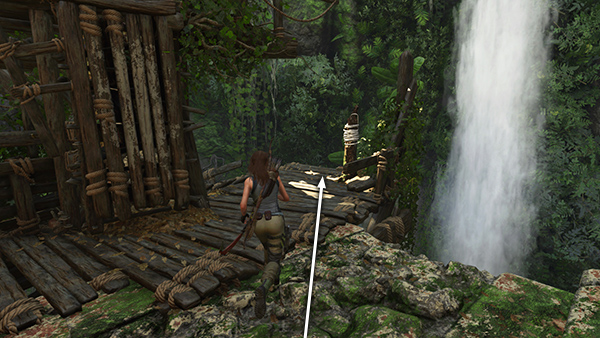
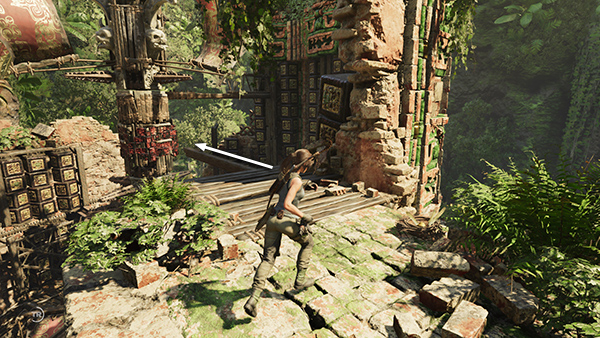
...then run to the rope-wrapped post on the ledge that juts out toward the waterfall.
Stand near the post and shoot another rope arrow into the ring...
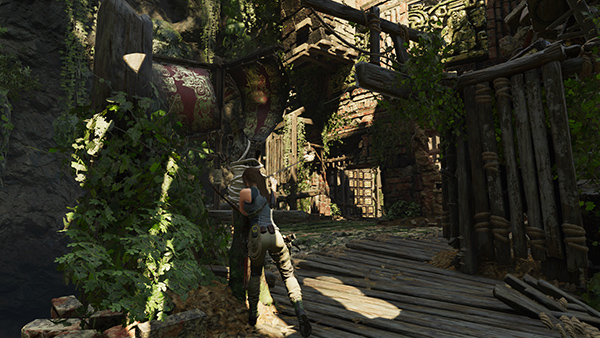
...anchoring it to the post. Now the door should stay open.

Move to the rotating pole with the sails and shoot another rope arrow through the open doorway into the rope coil on the center shaft.
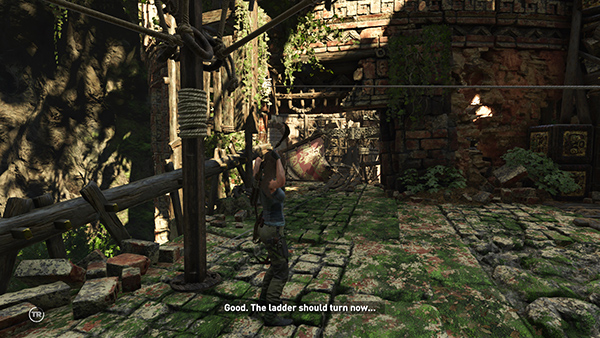
This raises another set of sails, and the section of the mechanism on this level begins to turn.
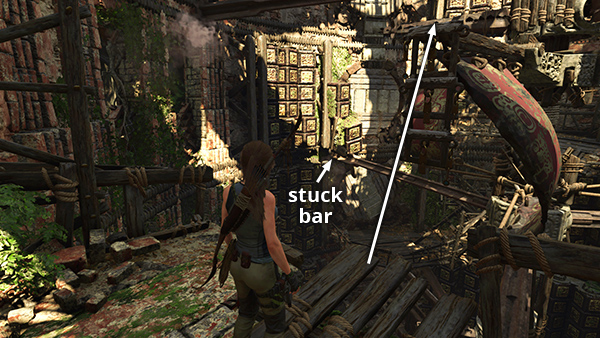
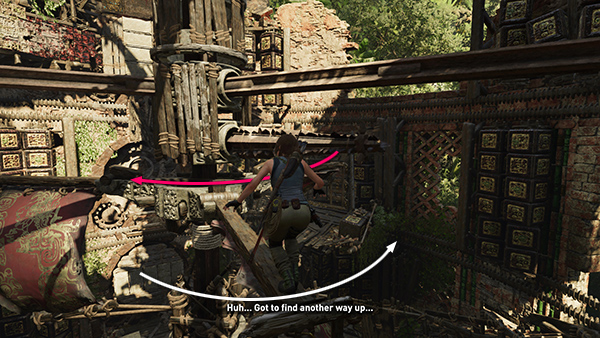
Step out onto the ledge overlooking the inside of the tower, and you'll notice one of the metal bars is stuck on some broken blocks near the rotating ladders. You can still reach the nearest dangling ladder, though, so jump over to it now.

When Lara grabs the ladder, the machine grinds forward, knocking the blocks out of the way and destroying the second rotating ladder. Lara remarks that she'll need to find another way up.
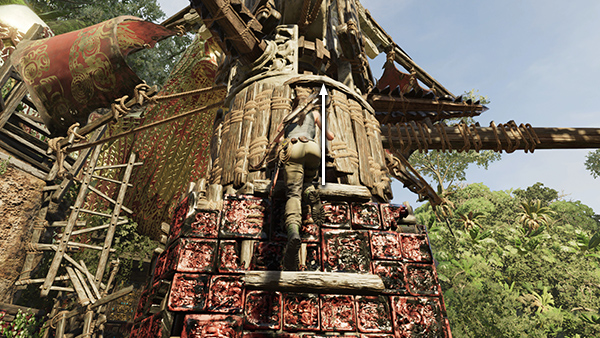
Pull up onto the beam above the ladder but don't step forward yet. Wait until the beam Lara is standing on moves past the twirling bar with obsidian spikes protruding from the center shaft.
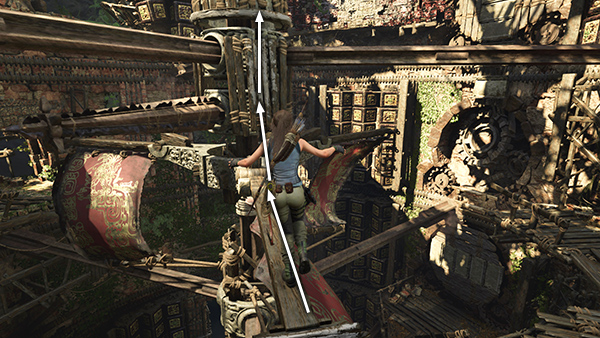
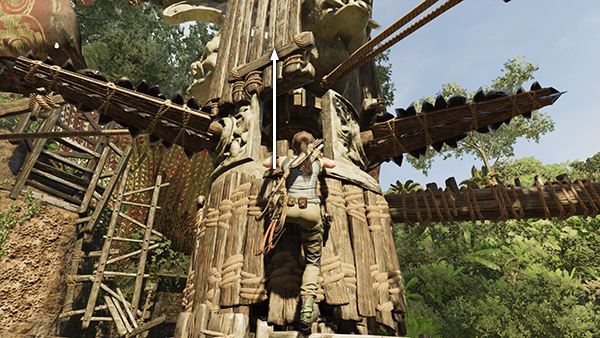
Then hurry along the beam toward the center, scramble up the wooden boards, and grab the handhold above.
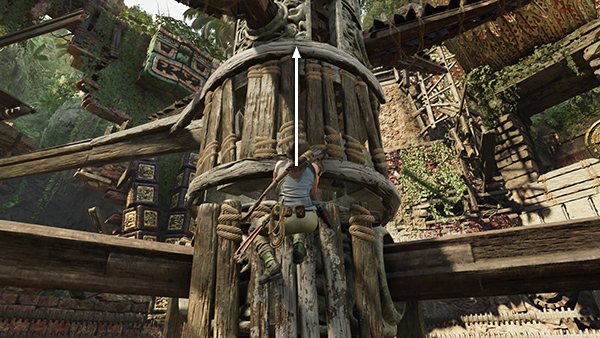
Then quickly scramble up once more to a higher handhold. Lara is safe here.
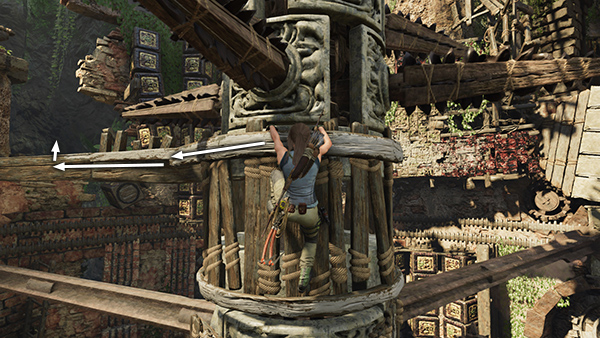
Climb around to the left then out along the jutting beam until you can pull up.
Walk along the beam toward the outer wall. Jump forward and latch onto the climbing wall. Climb upward and to the right, then jump to the next section of climbable wall.
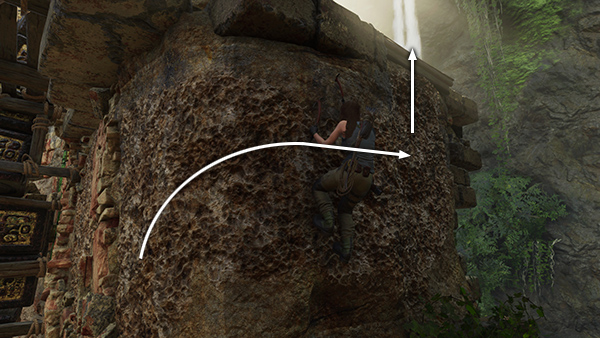
Climb up and around to the right, and onto the ledge above.
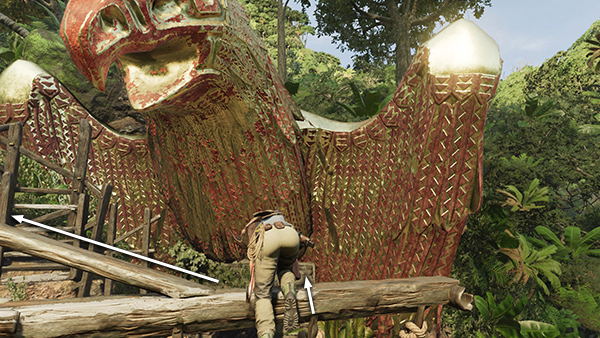
Loot a bird's nest for feathers. Then walk out onto the narrow beam toward the center shaft.
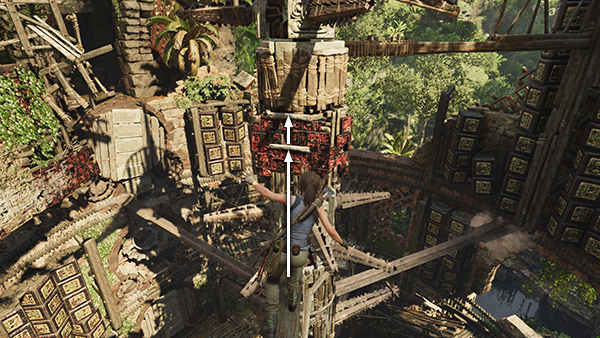
Wait for one of the red-tiled panels with white handholds to rotate around toward you, then jump and grab it. Climb to the higher handhold on the red panel.
Then, when the red panel moves a little to the right, so there's a solid handhold above, jump up to grab it.
Pause for a moment until there's a wooden panel with handholds above. Jump up to grab it...
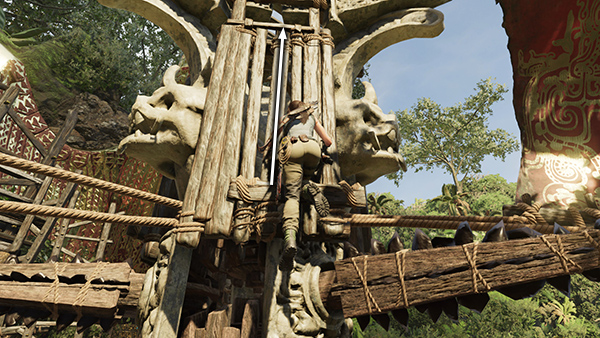
...then quickly scramble up the boards so the twirling spikes don't knock Lara down.
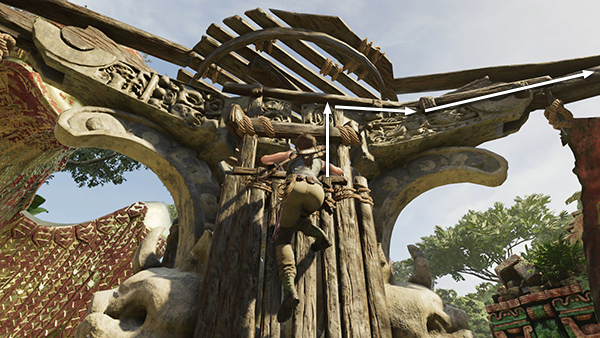
Now you can take your time. Climb up then out along the beam toward the red sail.
Pull up onto the beam above the sail and, if you like, move onto the center platform...
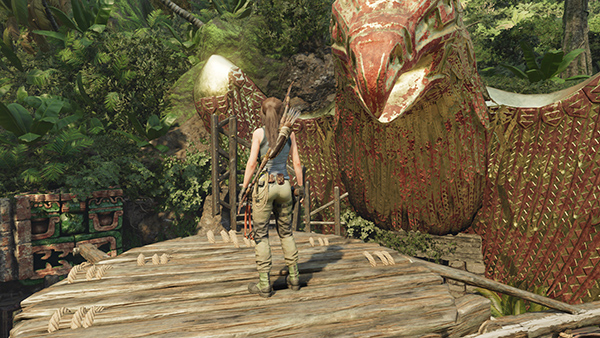
...to enjoy the view for a bit.
[Previous | Next | Trial of the Eagle Walkthrough]
Copyright © - Stellalune ( ). All rights reserved. Feel free to copy or print this walkthrough for personal use. By all means, share it with friends, but please include this credit line so people can send me their feedback. No part of this walkthrough may be reproduced on another site without permission. Follow this link for details about this site's advertising and privacy policy.