Trial of the Eagle (part 2)
Now that the center shaft is spinning, things get a little more dangerous. Move out onto the wooden ramp, wait for one of the wooden ladders to swing around toward you, and jump to grab it. Don't climb up yet, though.
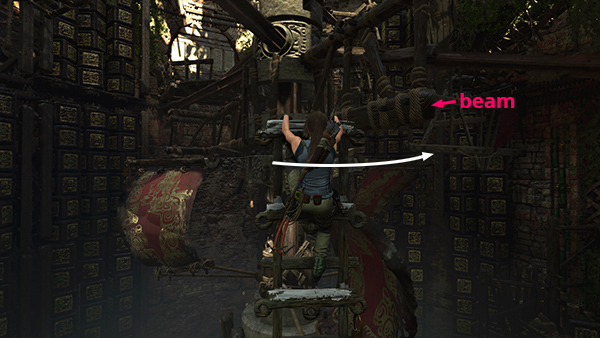
Wait for the ladder to move under the wooden beam, otherwise it will knock Lara off.
As soon the ladder passes under the beam, pull up and quickly move forward to avoid being knocked down as the beam Lara is standing on moves toward a wooden structure jutting out from the wall of the tower.
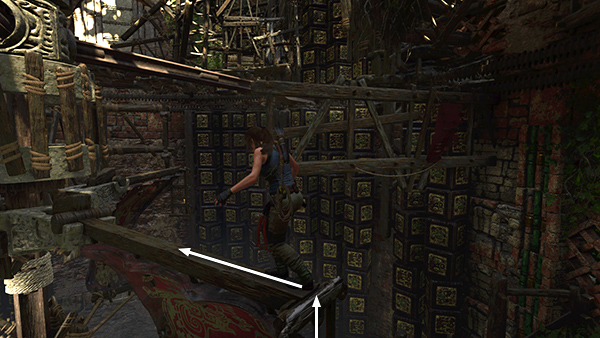
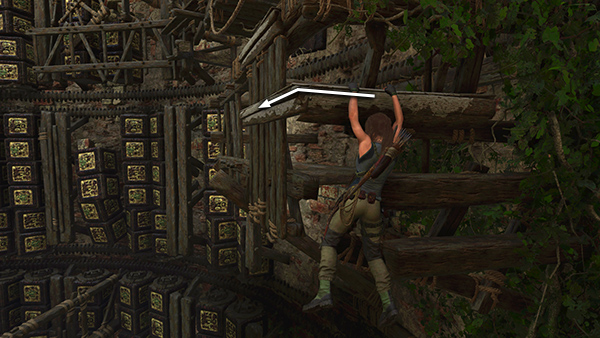
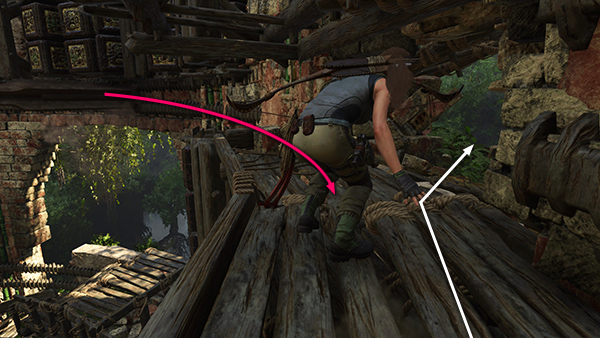
Adjust Lara's position so she's standing near the middle of the moving beam. Turn right, and as you approach the panel with the wooden slats, jump toward it, scramble up, and grab the beam above. Don't pull up yet.
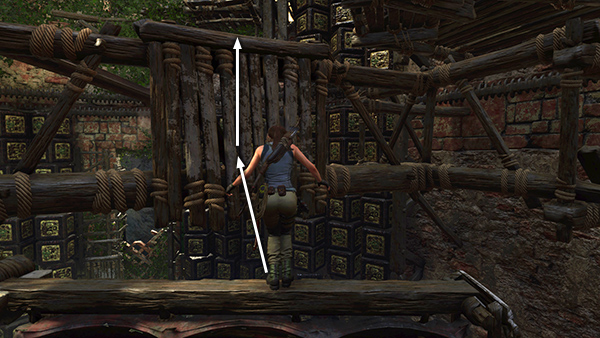
Wait until the spiky metal bar attached to the center shaft swings past overhead.
Then jump to grab the beam above, pull up to stand on it, turn right, and walk to the ledge near the outer wall.
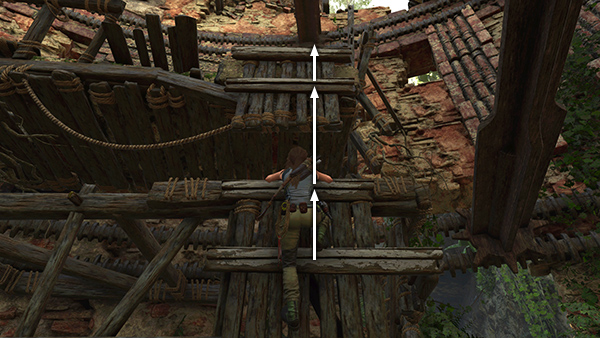
Now that the lower section of the tower has been activated, the rotating ladder you saw earlier is also moving. When the ladder is oriented vertically quickly climb to the top and jump up to grab a handhold above. The second rotating ladder, directly above, is not moving yet. So climb around to the right...
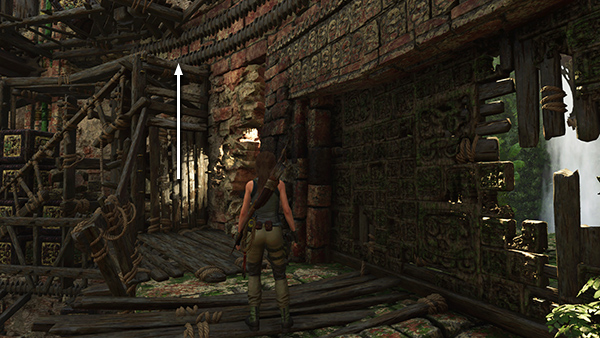
...and pull up onto another wooden ledge.
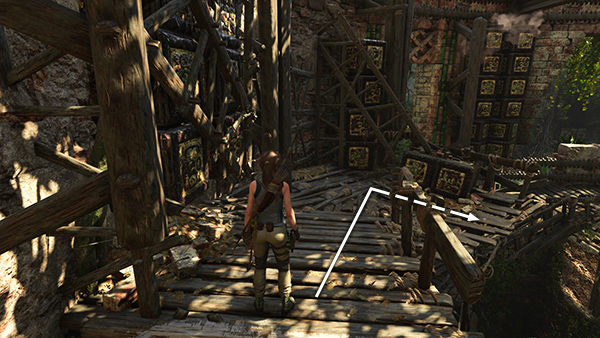
Follow the ledge around to the right.
Then jump across the gap to the walkway near the center shaft.
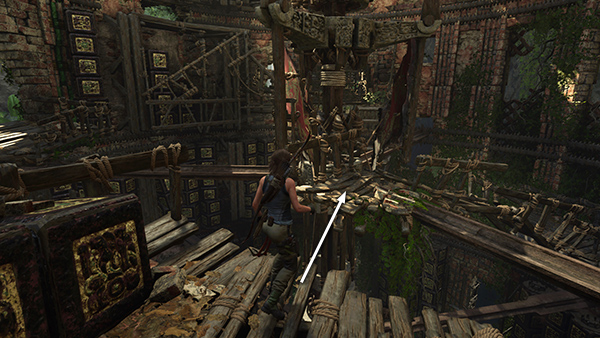
Follow the ramp down toward the outer wall. Then turn left...
...walk out to the end of the narrow beam, and jump to grab the handhold ahead.
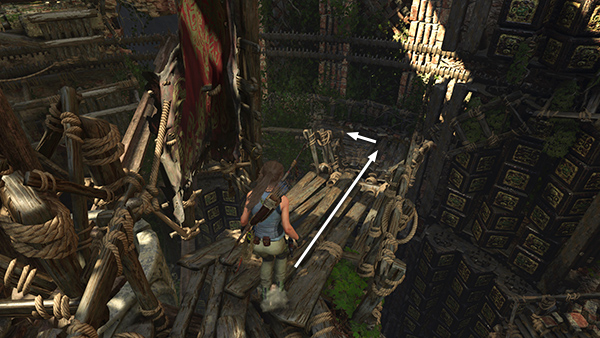
Traverse around the corner
to the left.
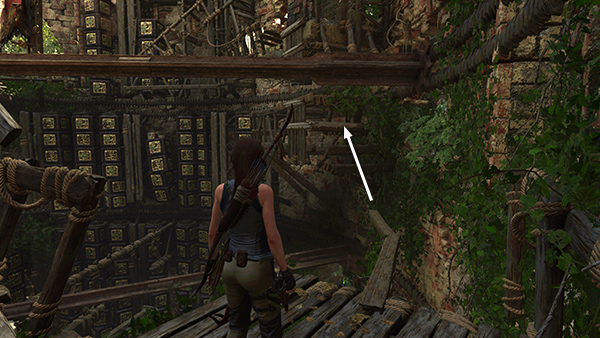
Climb/jump up three more handholds until you can pull up onto the ledge above.
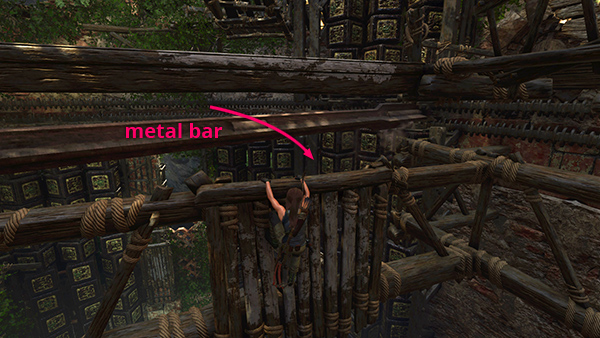
Here you get a glimpse of another rotating pole with sails, and a lovely waterfall. You can't get through this opening, though, so turn left, scramble up the wooden wall, and climb up until Lara is hanging from the ledge above. Again, don't pull up yet.
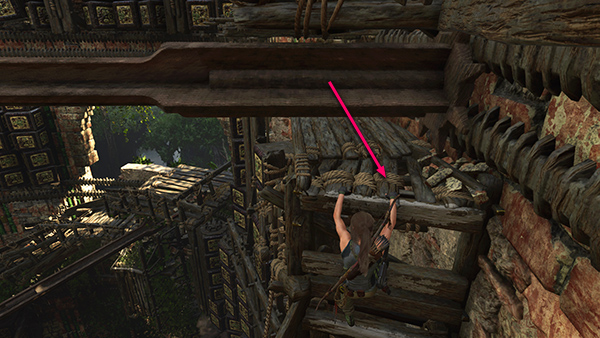
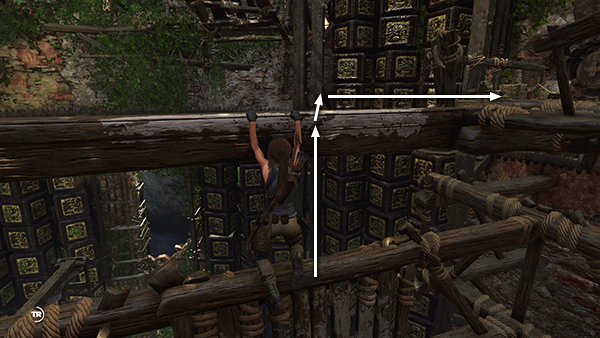
Wait for one of the 3 metal bars to swing past overhead. Then climb up onto the ledge...
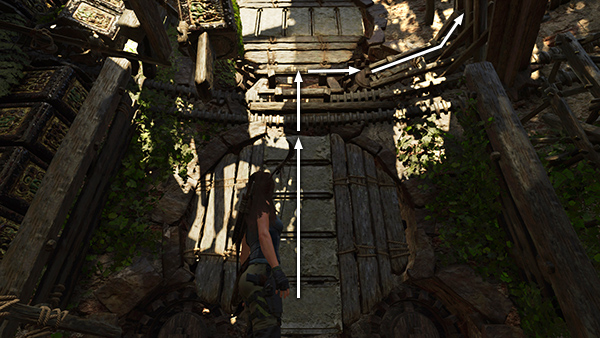
...and quickly move forward and through the low opening on the right. You can't stand up here, but you still need to move quickly so the next metal bar doesn't crush Lara.
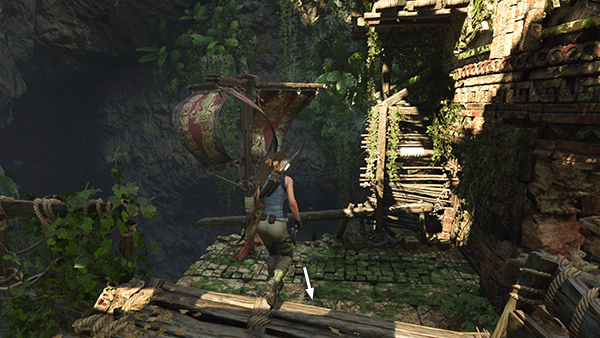
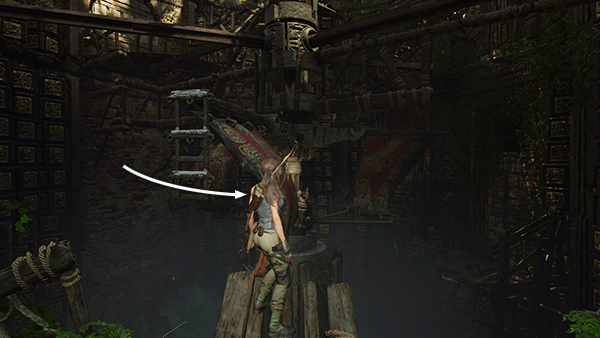
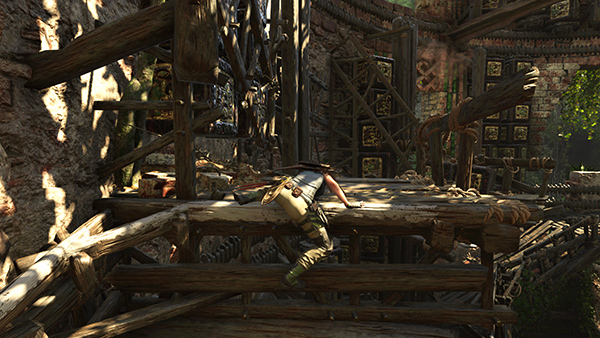
Outside, follow the walkway around to the right and drop down near the rotating pole with the red-and-gold sails.
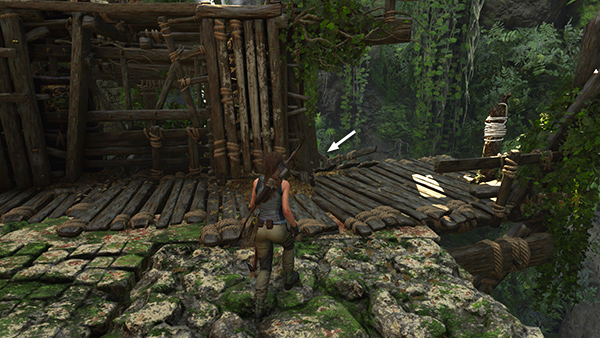
Before you proceed with the puzzle, turn around and head down the ramp between the ledge you just came from and the rope-wrapped post near the edge.
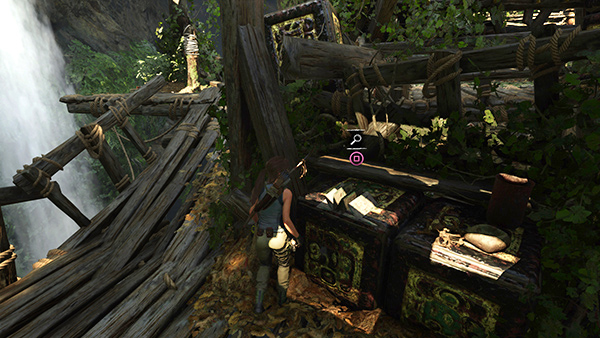
At the bottom is a document (1/1), A Proverb (Mam/A Community in Need). Return to the top of the ramp.
[Previous | Next | Trial of the Eagle Walkthrough]
Copyright © - Stellalune ( ). All rights reserved. Feel free to copy or print this walkthrough for personal use. By all means, share it with friends, but please include this credit line so people can send me their feedback. No part of this walkthrough may be reproduced on another site without permission. Follow this link for details about this site's advertising and privacy policy.