Trial of the Eagle (part 1)
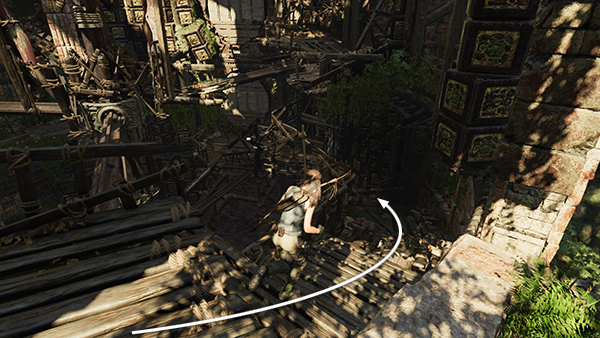
Start by following the walkway down to the right.
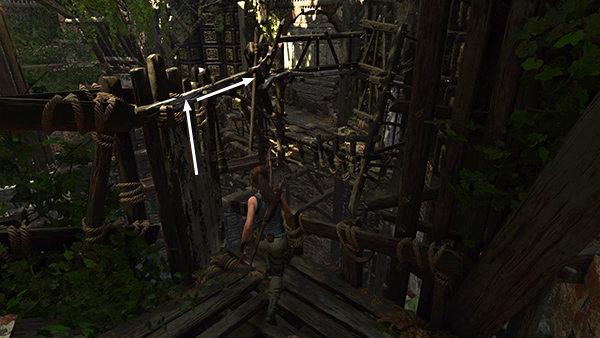
At the end, turn left and scramble up the wooden slats to grab the railing. Climb to the right, past a gap in the railing, until you can't go any farther.
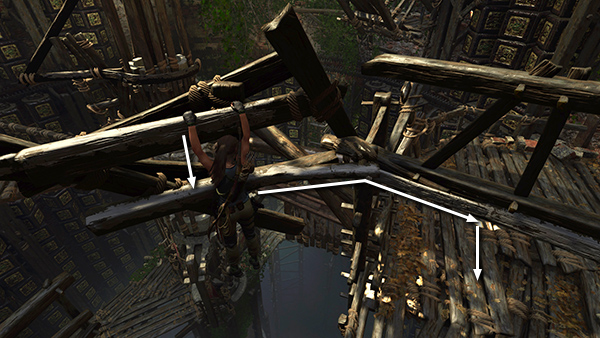
Climb down onto the beam below, then continue climbing to the right until you can drop onto the walkway.
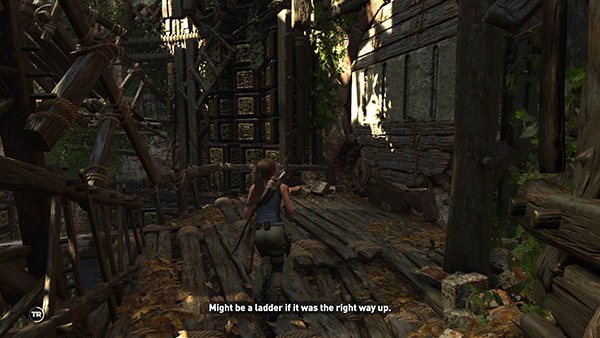
Lara remarks that the panel on the right wall could be used as a ladder if it were oriented differently. We can fix that!
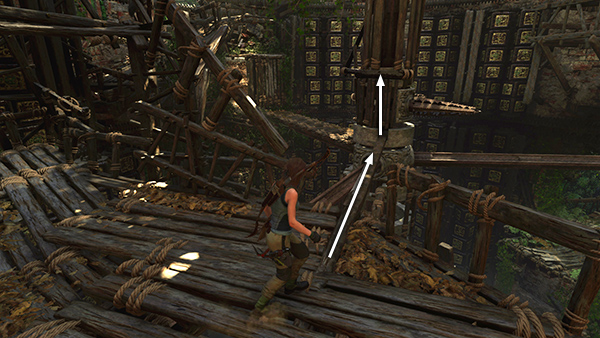
Walk along the beam toward the vertical shaft at the center of the tower and scramble up to grab a handhold. At this point, nothing on this level is moving, so this won't be difficult.
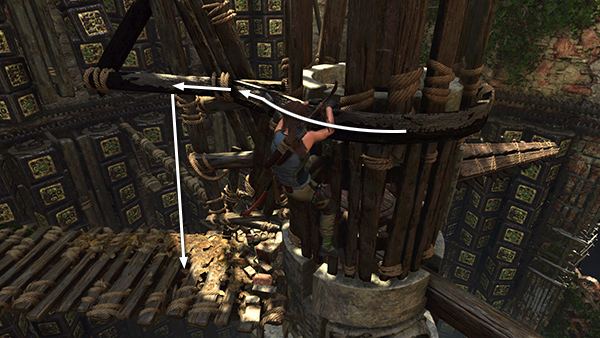
Climb to the left and drop onto the walkway.
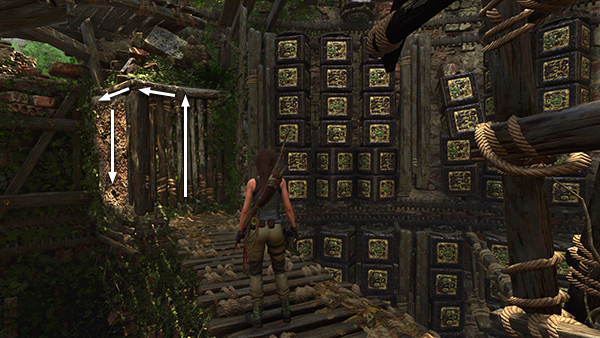
Follow it away from the center and scramble up the wooden planks to grab the handhold just below the entrance. Climb around the corner to the left and down onto the craggy climbing wall.
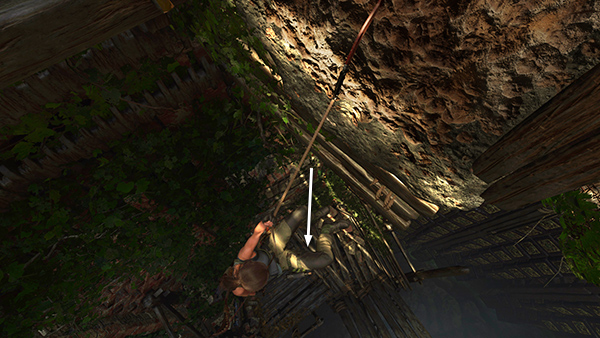
Rappel down to the ledge below.
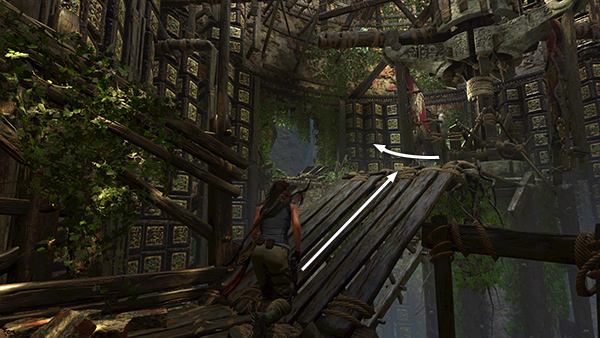
Now you're on the
lowest accessible level of the tower. Go up the wooden ramp toward the center. Go around the central shaft to the left...
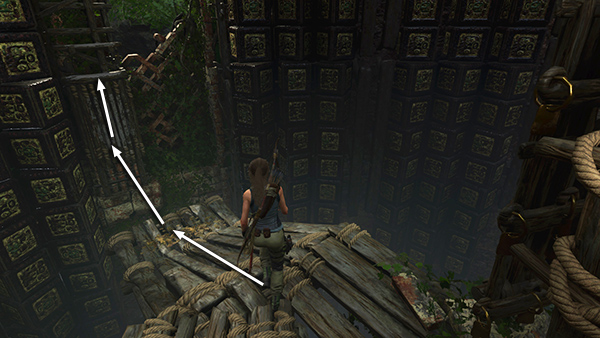
...then down another wooden ramp. Jump across the gap toward the outer wall of the tower, scramble up the planks, and grab a handhold above.
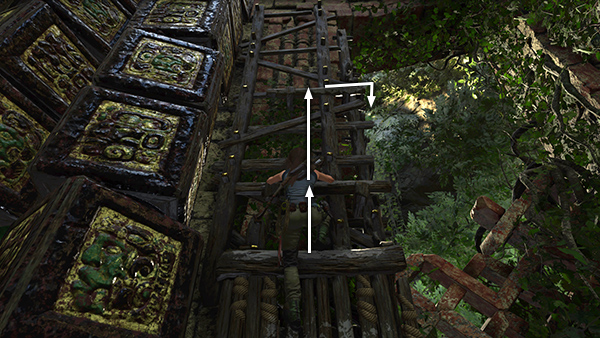
Climb/jump up as far as you can. Then continue climbing around to the right.
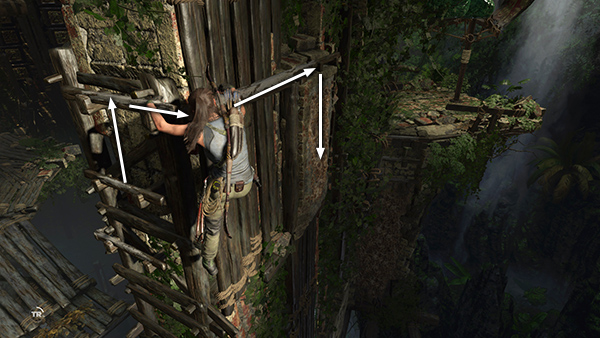
Climb up a little more and around to the right again. Now Lara is hanging on the outside wall of the tower, her back to the southeast. Climb to the right, then down onto a short section of rough climbing wall.
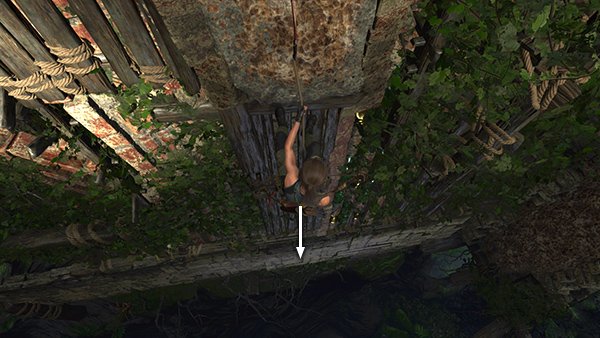
Climb down as far as you can, then rappel down to the wall-running area below.
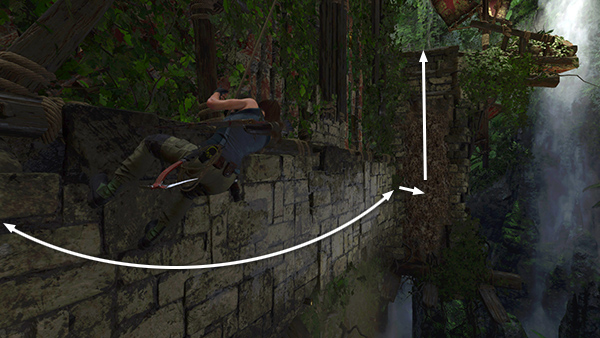
Hold either mouse or trigger button and run back and forth along the flat wall to gain some momentum. Then, when Lara swings all the way to the right, jump and latch onto the perpendicular climbing wall. Climb onto the ledge above.
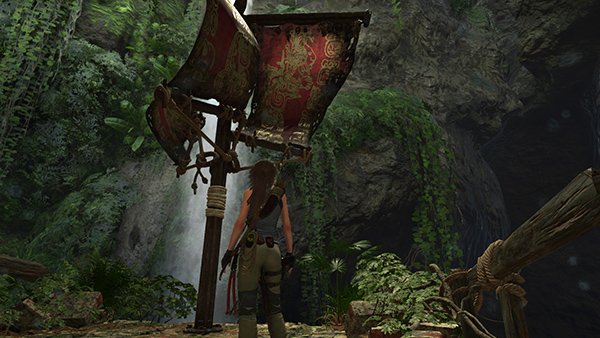
Stand near the rotating pole with the red-and-gold sails.
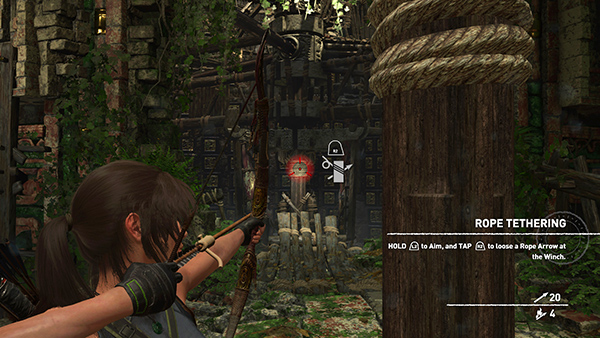
Face the center of the tower and use a rope arrow to tether the central shaft to the pole with the sails.
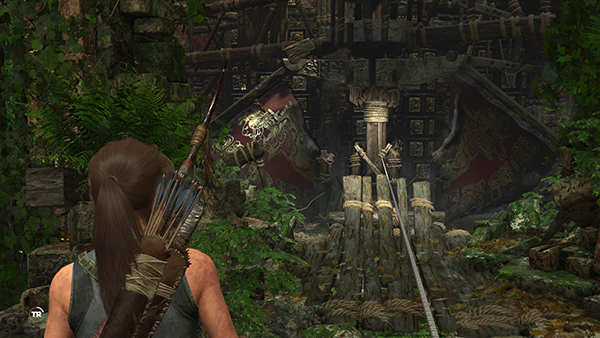
As the pole spins, it raises a set of sails inside the tower, causing the shaft—and its various protruding parts—to rotate.
[Next | Trial of the Eagle Walkthrough]
Copyright © - Stellalune ( ). All rights reserved. Feel free to copy or print this walkthrough for personal use. By all means, share it with friends, but please include this credit line so people can send me their feedback. No part of this walkthrough may be reproduced on another site without permission. Follow this link for details about this site's advertising and privacy policy.