Tomb of Hoarfrost - Large Room with Ice Vents Lining Floor (part 4)

Notice the red skull (4/5) in the little room behind the crumbling wall. To get it, step on the third pressure pad on this ledge to deactivate the third section of ice vents and open the gate nearby.
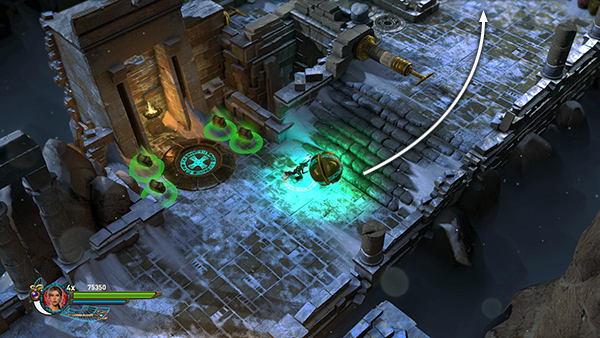
Return downstairs and get another time bomb. Again, keeping the Staff raised to prevent the bomb from exploding prematurely, roll it up the stairs.
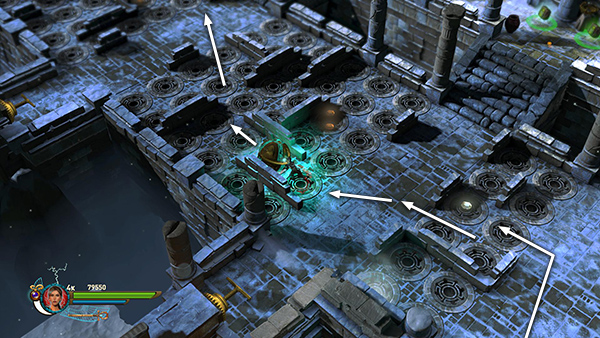
Maneuver the bomb across the first and second sets of ice vents, which should be all or mostly dark at this point.
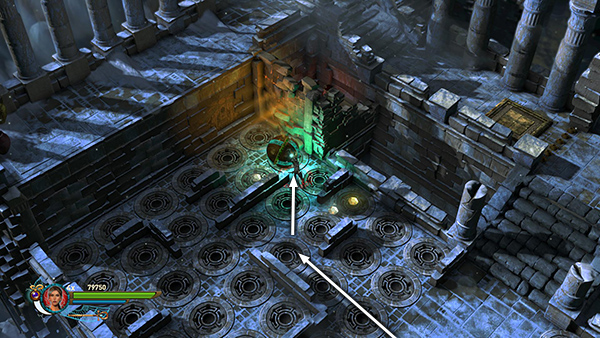
Then roll it across the third set of vents (also inactive now) and into the corner next to the crumbling wall.

Step out of the way and let the bomb explode.
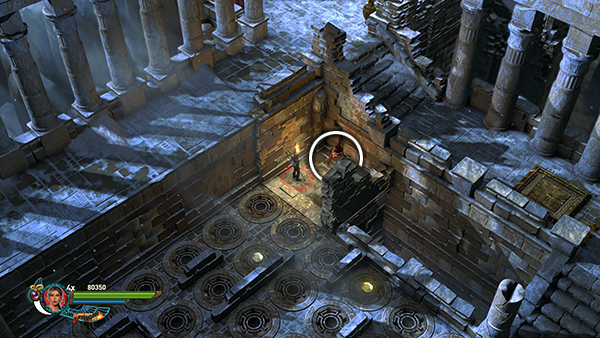
You can now retrieve the red skull (4/5).
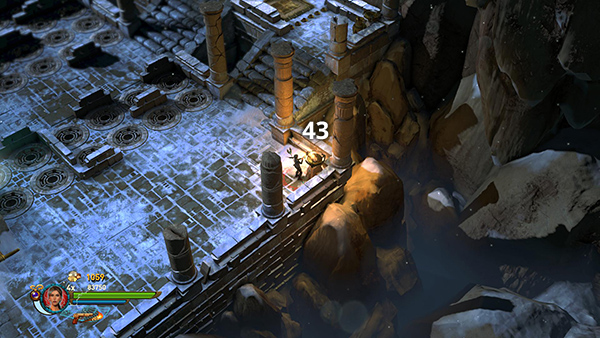
Before leaving this area, make sure to light 7 more braziers (43-49/51) for the brazier challenge. The first brazier (43/51) is in the right corner of the large room with all the ice vents.
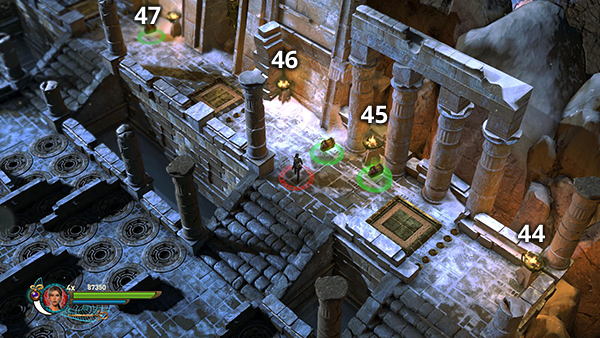
There are 4 braziers (44-47/51) on the long ledge with the pressure pads...
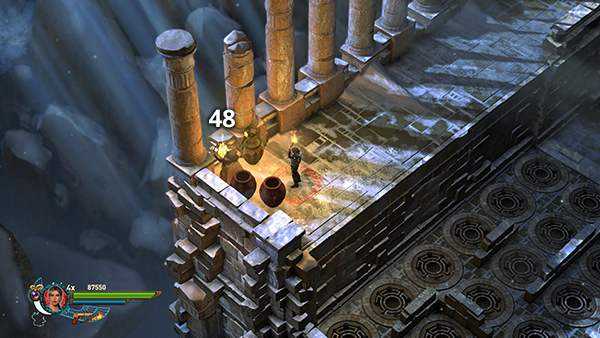
...and another brazier (48/51) at the left end of the ledge above the third set of ice vents, near where you climbed up using the bomb for a boost.
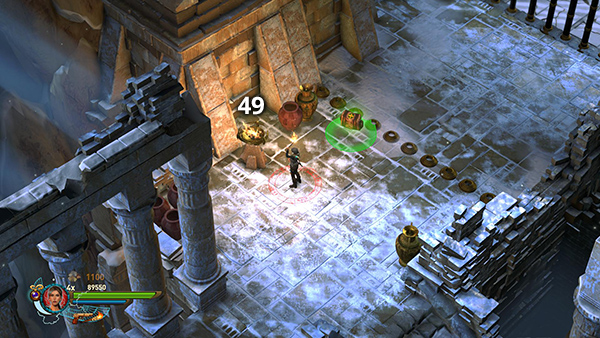
Now continue to the northeast. Just before the open gate, there's a bunch of breakable urns with a brazier (49/51) sitting between them.
Copyright © - Stellalune (
). All rights reserved. The screenshots and videos included here were made using Fraps. Feel free to copy or print this walkthrough for personal use. By all means, share it with friends, but please include this credit line so people can send me their feedback. No part of this walkthrough may be reproduced on another site without permission. Follow this link for details about this site's advertising and privacy policy.