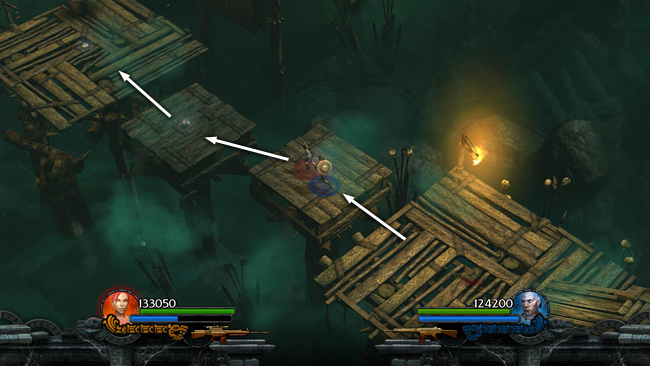
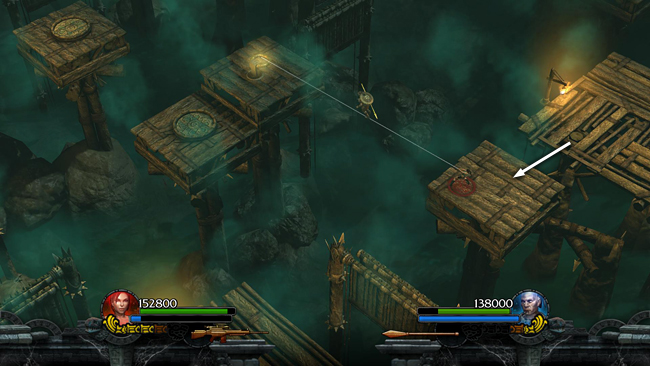
Hop across the smaller wooden platforms to the larger one to the NW.
When you land there, several enemies appear, including 2 shamans and a skeleton. Shoot them before they do too much damage and destroy the skeleton's bones with a bomb. The urn here contains ammunition if you need it.
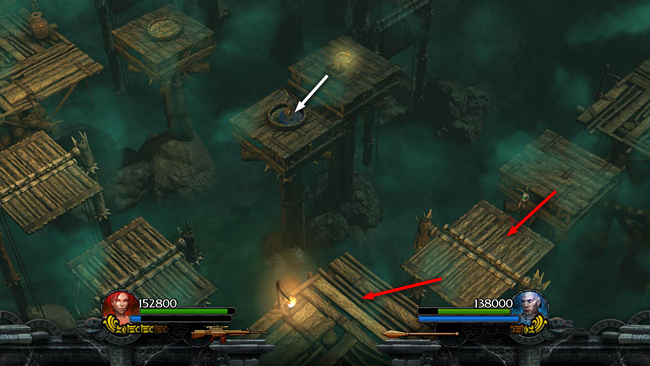
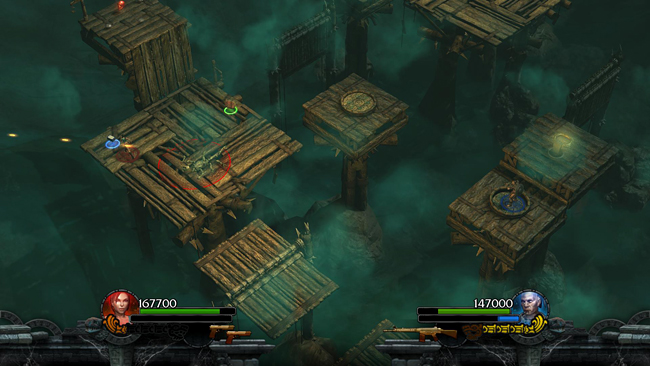
To reach the red skull (5/10) on the platform to the north, shoot the bull's-eye switch to the right of it.
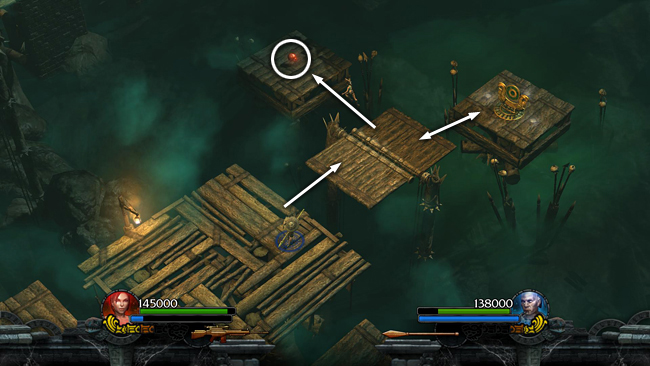
This raises the folding platform between the target and the large platform you're standing on now. Jump over to the skull. Jump back to the folding platform, then to the one with the bull's eye to collect gems. Then return to the large, square platform.
Jump to the next small platform to the SW. From here, Lara can grapple the golden ring off to the left (NW) and Totec can walk across the cable to it.
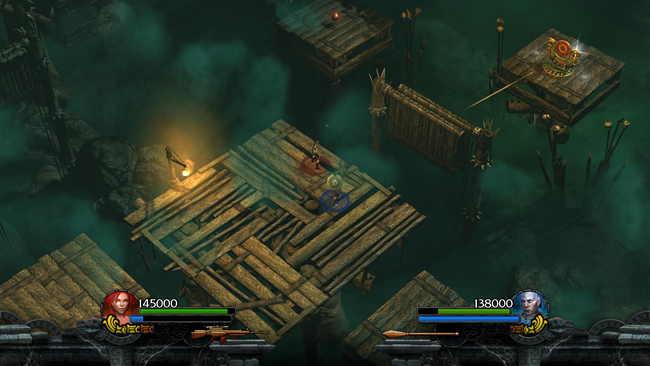
Totec should hop down onto the round pressure pad. Standing on it raises the 3 folding platforms to the SE and SW. Lara can now jump across the first folding platform onto the large, square platform beyond it.
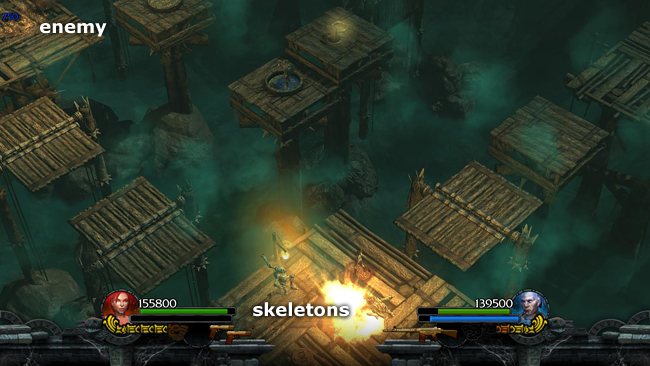
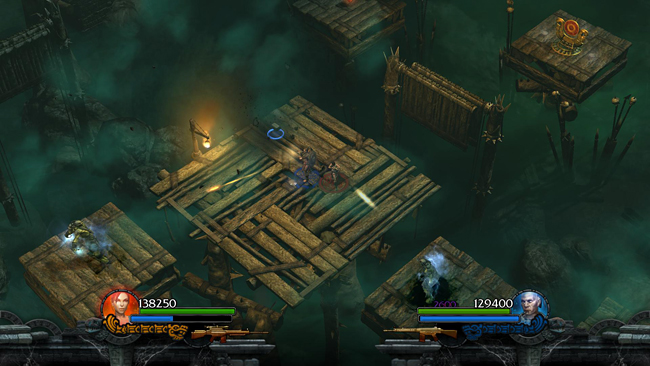
When Lara lands there, several enemies appear, including 2 skeletons here and another enemy off to the NW. Totec can help shoot, but he should remain on the round pad for now. Use the barrel of TNT or your own remote bombs to destroy the skeletons so they don't reanimate.
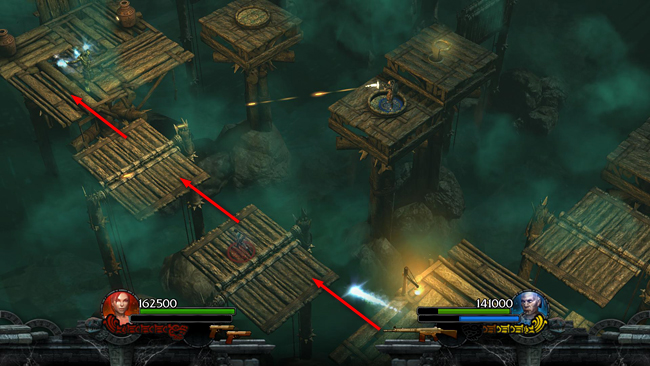
As Lara continues across the folding platforms to the NW, 2 shamans spawn on the solid platforms, one ahead and one behind. Take care of them.
When Lara reaches the solid platform to the NW, another skeleton appears. Kill it and bomb its bones as you have the others. Smash the urns for health and ammo.
[Part 2 | Return to the Twisting Bridge Walkthrough]
Copyright © - Stellalune (). All rights reserved. The screenshots and videos included here were made using Fraps. Feel free to copy or print this walkthrough for personal use. By all means, share it with friends, but please include this credit line so people can send me their feedback. No part of this walkthrough may be reproduced on another site without permission. Follow this link for details about this site's advertising and privacy policy.
|